Panda (Short Tutorial)
Is there a more beloved paper animal than the panda? With its round body and that unmistakable black-and-white patchwork, this little bear is pure joy to fold—and this short version keeps things friendly for first-timers.
The steps are mostly photos with just a line or two each, so you can breeze through them and end up with a whole panda family in different sizes. Fold a big one and a small one and you've got a parent-and-cub pair ready for a tiny paper zoo.
Way of Folding
STEP 1. Fold the paper in half.
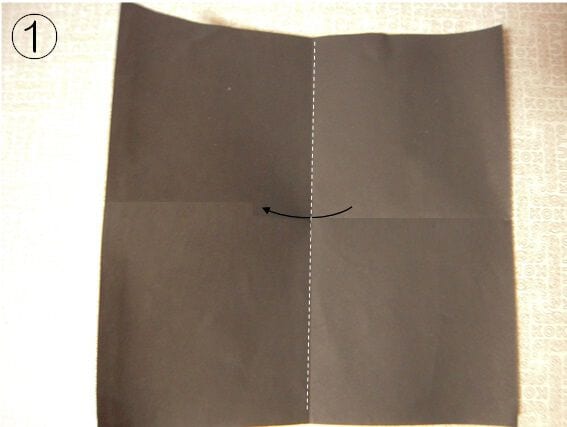
STEP 2. Fold it in half again.
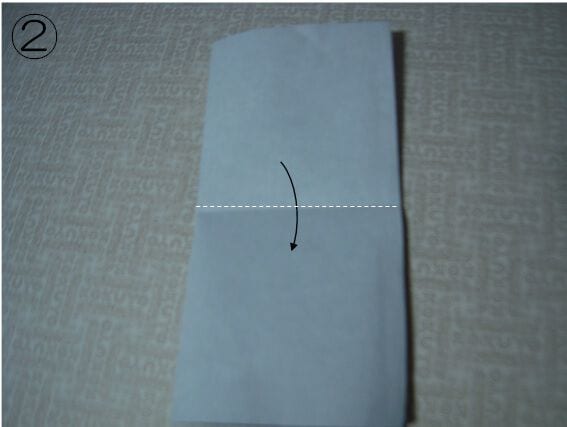
STEP 3. Spread the paper open to the left and right, then fold.
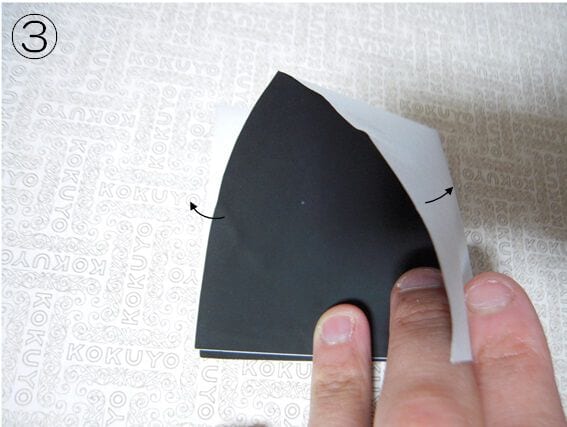
STEP 4. It should look like this. Fold the back side the same way.
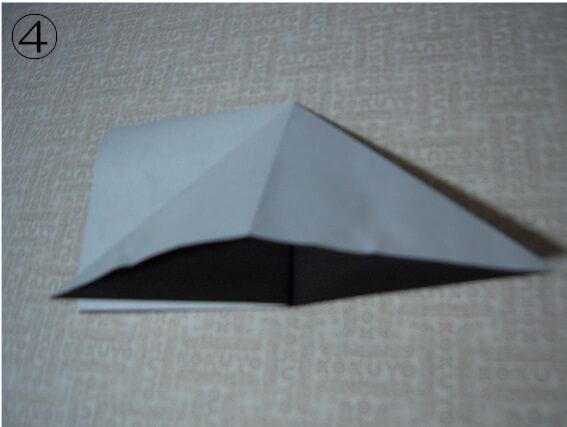
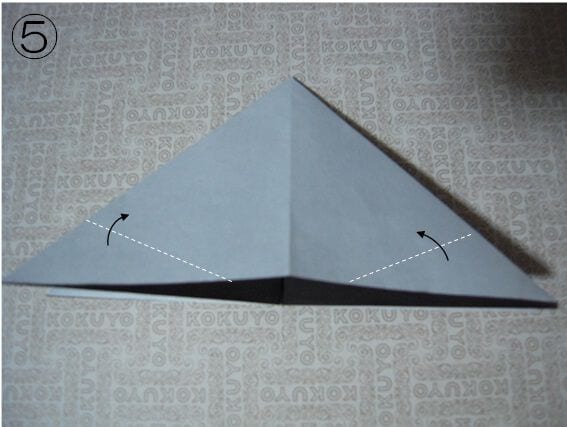
STEP 5. Fold along the dotted line.
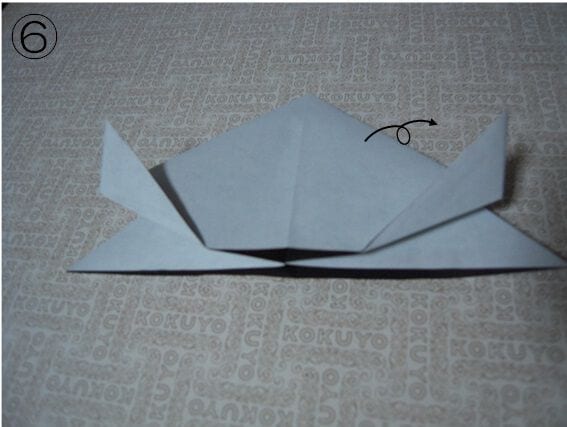
STEP 6. Turn the model over.
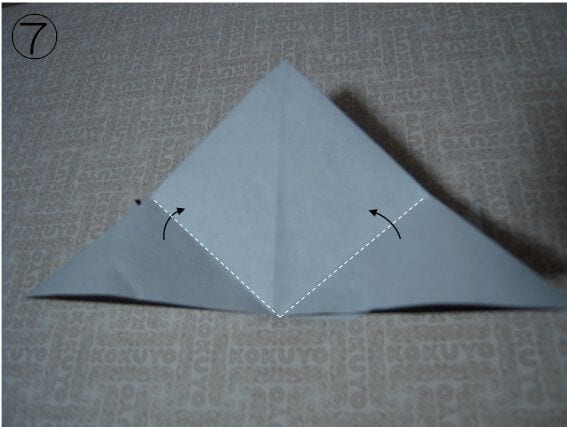
STEP 7. Fold along the dotted line.
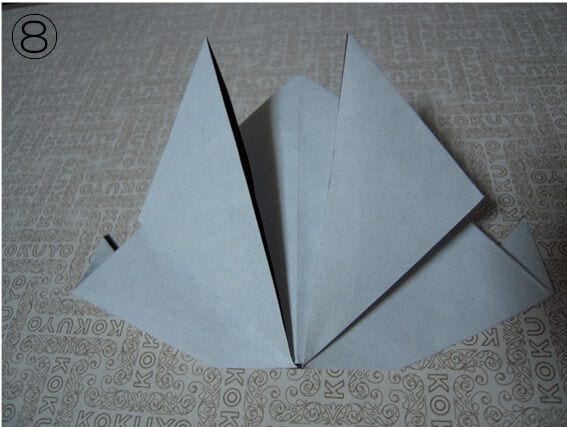
STEP 8. At this point, open the paper out once.
STEP 9. Fold the dotted-line section into a valley fold…
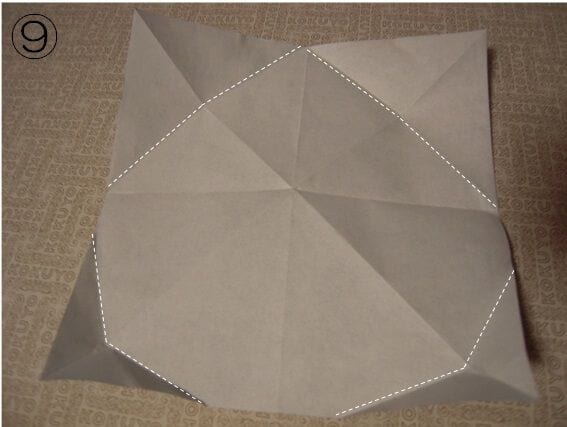
STEP 10. Fold the white line into a valley fold and the black line into a mountain fold.
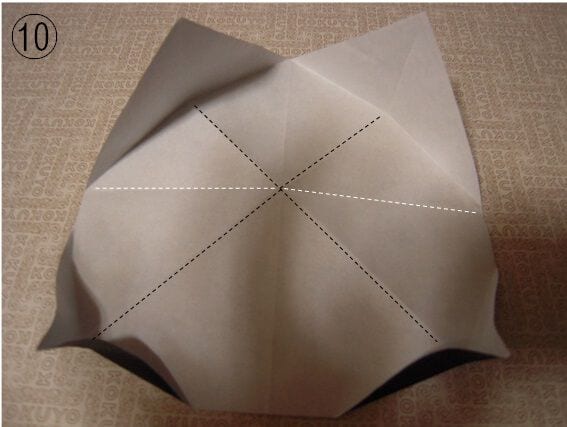
STEP 11. It should look like this. Fold it in half, then fold it backward.
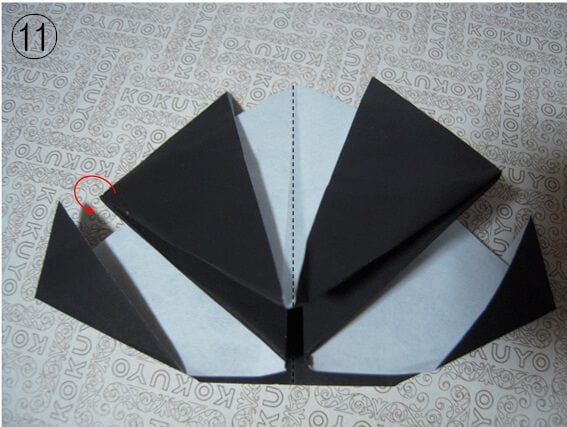
STEP 12. Fold it back along the dotted line.
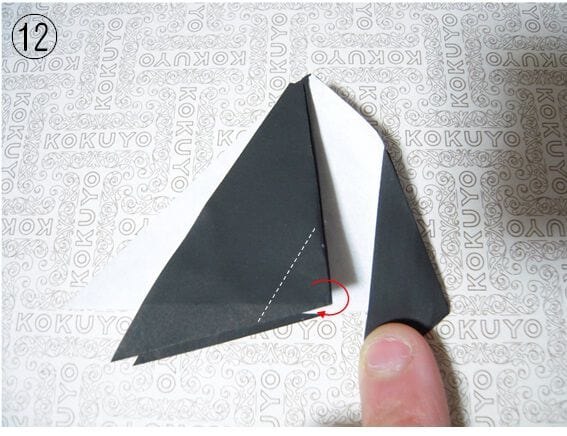
STEP 13. Make a crease along the dotted line.
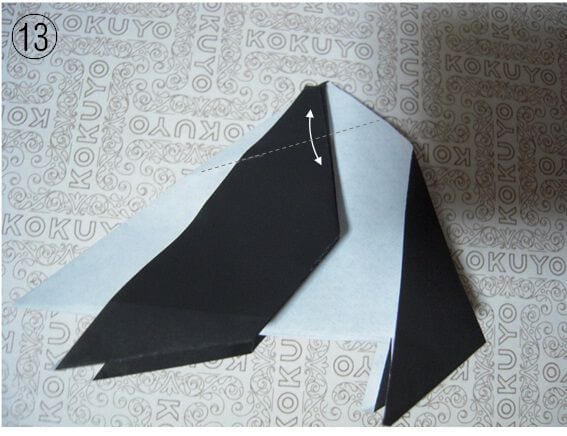
STEP 14. Press down from above so the crease you just made becomes a mountain fold.
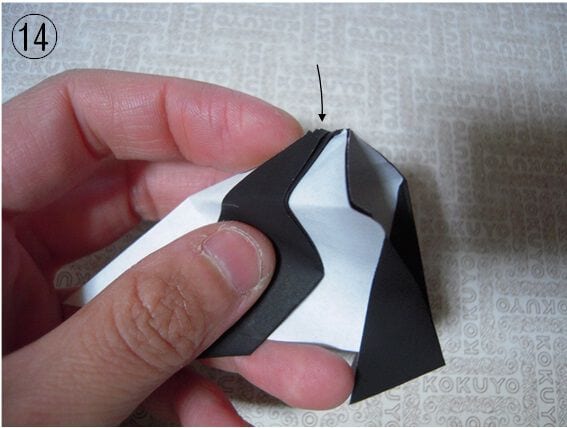
STEP 15. Now shape the face gradually, step by step.
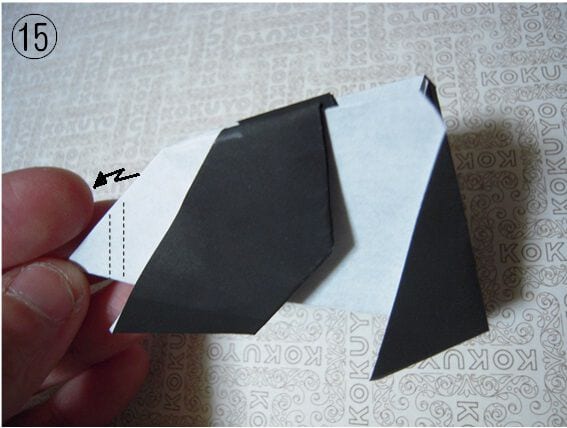
STEP 16. Fold the tip of the nose inward.
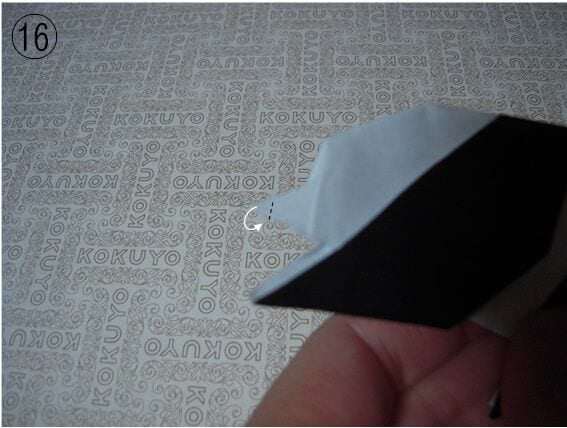
STEP 17. It should look like this.
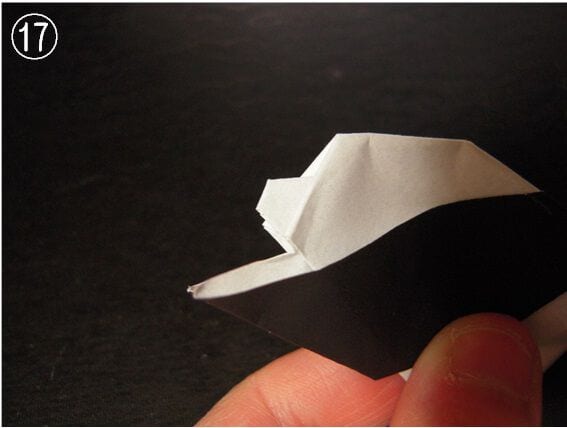
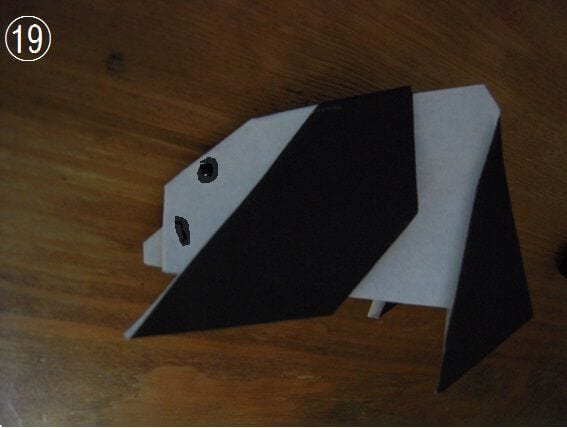
STEP 18. Your panda is complete!
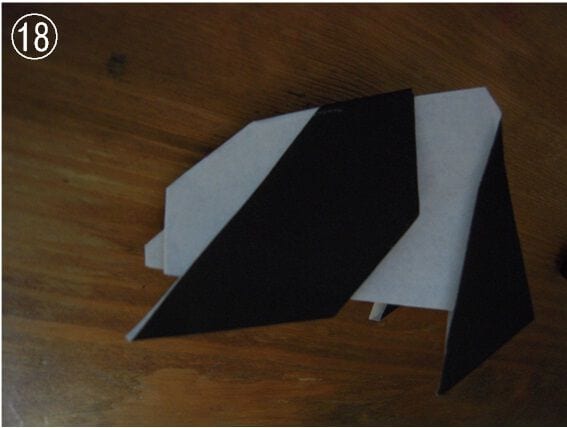
STEP 19. I drew on a face.
How about decorating it like this?
There you have it—a simple origami panda.
It’s also cute to make a smaller one and pair it with a bigger “parent” panda.
You could even build a little diorama with empty boxes and pretend to visit the zoo with your child!
Points to Note When Folding
Steps 9 and 10 can be a little tricky to get down, but take care to distinguish the valley folds from the mountain folds.