Dog Pocket Bag
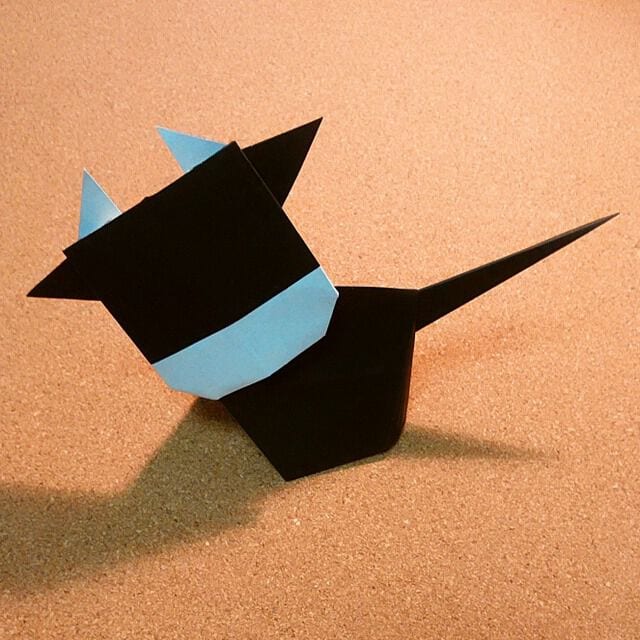
Who says a pocket can't have a tail and a wagging smile? This origami dog pocket bag is exactly what it sounds like — a tiny paper puppy with a little pouch you can actually tuck things into. It's the kind of make that turns a plain square of paper into something with real personality, and the best part is the ending: you get to draw your dog's face and give it its own character. Whether you use it as a cute note-holder, a party favor, or just a desk companion, it's a quick, joyful fold that's perfect for crafters of any age.
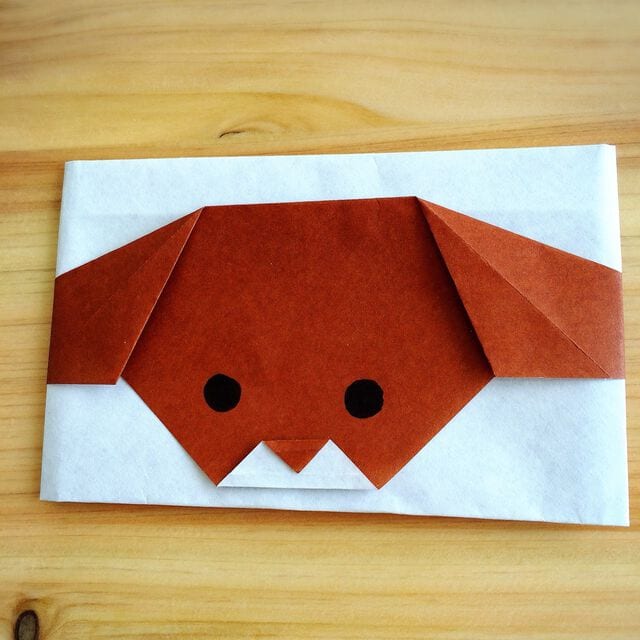
Then why not make it with origami?

How to fold an origami dog pocket bag
I'll fold this origami model from a single sheet. Let's get folding!
STEP 1. With the colored side facing in, fold the paper in half into a triangle.

STEP 2. Align the top corner with the center of the bottom edge, fold, and make a crease.

STEP 3. Fold the bottom layer up along the crease made in step 2 and crease it.

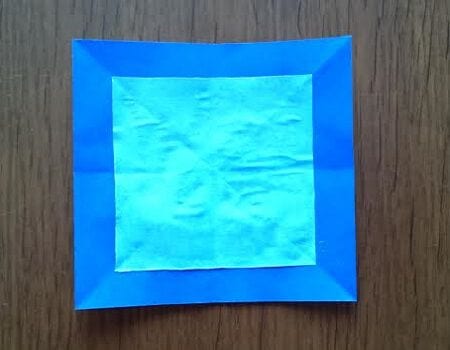
STEP 4. Open out a single top layer and spread it downward from the top corner.

STEP 5. Fold the right corner along the crease.

STEP 6. Fold the left corner along the crease in the same way.

STEP 7. Slip your finger into the right side and fold it inward while opening it out.

STEP 8. Do the same on the left side.

STEP 9. Fold the bottom tip upward by about 1 cm.

STEP 10. Fold the tip back down a little.

STEP 11. Fold it slightly below the center crease so the front layer becomes one size smaller.

STEP 12. Fold the top tip down so it protrudes slightly from the bottom edge.

STEP 13. Fold it back up by the amount that sticks out below.

STEP 14. Tuck the flap from step 13 underneath so the dog's shape becomes visible.

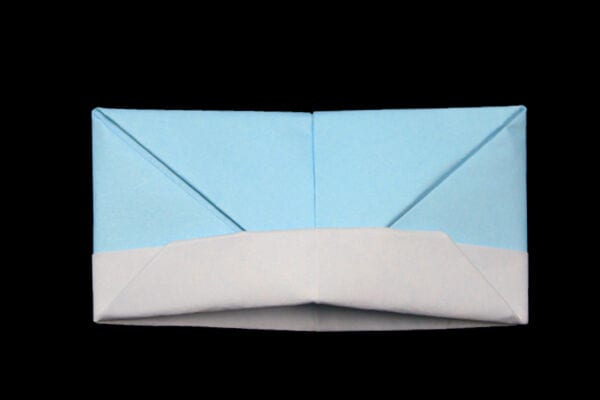
STEP 15. Turn it over; fold the left and right corners inward by about two-thirds and tuck the right side into the crease on the left.

STEP 16. Turn it over, draw the eyes and a face, and you're done!
Well done! How was it? I don't think it's all that difficult.