Traditional Origami House
There's something quietly satisfying about folding a little house out of a single square of paper—no glue, no scissors, just creases and a bit of patience. This classic origami house has been a favorite for generations because it looks far more impressive than the effort it takes.
The star move here is the squash fold, which gives the roof its gentle peak at two corners. Once you've made one, you'll probably want a whole neighborhood—these little houses look adorable lined up on a shelf or tucked into a handmade card.
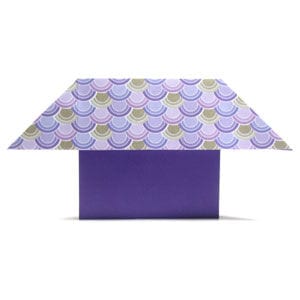
This tutorial is for anyone who wants to learn how to fold a traditional origami house.
This origami house is the classic, traditional version, and it is very simple to make. The one special technique you’ll learn from this model is the squash fold.
If you spot any mistakes while following along, please feel free to let us know.
Are you ready?
Let’s get started.
You can use any kind of paper to fold this origami house. Here I am using a sheet of origami paper with a different color on the front and back. I intentionally chose a patterned front side to suggest the roof. The paper is 15 cm x 15 cm.
This is the front side of the paper.

This is the back side of the paper.

STEP 1.
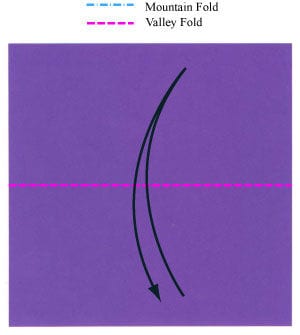
Start with the back side of the paper facing up. Valley-fold the paper in half horizontally, then unfold.
STEP 2.
Valley-fold the paper in half horizontally as shown in step 1, then unfold. Prepare to valley-fold it in half vertically, then unfold.
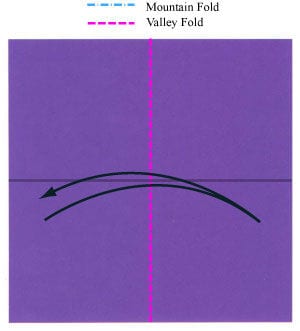
STEP 3.
Valley-fold the paper in half vertically, then unfold. Prepare to apply a horizontal gate fold, then unfold.
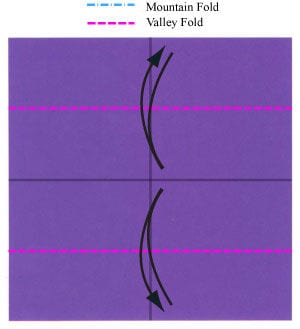
STEP 4.
Apply the horizontal gate fold from step 3, then unfold. Prepare to apply a vertical gate fold, then unfold.
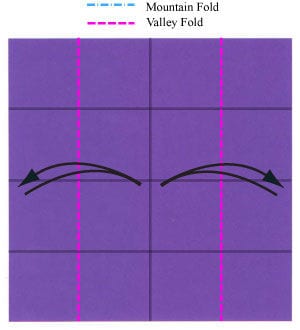
STEP 5.
Apply the vertical gate fold, then unfold. You should now have six crease lines. Prepare to apply a horizontal valley fold.
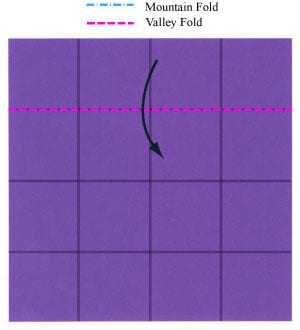
STEP 6.
Apply the horizontal valley fold from step 5. Prepare to turn the model over.
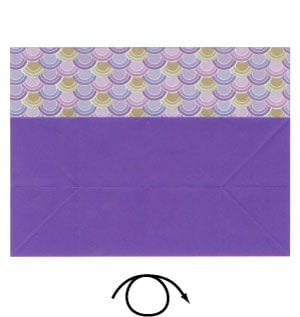
STEP 7.
Turn the model over. Prepare to apply another horizontal valley fold.
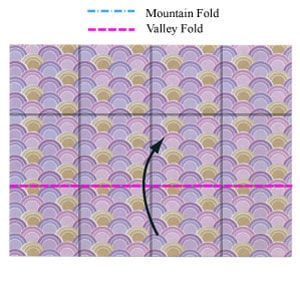
STEP 8.
Apply the horizontal valley fold from step 7. Prepare to apply two vertical valley folds.
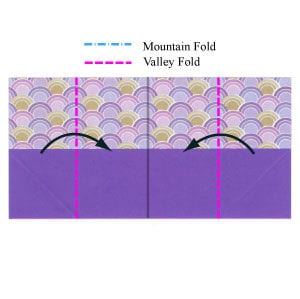
STEP 9.
Apply the two vertical valley folds from step 8. Prepare to apply two valley folds, then unfold.
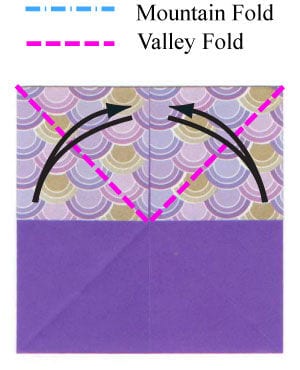
STEP 10.
Apply the two valley folds from step 9, then unfold. Prepare to apply a squash fold to the upper-left part of the model.
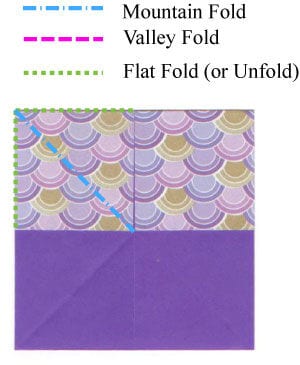
STEP 11.
Begin applying the squash fold from step 10.
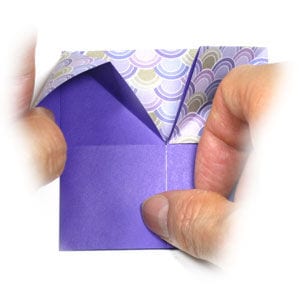
STEP 12.
Complete the squash fold from step 10. Prepare to apply a squash fold to the upper-right part of the model.
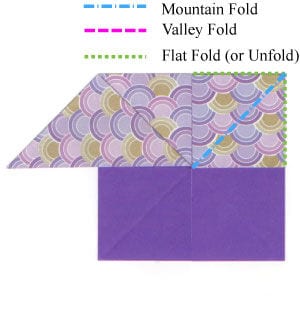
STEP 13.
Apply the squash fold to the upper-right part of the model. Prepare to turn the model over.
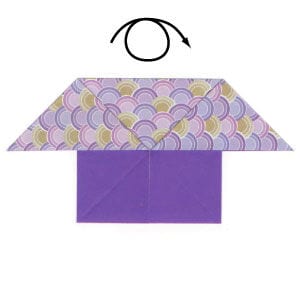
STEP 14.
Turn the model over. The traditional origami house is now complete. Prepare to lay the origami house on the ground.
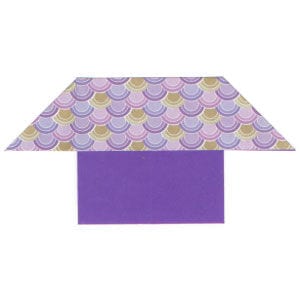
STEP 15.
Lay the origami house on the ground. This is the back view of the origami house.
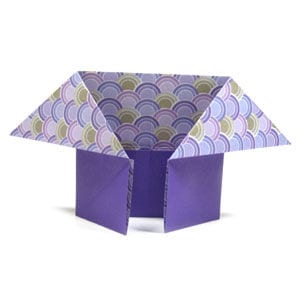
STEP 16.
This is the top view of the origami house.
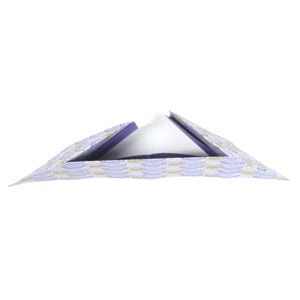
STEP 17.
This is the front view of the origami house. Congratulations! You have completed a traditional origami house.