
Origami Beetle (Short Tutorial)
Beetles are a favorite subject for origami, and this is the quick version of one: thirteen steps, one sheet of paper, and almost nothing to read. Every step is a photograph, so you fold where the photo folds and let the pictures do the explaining.
The scissors come out exactly once, to cut the horn, and that one cut is what turns a folded shape into a beetle. If you like the result and want something with more body to it, the longer beetle tutorial builds the same insect in far more detail. Otherwise, fold a few and line them up - they look surprisingly good in a row.

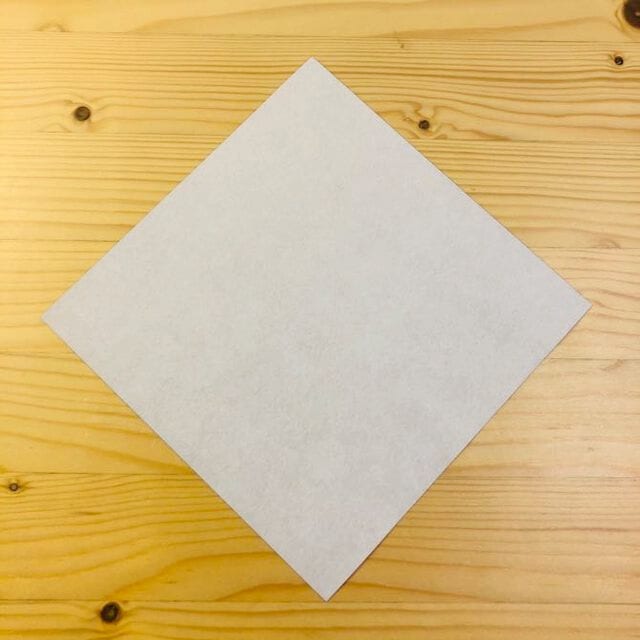
STEP 1
Fold the paper in half.
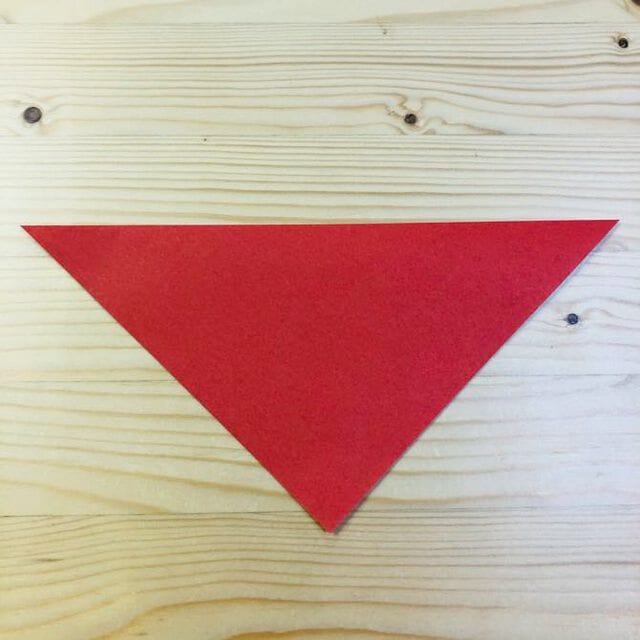
STEP 2
Fold the paper in half.
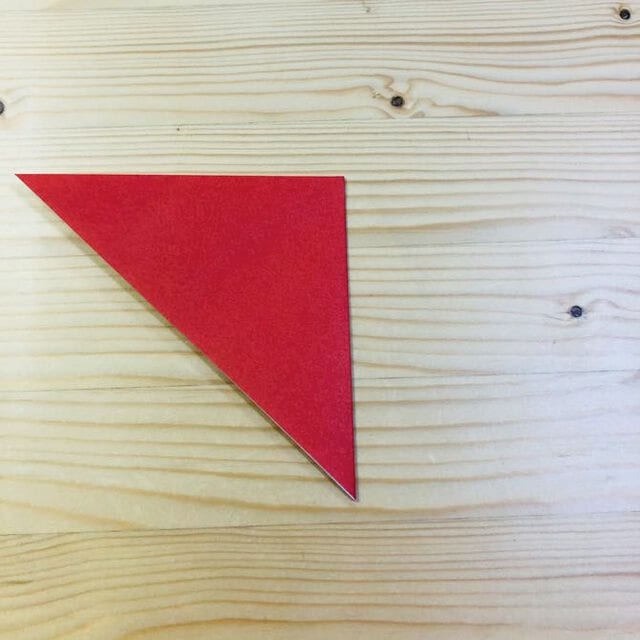
STEP 3
Open it out and fold as shown in the photo.

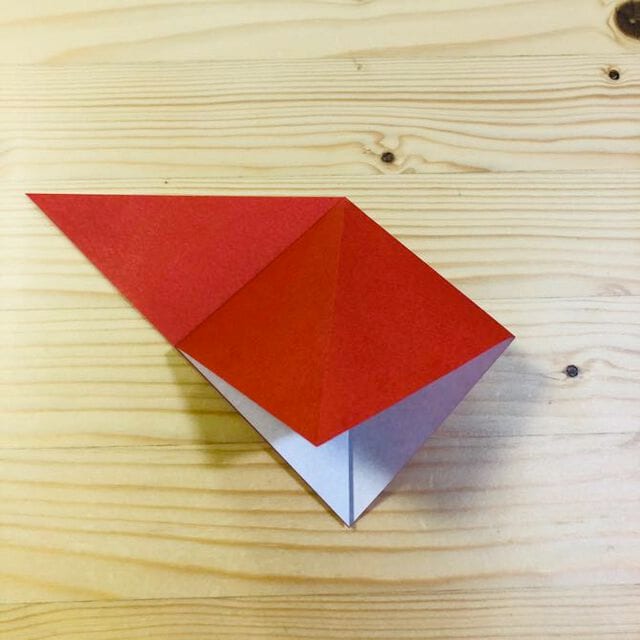
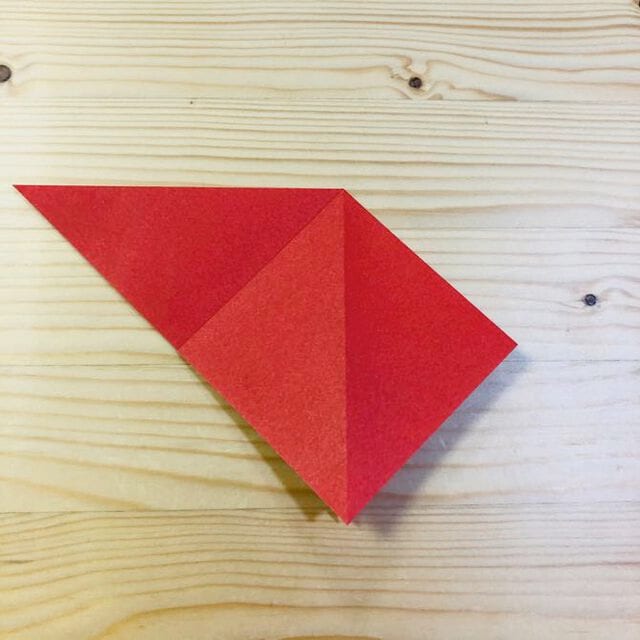
STEP 4
Fold the back in the same way.
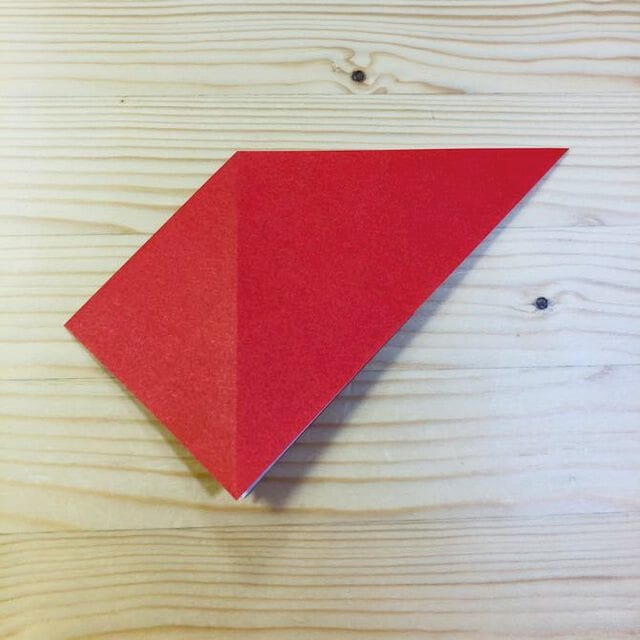
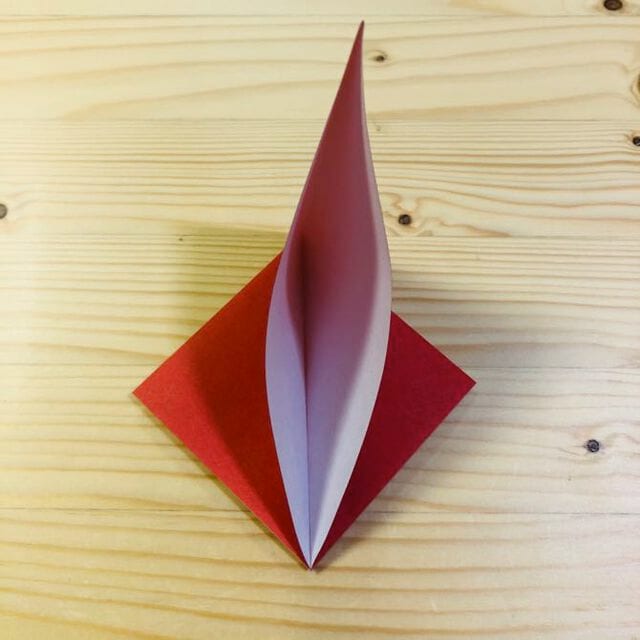
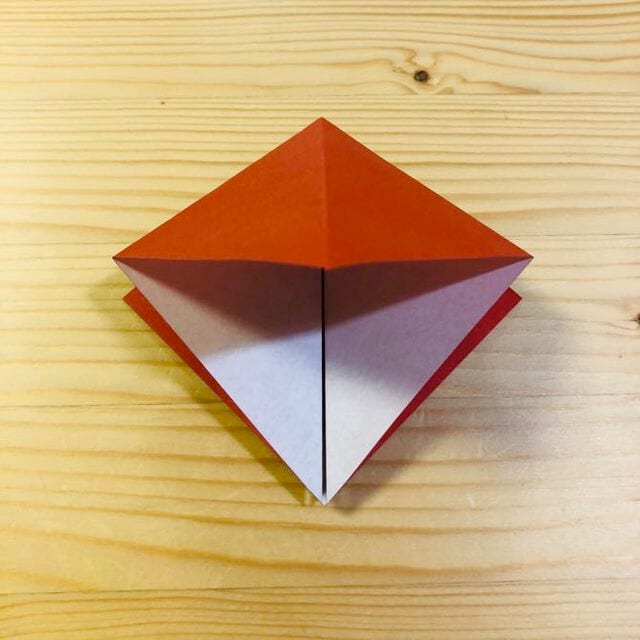
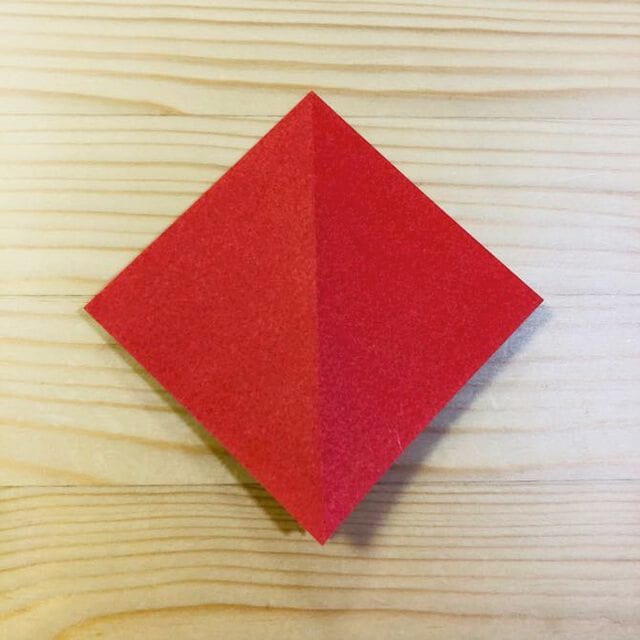
STEP 5
Make a crease along the line shown in the photo.
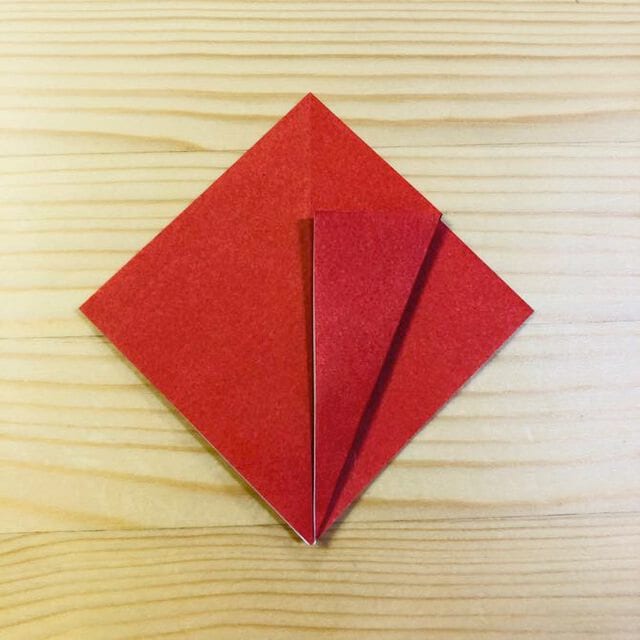
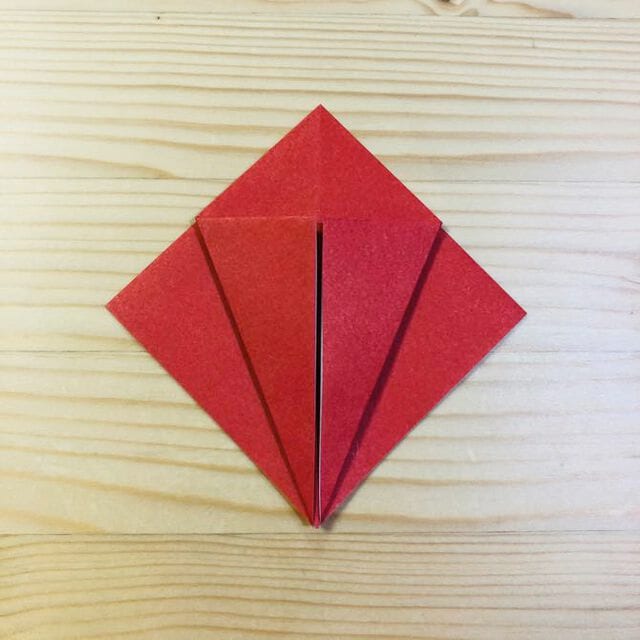
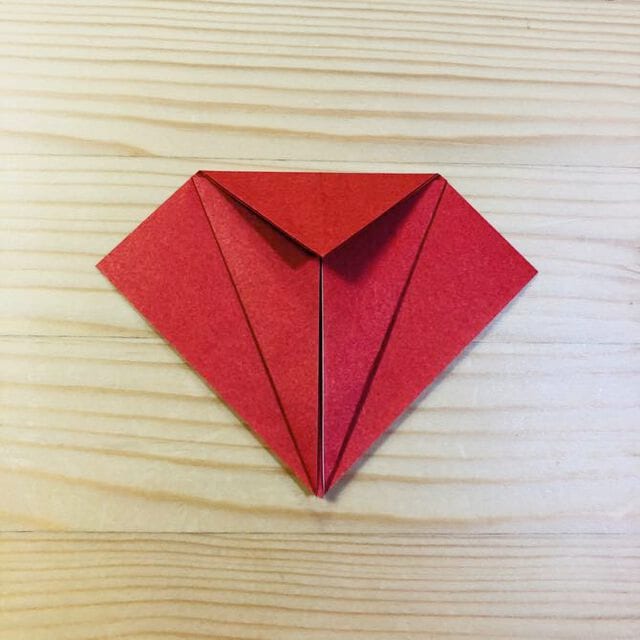
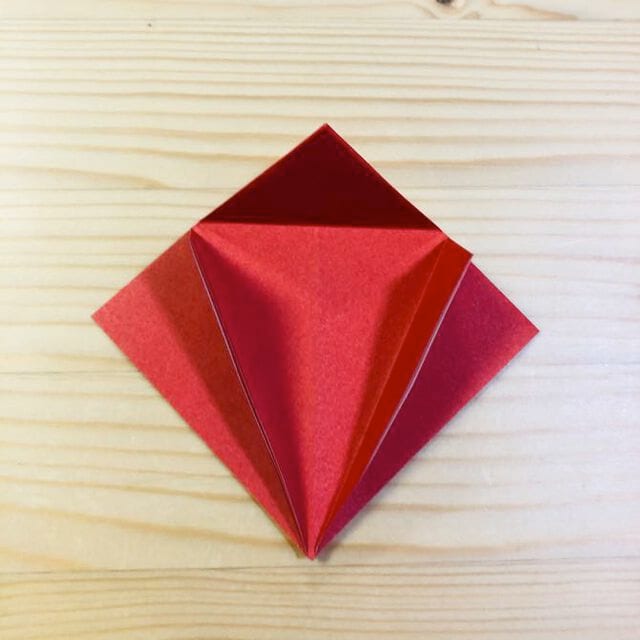
STEP 6
Open it out and fold as shown in the photo.
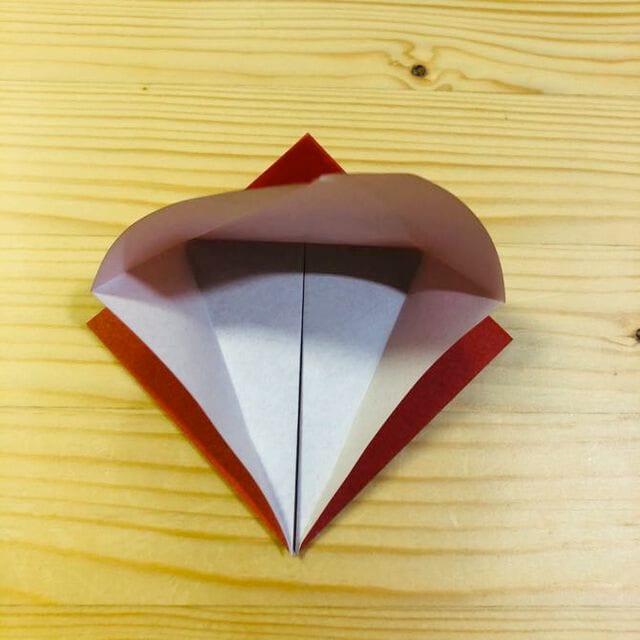
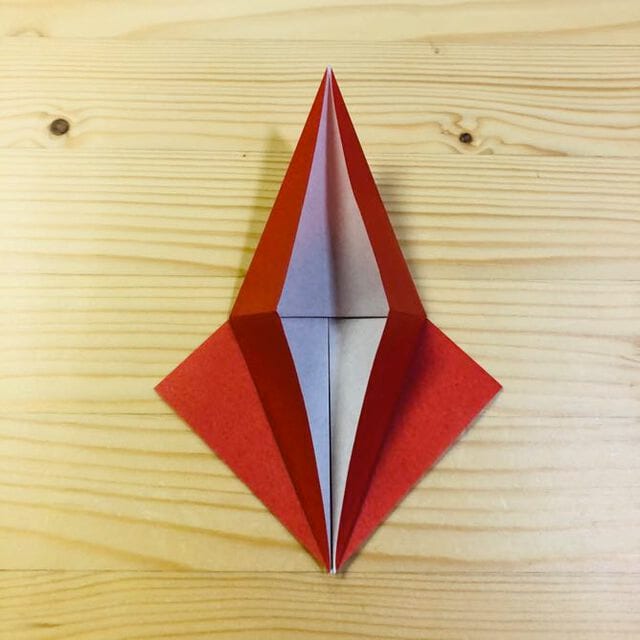
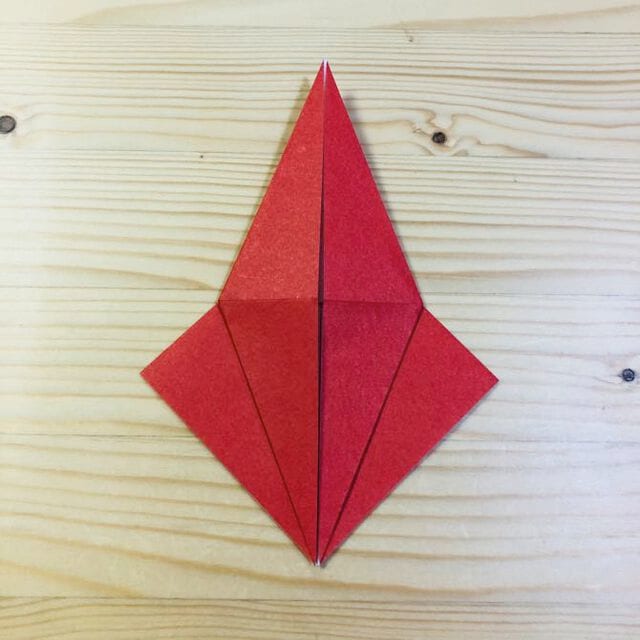
STEP 7
Fold along the line shown in the photo.
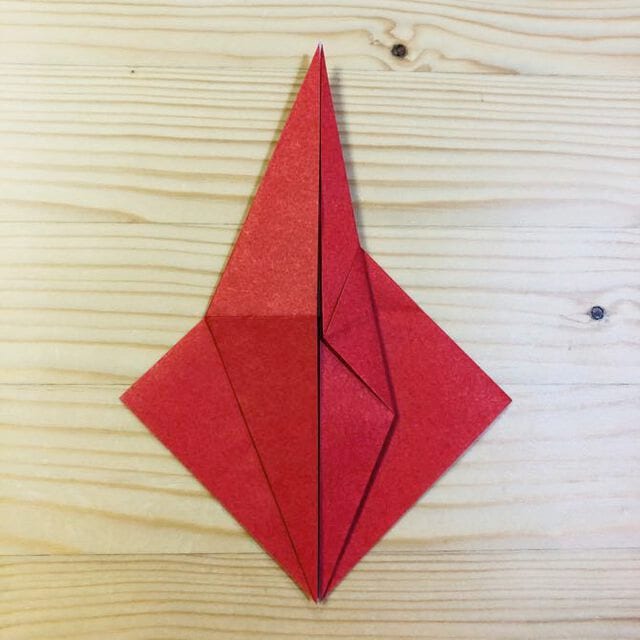
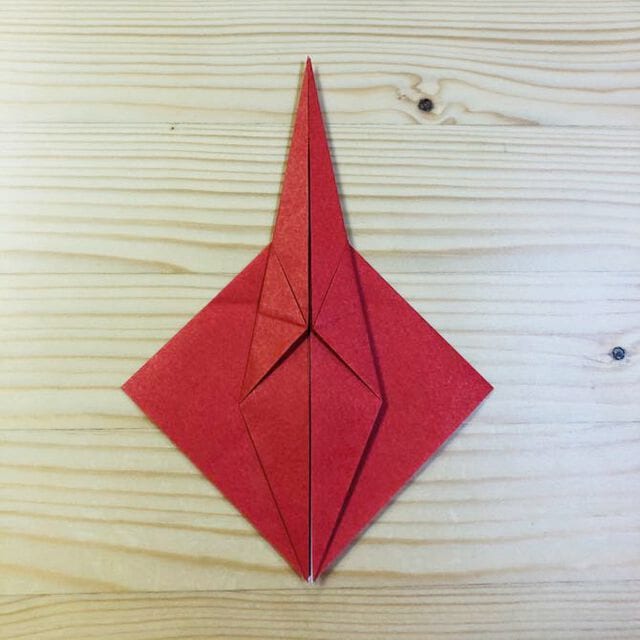
STEP 8
Turn the paper over and fold at the position shown in the photo.
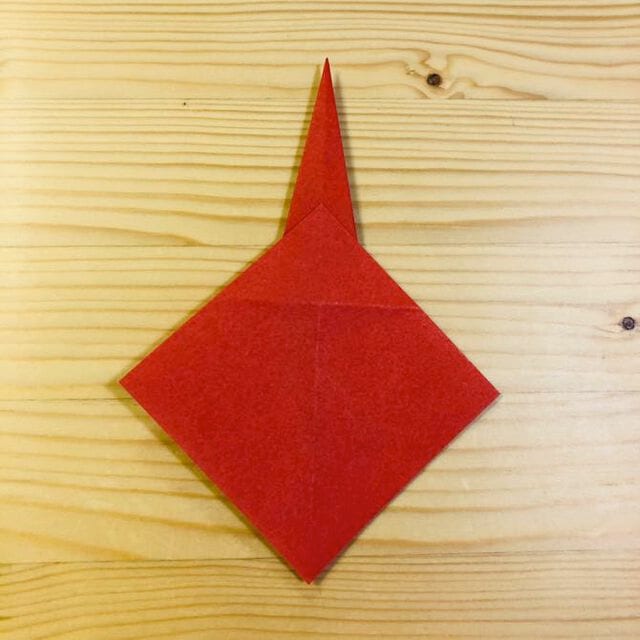
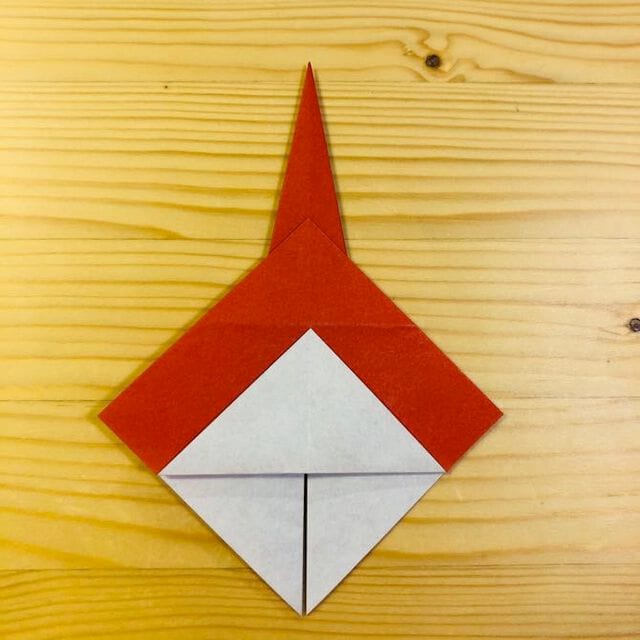
STEP 9
Open it out and fold as shown in the photo.
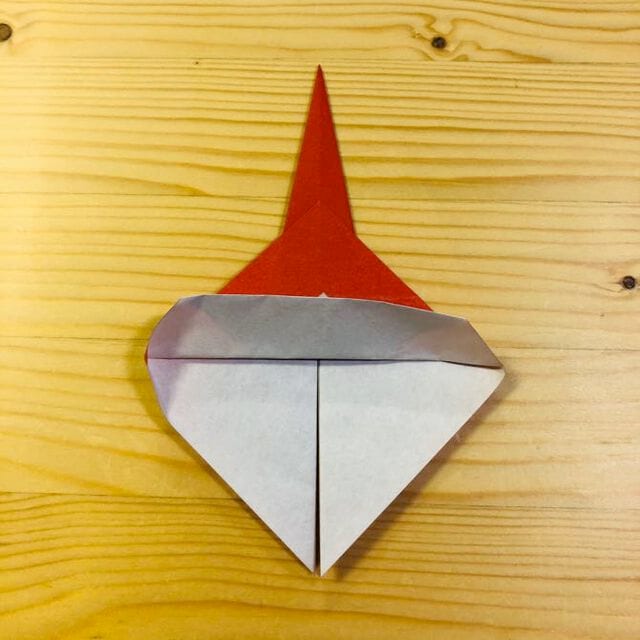
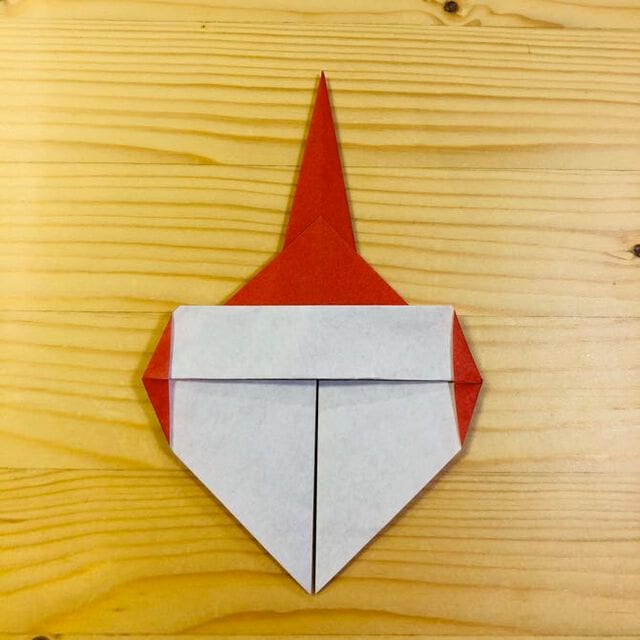
STEP 10
Turn the paper over and fold at the position shown in the photo.
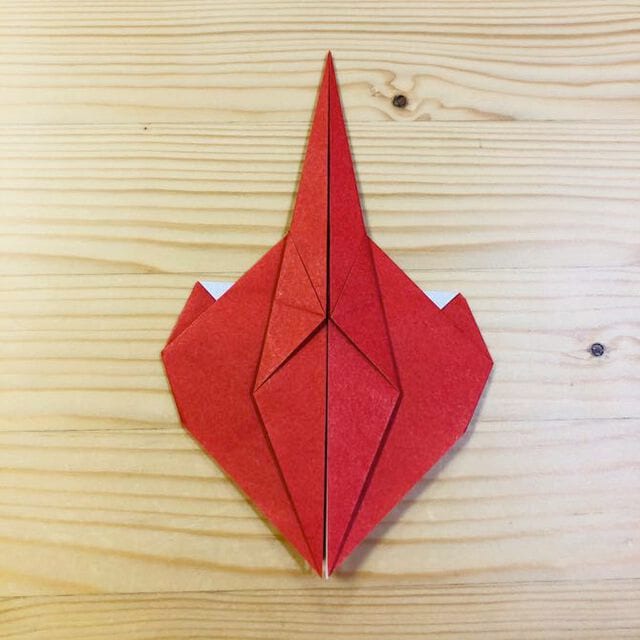
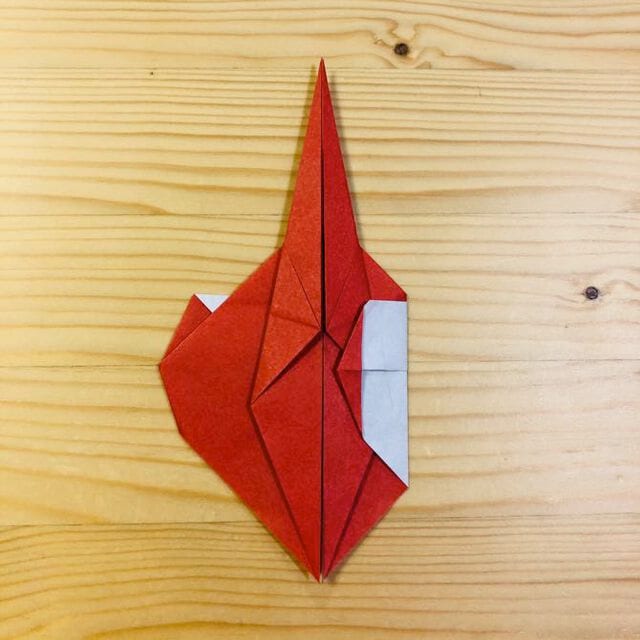
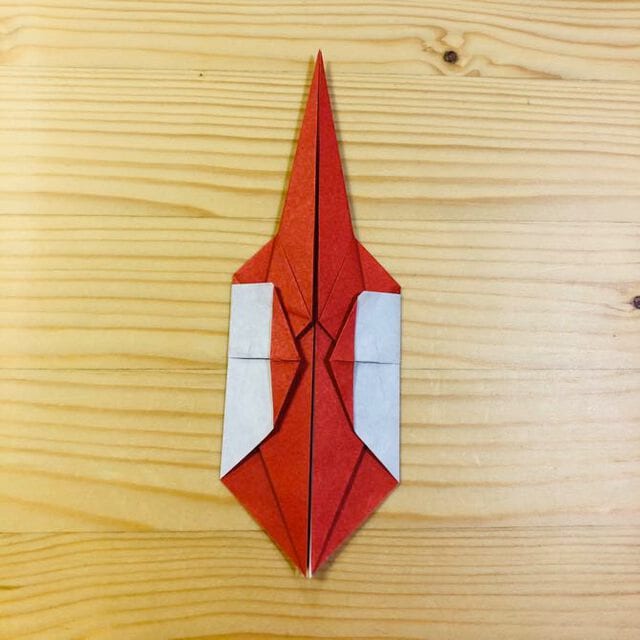
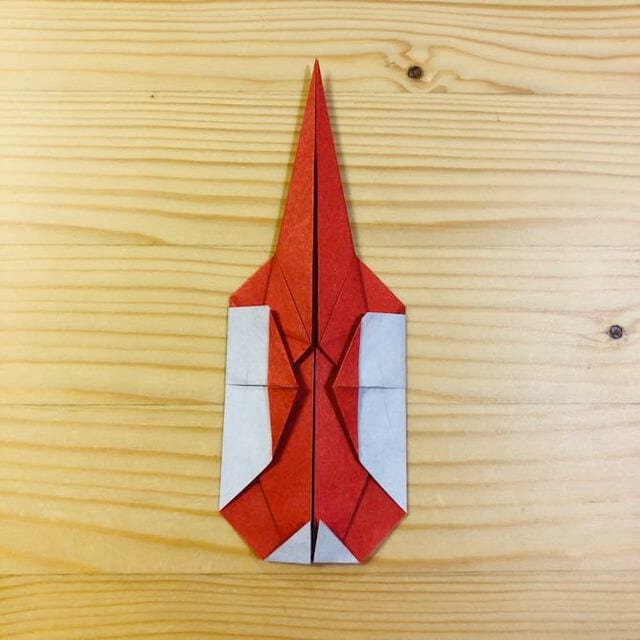
STEP 11
Turn the paper over and fold at the position shown in the photo.
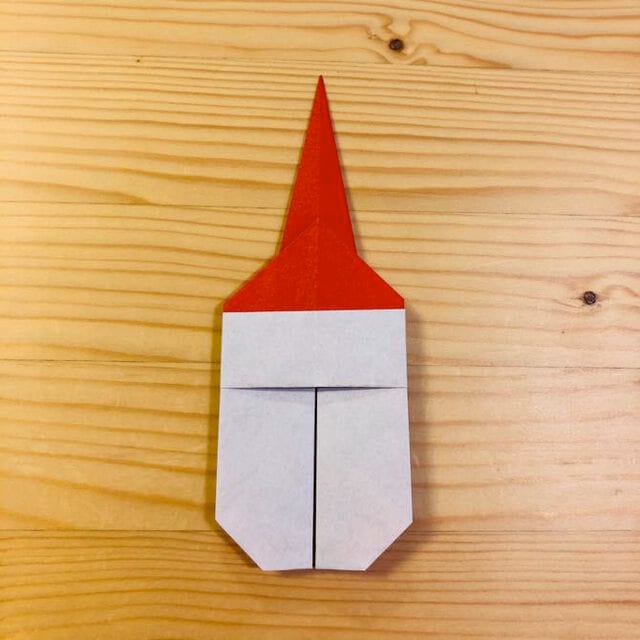
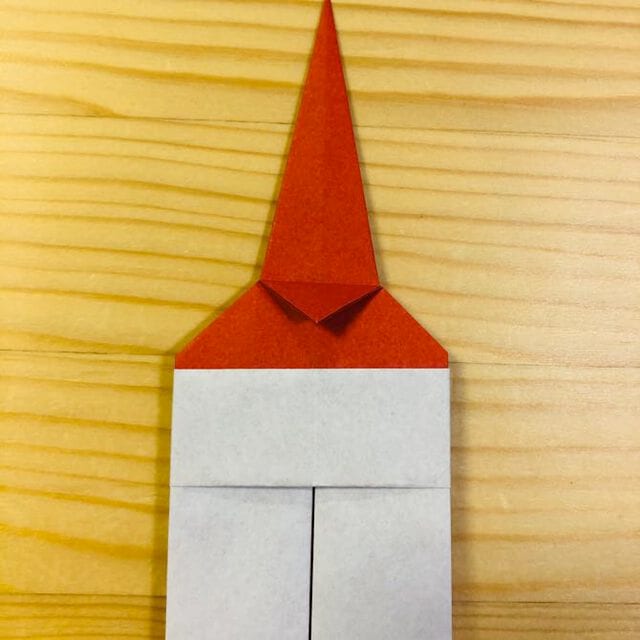
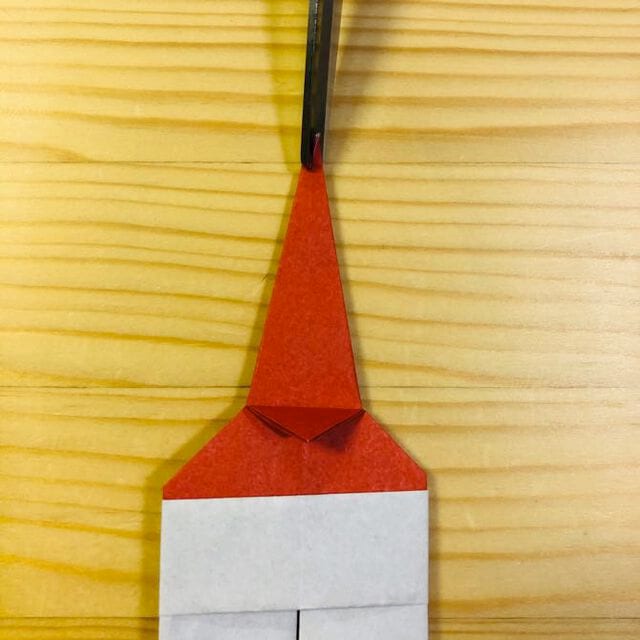
STEP 12
Cut with scissors as shown in the photo.
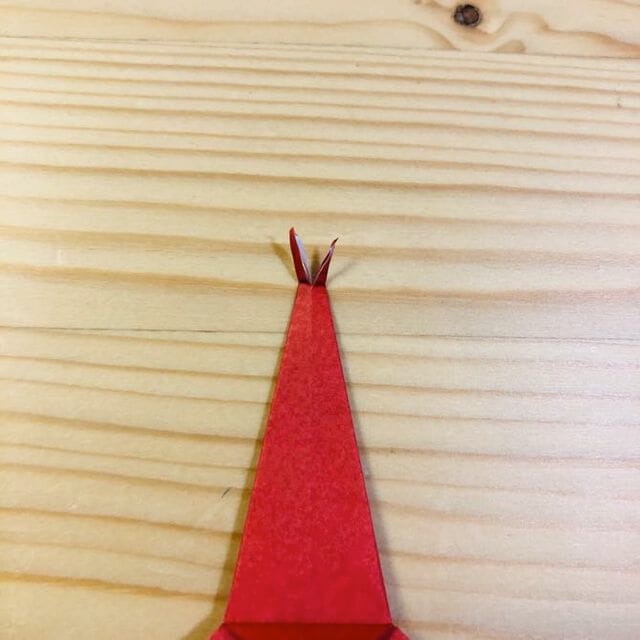
STEP 13
Fold along the line shown in the photo.
All done!
Your origami beetle is complete.



