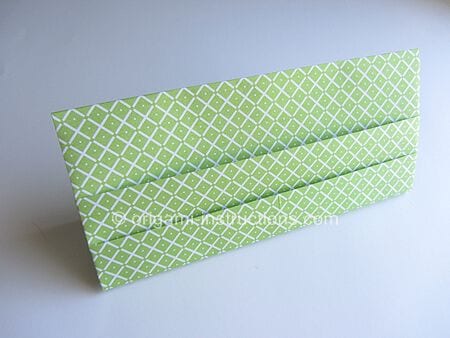
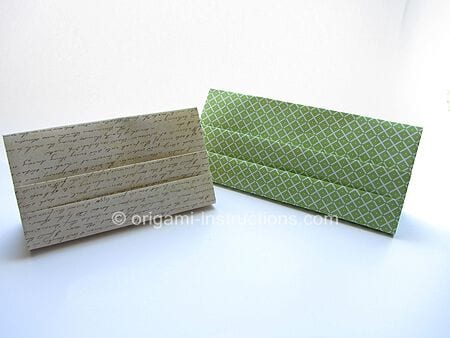
Origami Photo Memo Holder
Ever needed a tiny spot to stash a recipe card, a sticky note, or that photo you keep meaning to frame? This little origami photo memo holder is the answer — and it is made from nothing but a single square of paper.
With two neat rows of pockets and a satisfyingly sturdy stand, it looks far more complicated than it is. In about a dozen relaxed folds you will have a desk companion that is as handy as it is charming, and you can even scale it up to fit a 4 × 6 print.
This origami photo memo holder has two rows of pockets to keep your treasured little items safe. You can also modify it to hold larger things, such as 4×6 (4R) photos.
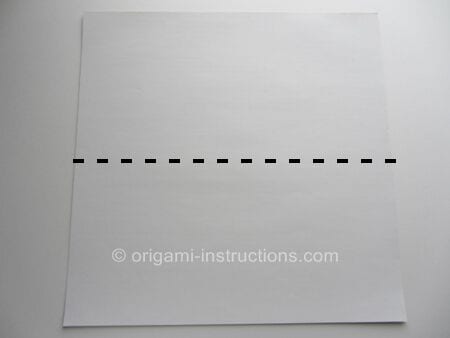
Step 1: Start with a large 12 × 12 inch (30 × 30 cm) square sheet of paper, colored side down. You can use regular 6-inch origami paper too, but the finished holder will be quite small (about 3 inches wide).
Thicker, sturdier paper such as cardstock or scrapbook paper works especially well for this model.
Fold the paper in half along the horizontal axis. Crease well and unfold.
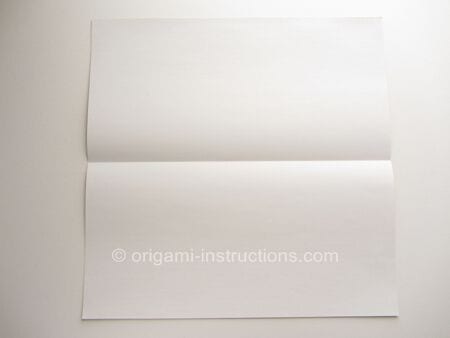
Step 2: Fold the paper in half along the vertical axis. Crease only the center to mark the spot—this avoids unnecessary creases on the holder.
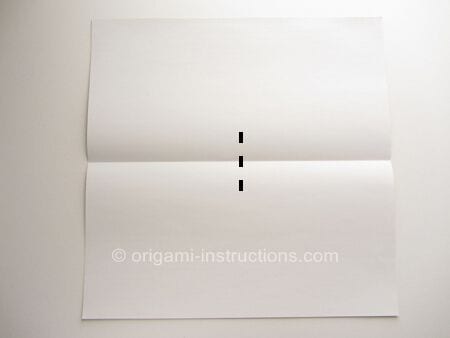
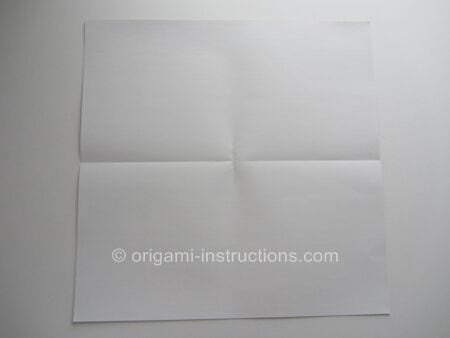
Step 3: Fold both the left and right edges to meet at the center. Crease well and unfold.
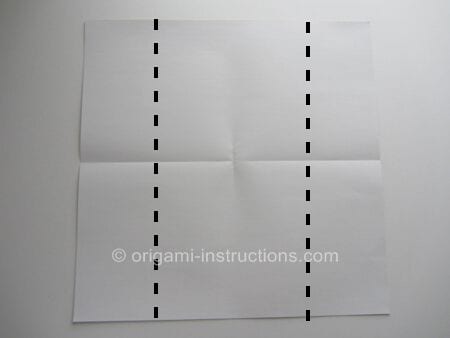
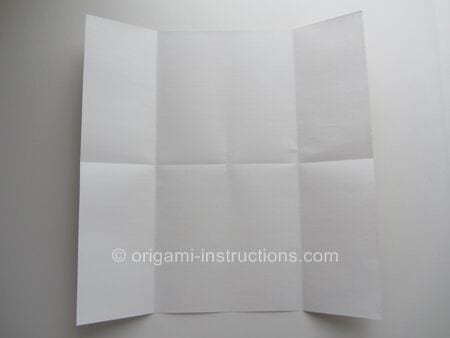
Step 4: Fold the top and bottom halves to meet at the center. Crease well and unfold.
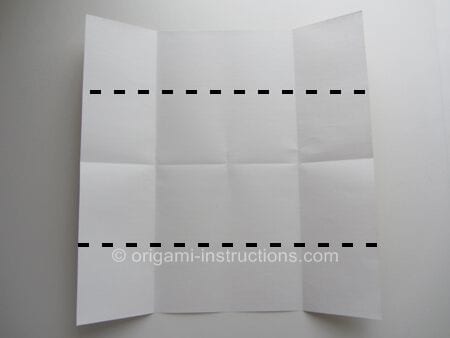
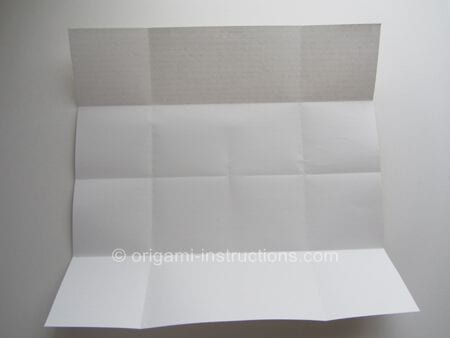
Step 5: Fold the bottom half up to the top.
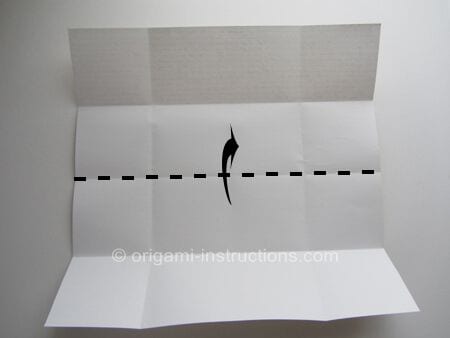
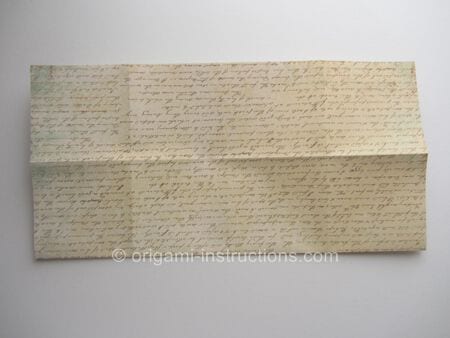
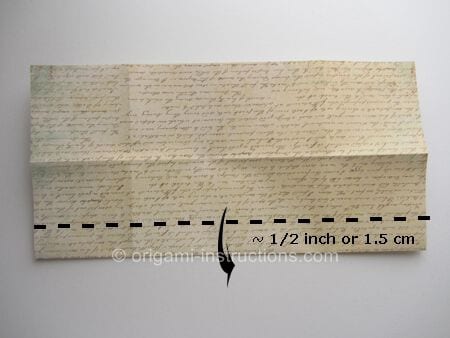
Step 6: Now measure about 1/2 inch (1.5 cm) up from the bottom edge and fold the paper down. This forms the first row of pockets on your holder.
There is some flexibility here. If you want deeper pockets, increase it to 3/4 inch (2 cm).
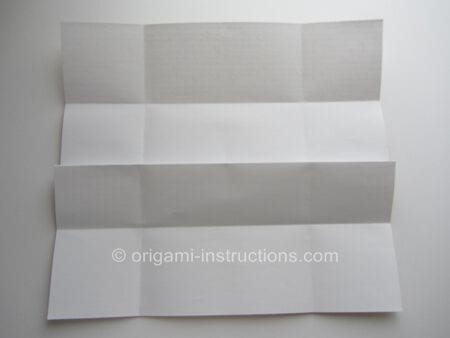
Step 7: Measure 1/2 inch (1.5 cm) up from the existing lower crease and fold the paper up.
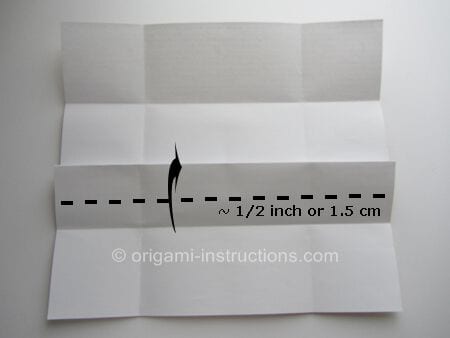
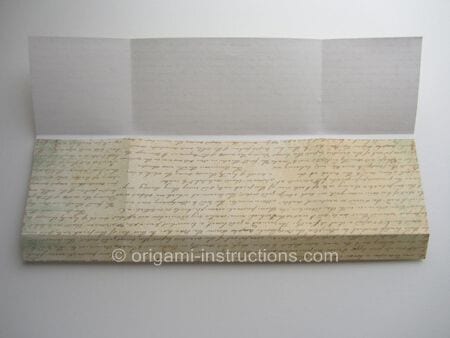
Step 8: Fold the paper down along the existing crease.
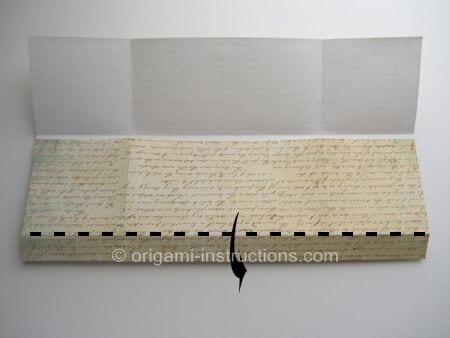
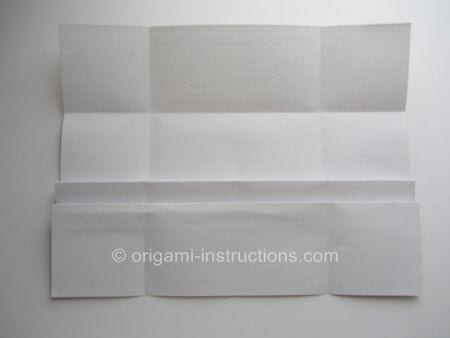
Step 9: Fold both the right and left edges to the center. Crease well.
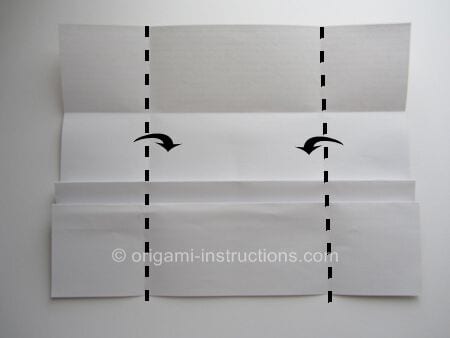
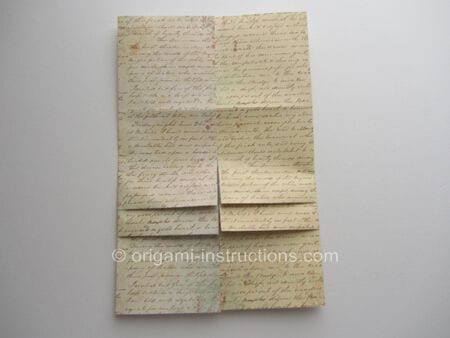
Step 10: Once again, measure about 1/2 inch (1.5 cm) up from the bottom edge and fold. Crease well and unfold.
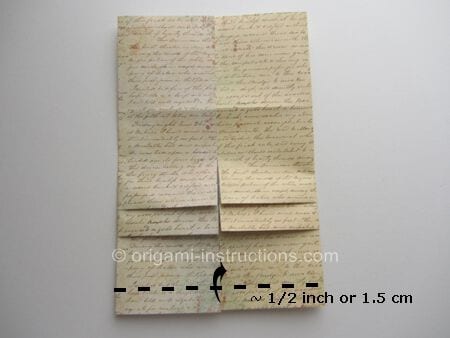
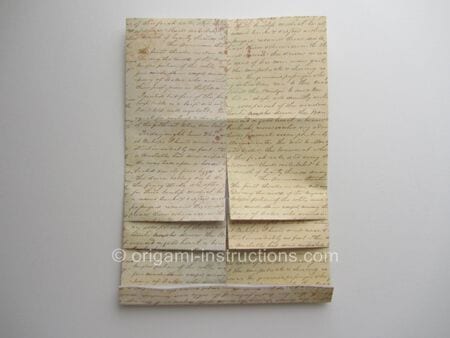
Step 11: Fold the top down and tuck it into the pocket at the bottom edge.
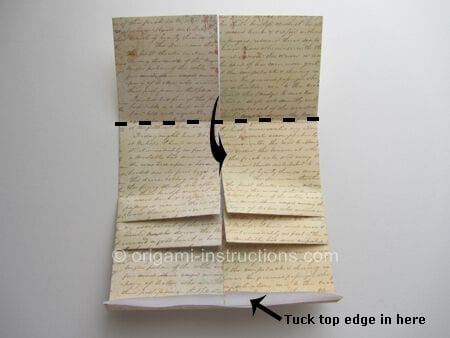
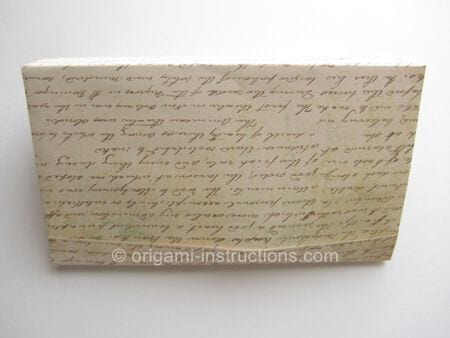
Step 12: Flip the paper over. The bottom edge is curved at the moment. To make it stand properly, simply crease that edge flat.
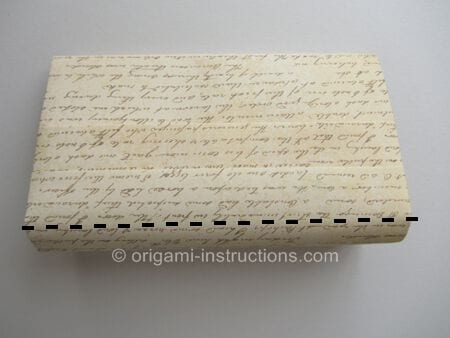
And your origami photo memo holder is complete!
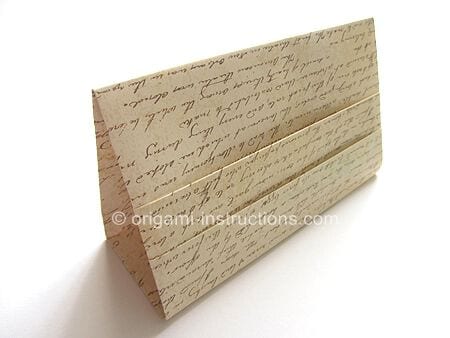
You can modify Steps 3 and 9 to make a larger photo memo holder. Instead of folding the left and right sides all the way to the center, leave a gap of about 2 to 4 inches (5–10 cm). You will end up with a wider holder that can fit a regular 4R photo.
Here is the larger version of the origami photo memo holder.