
Origami Dog Face
Some origami animals take forty steps and a diagram sheet. This dog face takes six, and most of them are just folding corners - which is why it works so well as a first model for children.
The last step is the best one: the folded shape is only a head until somebody draws eyes and a nose on it, and then suddenly it is a dog. Make a whole pack in different colors, hand out the markers, and let everyone decide what kind of dog theirs is.

Follow the origami dog instructions below step by step and you will end up with a very cute dog.
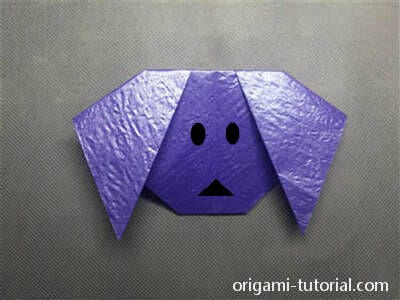
This origami dog is very simple and suitable for children. They can draw the dog’s eyes and nose by themselves. The instructions and pictures are very detailed, so let’s get started.
STEP 1.
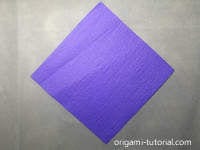
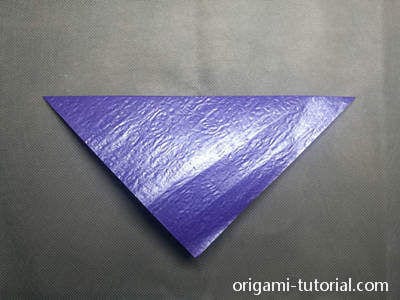
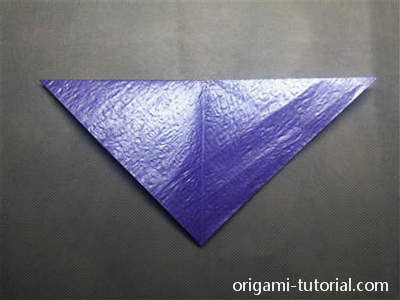
Start with a square piece of paper. Here we use purple paper, but you can choose any color you like. Fold the top corner down to the bottom corner to form a triangle.
STEP 2.
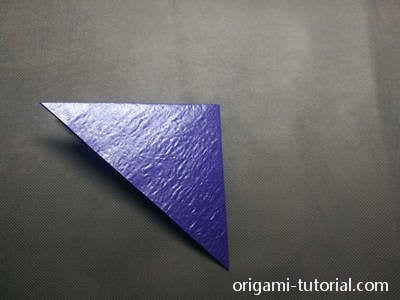
Fold the triangle in half by bringing the right corner over to the left corner, then unfold.
STEP 3.
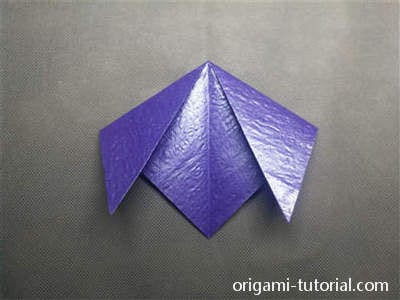
Fold the left and right corners of the triangle down to form the dog’s ears.
STEP 4.
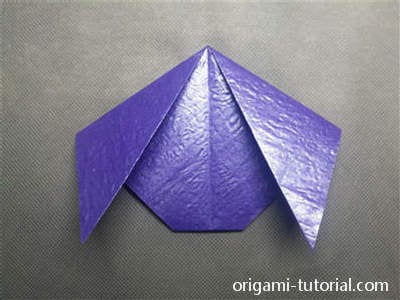
Fold the bottom corner to the back.
STEP 5.
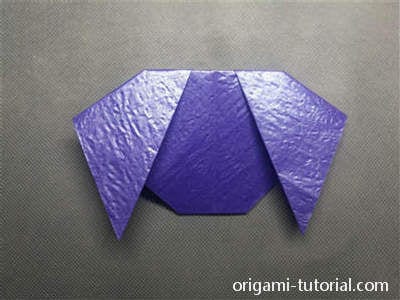
Fold the top corner to the back.
STEP 6.
Draw the eyes and nose. Look - isn’t he cute?



