
Windmill (Short Tutorial)
Some origami is meant to be looked at; this one is meant to be played with. The spinning windmill is a classic that turns a single square of paper into a toy that whirls in the breeze—or in a child's breath. It is a wonderful first project for kids because it mixes folding with a little cutting and a bit of assembly: a toothpick for the axle and a straw for the handle. The steps are short, the payoff is immediate, and the only real hazard is a poking toothpick, so keep an eye on small helpers. If you have ever watched a toddler chase a pinwheel across a lawn, you already know why this one earns its place in the fold-and-play hall of fame.
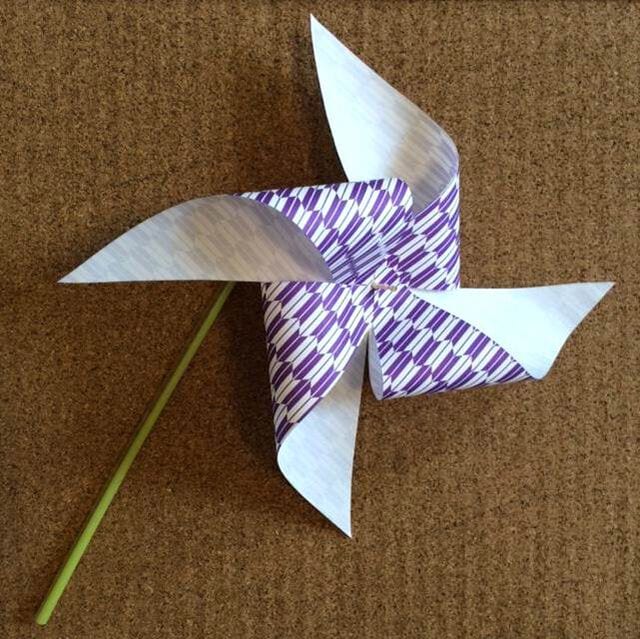
This time I will introduce an origami model you can actually play with after folding.
Because it moves, small children are sure to love it. That’s right—this time it’s a simple windmill origami that spins around.
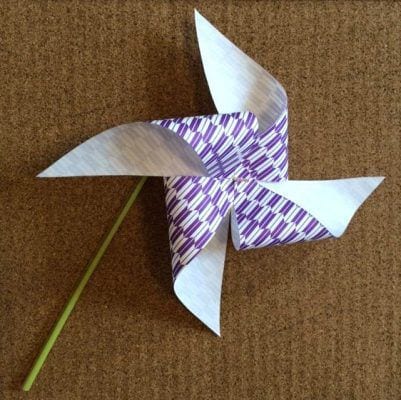
It is very easy to fold, but you will use scissors and a toothpick to make it, so take care that children don’t hurt themselves.
Also keep in mind that boys will be the ones handling the scissors.
It really is easy to make, so a child who can use scissors independently will end up producing them in bulk (laughs). Boys in particular seem to have a collecting instinct—because they want so many, they’ll keep making them until the origami or the straws run out.
When my own rambunctious one was little, he made more than twenty, and we had trouble finding somewhere to put them all. You just can’t bring yourself to throw them away, can you.
Now then, let me show you how to fold an easy origami windmill.
Easy way to fold an origami windmill
For this simple spinning windmill you only need one sheet of origami paper, so prepare a sheet in your favorite color. I used a Japanese-style pattern this time, which I think gives it a nice atmosphere.
You can also refer to the video here.
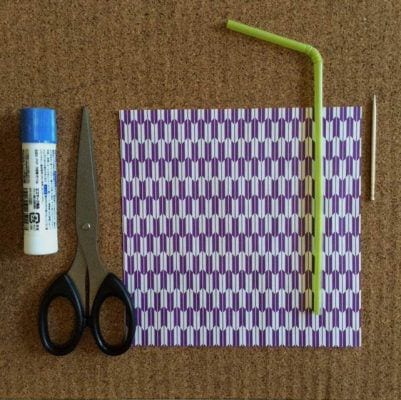
STEP 1. Prepare one sheet of origami paper in your favorite color, one pointed straw, one toothpick, glue, and scissors.
STEP 2. First, fold the origami paper into a triangle.
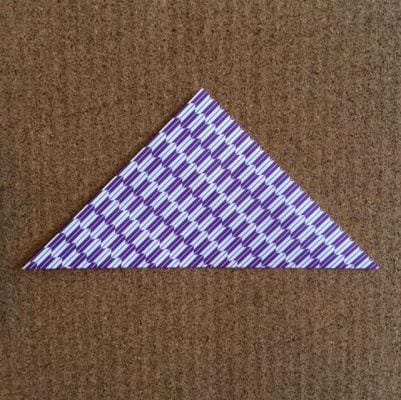
STEP 3. Fold it in half again.
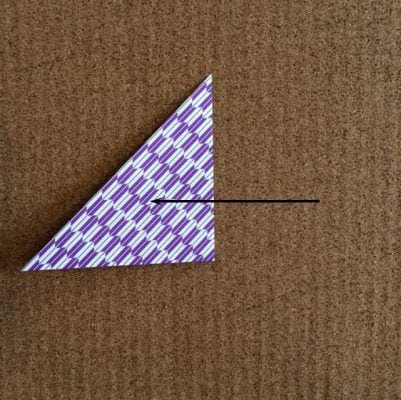
STEP 4. Make a crease and then unfold.
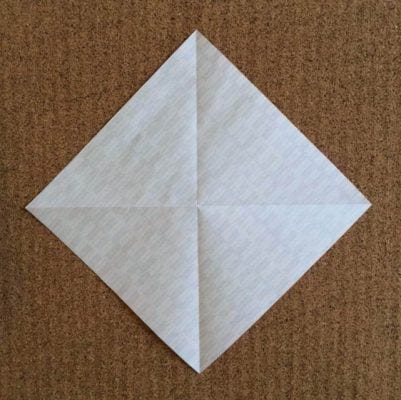
STEP 5. Make four cuts along the crease lines, leaving about 1.5 cm from the center uncut.
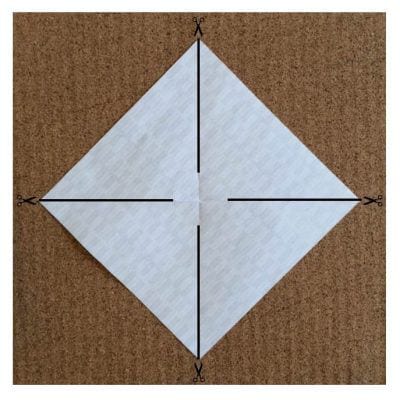
STEP 6. Apply glue to the center.

STEP 7. Glue in the order origami → glue → origami → glue.
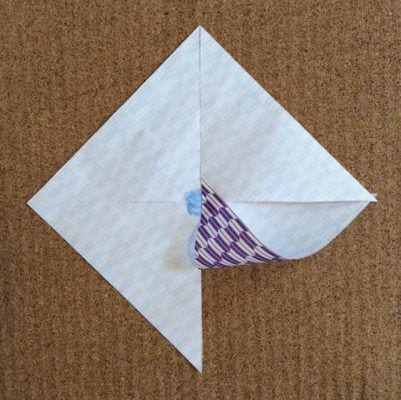
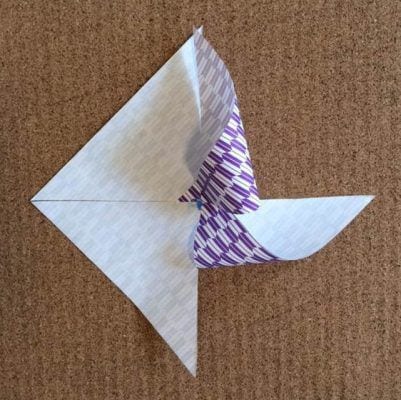
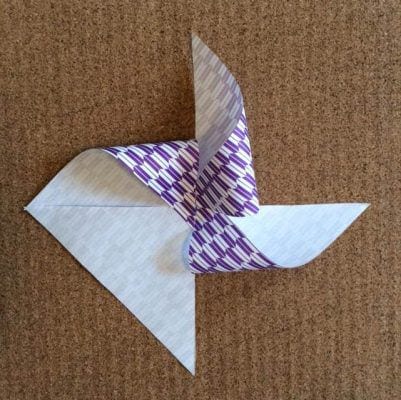
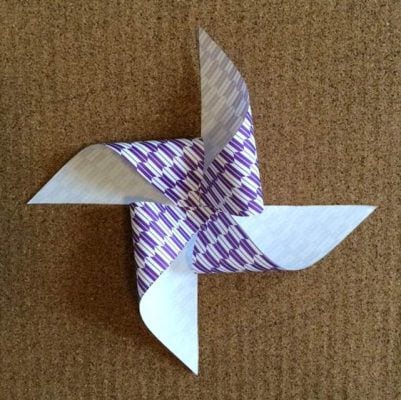
STEP 8. Once the glue is dry, push a toothpick through the center from behind until about 1 cm sticks out on the front.
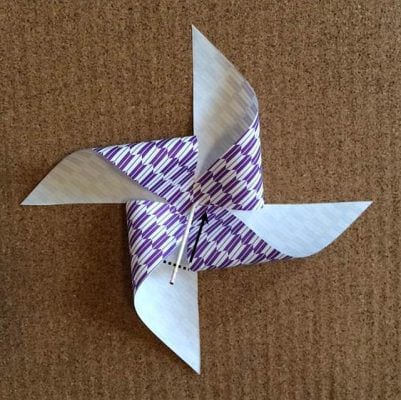
STEP 9. Turn it over and insert the toothpick into the straw.
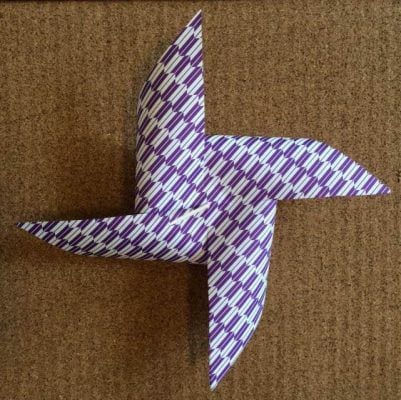
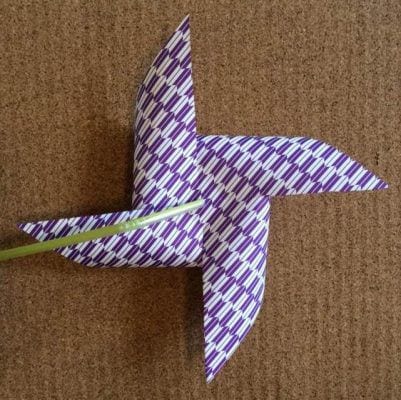
STEP 10. The windmill is finished.
How did it go? Not too hard, was it?
Because it moves and can be played with, I think children in kindergartens and daycare centers will absolutely be won over.
One thing to watch out for is the timing of poking the hole with the toothpick. If you do it before the glue dries, the origami will shift out of place, so be careful.
Also, if you press on the other side with your hand, you might poke yourself with the toothpick. If you have a carpet, set the windmill on it and push the toothpick in from above—that makes the hole much easier to open up.




