
Origami High Heels (Short Tutorial)
Some origami models come with a page of diagrams and a ruler. This one comes with photographs and eight steps, and that is all you need - fold where the photo folds, crease where the photo creases, and a little paper shoe appears.
It is a lovely last-minute project. One square, a couple of minutes, and you have something that looks far more complicated than it was. Make a pair, glue them onto a card for someone who loves shoes, or stand a row of them along a party table as a place setting. If you enjoy the shape and want a sturdier version, the longer high heels tutorial builds the same subject step by step.
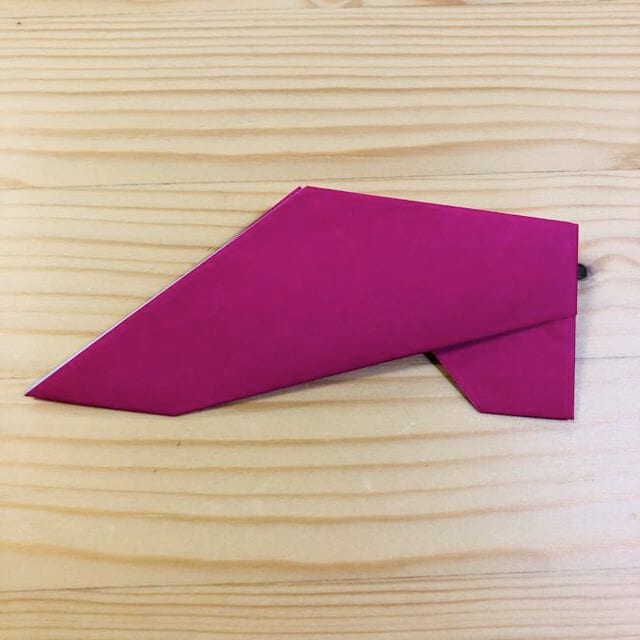
Follow the photos below; each one shows exactly where the next fold goes.
STEP 1
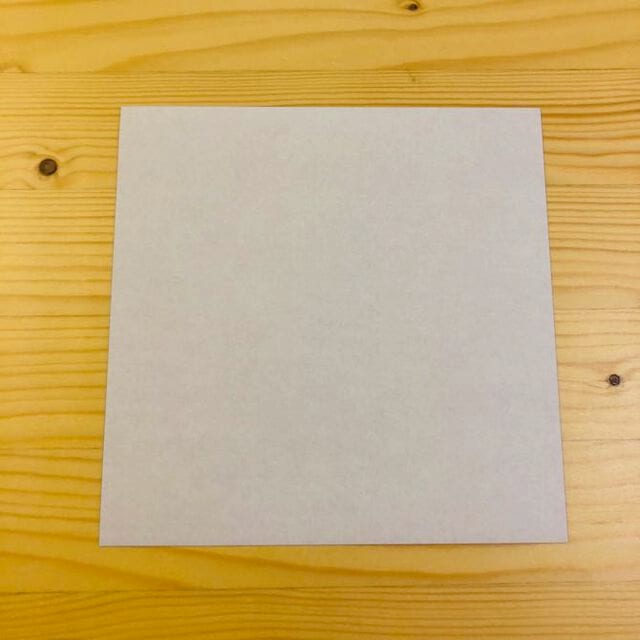
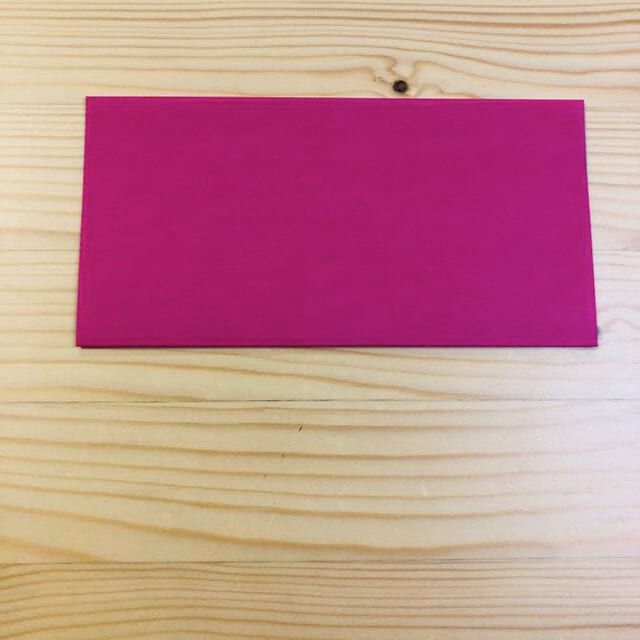
Fold the paper in half.
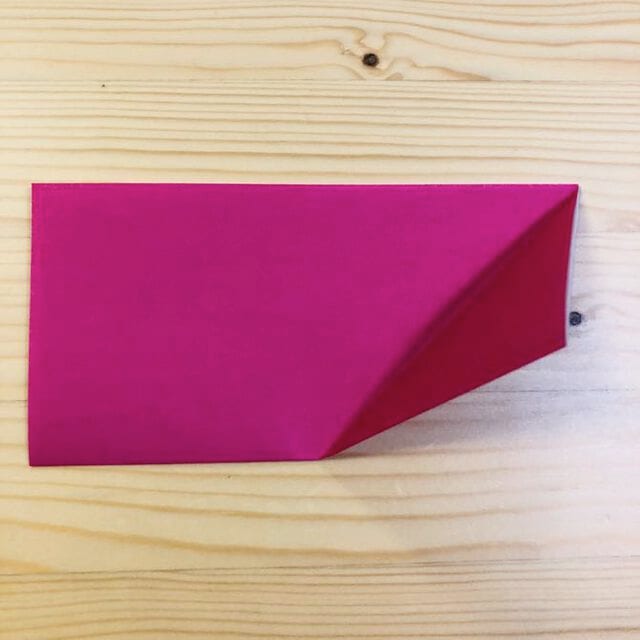
STEP 2
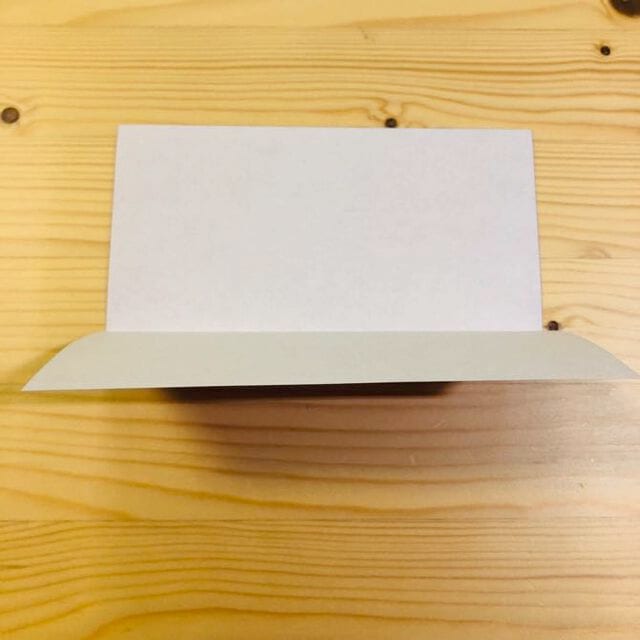
Fold along the line shown in the photo.
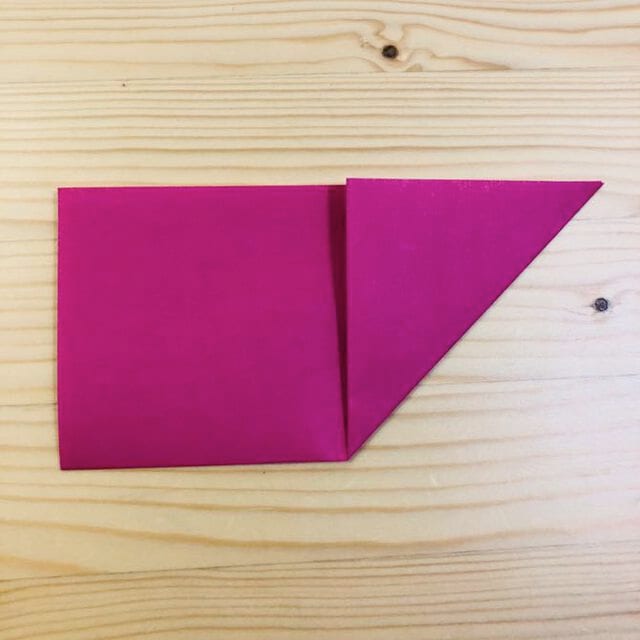
STEP 3
Make a crease along the line shown in the photo.
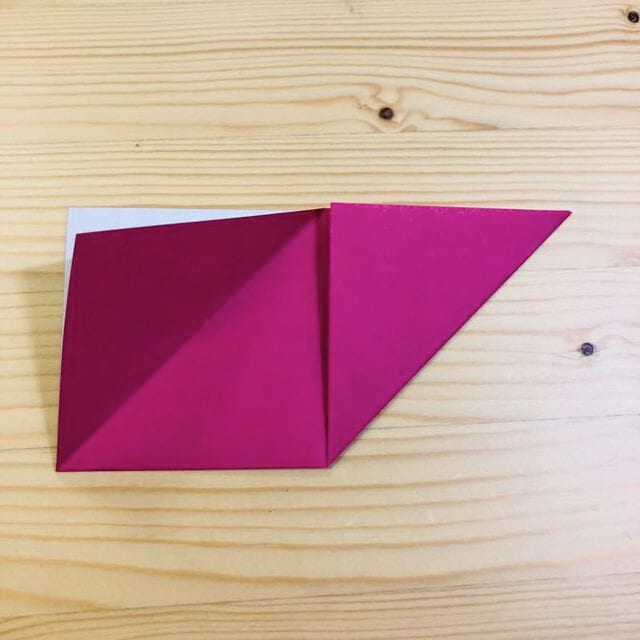
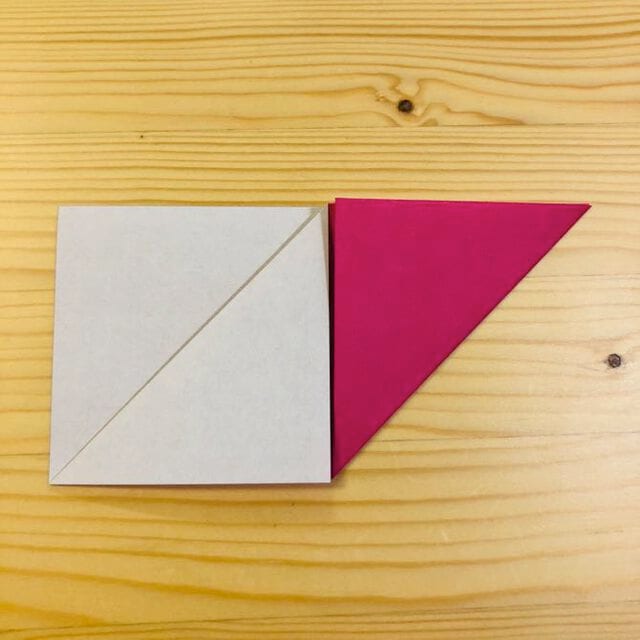
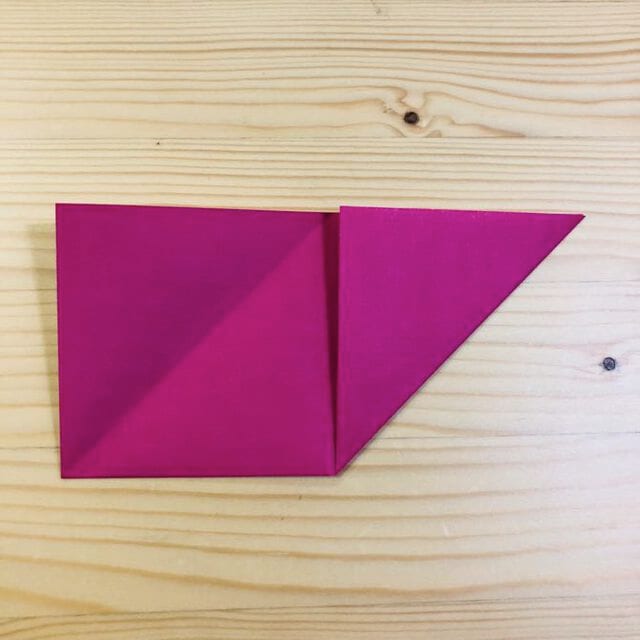
STEP 4
Fold the point up along the line shown in the photo.
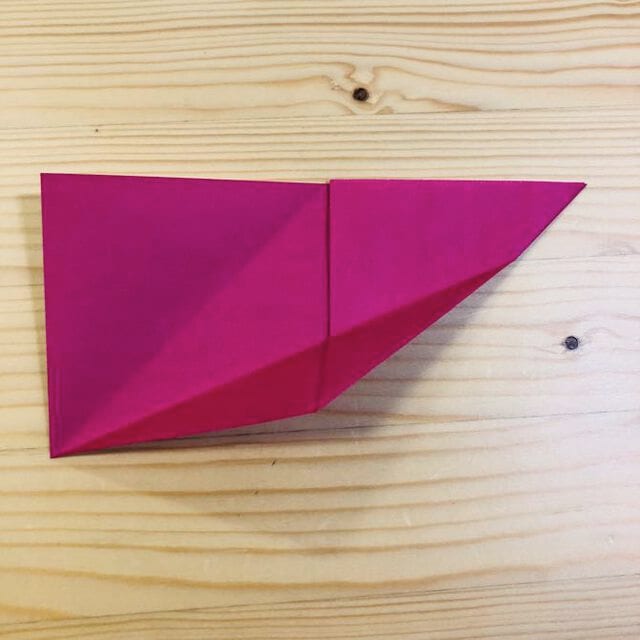
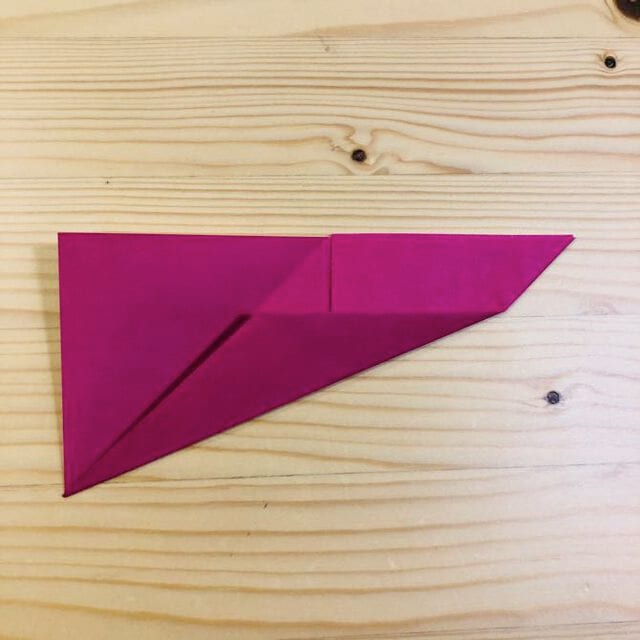
STEP 5
Fold the tip down along the line shown in the photo.
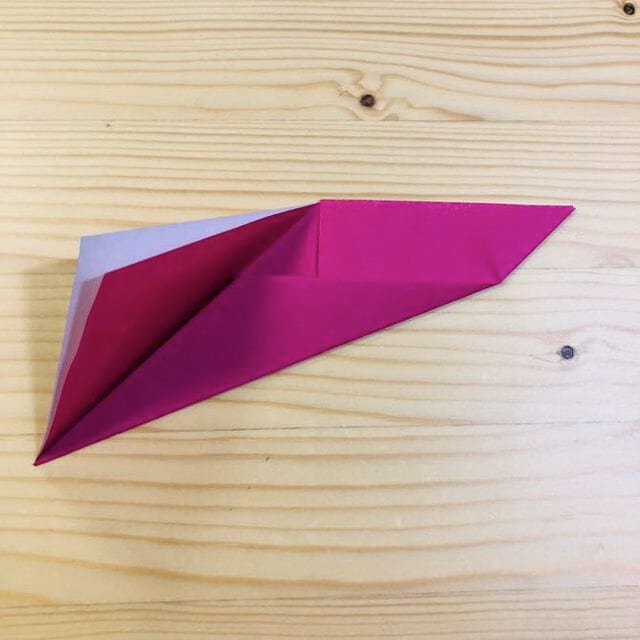
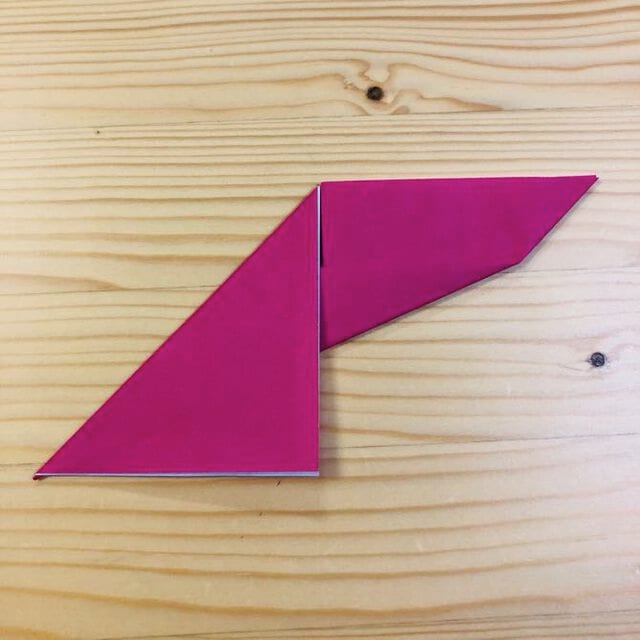
STEP 6
Fold along the line shown in the photo.
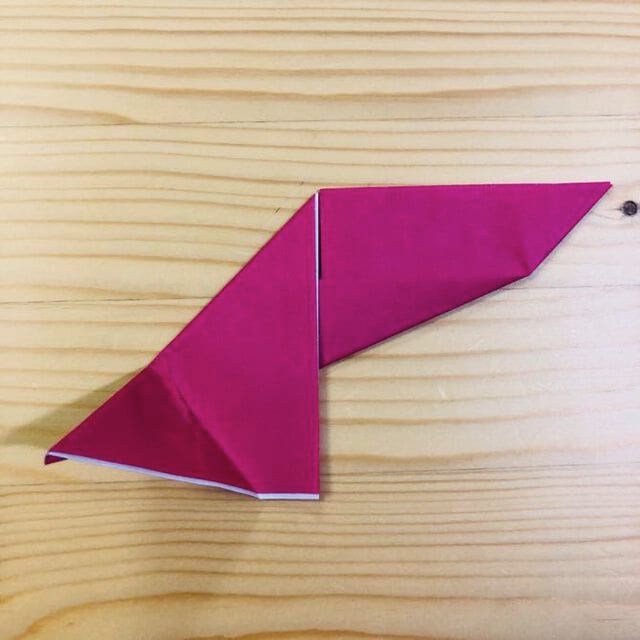
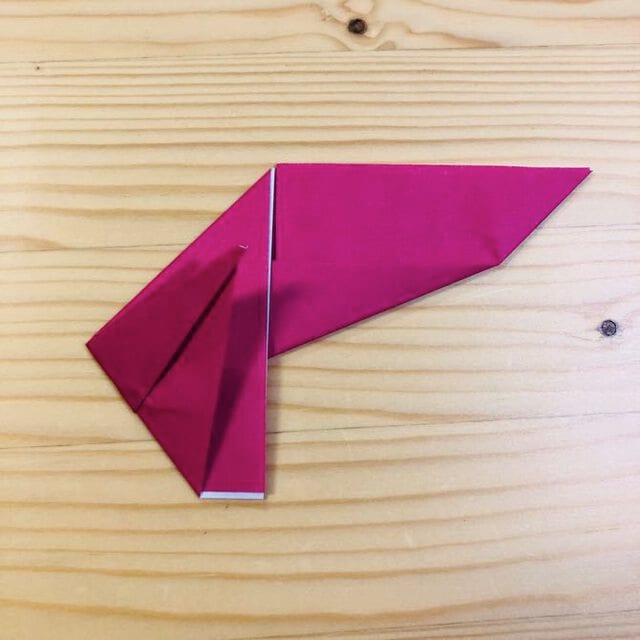
STEP 7
Fold along the line shown in the photo.
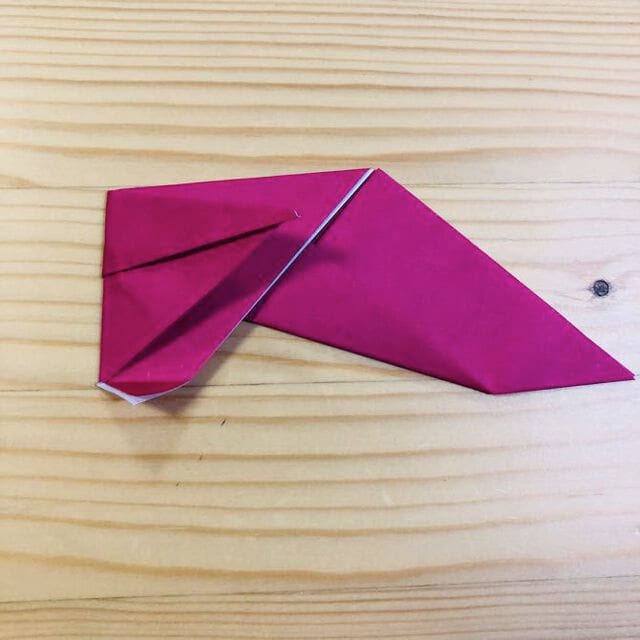
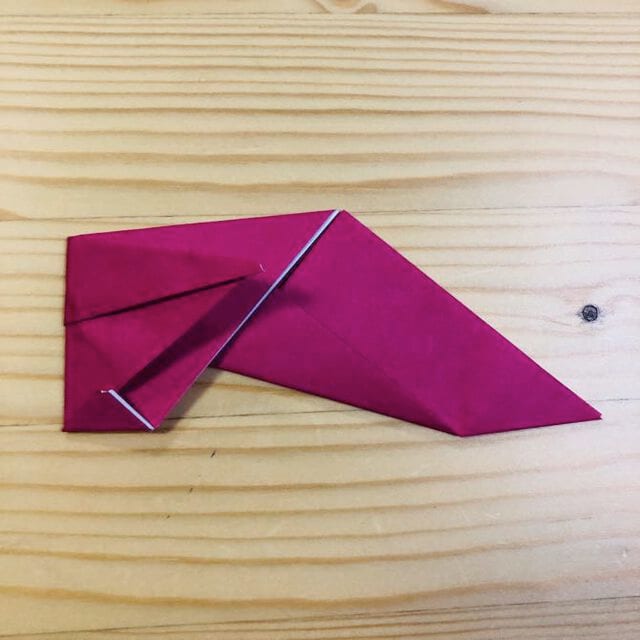
STEP 8
Turn it over.
All done!
Your origami high heels are complete.




