
Origami Snow Rabbit
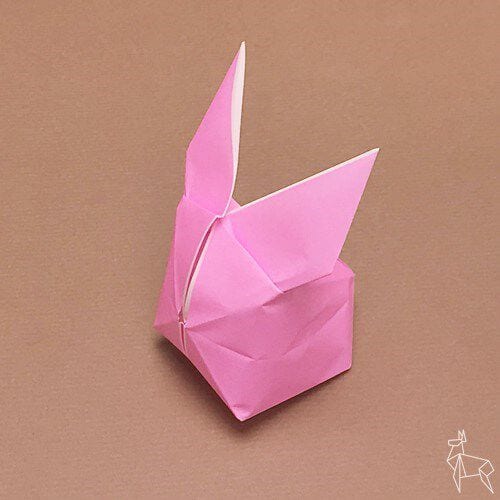
There is something delightful about an origami model that is not really finished until you breathe life into it. This little snow rabbit — the yuki usagi — stays completely flat until the last step, when you blow into a small opening at the base and it puffs up into a plump paper rabbit with a head, ears and a rounded body. The first time it happens, it feels like a magic trick.
Because you fold it from two halves of one square sheet, each piece is small and easy to handle, and the folds themselves are simple ones along dotted lines. It is a wonderful project to do with children, and a charming decoration for winter or for the Year of the Rabbit.
How to Fold
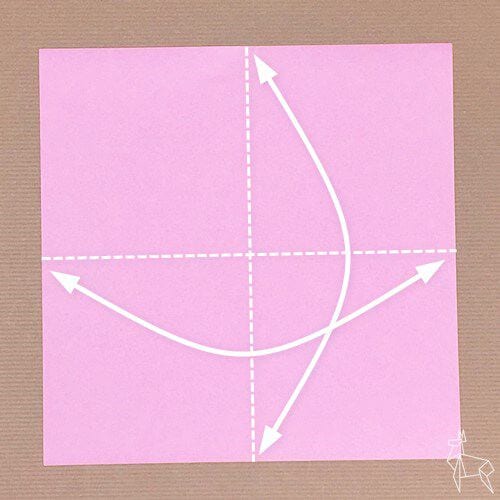
Step 1. Place the origami paper with the coloured side facing up, fold it in half along the dotted line and crease it well.
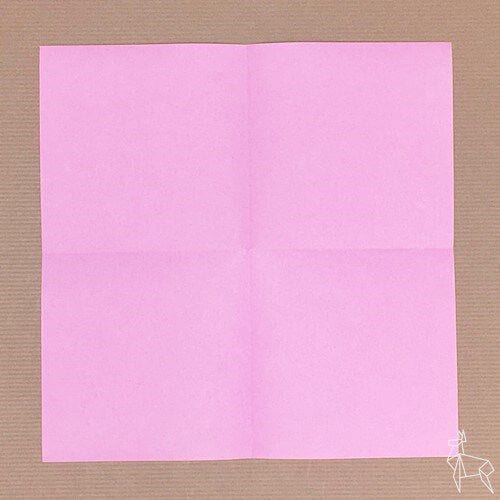
Step 2. Turn the paper over.
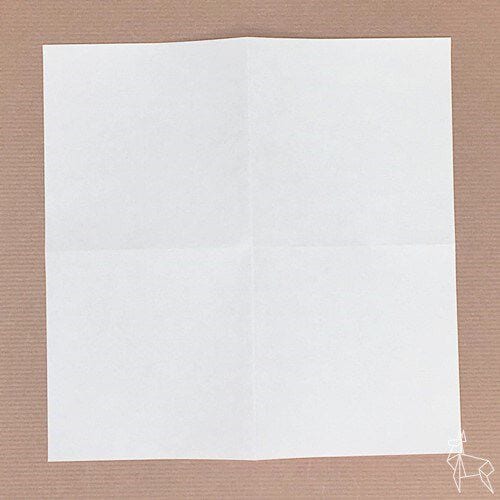
Step 3. Cut the sheet in half along the dotted line, then crease each half as shown.
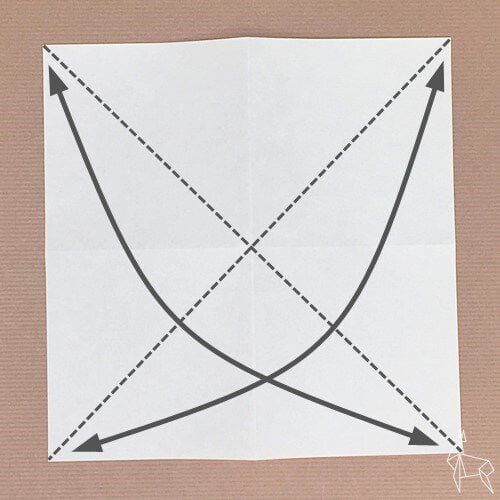
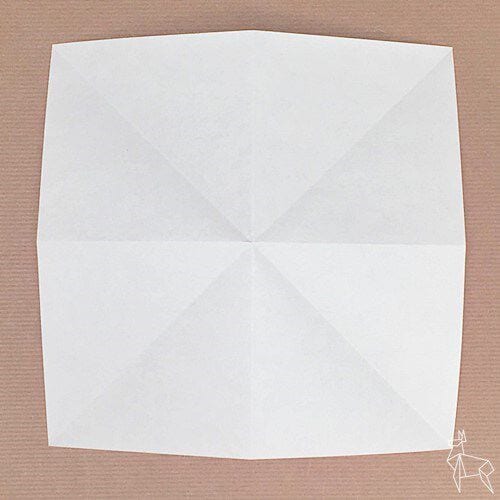
Step 4. Fold both halves along the creases you have just made.
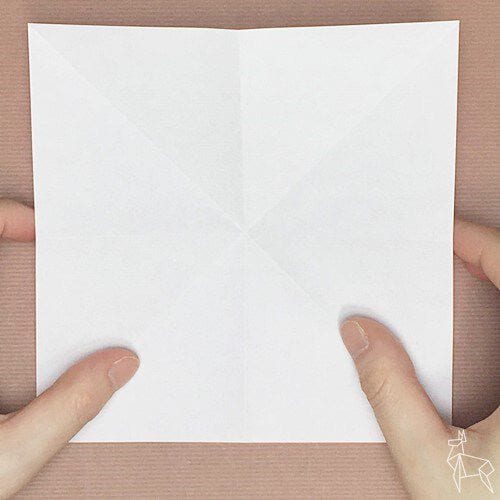
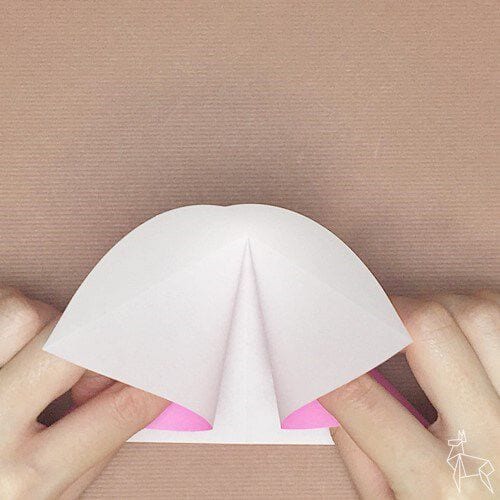
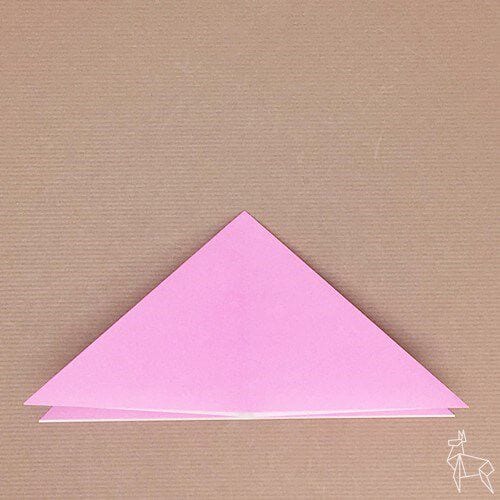
Step 5. Take one of the halves, turn it over and fold it along the dotted line.
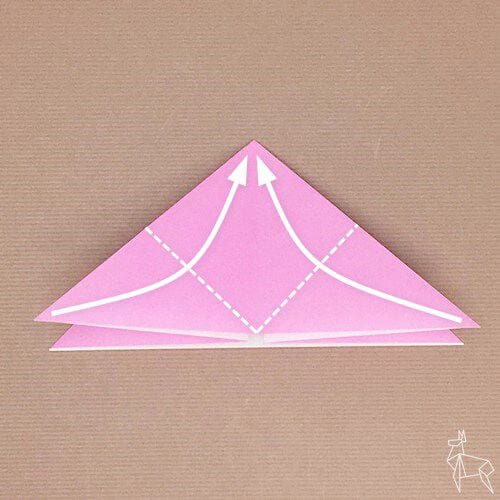
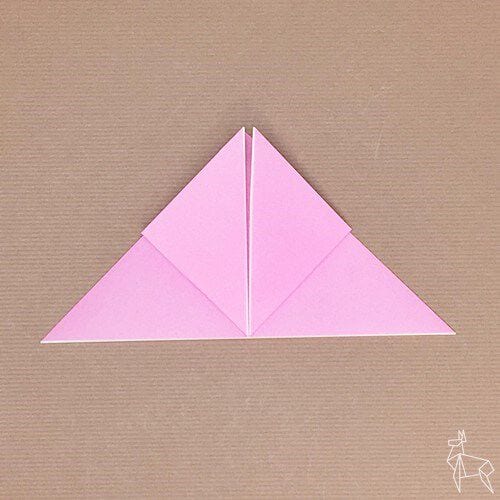
Step 6. Fold it along the next dotted line.
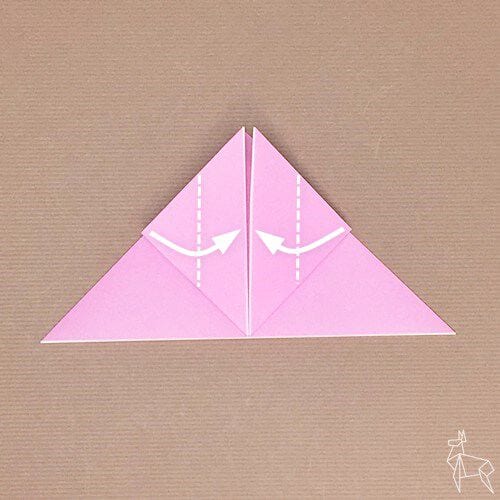
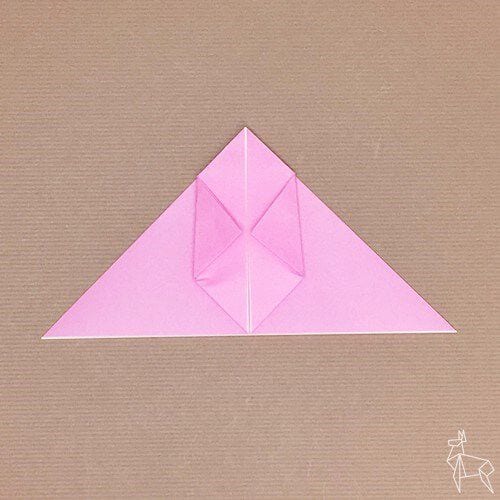
Step 7. Fold it along the dotted line once more.
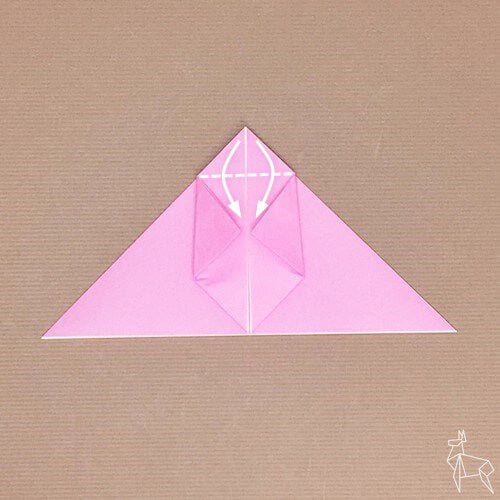
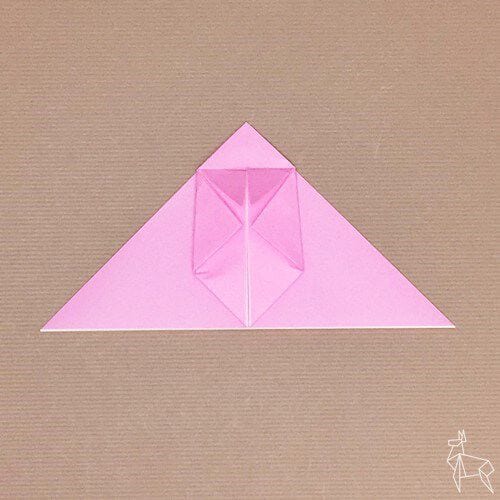
Step 8. Fold it along the dotted line, tucking the corners into the gap.
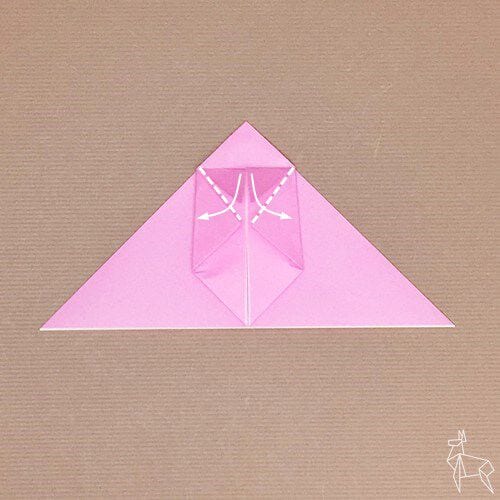
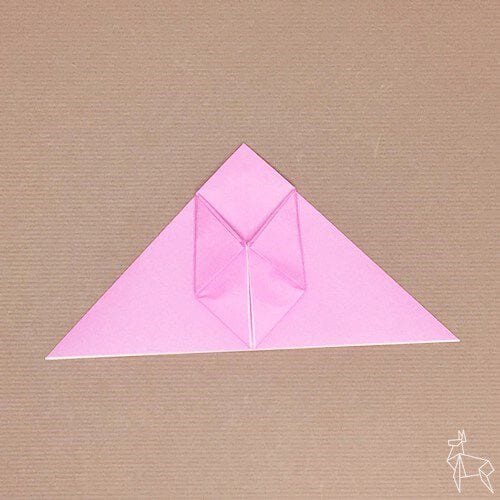
Step 9. Turn the piece over.
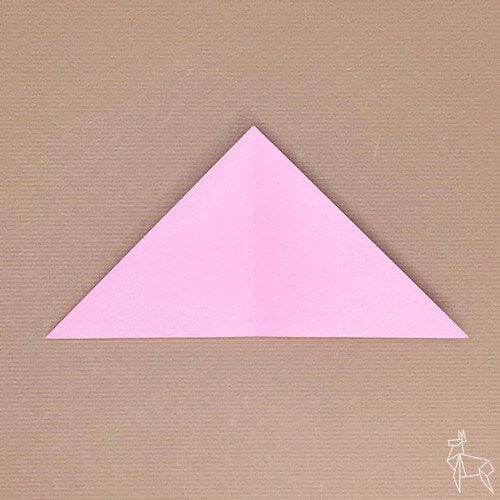
Step 10. Fold it along the dotted line.
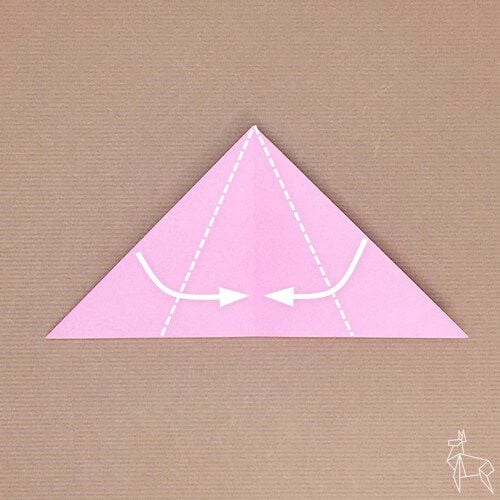
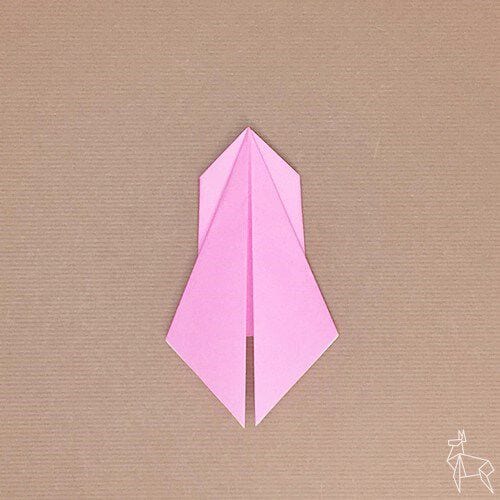
Step 11. Fold it along the dotted line again.
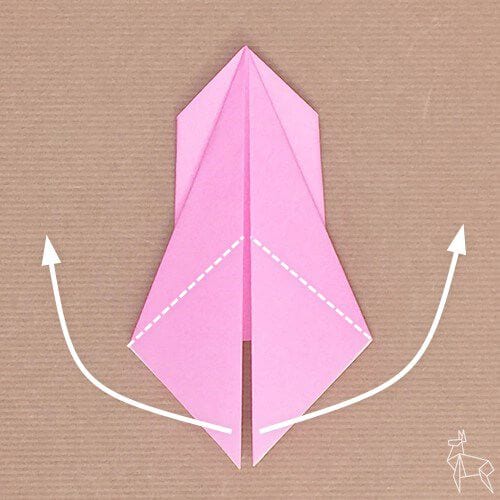
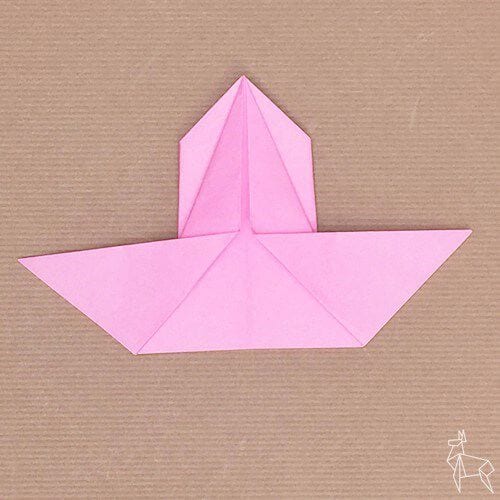
Step 12. Fold the piece so that the bottom edge sits along the centre.
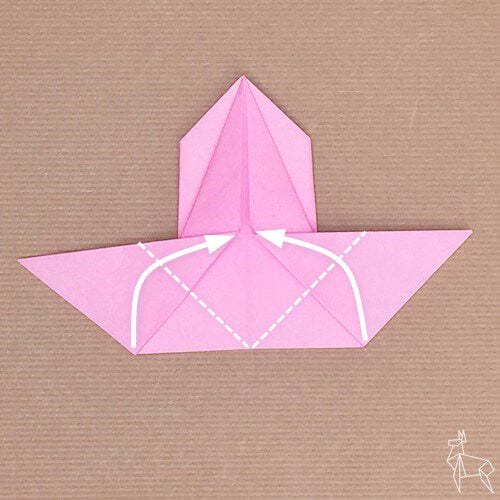
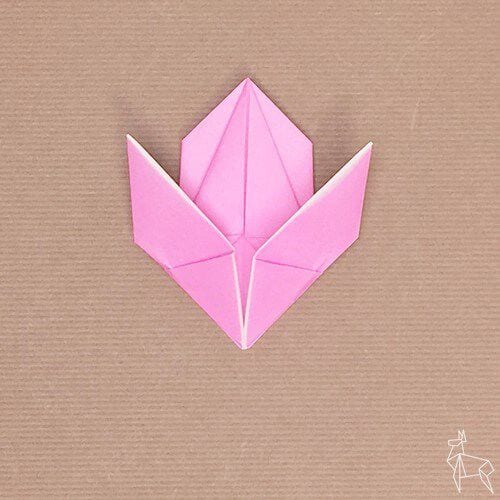
Step 13. Blow into the small hole at the position of the arrow to inflate the model, then shape it — and your origami snow rabbit is complete.
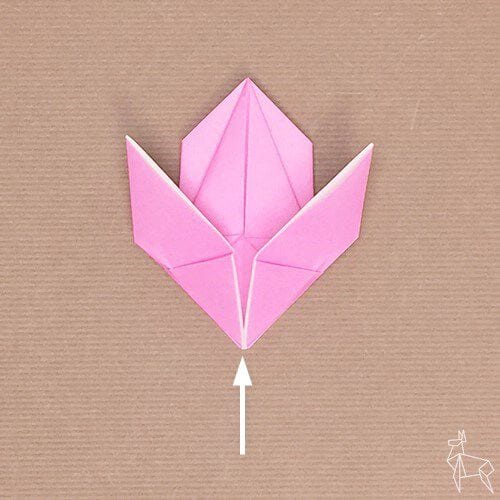
After Folding
If the rabbit will not puff up on the first try, gently pinch and roll the edges to loosen the layers, then blow again with a short, firm breath.
Fold it from white or pale blue paper for a snowy look, or add a tiny dot for the eye once it is inflated.
A whole family of these little rabbits looks lovely on a windowsill or as part of a winter display.




