
3D star
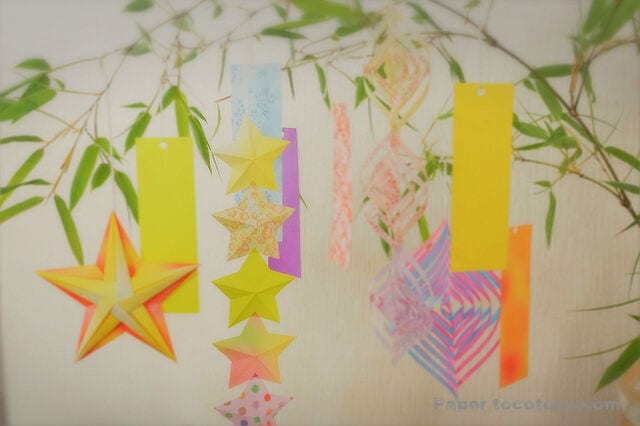
There's something magical about a star that pops up into three dimensions from a single flat sheet — and this one needs only one scissor cut to come alive. The trick is in the creases: you pre-fold a hidden grid of mountain and valley lines, then slice along a single diagonal to release the 3D shape when you open it. Whether you cut at a gentle angle for a soft, plump star or a steeper one for a sharp, spiky look, each sheet becomes a little different. It's a satisfying project for a quiet afternoon, and a string of them makes wonderful Tanabata or holiday decor.
How to Fold a 3D Star with a Single Scissor Cut
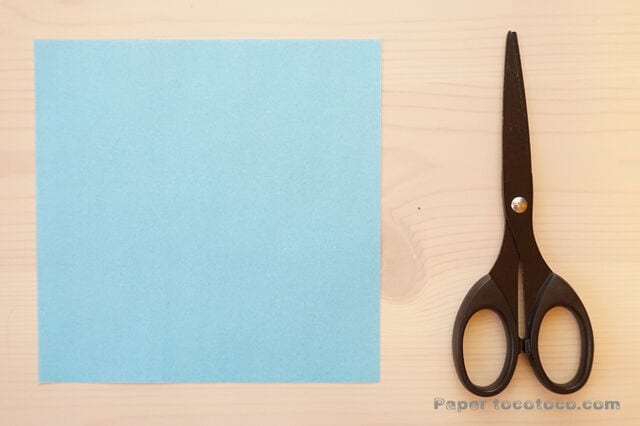
You’ll need: one 15 cm × 15 cm sheet of origami and a pair of scissors. (Feel free to use any size you like — the sample was folded from 15 × 15 cm paper.)
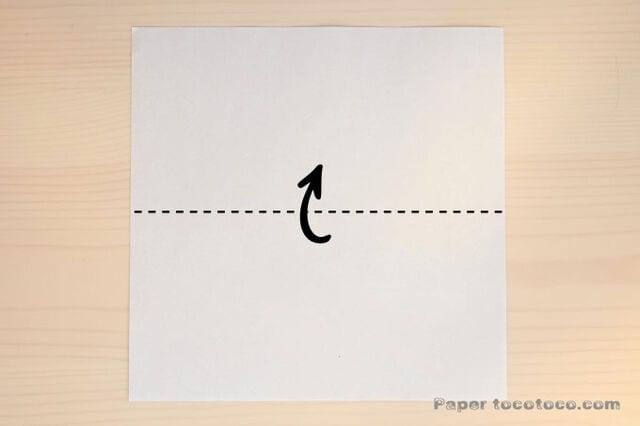
Step 1. Fold the paper in half.
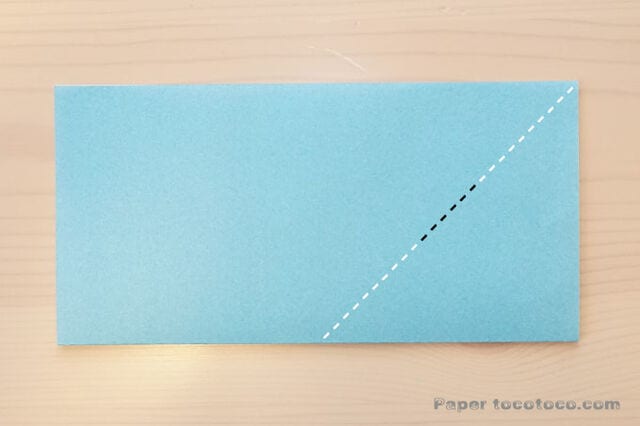
Step 2. Valley-fold along the dotted line, but only crease the middle section.
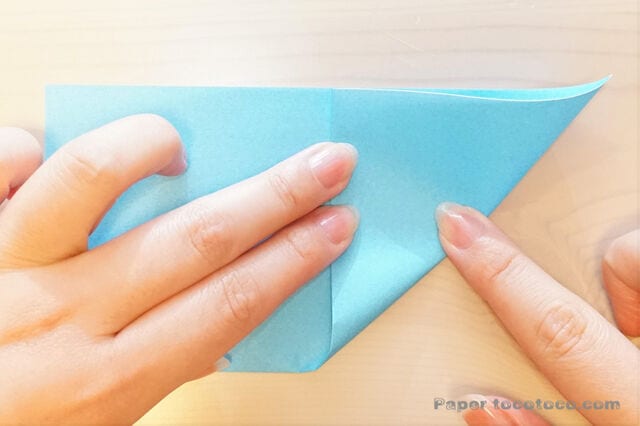
Step 3. Crease only the middle portion, as shown.
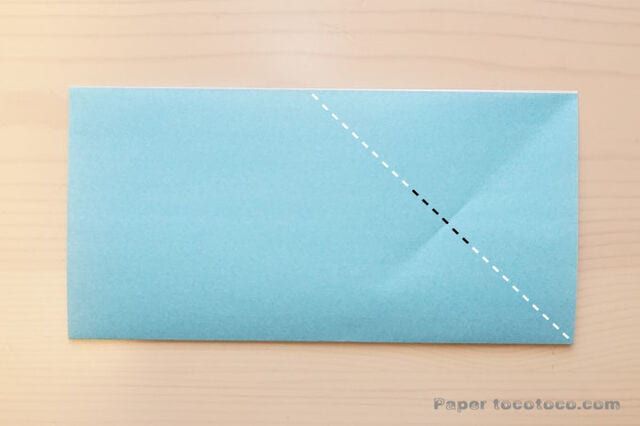
Step 4. Make another valley fold here, again creasing only the middle.
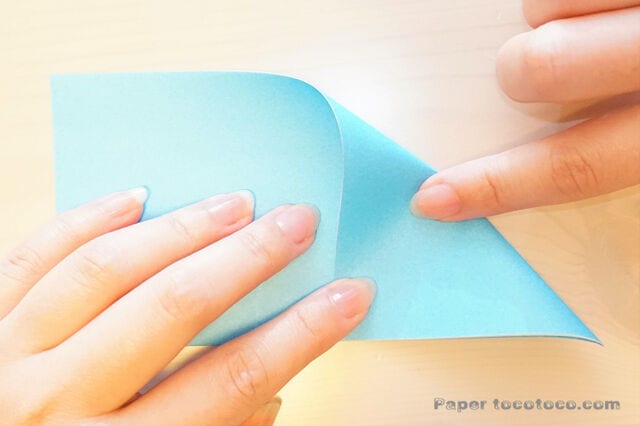
Step 5. Crease only the middle portion, as shown.
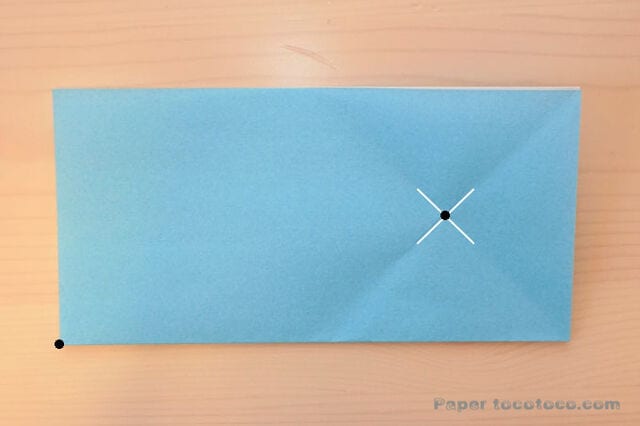
Step 6. Once the crease lines marked with × appear, fold the lower-left corner so it lines up with the center of the × mark.
Note: at this point the center of the paper is at the bottom and the paper’s edge is at the top — make sure not to mix them up!
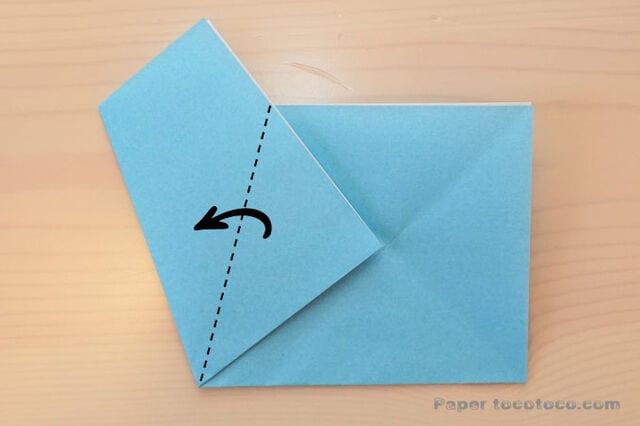
Step 7. Valley-fold along the dotted line.
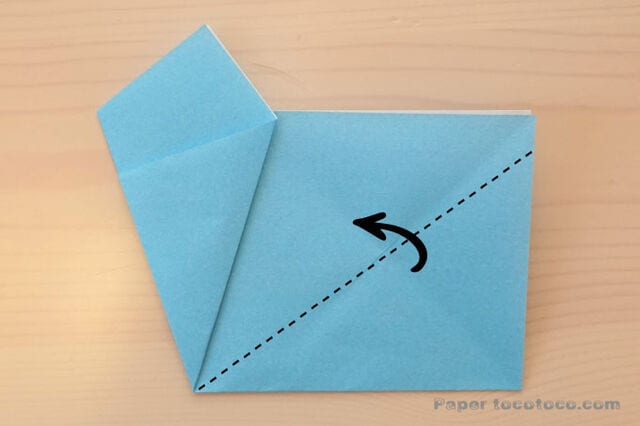
Step 8. Valley-fold along the dotted line.
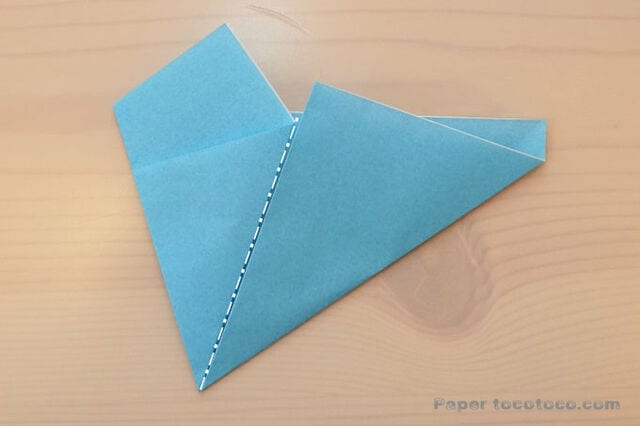
Step 9. Mountain-fold along the white dotted line. (This one is a mountain fold!)
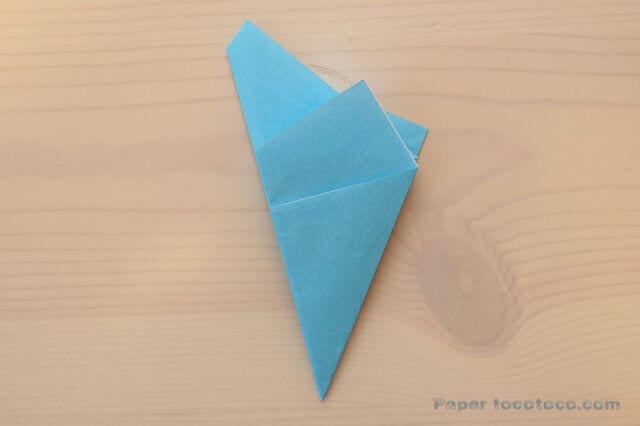
Step 10. The folding is now complete. Next, we’ll cut with scissors.
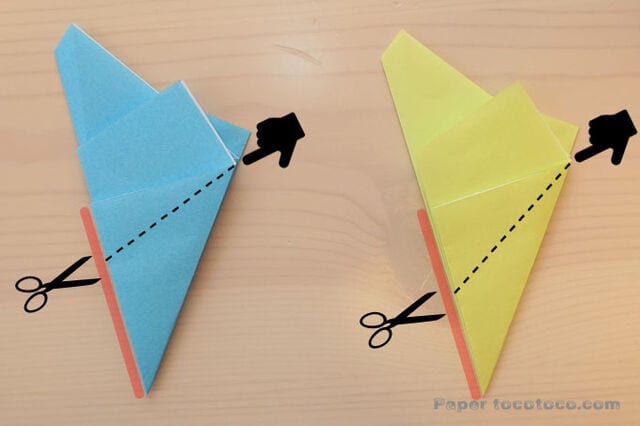
Step 11. Cut along the line that connects the side of the red line (at whatever position you like) to the arrow.
The final star shape changes depending on the angle you cut.
In the examples, the light-blue star was cut at a relaxed, wide angle, while the yellow one was cut at a sharper angle — try both.
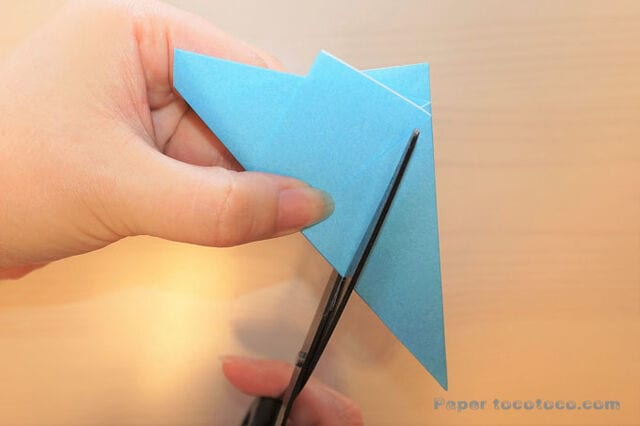
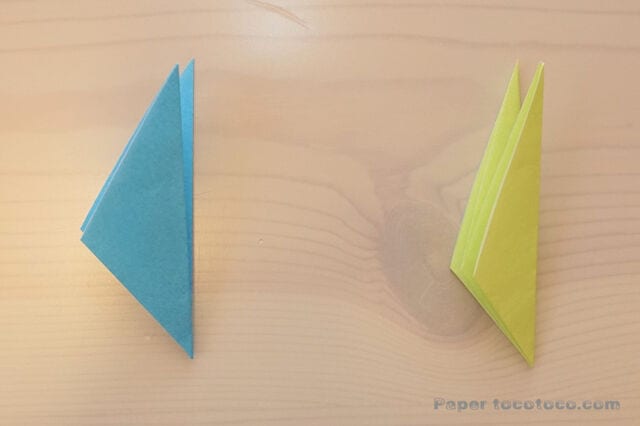
Step 12. Open the paper up after cutting.
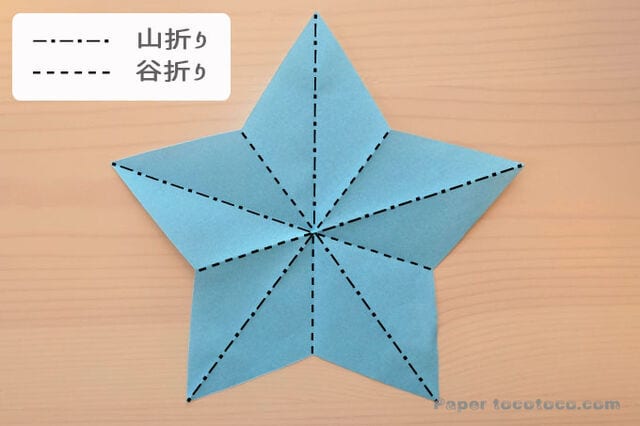
Step 13. Once opened, shape the star by making the mountain and valley folds shown in the diagram.
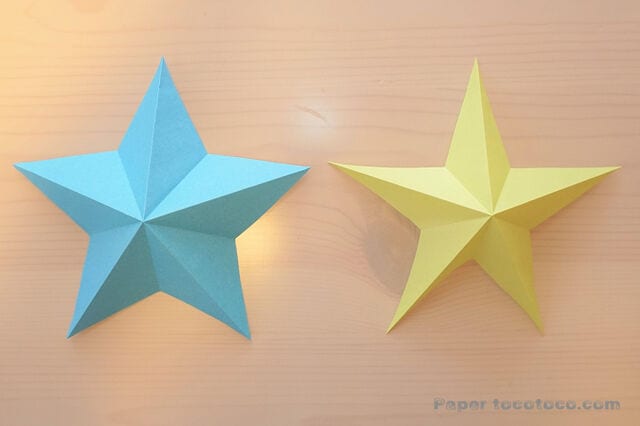
And that’s it — you’re done!
You’ll end up with stars in slightly different shapes from the light-blue and yellow examples.
The yellow one, cut at an angle, turned into a sharp-looking star.
Use this as a guide, cut at whatever angle you like, and make the star that’s perfect for you!
They also look adorable strung together as Tanabata decorations.




