
3D Origami House
Most paper houses are flat: lovely on the front of a card, but they lean against the wall rather than standing on a table. This one is different. It is what happens when you take the familiar little house shape and give it real depth, with walls that swing out at right angles and a roof that actually sits on top instead of being suggested by a couple of creases. Looking at the finished model, you would swear it needs glue, or at least two or three pieces of paper, and yet the whole thing comes out of a single square.
It is not a five-minute fold, though. There are squash-folds to get through and a run of 90-degree folds that can feel fiddly the first time. Take it slowly, work from a large sheet so you can see what each crease is doing, and give yourself permission to fold it twice. The second half of the model is simply the first half repeated on the other side, so once the first wall clicks into place you are already most of the way there.
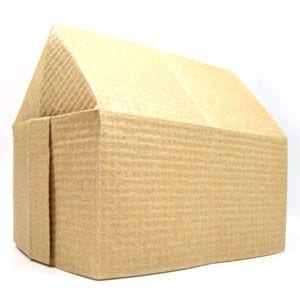
This page is for those who want instructions for folding a 3D origami house.
This origami house is the 3D version of the classic origami house. It is a little more difficult to fold than the flat 2D version, but the finished model really does stand up like the little house shown below.
Are you ready? Let's get started.
You can use any kind of paper to fold this origami house. Here I am using a sheet with the same colour and texture on both sides, but you are welcome to use different colours and textures. The paper I am using is 20cm x 20cm. If you are new to this model, start with a large sheet and move on to a smaller one once you feel comfortable.
This is the front side of the paper.
This is the back side of the paper, which is the same colour as the front side.
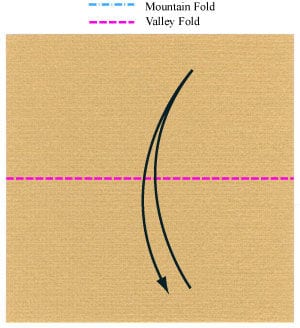
STEP 1. Prepare to valley-fold the paper in half horizontally, then unfold.
STEP 2. Valley-fold in half horizontally as described in step 1, then unfold. Prepare to valley-fold in half vertically, then unfold.
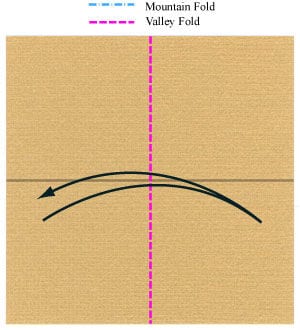
STEP 3. Valley-fold in half vertically, then unfold. Prepare to apply a horizontal gate-fold, then unfold.
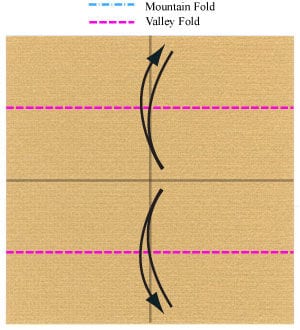
STEP 4. Apply the horizontal gate-fold from step 3, then unfold. Prepare to apply a vertical gate-fold, then unfold.
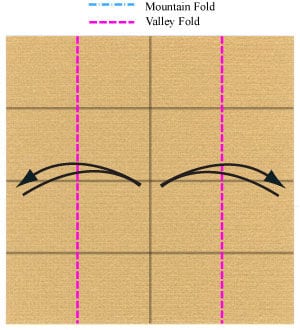
STEP 5. Apply the vertical gate-fold, then unfold. You should now have six crease lines. Prepare to valley-fold in half horizontally.
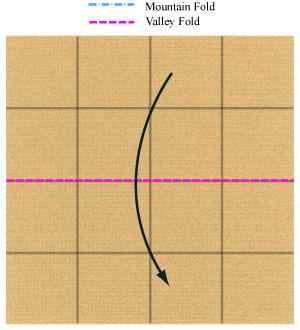
STEP 6. Valley-fold in half horizontally. Prepare to apply two valley-folds, then unfold.
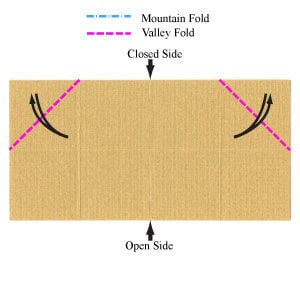
STEP 7. Apply the two valley-folds from step 6, then unfold. Prepare to apply two squash-folds. If you are not sure what a squash-fold is, take a moment to practise it before continuing.
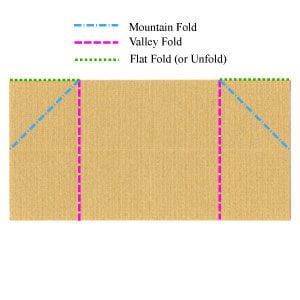
STEP 8. Apply the two squash-folds from step 7. Prepare to turn the model over.
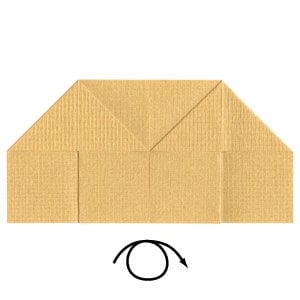
STEP 9. Turn the model over. Prepare to apply two valley-folds.
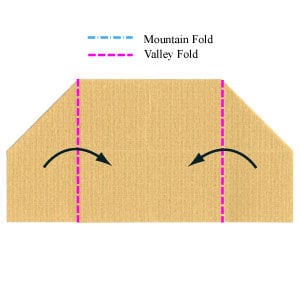
STEP 10. Apply the two valley-folds from step 9. Prepare to apply two 90-degree valley-folds. An ordinary valley-fold swings the paper through 180 degrees, so a 90-degree valley-fold simply stops halfway.
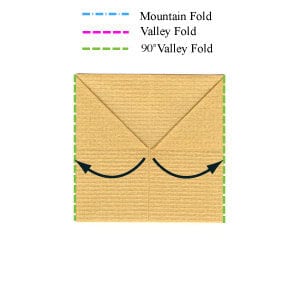
STEP 11. Apply the two 90-degree valley-folds from step 10. Prepare to rotate the model by 90 degrees.
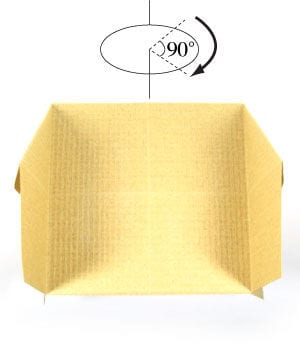
STEP 12. Rotate the model by 90 degrees as described in step 11. This is the side view of the model.
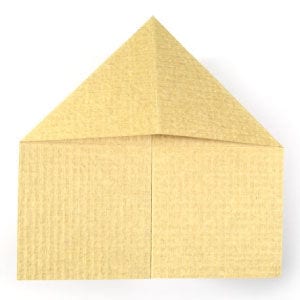
STEP 13. Prepare to rotate the model by 90 degrees counter-clockwise.
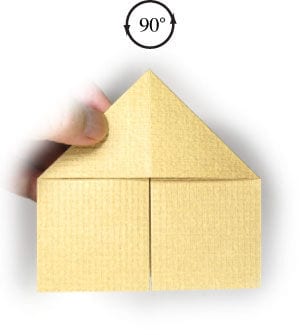
STEP 14. Rotate the model by 90 degrees counter-clockwise. Prepare to apply a valley-fold to the front-most layer only.
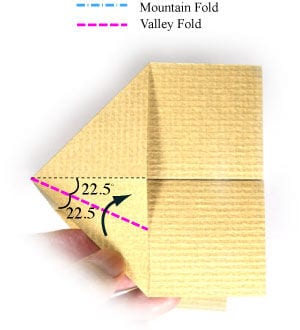
STEP 15. Apply the valley-fold to the front-most layer only, as described in step 14. Prepare to apply a valley-fold followed by a mountain-fold.
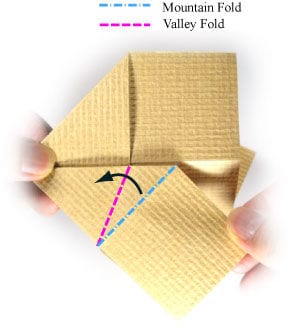
STEP 16. Apply the valley-fold followed by the mountain-fold as described in step 15. Prepare to rotate the model by 180 degrees.
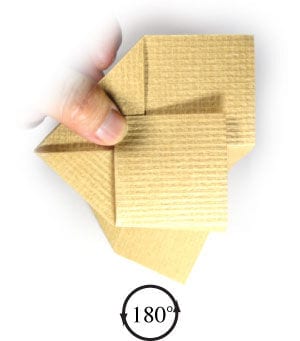
STEP 17. Rotate the model by 180 degrees. Prepare to release the two folds made in step 16, following the direction of the arrow.
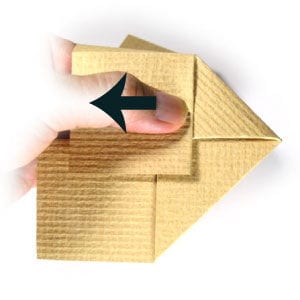
STEP 18. Release the two folds from step 16, following the arrow direction shown in step 17. Prepare to apply a valley-fold to the front-most layer only.
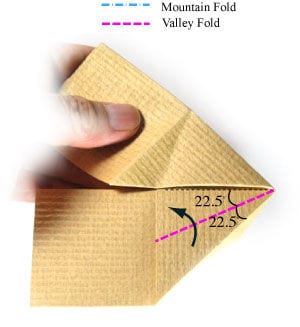
STEP 19. Apply the valley-fold to the front-most layer only, as described in step 18. Prepare to apply a valley-fold followed by a mountain-fold.
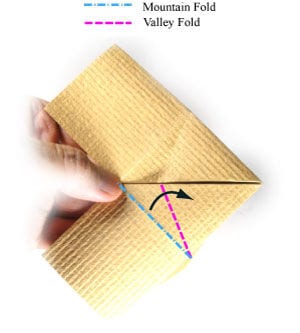
STEP 20. Apply the valley-fold followed by the mountain-fold as described in step 19. Prepare to release the two folds you have just made, following the direction of the arrow.
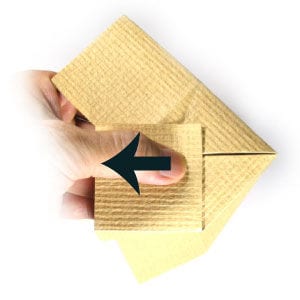
STEP 21. Release the two folds from step 20, following the direction of the arrow. Prepare to move the upper and lower layers in the directions shown. Make sure the upper layer stays behind the lower layer.
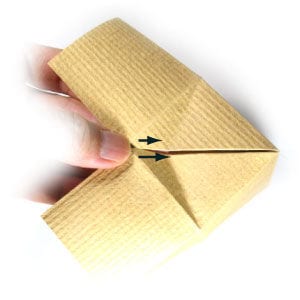
STEP 22. Start moving both the upper and the lower layers, keeping the upper one behind the lower one.
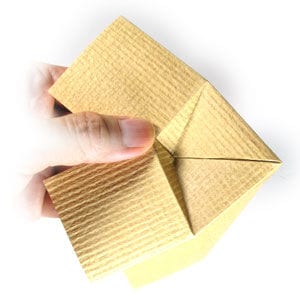
STEP 23. Keep moving both layers.
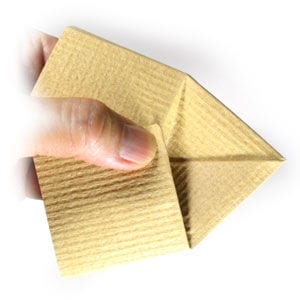
STEP 24. Finish moving both layers. One side of the house is now complete, so let's take a look inside.
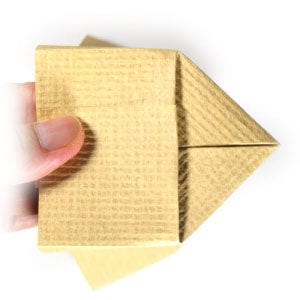
STEP 25. This is the inside view. Now let's work on the other side.
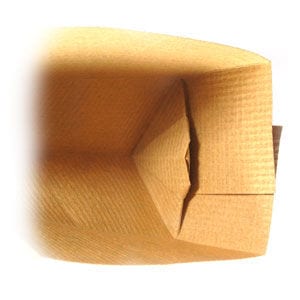
STEP 26. This is the front view of the other side. We need to repeat steps 13 to 24.
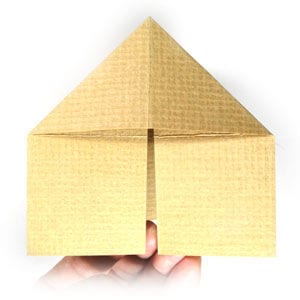
STEP 27. Repeat steps 13 to 24 on this side.
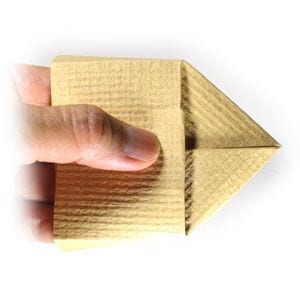
STEP 28. The 3D origami house is now ready.
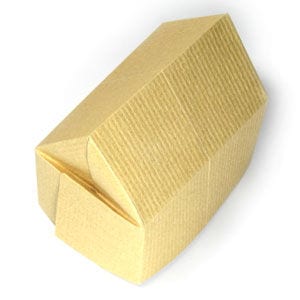
STEP 29. Congratulations! You have completed a 3D origami house.




