
Origami Tulip Name Tag
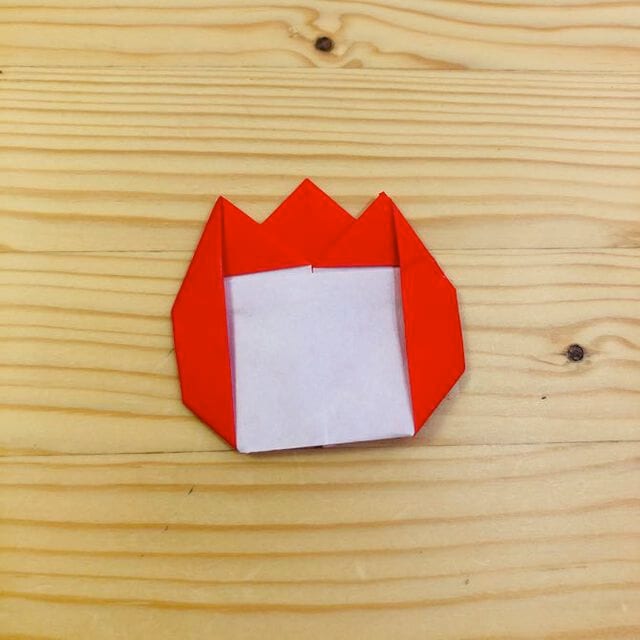
A place card does not have to be a boring folded tent of card. This one hides a small origami tulip in its base, so each name on the table comes with its own paper flower — a lovely touch for a spring lunch, a wedding breakfast or a classroom where everyone gets a desk label.
Despite the pretty result, the folding is very approachable. The first half is mostly creases and corner folds, and the tulip appears when you open a pocket out and fold the petal sections up. Make one as a test, then fold a whole set in different colours.
How to Fold
Step 1. Make a crease at the position shown in the photo.
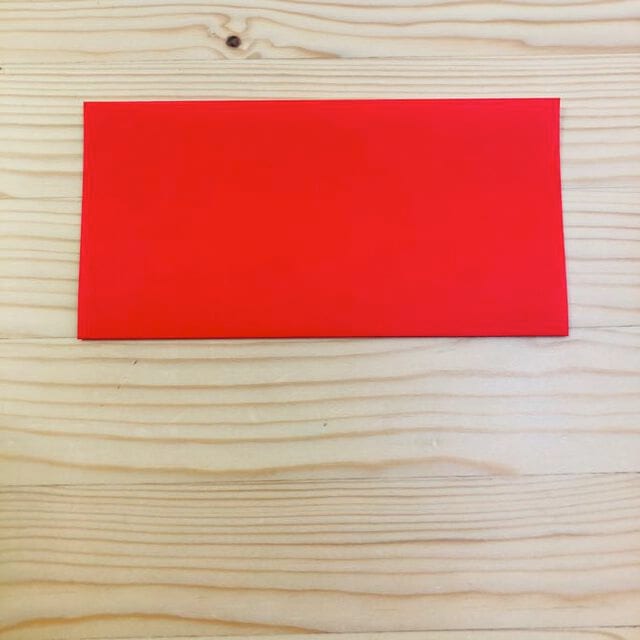

Step 2. Make the next crease at the position shown in the photo.

Step 3. Fold the paper at the position shown in the photo.
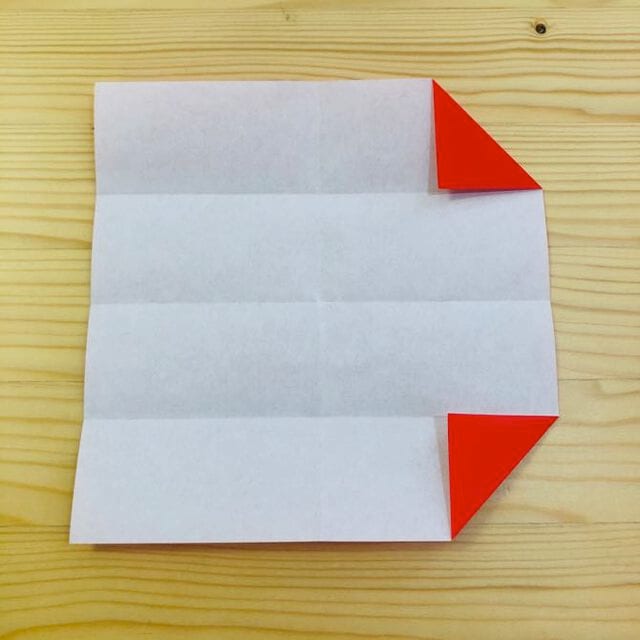
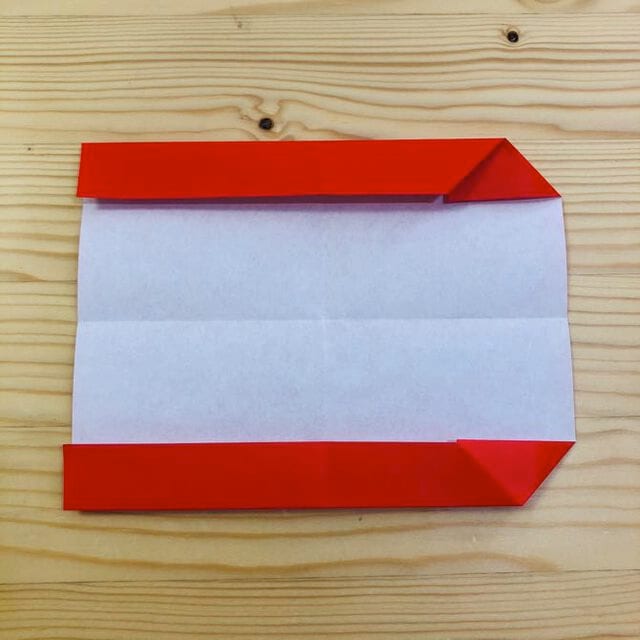
Step 4. Fold it again at the position shown in the photo.
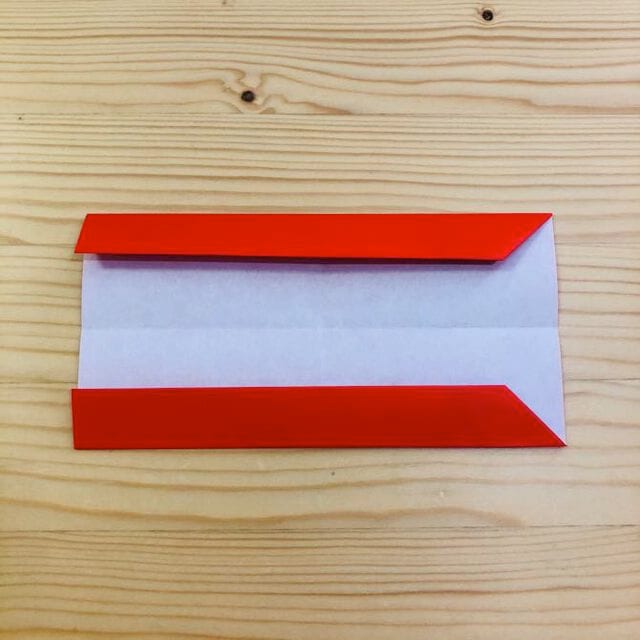
Step 5. Turn the paper over.
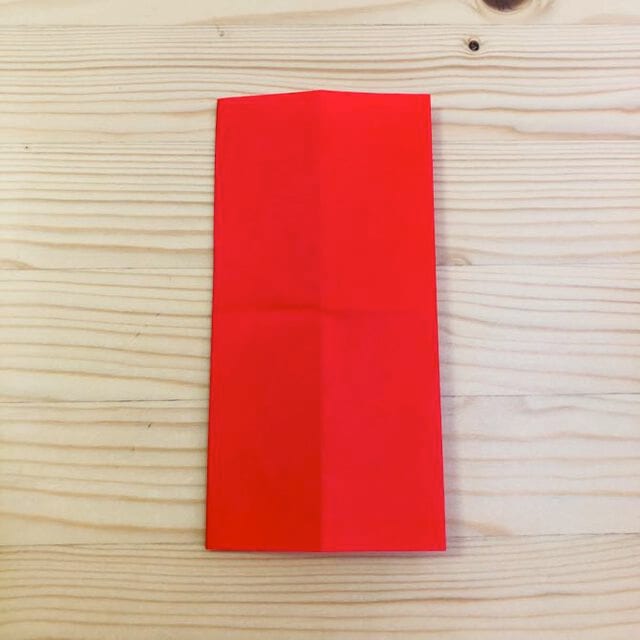
Step 6. Fold it at the position shown in the photo.
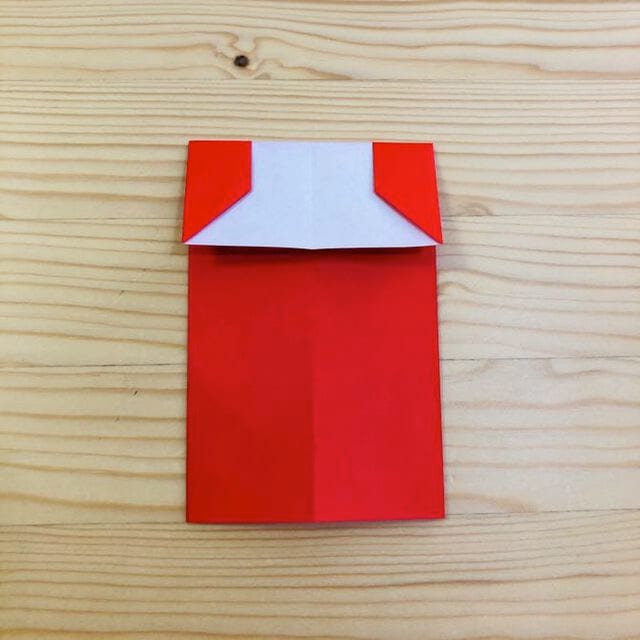
Step 7. Open the pocket out and fold the section as shown in the photos. This begins to shape the tulip.
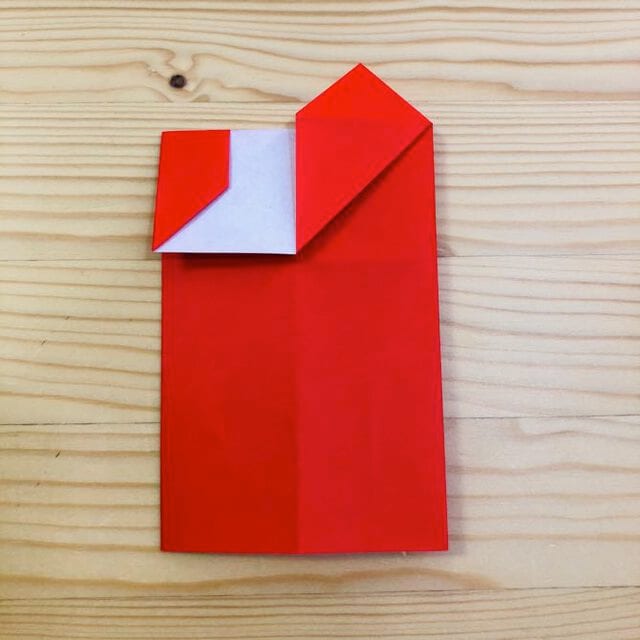

Step 8. Fold the section upwards at the position shown in the photo.
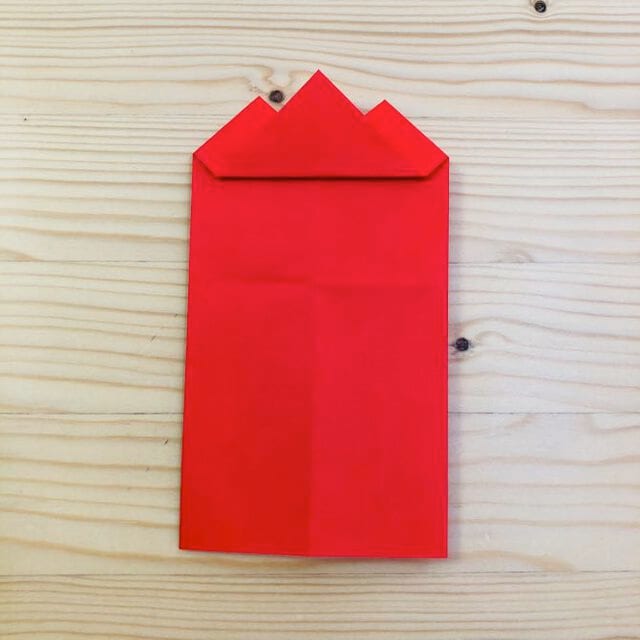
Step 9. Fold it upwards again at the position shown in the photo.
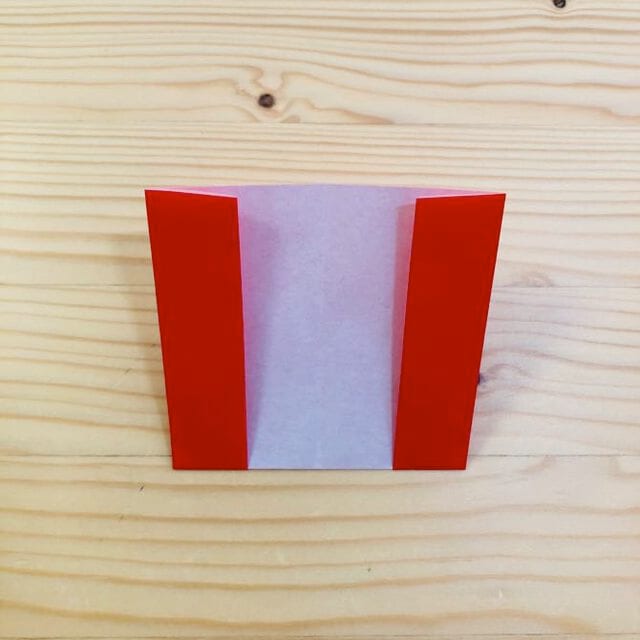
Step 10. Fold the petal section at the position shown in the photo.
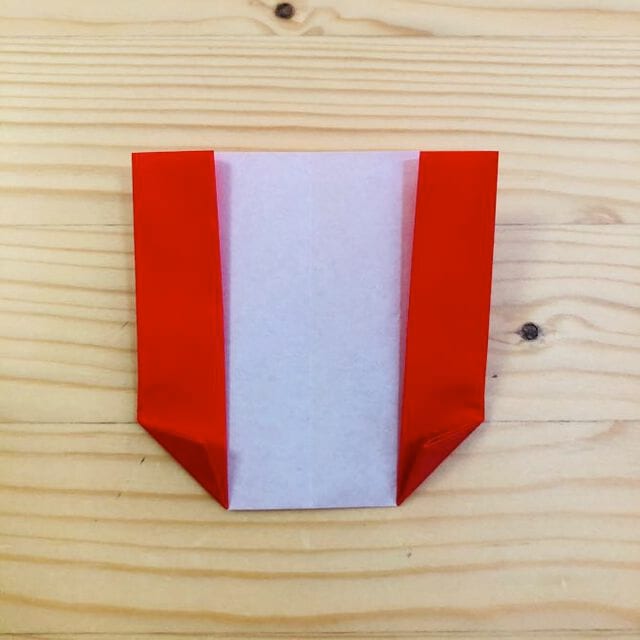
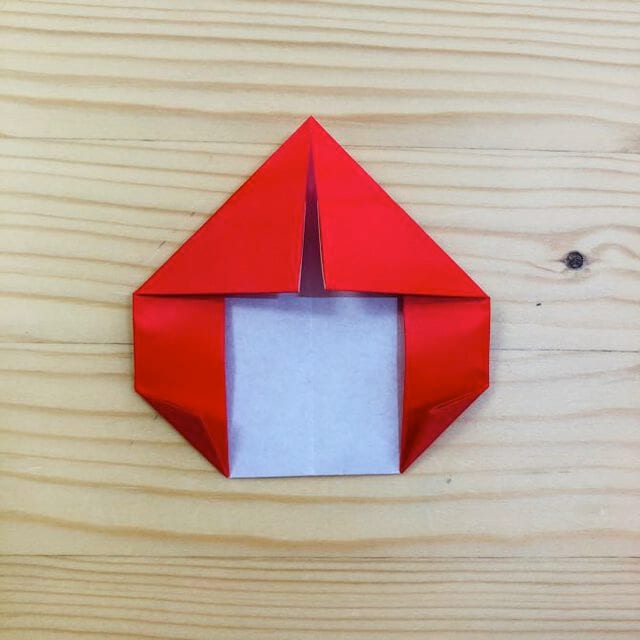
Step 11. Open the shape out and fold it as shown in the photos, shaping the second petal.

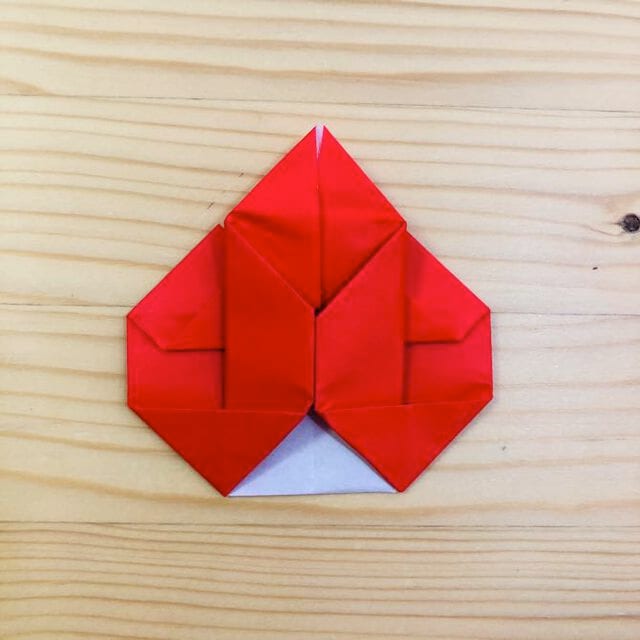
Step 12. Fold it at the position shown in the photo to define the flower.

Step 13. Fold the top down at the position shown in the photo.

Step 14. Fold the last section at the position shown in the photo.

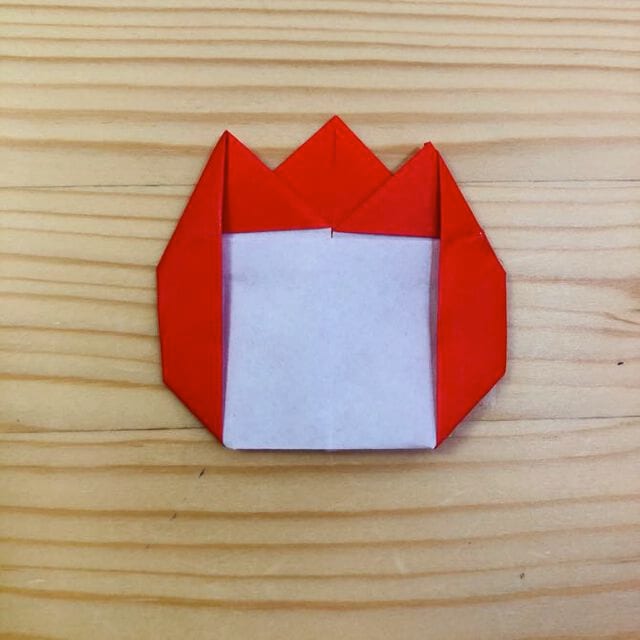
Step 15. Turn the model over — and your tulip name tag is complete.
After Folding
The flat panel at the front is where you write the name, and the tulip sits behind it like a small paper bouquet.
Fold a set in different colours for a party table, or use pastel paper for spring celebrations. A fine liner pen writes cleanly on the panel once the model is finished.




