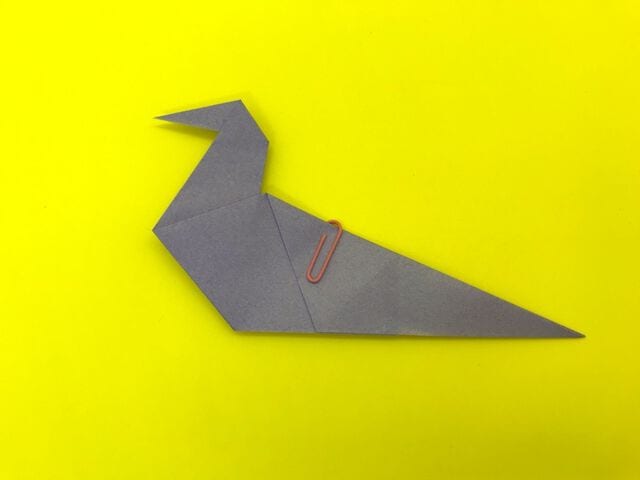
Pigeon
There's a reason the folded pigeon — or dove — shows up everywhere from peace rallies to wedding aisles: a few quiet folds turn a flat square into a small, hopeful messenger. This 16-step tutorial is a gentle step up from the beginner bird, and it's all about the details.
Instead of starting from a pre-creased base, we build the neck and head from scratch, making and releasing mountain and valley creases so the bird's shape emerges from the pleats themselves. Take it slowly, keep your creases crisp, and you'll be rewarded with a pigeon that actually looks like one. Let's fold.
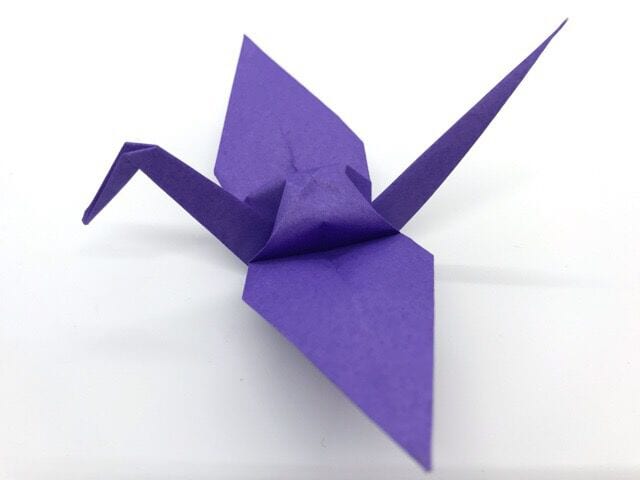
What You’ll Need
One sheet of standard origami paper, 15 × 15 cm.
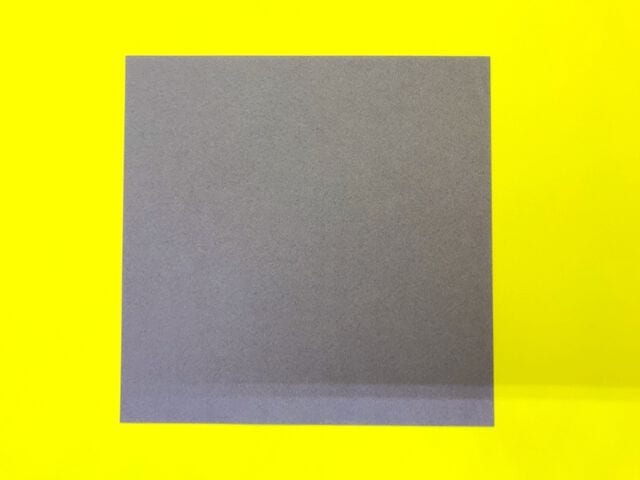
How to Fold a Pigeon
STEP 1. Place the paper colored-side down. Fold it in half diagonally to form a triangle and crease well.
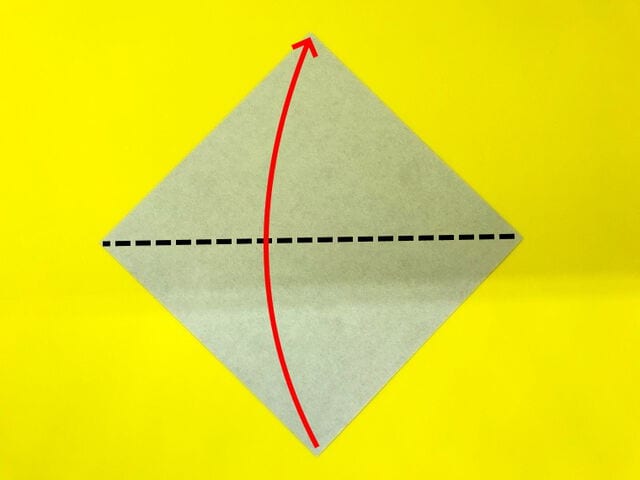
STEP 2. Make a valley fold along this line, crease it, then unfold.
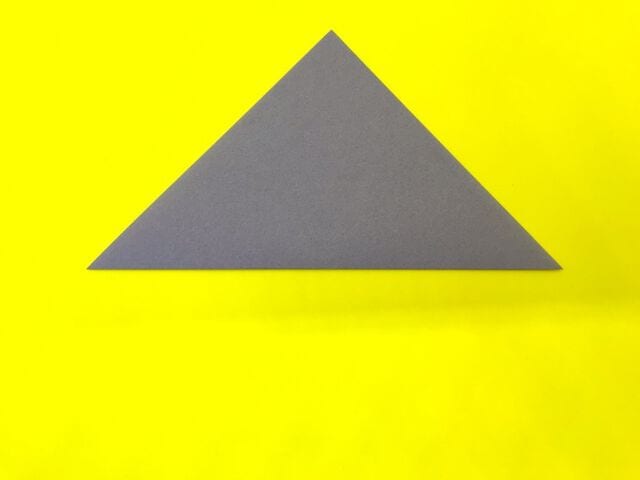
STEP 3. After unfolding, make a valley fold along the dotted line so the edge meets the centre crease.
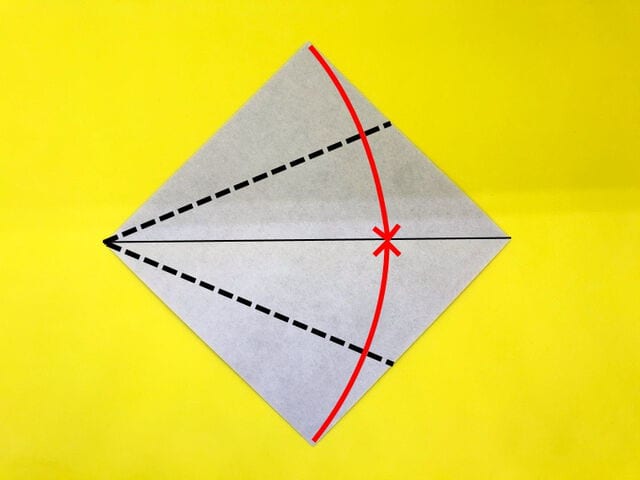
STEP 4. Make another valley fold along the dotted line so it lines up with the centre crease.
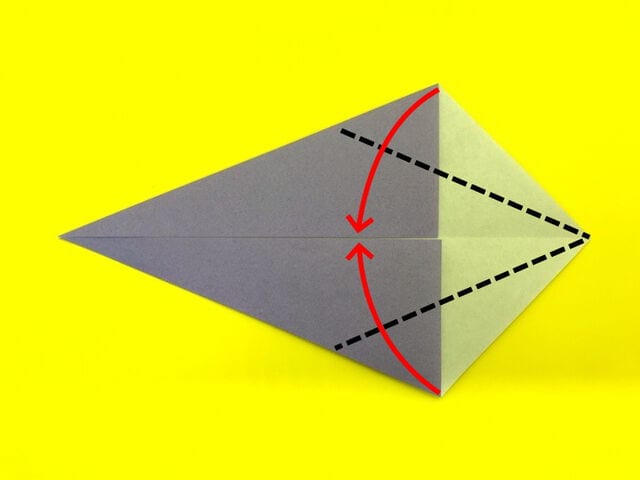
STEP 5. Fold along the middle dotted line.
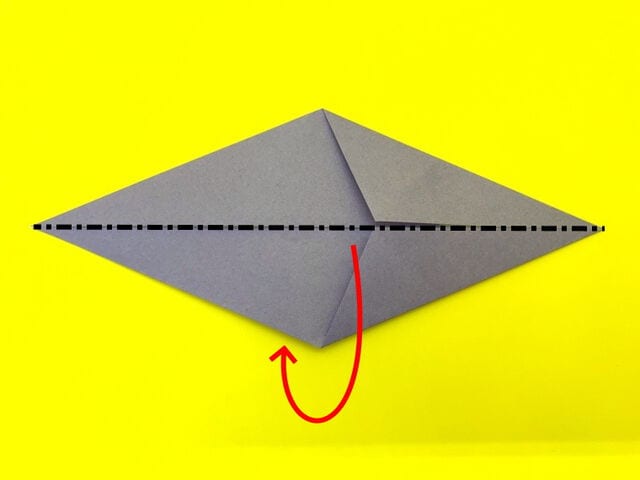
STEP 6. Next we’ll shape the pigeon’s neck. Fold the model in half and crease it. First, make a valley fold along the dotted line and crease it.
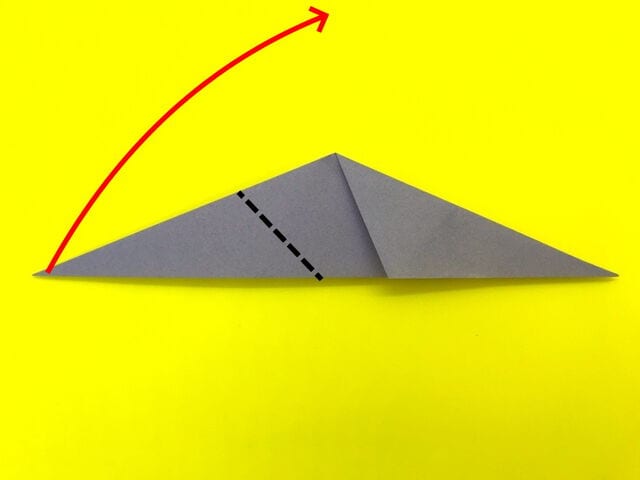
STEP 7. Make this valley fold and crease it, then unfold.
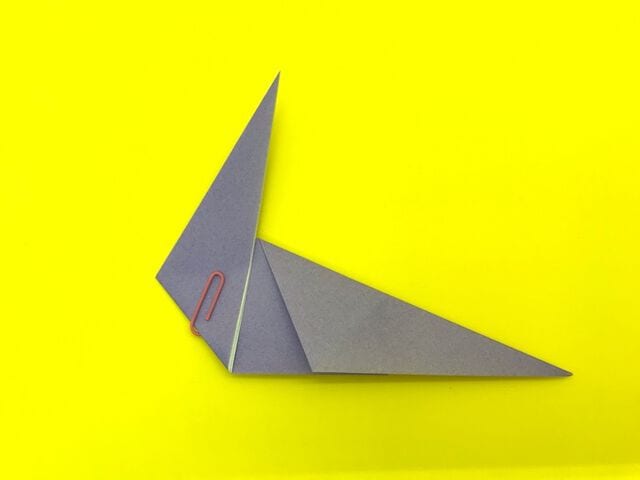
STEP 8. On the opposite side, fold along the dotted line and crease it.
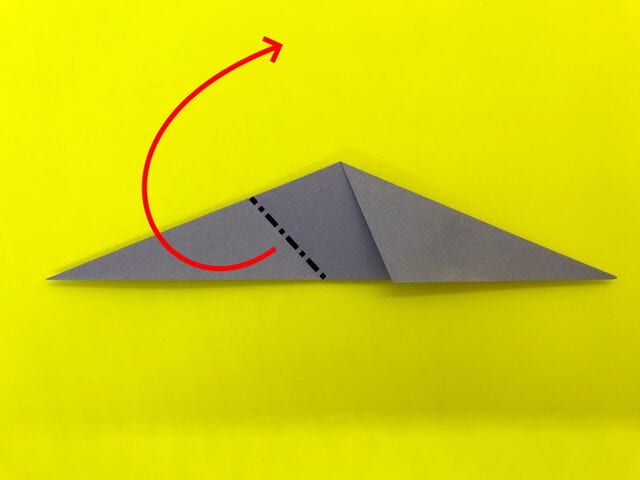
STEP 9. Make a mountain fold along the dotted line, crease it, then unfold.
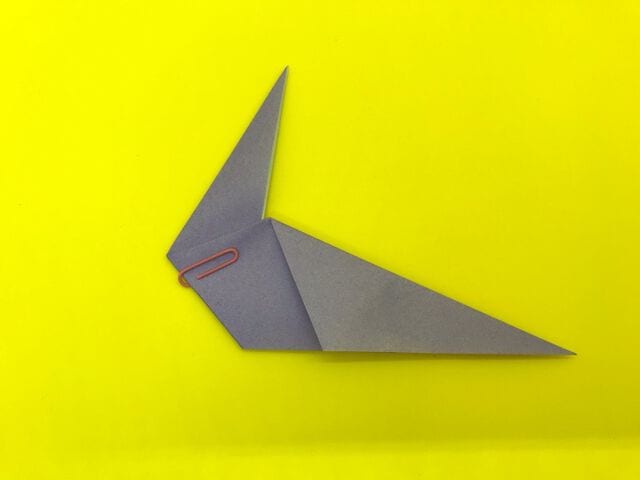
STEP 10. Using the creases you just made, fold the model in half.
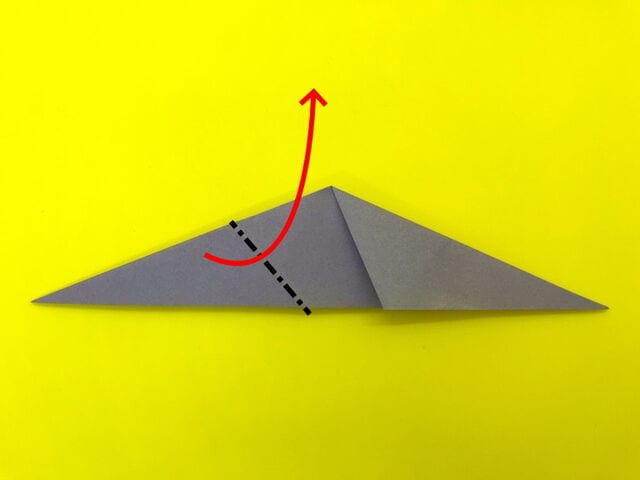
Here’s the view from the upper right. By combining mountain and valley folds and folding along the centre, you form the pigeon’s neck.
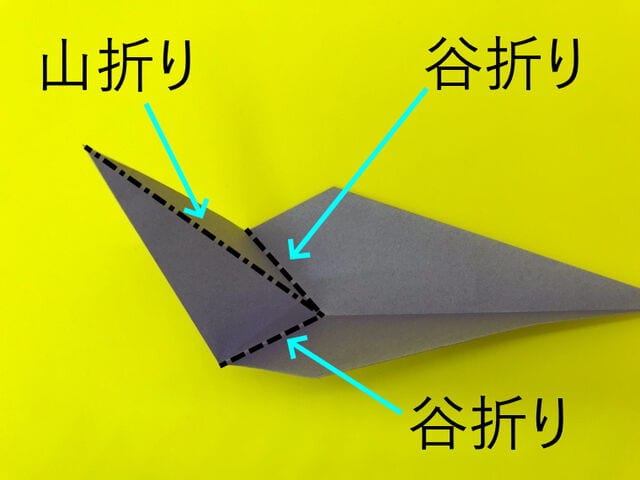
STEP 11. Now we’ll shape the head. Fold the model in half and crease it. First, make a valley fold along the dotted line and crease it.
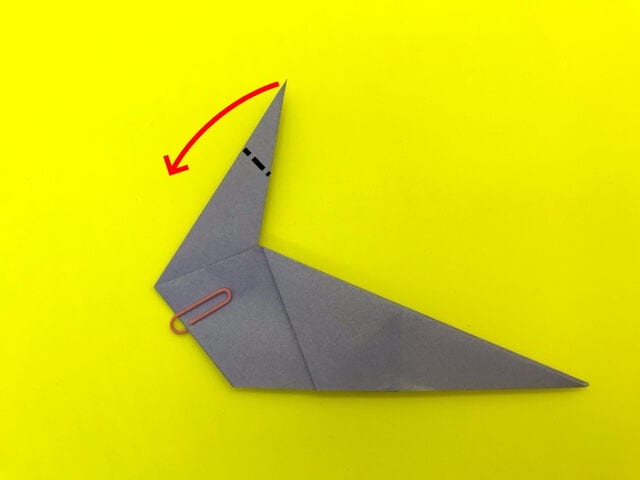
STEP 12. Make this valley fold and crease it, then unfold.
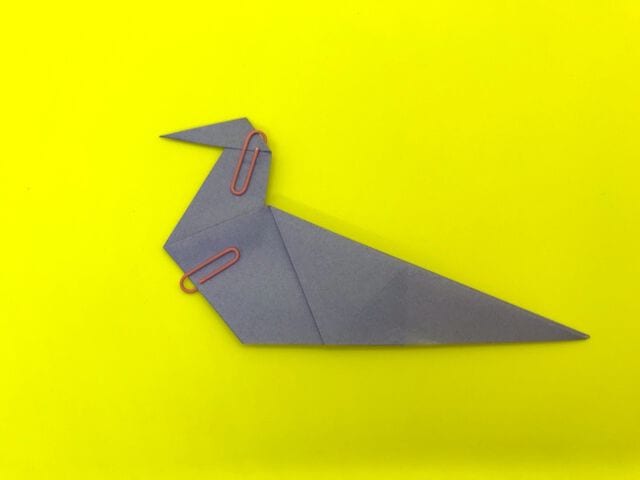
STEP 13. On the opposite side, fold along the dotted line and crease it.
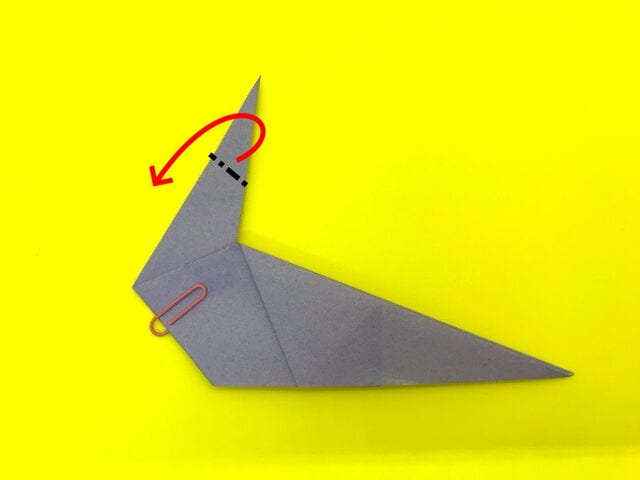
STEP 14. Make a mountain fold along the dotted line, crease it, then unfold.
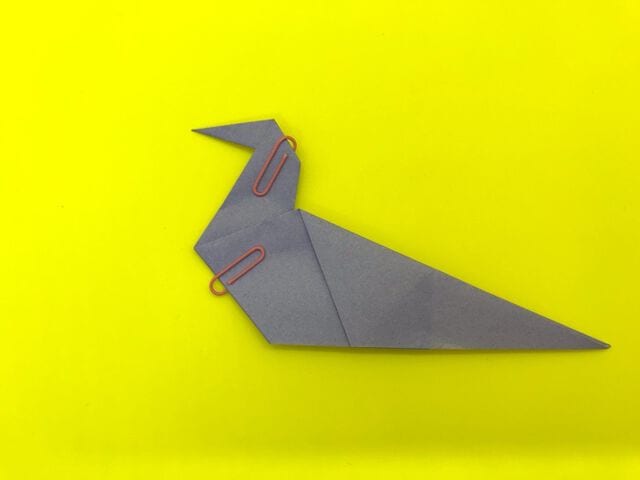
STEP 15. Using the creases you just made, fold the model in half.
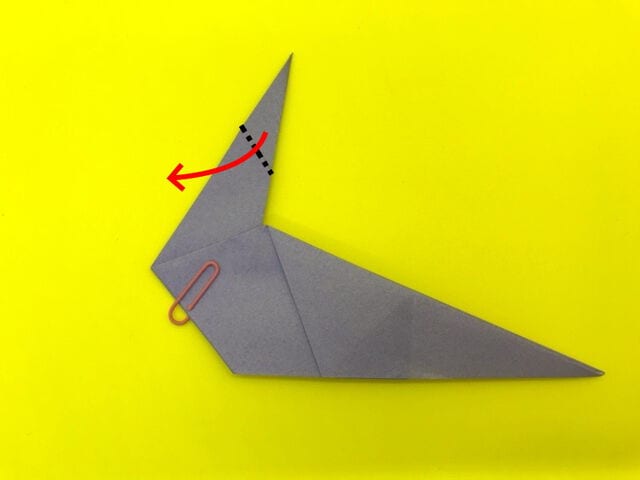
Here’s the view from above. Again combining mountain and valley folds along the centre forms the pigeon’s head.
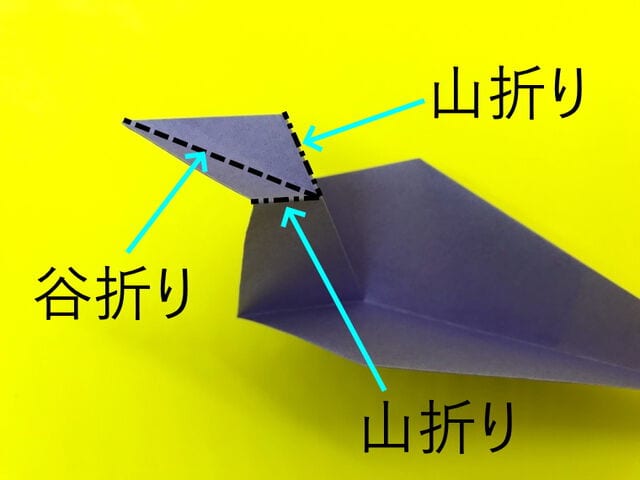
STEP 16. And that completes your pigeon!