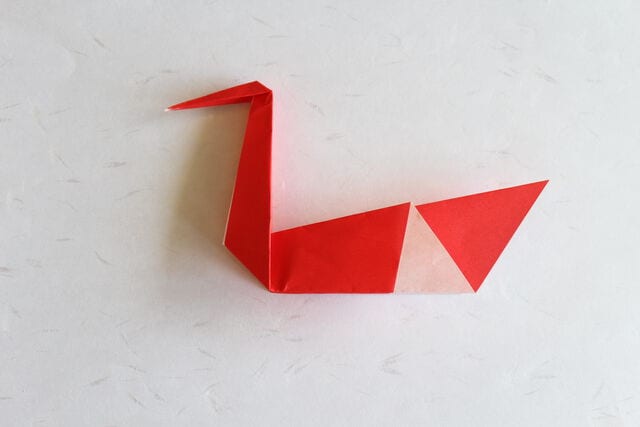
Origami Chopstick Rest
A chopstick rest is one of those tiny details that quietly elevates a meal, and folding your own from origami makes it feel extra special. This little crane-shaped rest is surprisingly easy — easier than the classic crane you might remember — so it’s a perfect quick make before guests arrive.
All you need is a single small square of paper (around 75 mm works beautifully), a few minutes, and these seven photo steps. Let’s fold a charming crane to cradle your chopsticks.
Today I’ll introduce how to fold a chopstick rest from origami. I’ll explain each fold with photos, so please use it as a reference when you entertain.
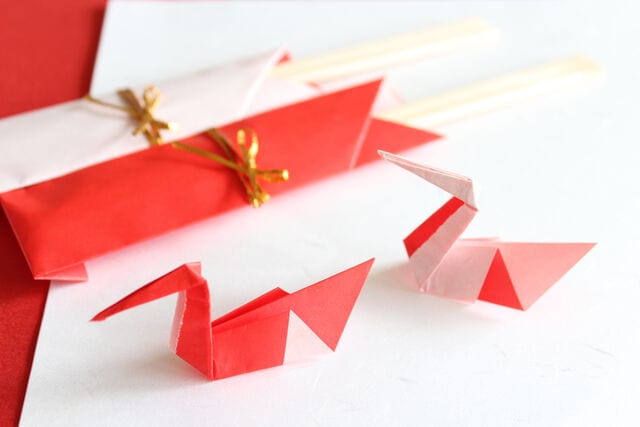
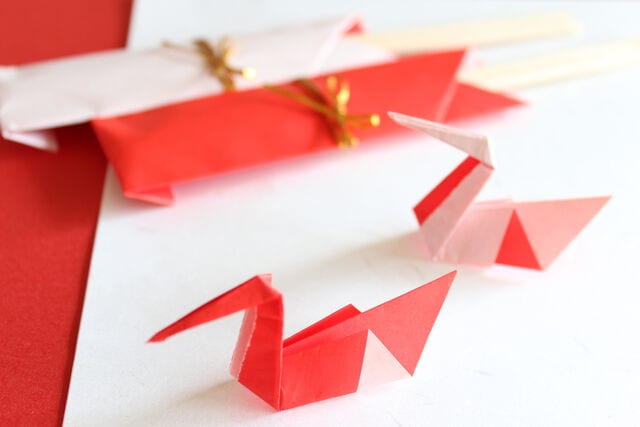 ## How to Fold a Chopstick Rest with Origami
Hello, everyone.
Today I’d like to show you how to fold a chopstick rest that’s easy to make with origami paper.
The other day I picked up some origami at a 100-yen shop, planning to fold with my (rather mischievous) daughter, and I’ve been practicing ever since.
The more I folded, the more fun it became — I got completely hooked on origami (laughs).
I recently learned that origami can be used for table setting too. Folding a chopstick pouch or chopstick rest from origami paper makes setting the table so much more fun — there’s something special about handmade things.
Today I’d like to share this easy origami chopstick rest. I hope it comes in handy when you have guests over.
Here’s the Finished Chopstick Rest
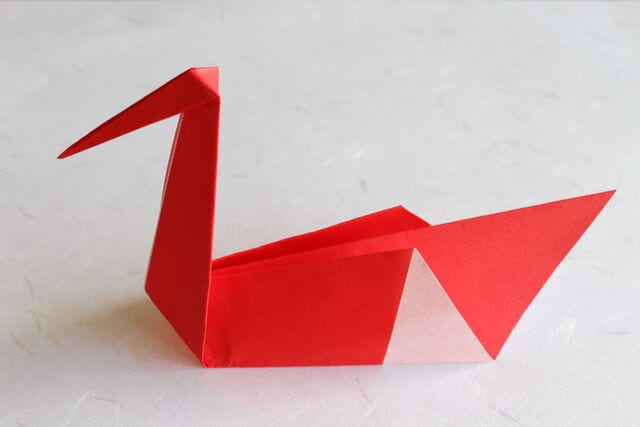 When finished, you get a crane-shaped chopstick rest like the photo above.
It’s very easy to fold.
It’s actually simpler than folding a regular crane, so even small children can make it without trouble.
This time I chose red origami so it would look red-and-white.
Do give this cute crane chopstick rest a try with your origami paper.
How to Fold the Chopstick Rest
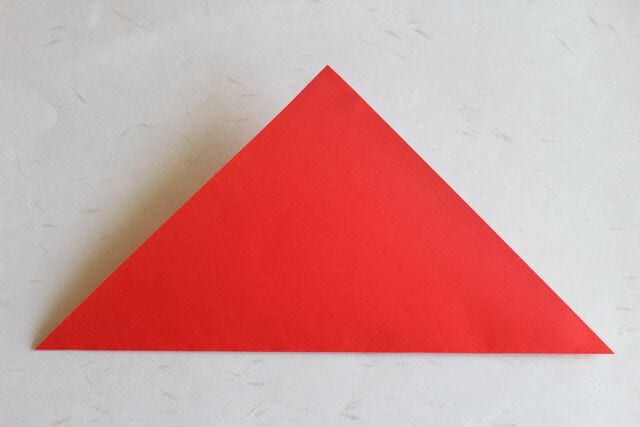
STEP 1.
First, prepare a square sheet of origami paper. A standard sheet cut to one-quarter size is just right for a chopstick rest — the paper I used is 75 mm × 75 mm. Fold this square into a triangle.
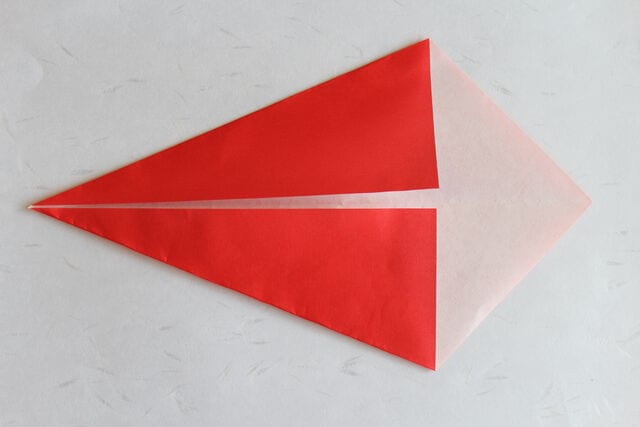
 STEP 2.
Fold it as shown. If you leave a small gap open here, you can enjoy the red-and-white contrast.
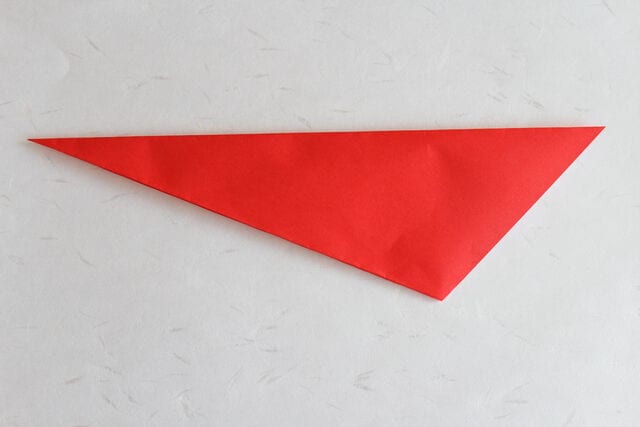
 STEP 3.
Fold it in half, and it will look like this.
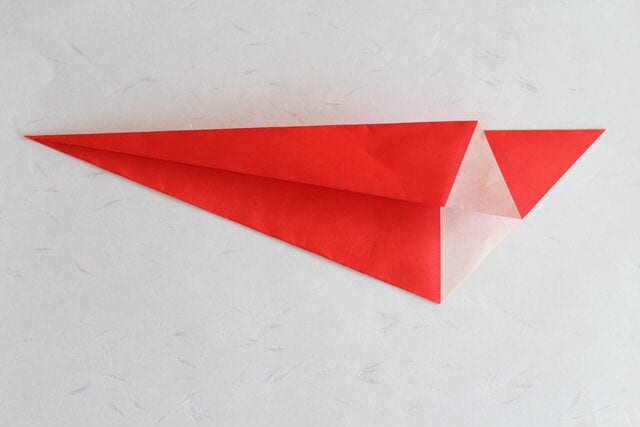
 STEP 4.
Fold it open like this.
 STEP 5.
Fold the other side in the same way.
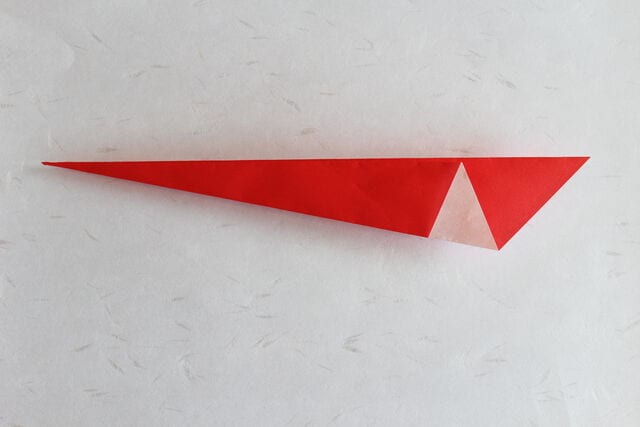 STEP 6.
Fold it inward as shown. The direction is the opposite of a normal crane fold, so it may look a little tricky — but give it your best.
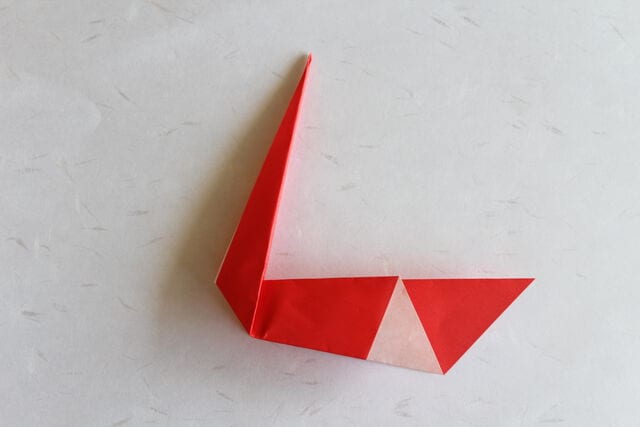 STEP 7.
Fold the beak. Once you’ve done that, stand it up.