
Rocket (Complete Tutorial)
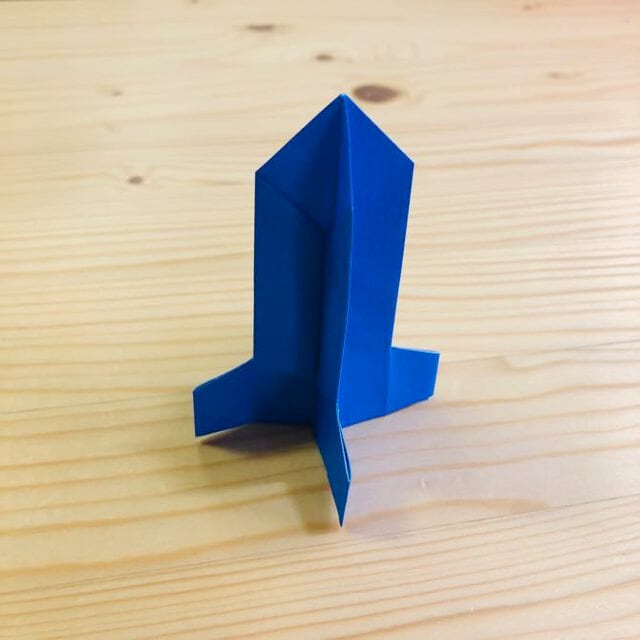
Few paper folds are as satisfying as a rocket — pointy nose, clean body, and fins that actually splay out at the end. This complete tutorial takes you through all fifteen steps with a photo for each one, so you're never guessing where the crease should go.
You start with a simple square and build up the rocket's shape through a rhythm of half-folds and creases, folding the front and back the same way to keep things symmetrical. The fun bit is near the end: a quick snip with scissors frees the fins, and a final spread pops them open. It's a great one to fold with kids, and it looks brilliant lined up on a shelf or stuck to a door.
STEP 1
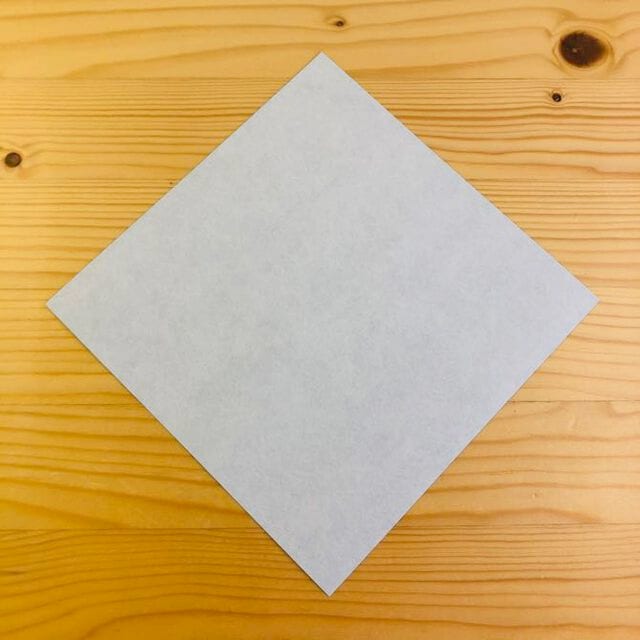
Fold it in half and make a crease.
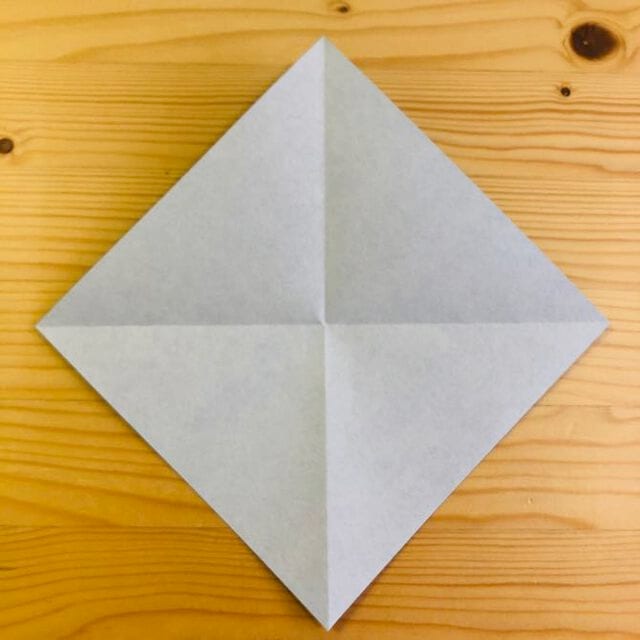
STEP 2
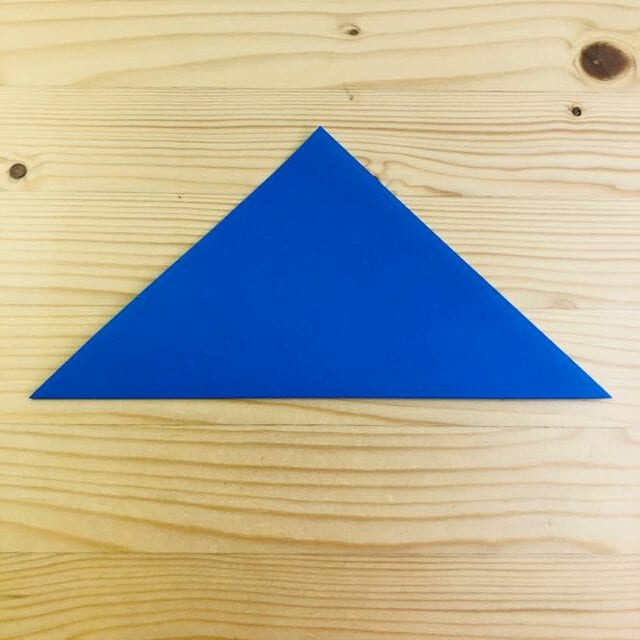
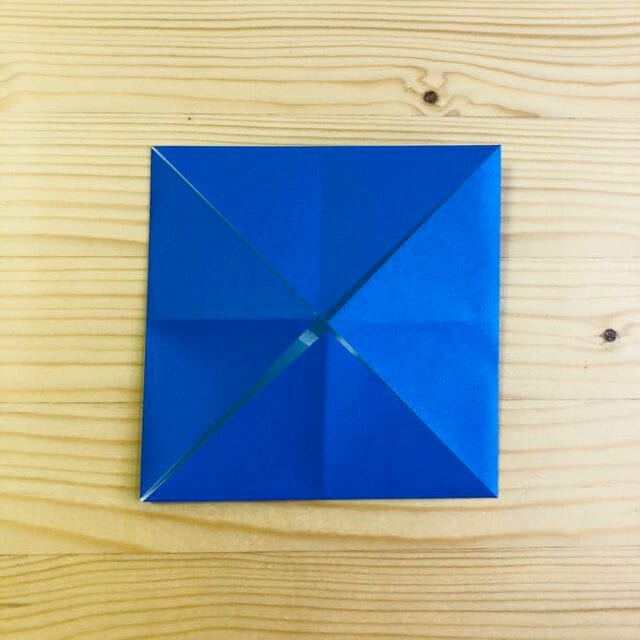
Make a crease at the position shown in the photo.
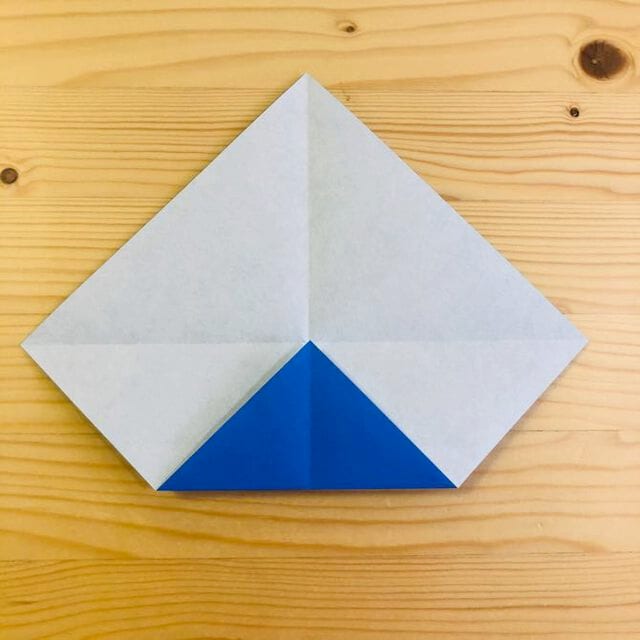
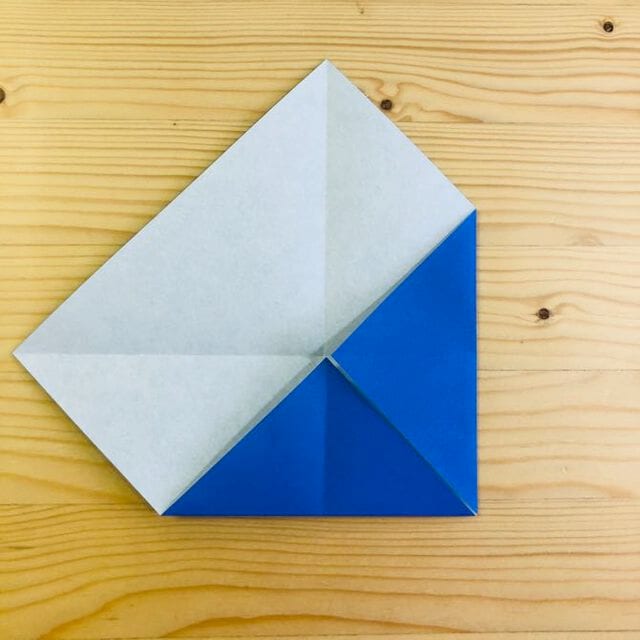
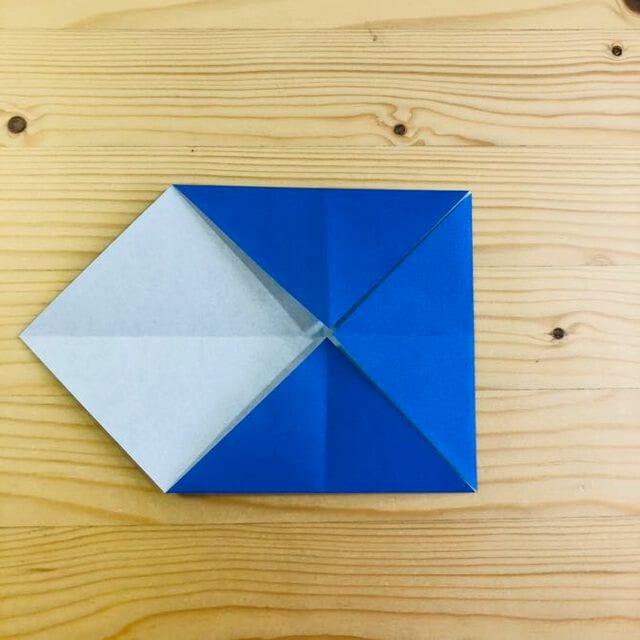
STEP 3
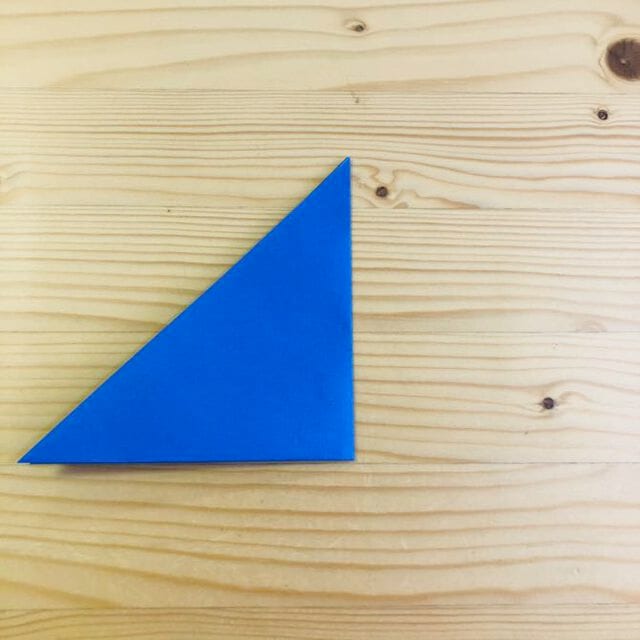
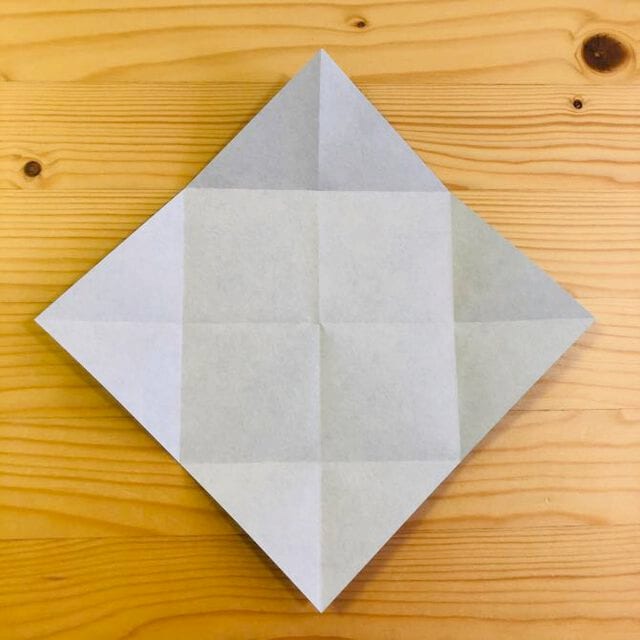
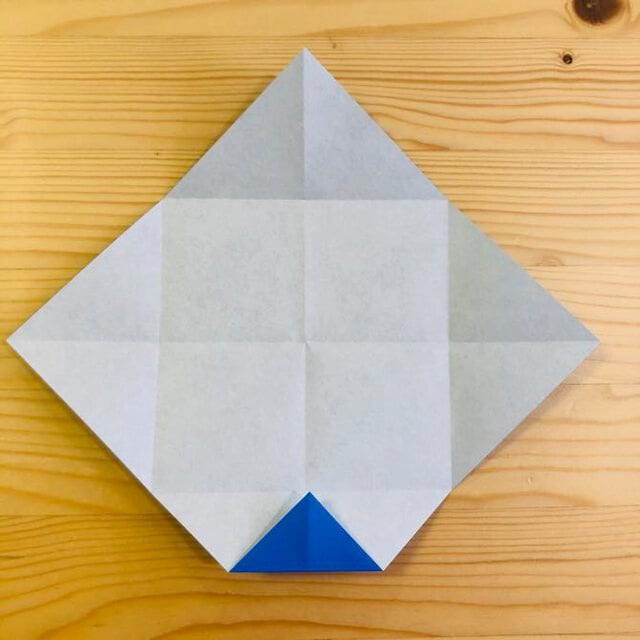
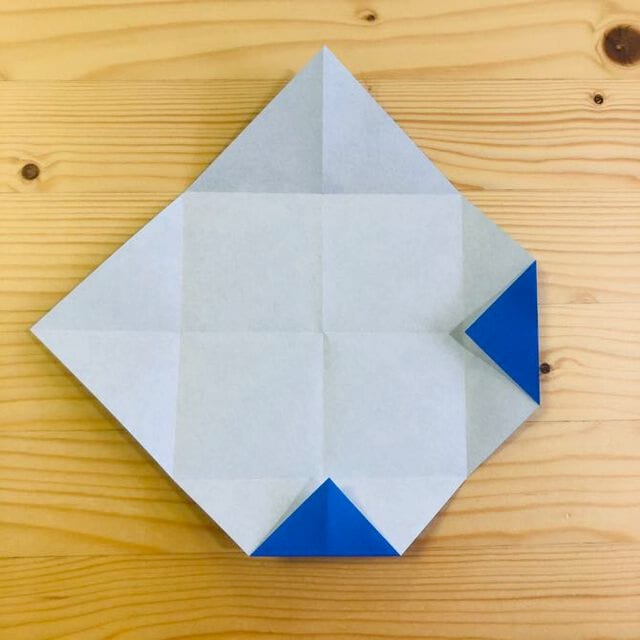
Fold it at the position shown in the photo.
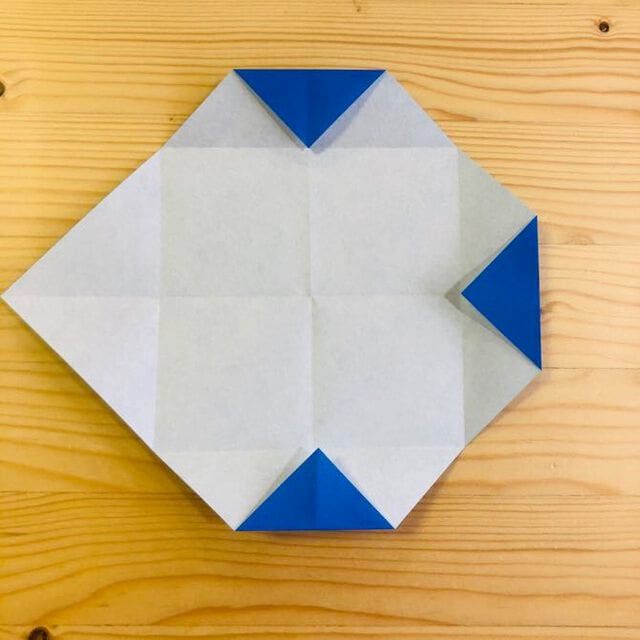
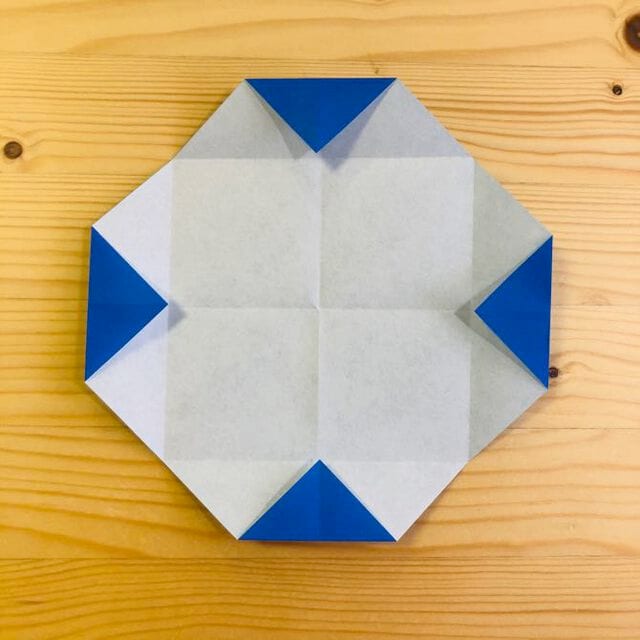
STEP 4
Fold it in half.
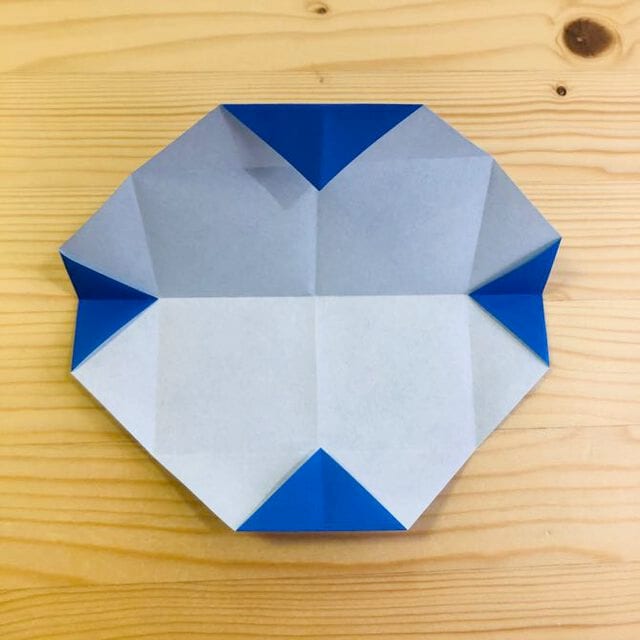
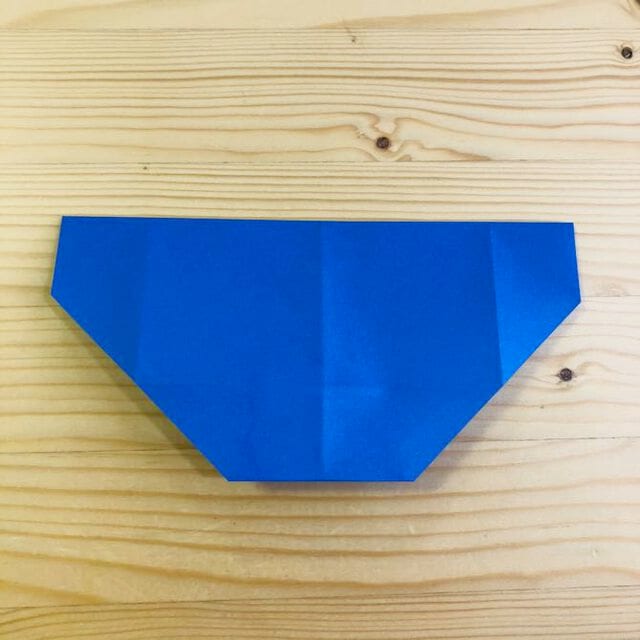
STEP 5
Fold it in half.
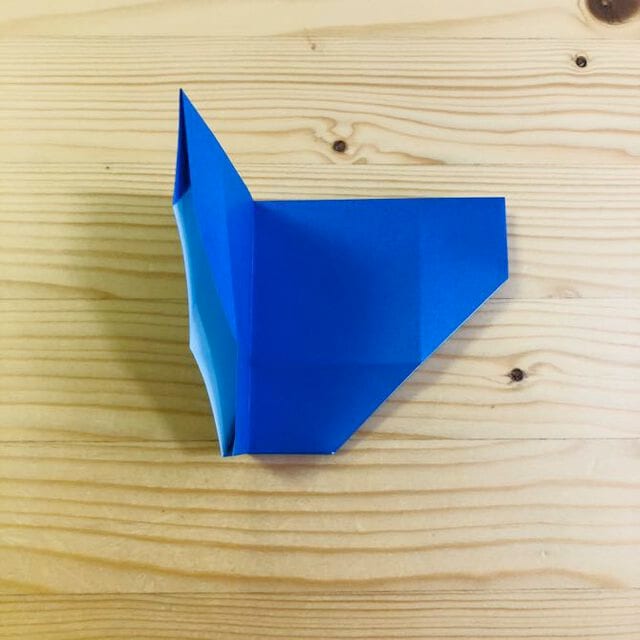
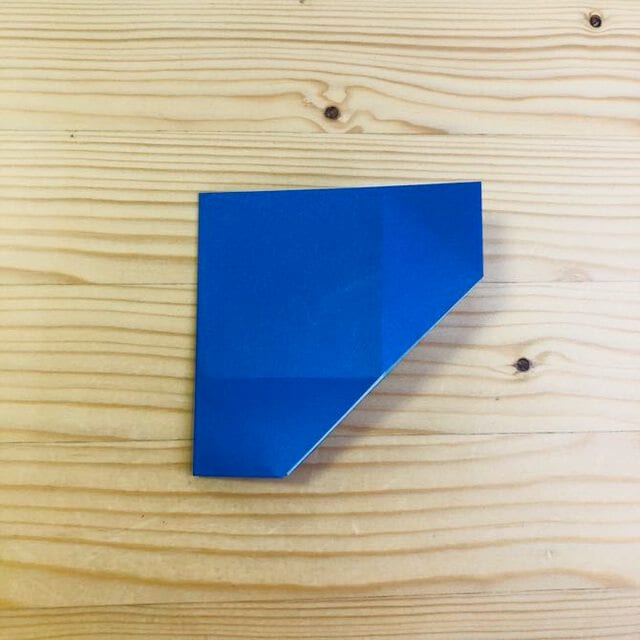
STEP 6
Fold it in half and make a crease.
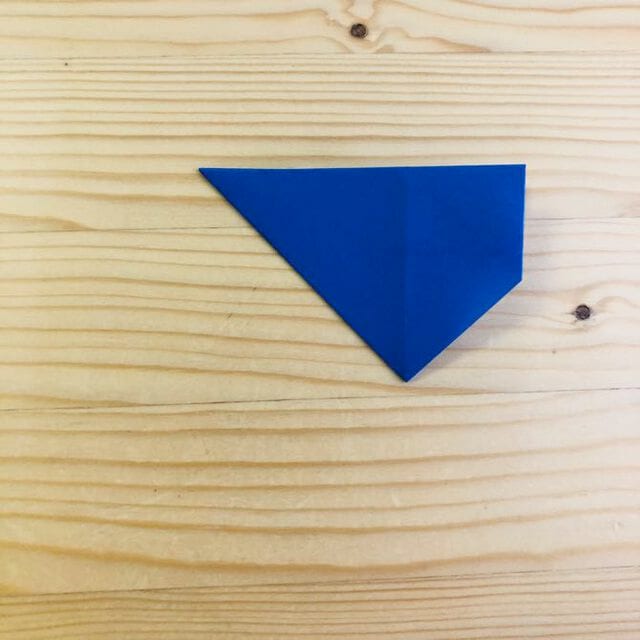
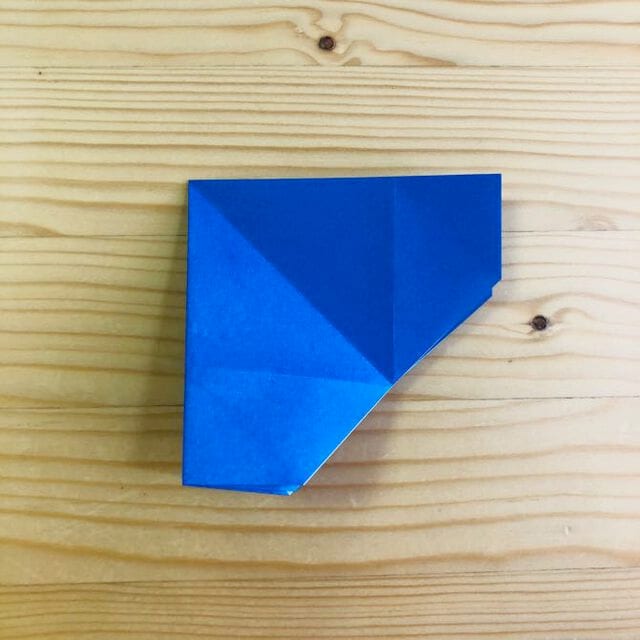
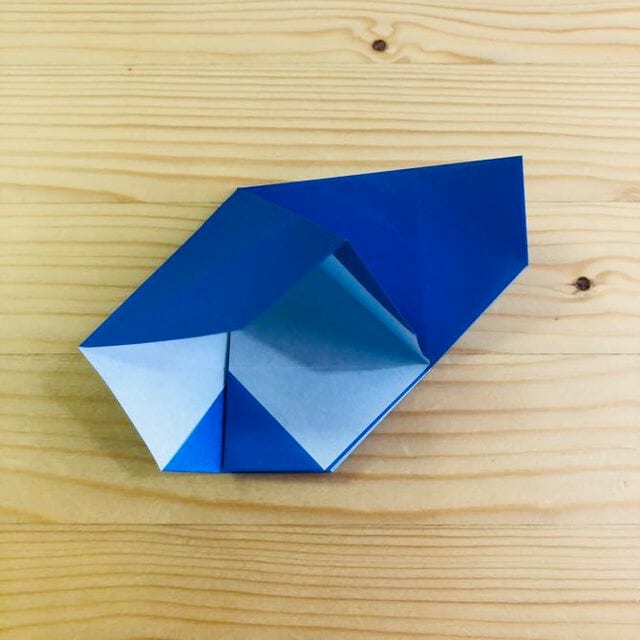
STEP 7
Open and fold as shown in the picture.
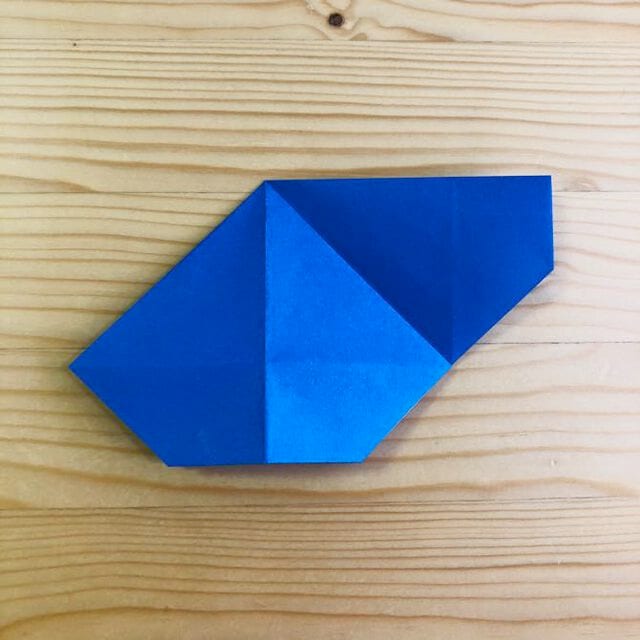
STEP 8
Fold the back side in the same way.
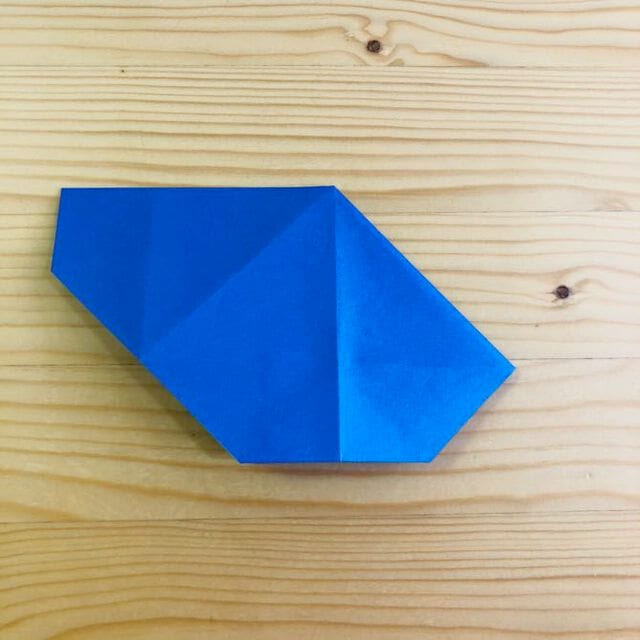
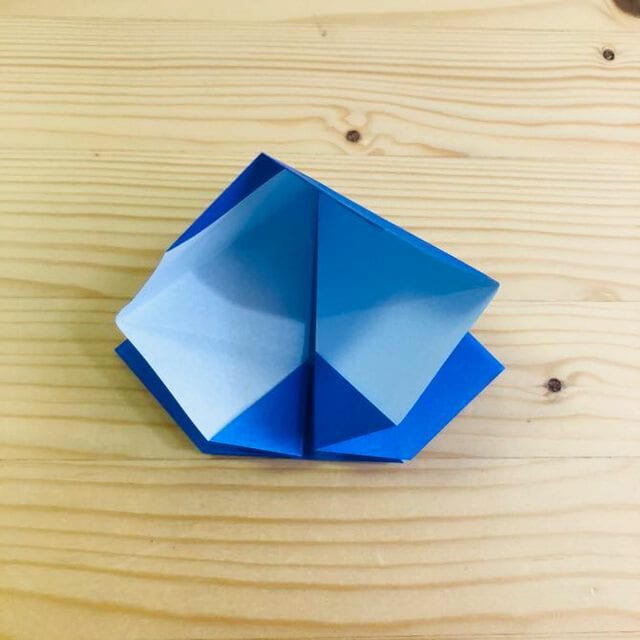
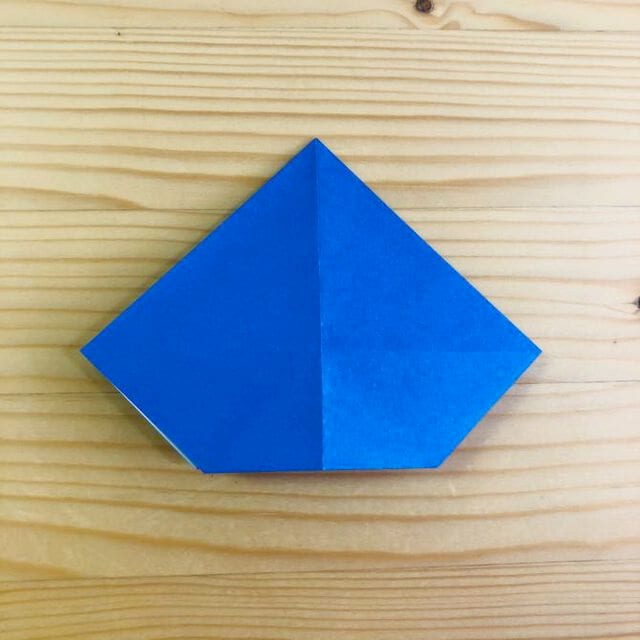
STEP 9
Fold it at the position shown in the photo.
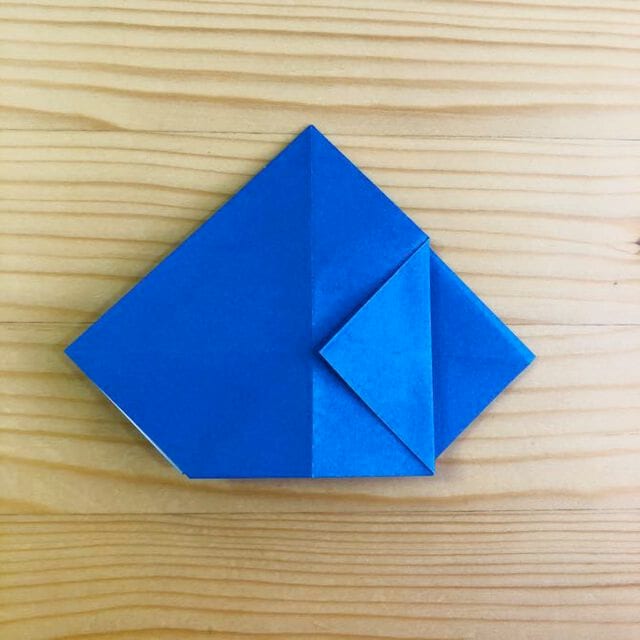
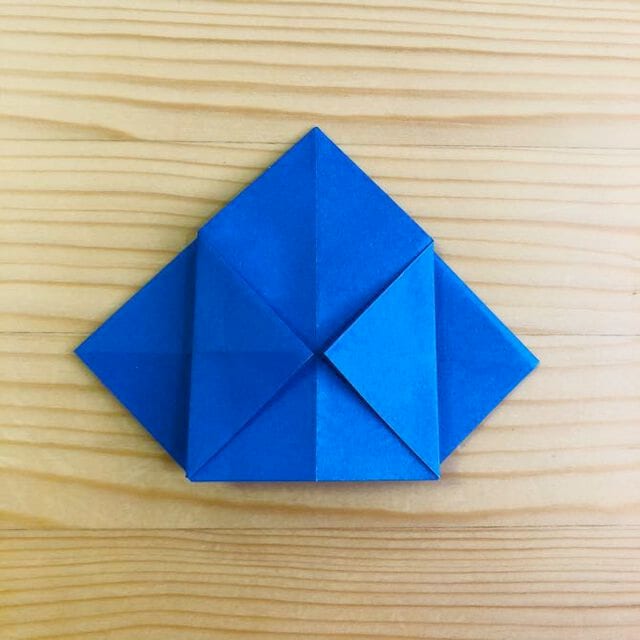
STEP 10.
Make a crease at the position shown in the photo.
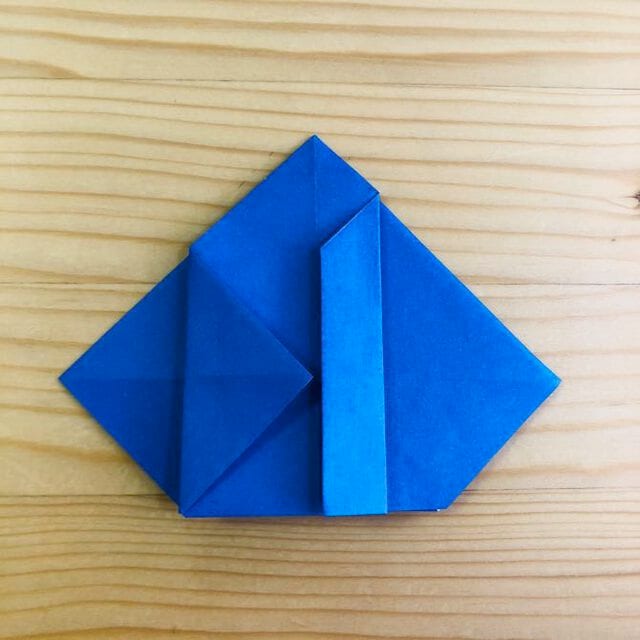
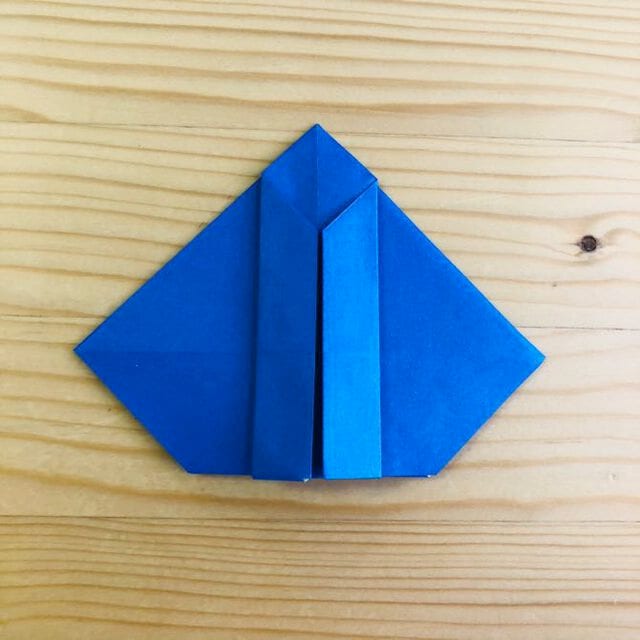
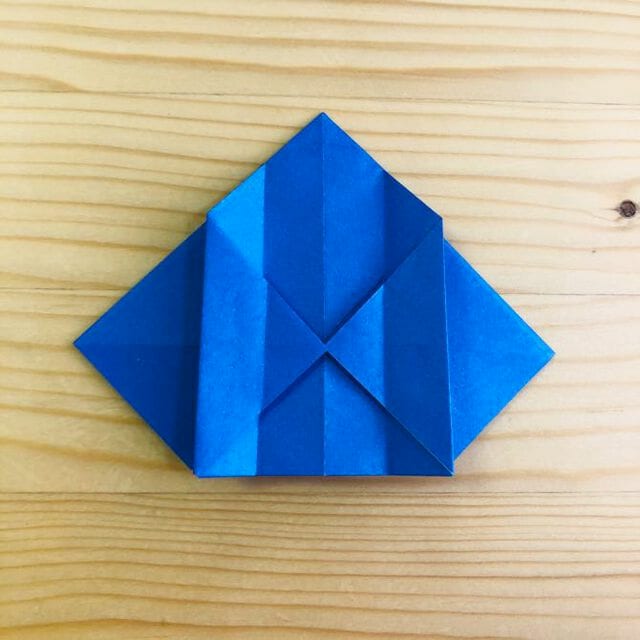
STEP 11.
Fold the back side in the same way.
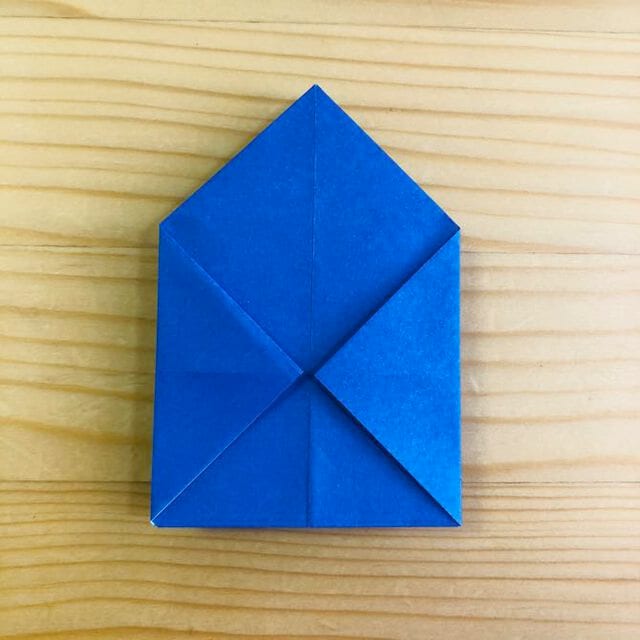
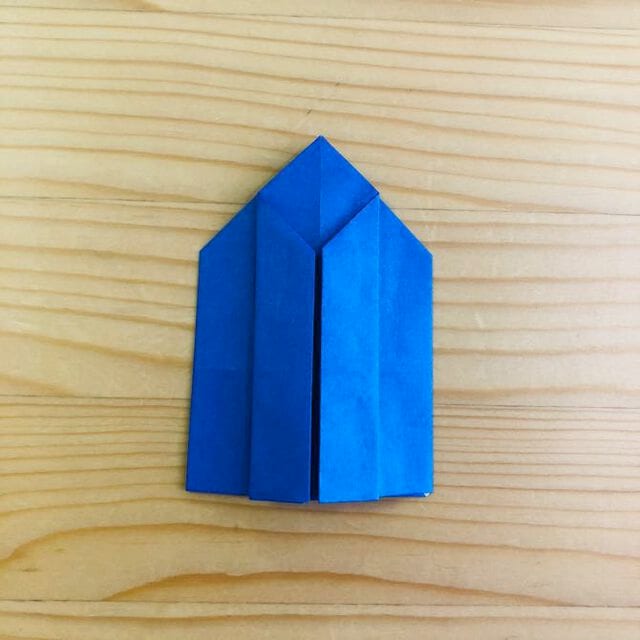
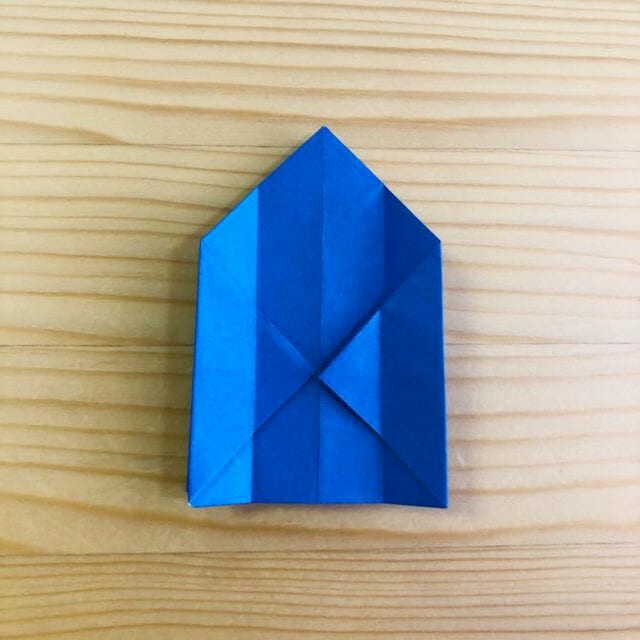
STEP 12.
Cut with scissors.
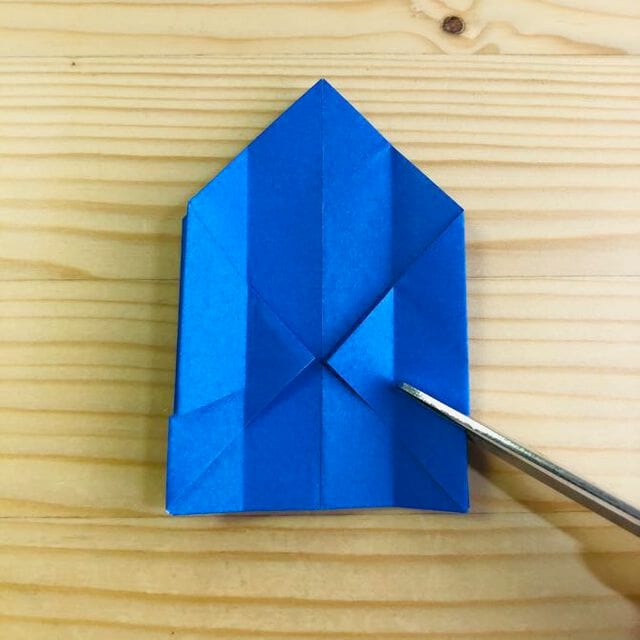
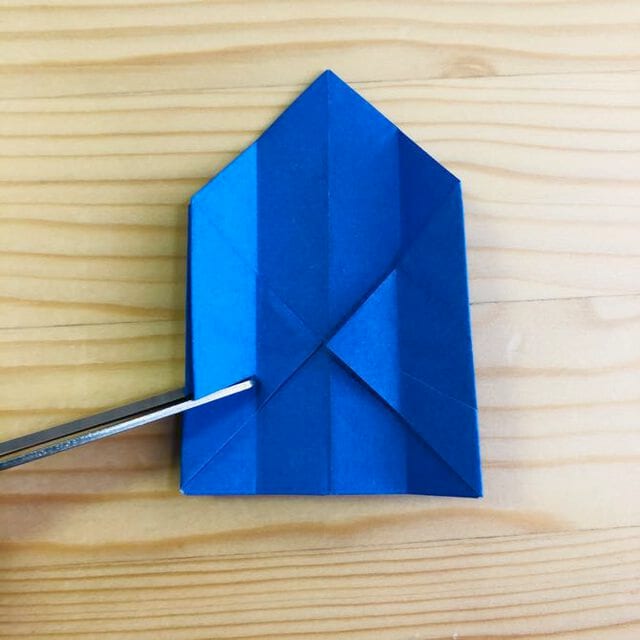
STEP 13.
Fold it at the position shown in the photo.
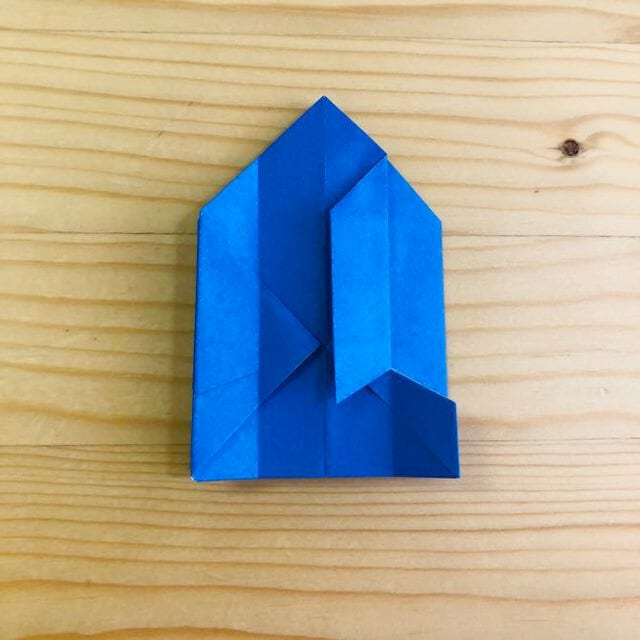
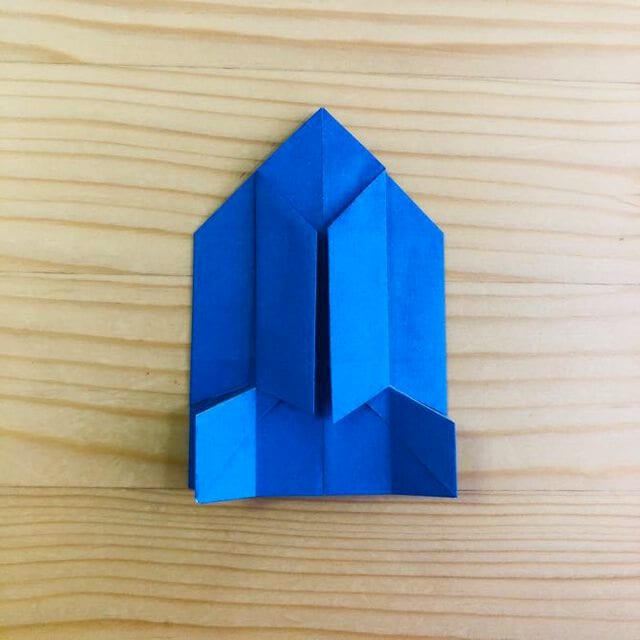
STEP 14.
Fold the back side in the same way.
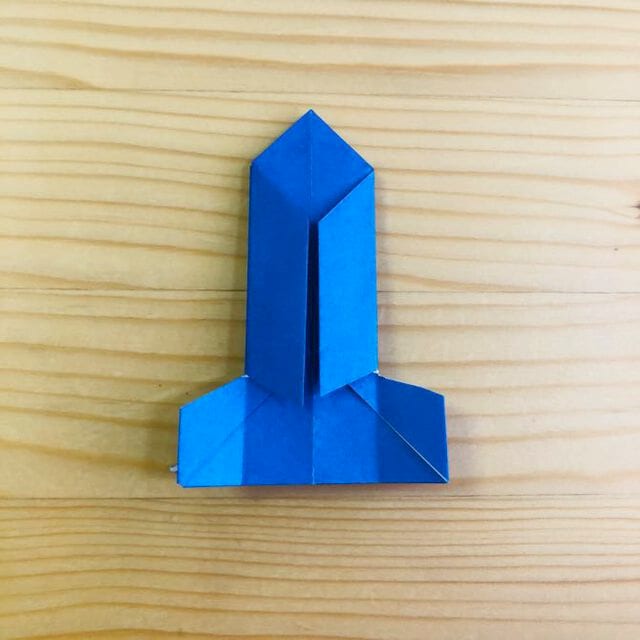
STEP 15.
Spread it open.
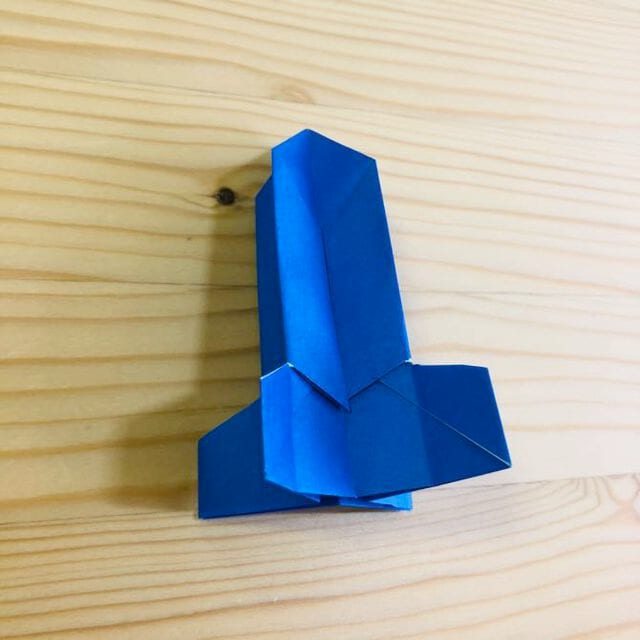
Completion!
The rocket is complete.




