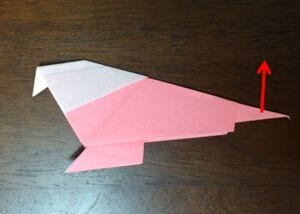
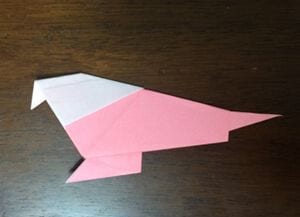
Origami Parakeet
There’s a special charm to a tiny origami bird with its tail cocked at a jaunty angle, and this little parakeet delivers exactly that. It’s a compact, single-sheet fold that comes together in about a dozen photo steps.
Fair warning from the original author: it’s easy to crease in the wrong place, so keep the photos close as you go. Other than that, the moves are friendly basics — symmetric folds, a little reverse at the end — and the two-tone effect (use a sheet with a colored side and a white side) makes the finished bird pop. Let’s fold a cheerful little flock.
 I’ll show you how to fold an origami “parakeet” in an easy-to-follow way.
It’s easy to crease in the wrong place, so please keep the photos handy as you make it.
How to Fold an Origami Parakeet
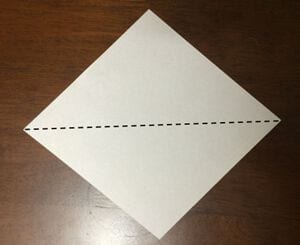
STEP 1.
Fold it in half to make a center crease.
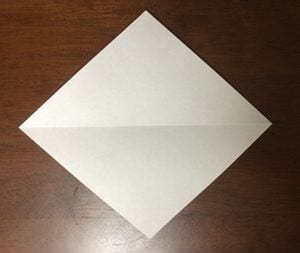 STEP 2.
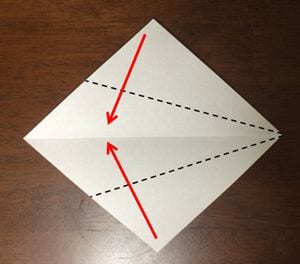
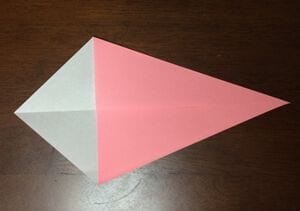
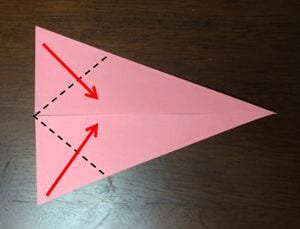
Fold the top and bottom edges on the right side so they line up with the creases.
 STEP 3.
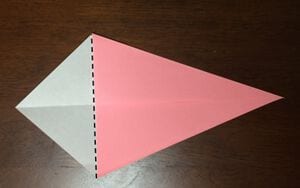
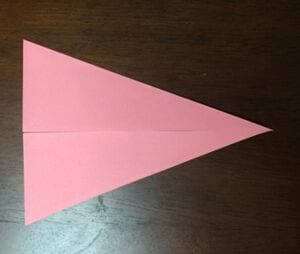
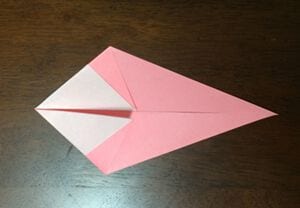
Fold the white part on the left back.
 STEP 4.
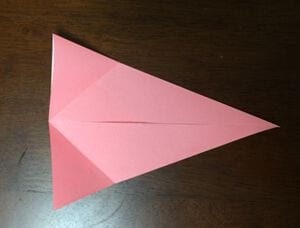
Fold the top and bottom corners to make creases so the edges tuck into the creases.
 STEP 5.
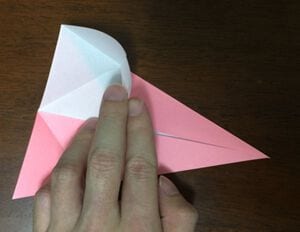
Fold it so the corners pull outward, as shown in the figure.
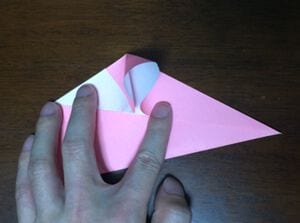
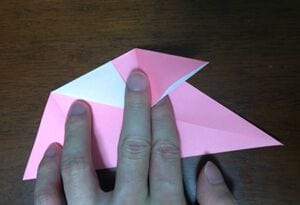
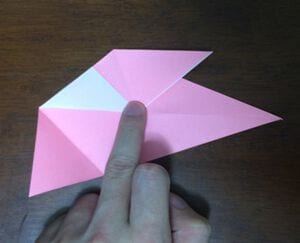 STEP 6.
Fold the bottom side the same way.
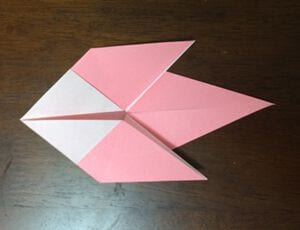 STEP 7.
Fold the edges along the creases, as shown.
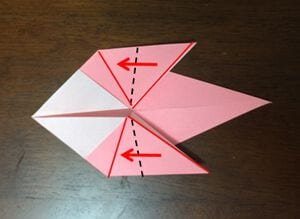
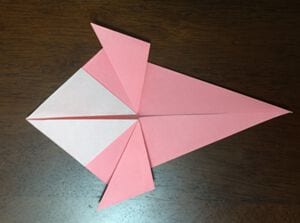 STEP 8.
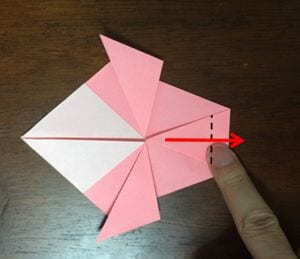
Fold the right corner, as shown.
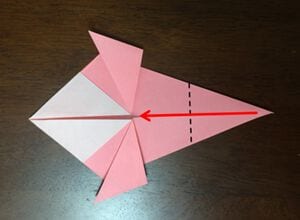
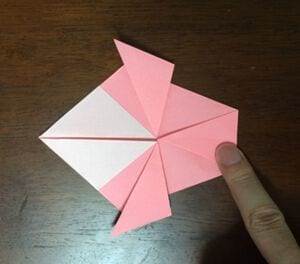 STEP 9.
Fold it to the left, leaving a little margin.
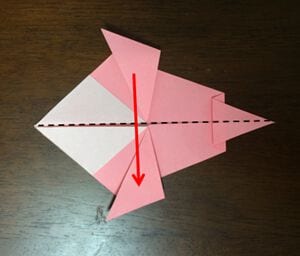
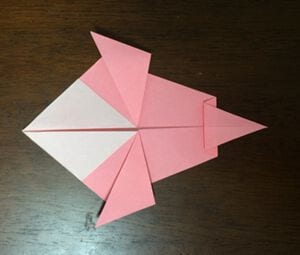 STEP 10.
Fold it in half from top to bottom.
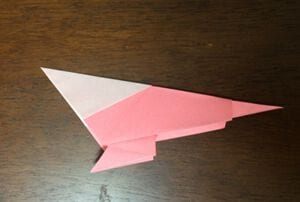 STEP 11.
Make a crease at the left corner.
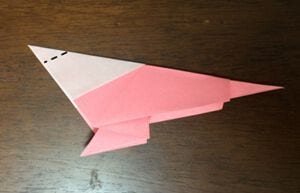
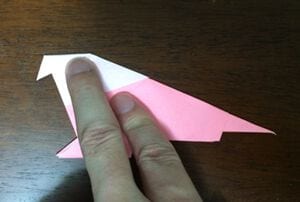 STEP 12.
Fold it inward along the crease.
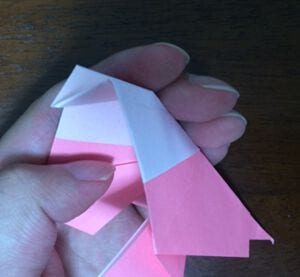
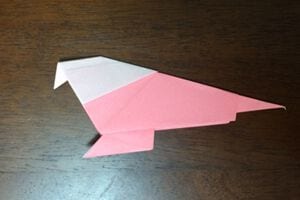 STEP 13.
Raise the tail part slightly, and your parakeet is complete!