
Whale Shark
The whale shark is the gentle giant of the ocean — all vast body and slow, graceful glide — and it turns out to be just as fun to fold as it is rare to see. Back when this tutorial was written, only five aquariums in Japan even kept one.
This is a three-dimensional model, which means it's a step up from the flat folds you may know: there are a few scissor cuts for the tail and mouth, and the dorsal fin takes some care. But take it slowly, keep the photos close, and you'll end up with a properly sculpted little shark. Let's fold it.
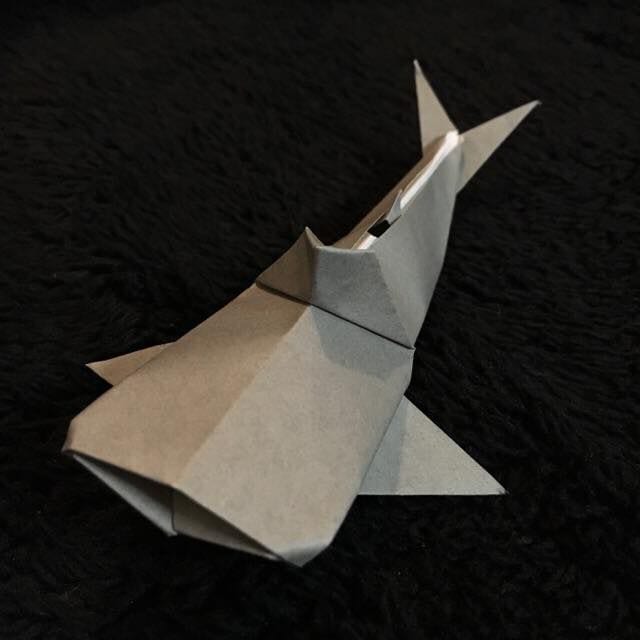
This time I’d like to fold an origami version of a creature you rarely see in an aquarium. As of 2017, only five aquariums in Japan kept one.
It’s the whale shark! The way it glides so gracefully with that huge body is just cool.
I really wanted to fold a whale shark in origami.
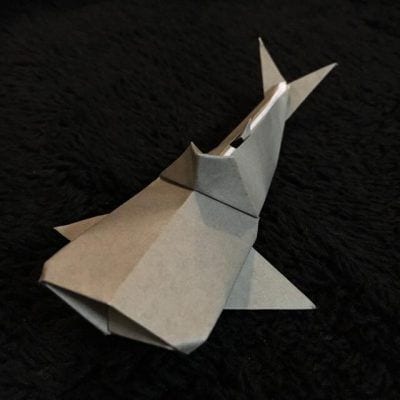
I had a hard time finding a whale shark origami I could actually introduce.
The model is built three-dimensionally to capture the whale shark’s shape. Because of that, it’s a little challenging — I’d call it an intermediate-level fold.
Let’s give it our best and fold it! Here’s how to fold the whale shark origami.
How to Fold the Whale Shark
A whale shark’s colour is close to grey to black. Or, if you fold it in light blue, it looks rather cute.
Also, there are a few cuts, so please have scissors ready too.
This time I followed along with a video tutorial, so let’s fold it right away!
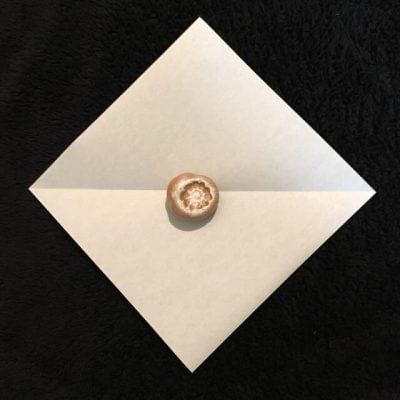
Step 1.
Fold it into a triangle with the colour on the outside, then unfold.
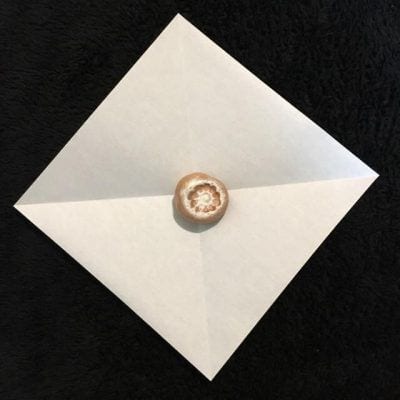
Step 2.
Align the other corners, fold them into a triangle, and unfold diagonally.
Step 3.
Fold along the crease as shown in the picture.
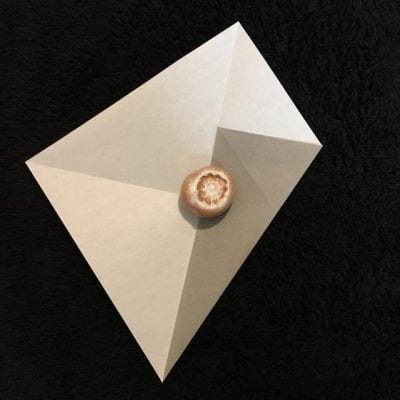
Step 4.
Fold the other side in the same way.
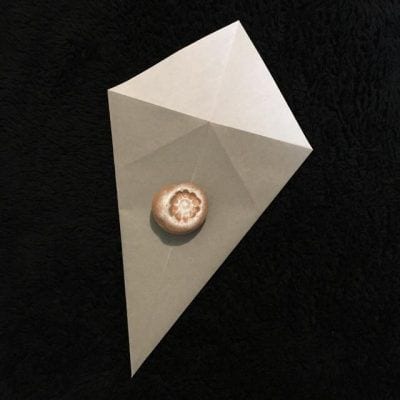
Step 5.
Turn it over and fold it in half.
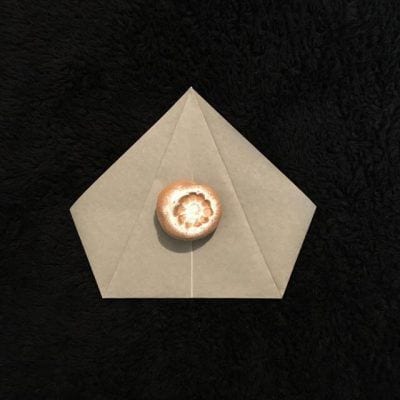
Step 6.
Turn it over again and open out the part tucked in the pocket.
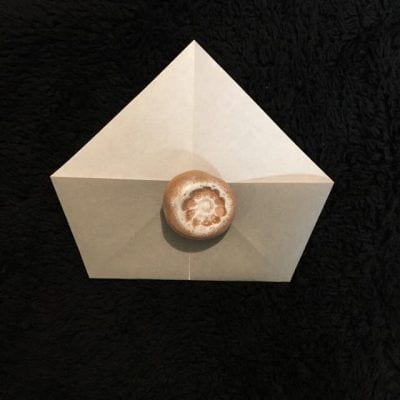

Step 7.
Spread the top layer out as it is.
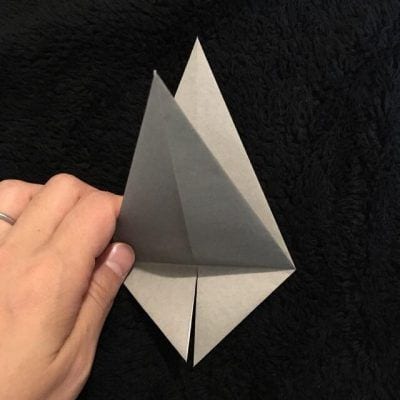
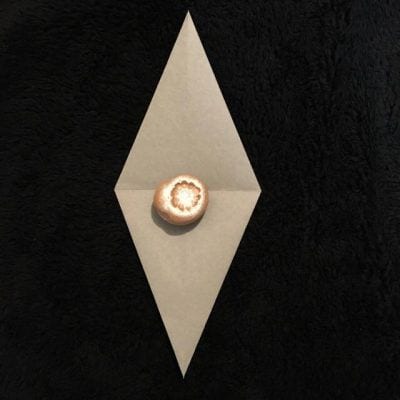
Step 8.
Turn it over and fold the loose triangular corners in along the centre line.
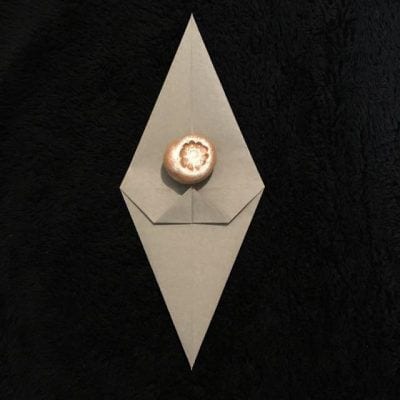
Step 9.
Fold the bottom corner as shown and make a crease.
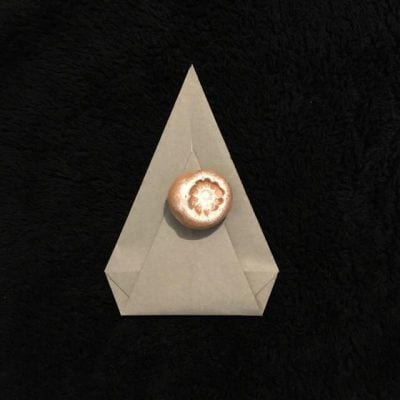
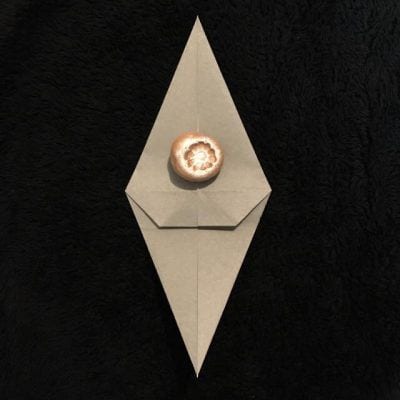
Step 10.
Fold the loose triangular part as shown in the photo.
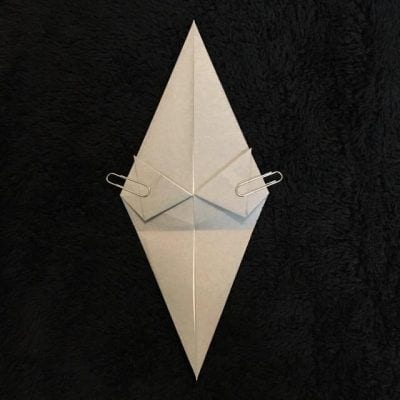
Step 11.
Fold the corners as shown in the picture.
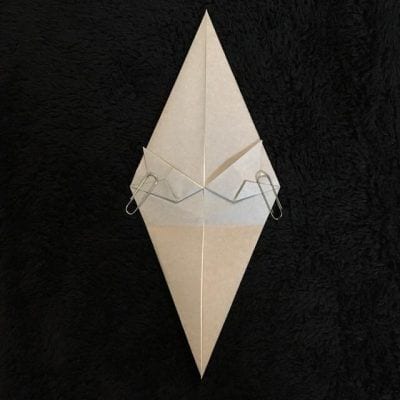
Step 12.
Insert it inside while widening the crease. Fold the other side in the same way.
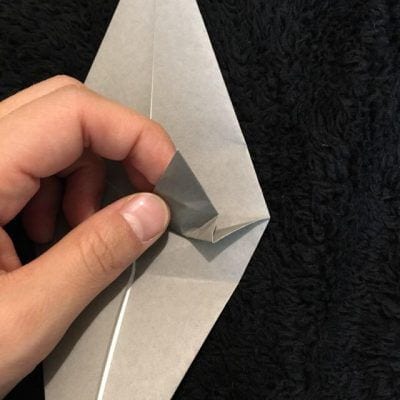
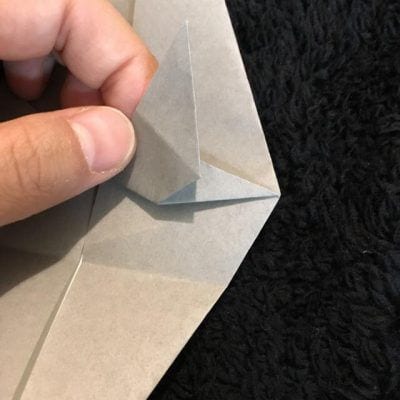
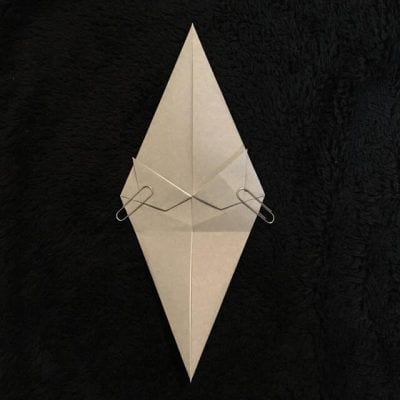
Step 13.
Fold the bottom corner up along the crease you made earlier, then fold it back down nearly halfway.
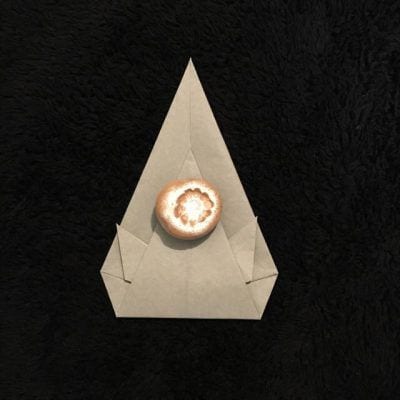
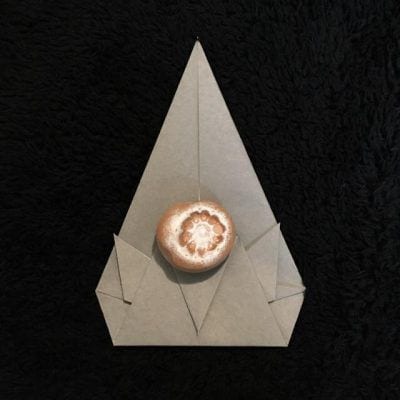
Step 14.
Fold it up in half.
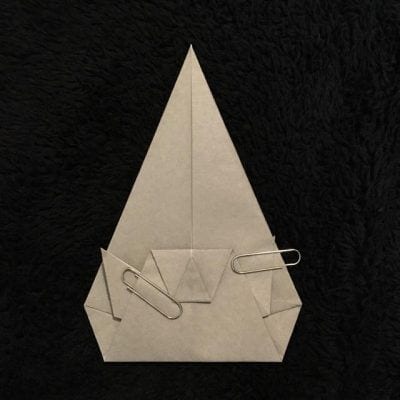
Step 15.
Make two creases as shown in the photo.
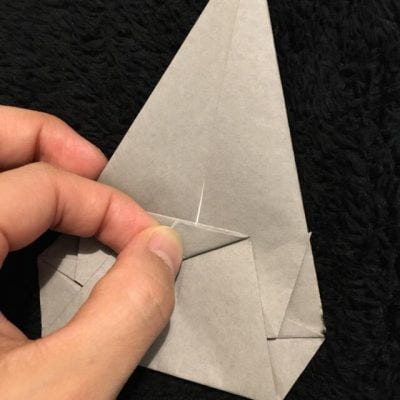
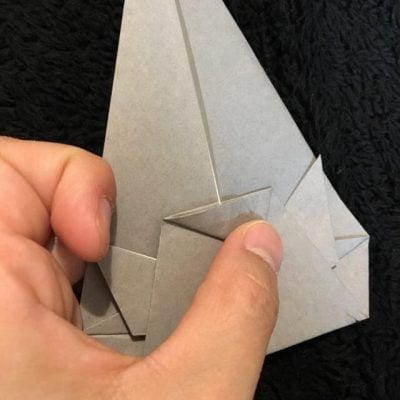
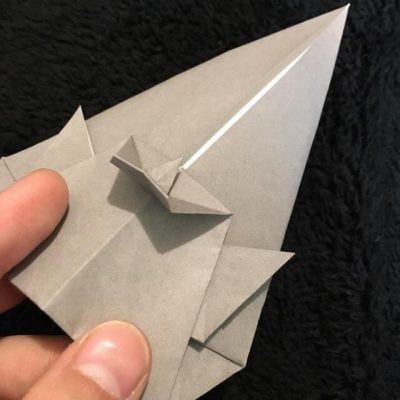
Step 16.
Turn it over and fold it as shown in the photo.
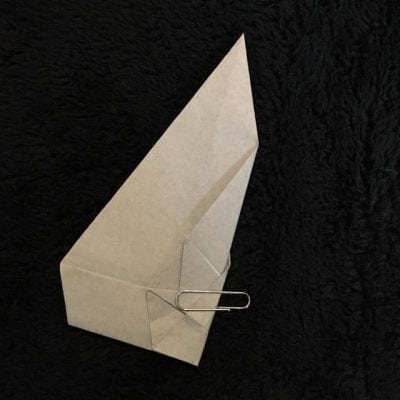
Step 17.
Fold the other side in the same way.
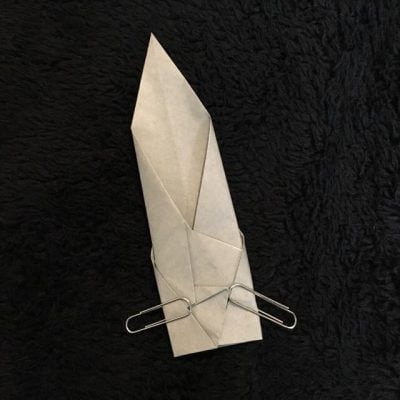
Step 18.
Open it out, turn it over, lift the crease you made earlier, fold the whole thing as a mountain fold, and raise the dorsal fin.
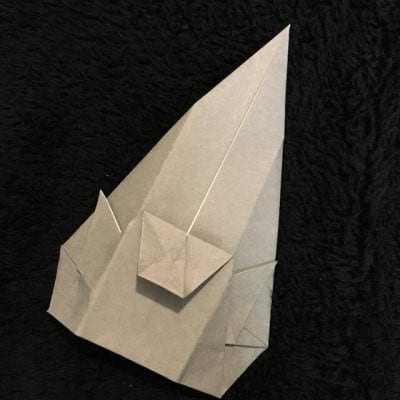
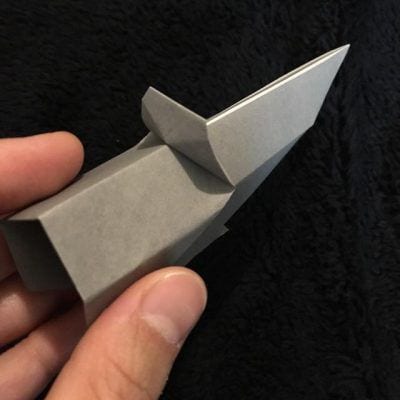
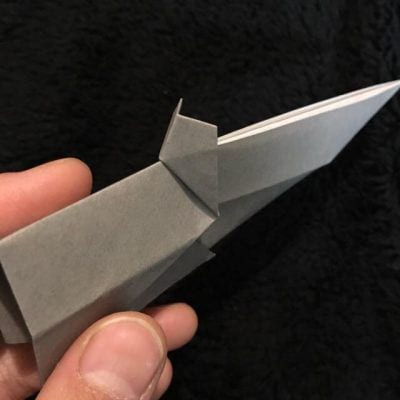
Step 19.
Make a crease on the dorsal fin and fold it inward.
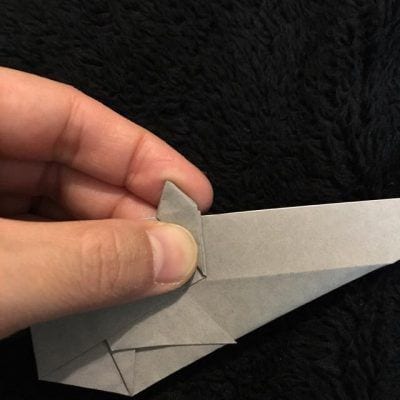
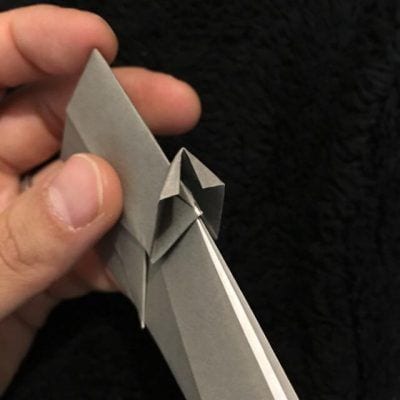
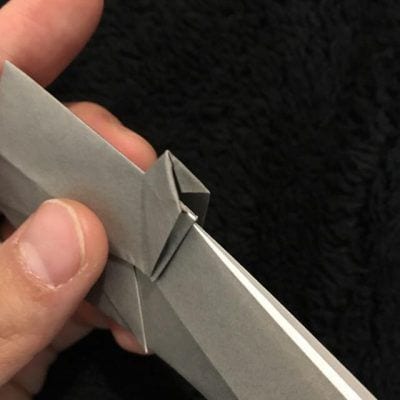
Step 20.
Fold the tail fin diagonally upward.
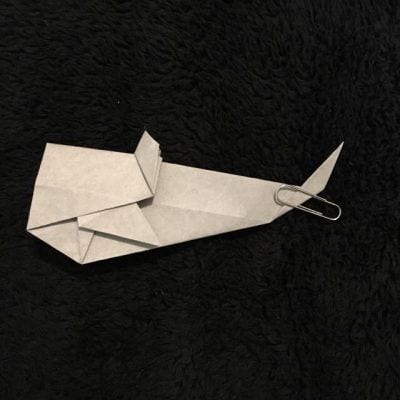
Step 21.
Open it flat and cut a notch with scissors, using the crease as a guide.
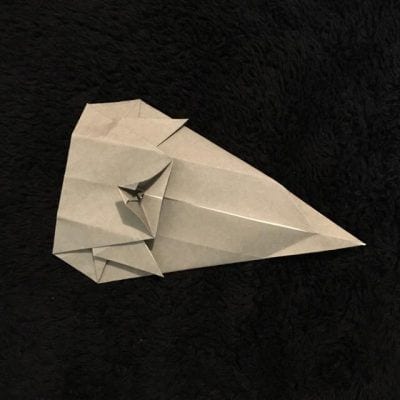
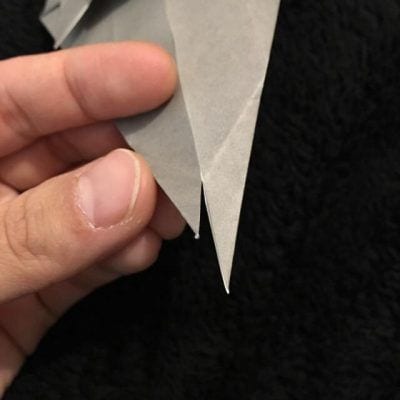
Step 22.
Cut the notch, paying attention to the direction as shown in the photo.
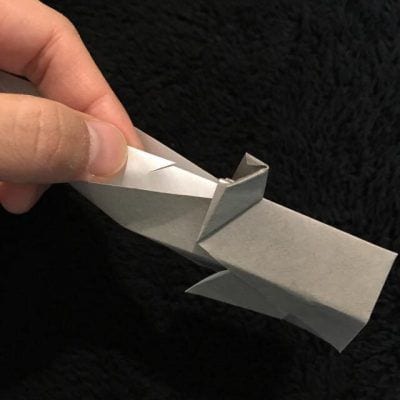
Step 23.
Fold the notched part up and pull it out a little as shown in the photo.
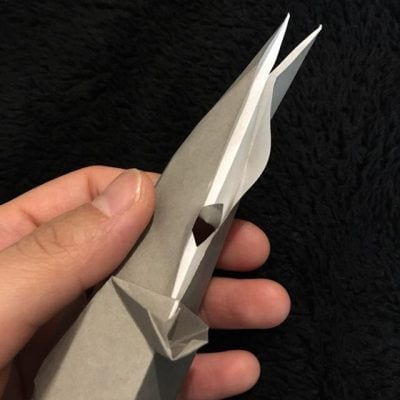
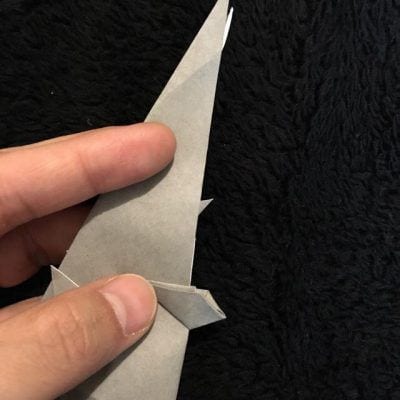
Step 24.
Make a crease from the tail fin to the belly as shown. If it’s a valley fold, reverse it to a mountain fold and crease again.
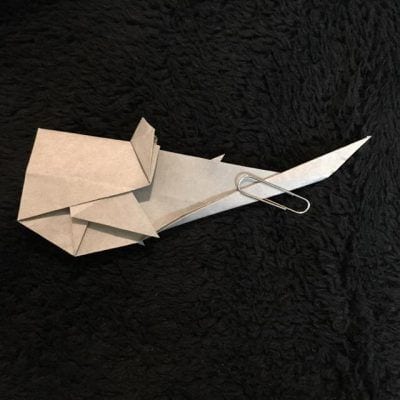
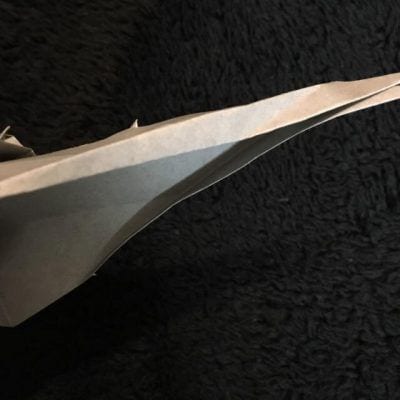
Step 25.
Stack the parts that will form the mouth into a cylinder.
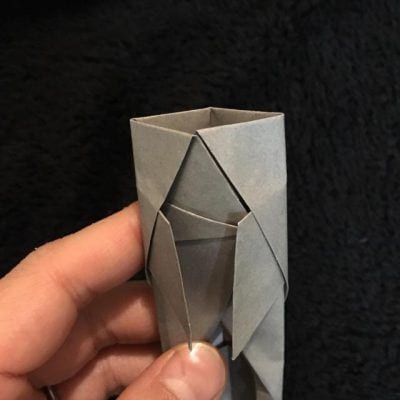
Step 26.
Fold both ends of the mouth slightly inward.
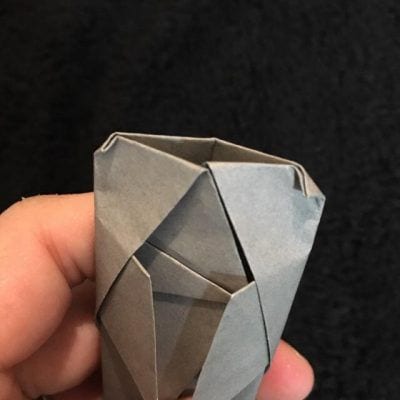
Step 27.
Open the tail fins to the left and right, and overlap them using the creases you made earlier.
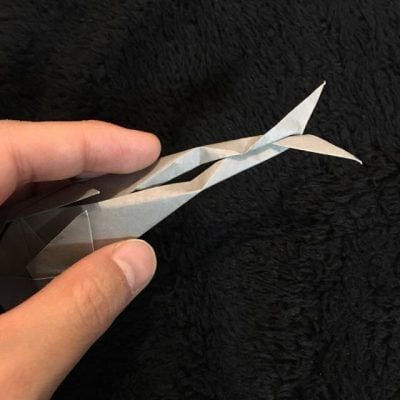
Step 28.
Spread the pectoral fins and your “whale shark” is complete.
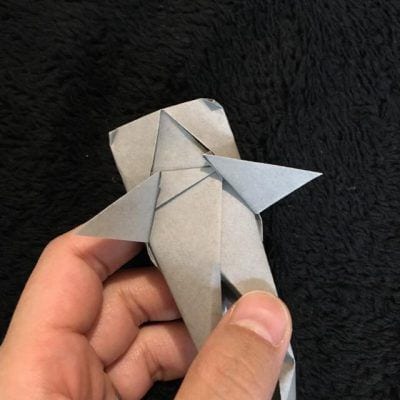
How did your folding go?
It got a little tricky once the dorsal fin came into play. Watch the video and photos carefully, and be sure not to mix up where the notch goes.




