
How to Fold the Noshiika Paper Airplane
Most of us stopped at the same paper airplane we learned in school, and most of us watched it nosedive into the floor. The Noshiika airplane fixes that with two extra folds you probably never thought to make: folding each trailing edge back parallel to the crease thickens the body, so the nose stays sharp and the paper does not flex in the air. It also happens to fold beautifully from junk paper — old flyers, half sheets of A4, anything rectangular. Fold one version from thin paper and one from a heavier sheet, then race them down the hallway and see which thickness wins.
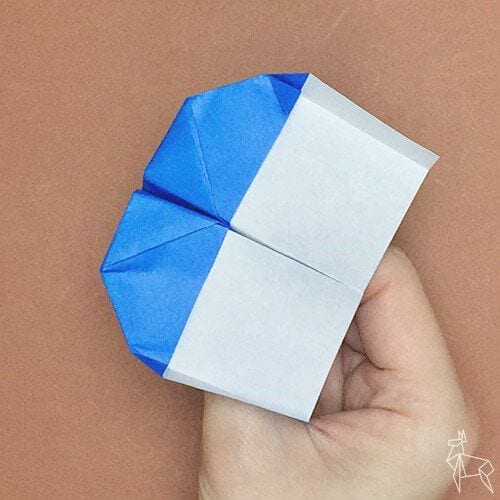
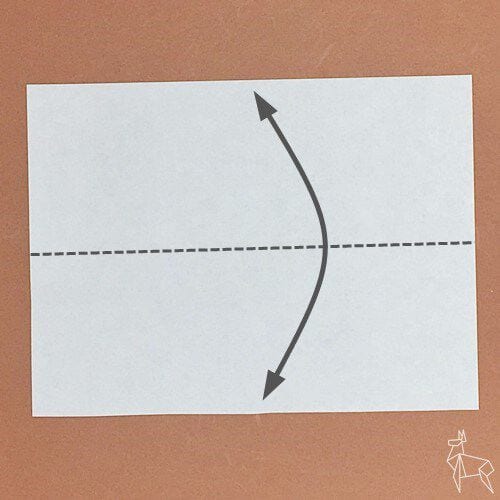
STEP 1. Cut your origami paper into a rectangle, or simply take a flyer or a sheet of A4 paper. Fold it in half along the dotted line and crease it well.
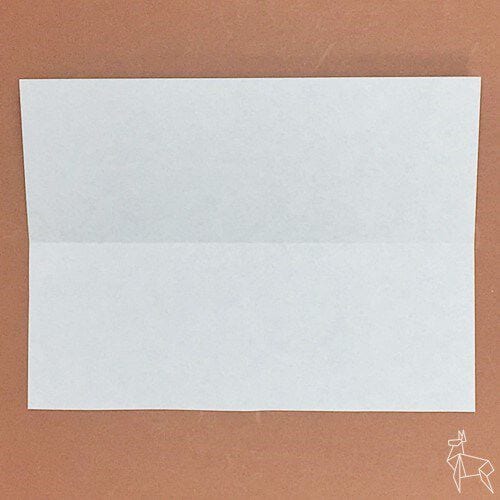
STEP 2. Fold along the dotted line so that the left edge lines up with the bottom edge.
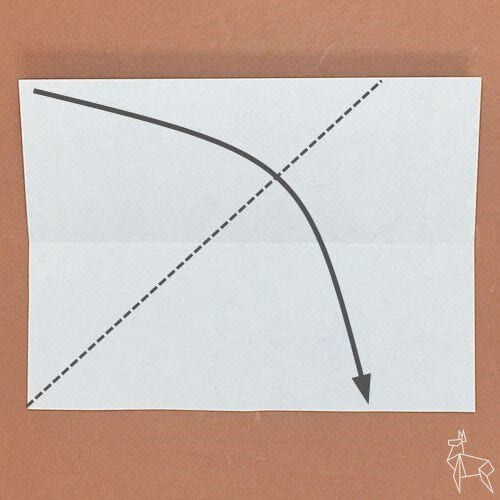
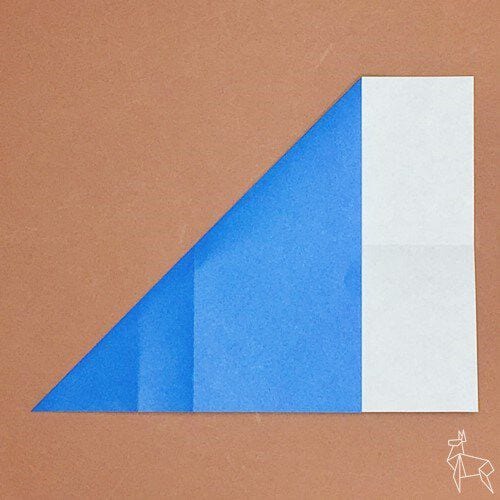
STEP 3. Fold along the dotted line so that corner meets corner.
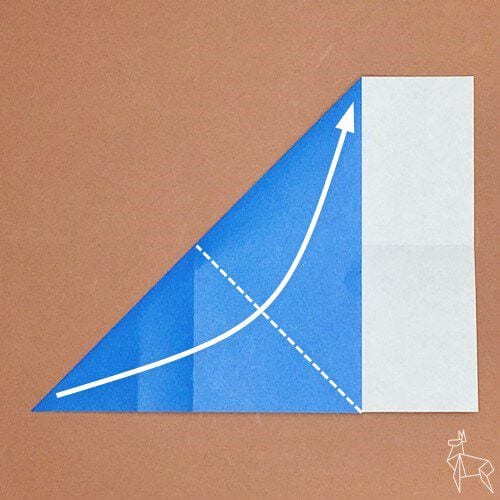
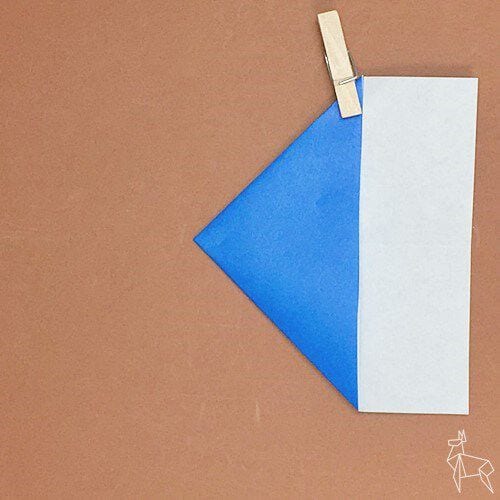
STEP 4. Fold along the dotted line.
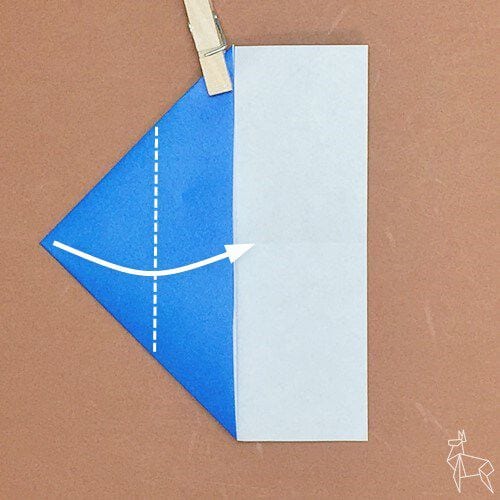
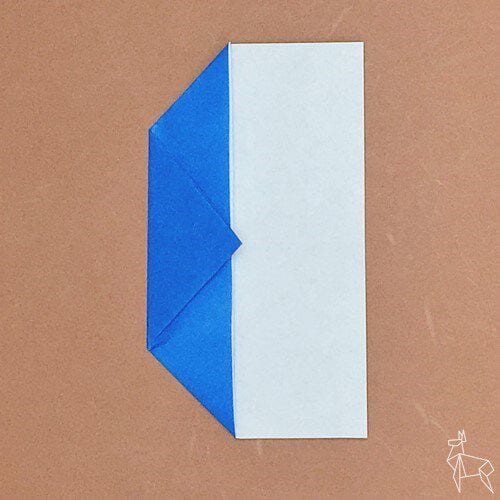
STEP 5. Fold the whole thing in half along the dotted line.
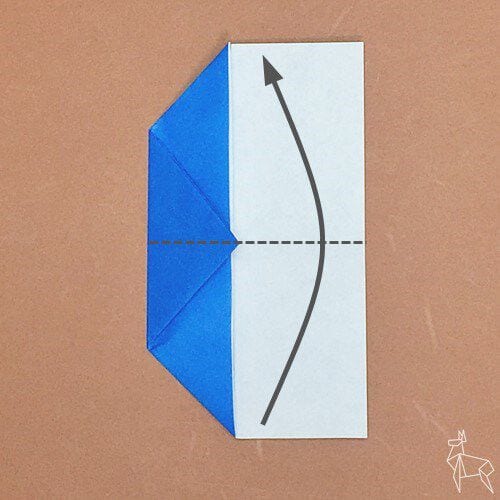
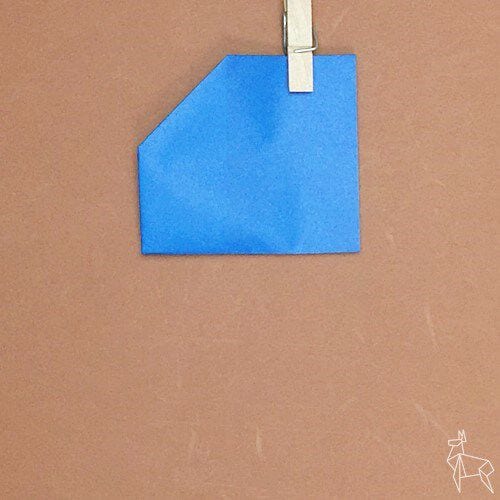
STEP 6. Fold the edge back so it runs parallel to the crease you just made.
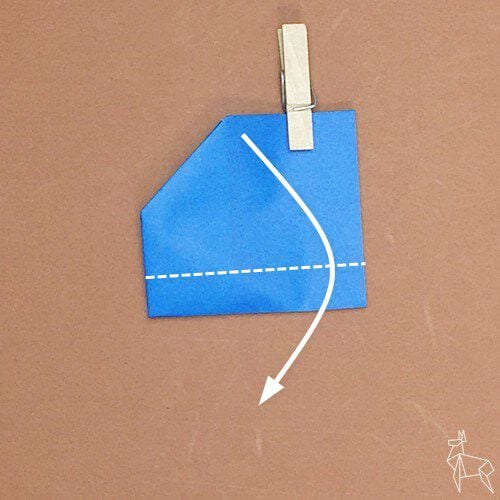
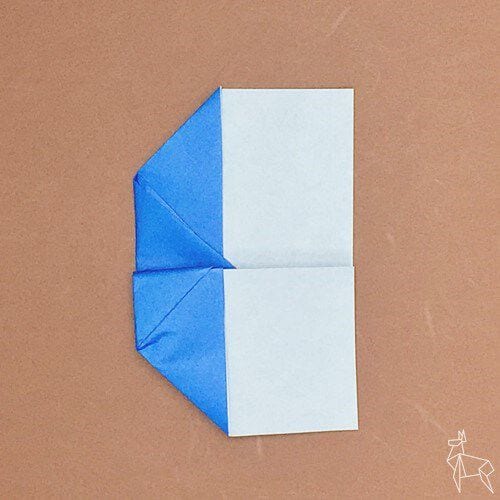
STEP 7. Fold along the dotted line.
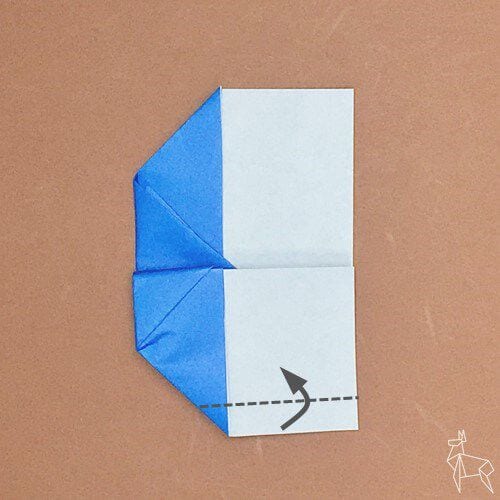
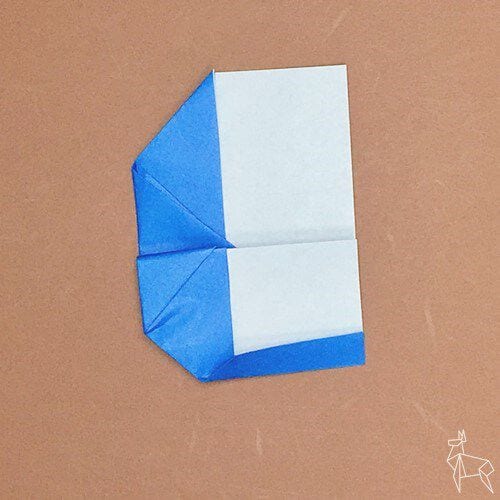
STEP 8. Repeat steps 6 and 7 on the other side.
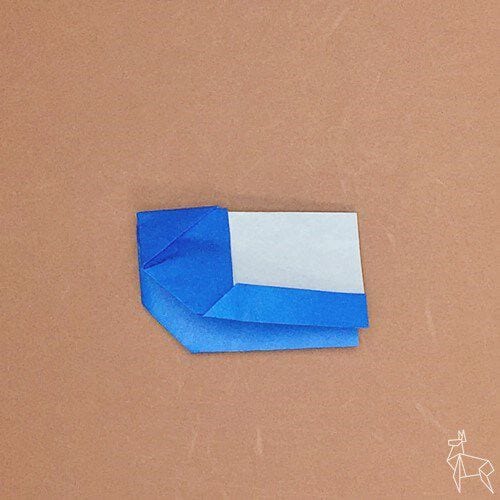
STEP 9. Spread the wings and stand the part folded in step 7 up vertically — the airplane is finished.




