
Birthday Decoration (Origami Rose)
Birthdays deserve a little handmade magic, and nothing says "I made this for you" quite like a paper rose that took five minutes and a square of paper. This fold turns a single sheet into a tidy little bloom you can scatter across the party.
The best part is how versatile it is: clip one to a chair, tape a row to the wall, or — my favorite — pair it with a napkin-wrapped candy as a take-home favor. Let's fold a handful.
Folding Instructions
STEP 1. Fold the paper into a triangle.

STEP 2. Fold it further into a triangle.

STEP 3. Put your finger into the triangle as shown in the picture, and squash it open while spreading. Fold the back side in the same way.

STEP 4. Fold it so that the yellow line and the blue line line up.

STEP 5. Fold up along the dotted line. Once the crease is made, open it and return to the state of step 4.

STEP 6. Using the crease you just made as a guide, hold the marked point (★) and pull it down.

STEP 7. Fold the back side in the same way.

STEP 8. Turn up one flap.

STEP 9. Put your finger inside and spread it open as shown in the picture.

STEP 10. It looks like this. Fold the other side in the same way.

STEP 11. Gather the petals around the center (★).

STEP 12. It looks like this.

STEP 13. Turn it over. Hold the triangular part and give it a twist.

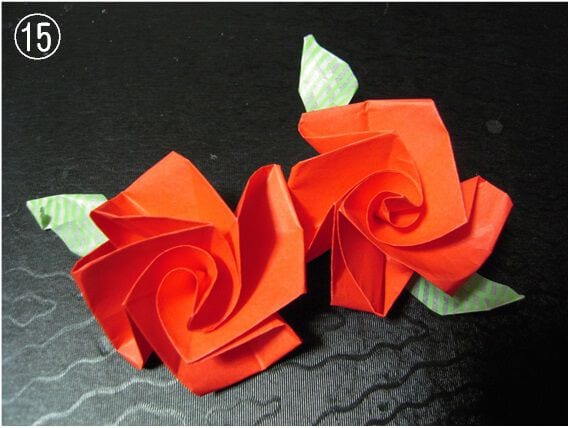
STEP 14. Once the shape is adjusted, your rose is ready!

STEP 15. It is beautiful with leaves added. (In the photo, washi tape was used in place of leaves.)
Enjoy the Variation
Red looks modern, while pink and white look cute.
If you let a child do the final twist, they will be happy to help!
You can decorate it on a wall or pillar, or place it on the back of a dining chair.
At a birthday party, wrap the leftover sweets in a paper napkin, tape an origami rose to it, and let guests take it home.
Tips When Folding
Don't be afraid — give that final twist a good, firm squeeze.




