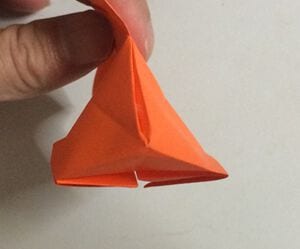
Origami Balloons (3 Ways)
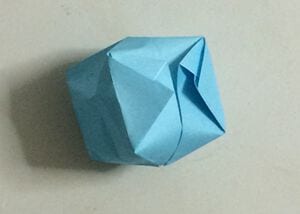
There's a small magic trick hidden in origami, and it's called the balloon fold. You do all the folding first, the paper stays stubbornly flat — and then, with one puff of breath, it pops into a plump little 3D shape. Kids lose their minds every time.
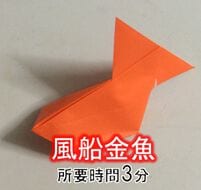
This page bundles three of those inflatable models together: the classic balloon, a rabbit with two ears, and a goldfish with a triangular face. They all start from the same crease pattern, so by the third one you'll be blowing them up without thinking. Grab a few squares and let's get puffing.
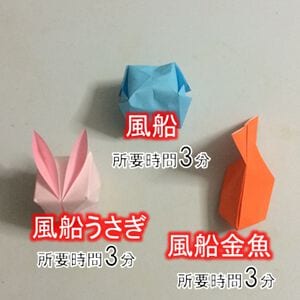
On this page we’ll show you three easy origami balloon folds — the classic balloon, a balloon rabbit, and a balloon goldfish.
All three are explained step by step so anyone can make them, so be sure to give them a try.
↓ Scroll down to begin.
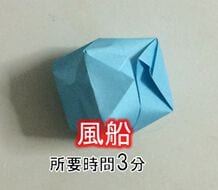
How to Fold the Basic Balloon
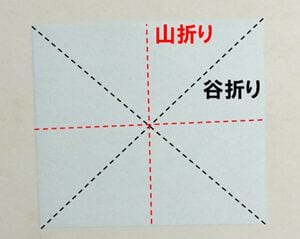
STEP 1. Fold the square in half both ways (mountain creases), then valley-fold along both diagonals to mark the creases.
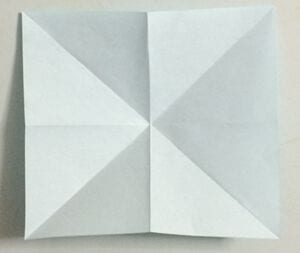
STEP 2. Collapse the paper along the creases.
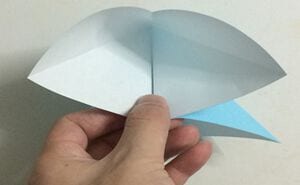
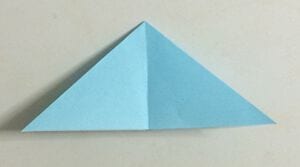
STEP 3. Fold the left and right corners up so they meet the top corner.
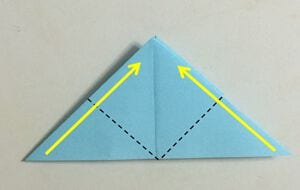
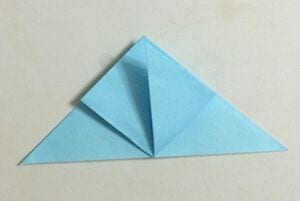
STEP 4. Do the same on the back.
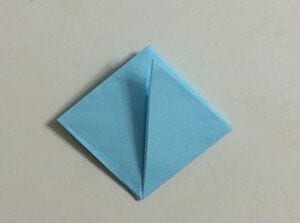
STEP 5. Fold it in half, pivoting around the left and right corners.
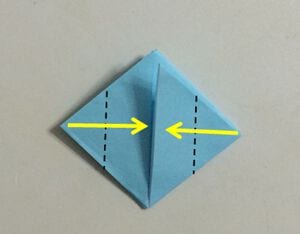
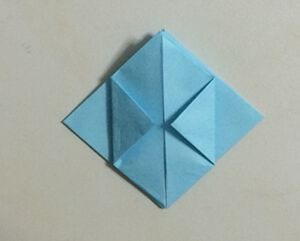
STEP 6. Turn it over and fold this side the same way.
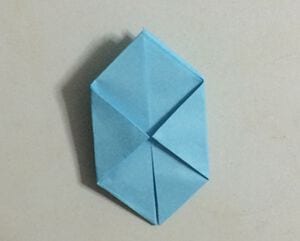
STEP 7. Crease it by folding so the red lines line up, as shown.
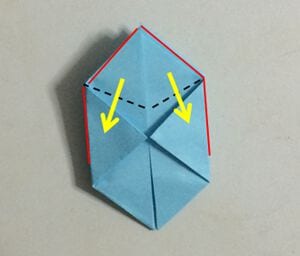
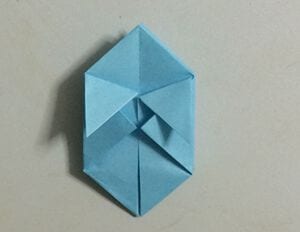
STEP 8. Tuck the folded corner inside.
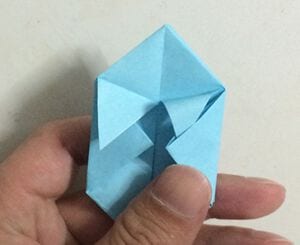
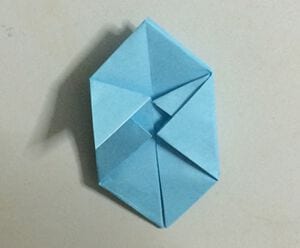
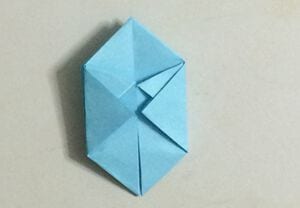
STEP 9. Do the same on the back.
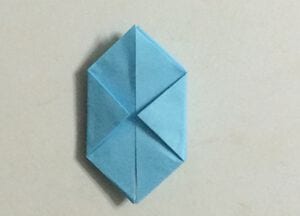
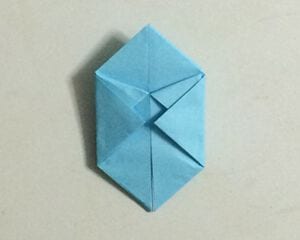
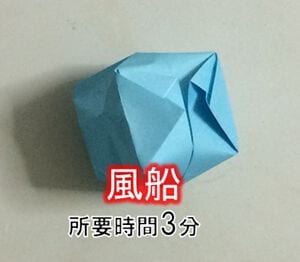
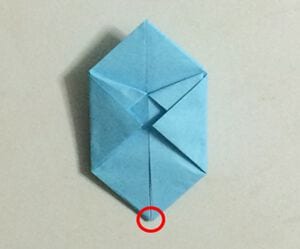
STEP 10. Open the model with your hands and blow into the opening at the bottom to inflate it. Your balloon is complete!
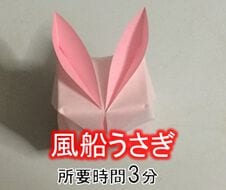
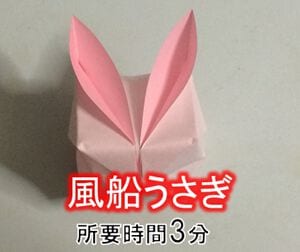
How to Make a Balloon Rabbit
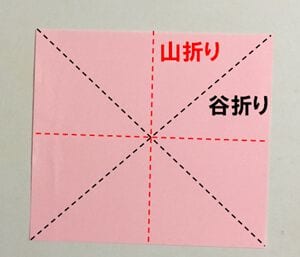
STEP 1. Mark the creases: mountain-fold in half both ways and valley-fold along one diagonal.
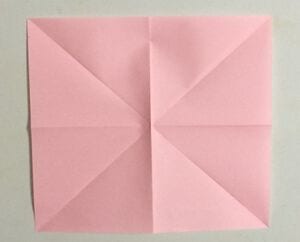
STEP 2. Collapse the paper along the creases.
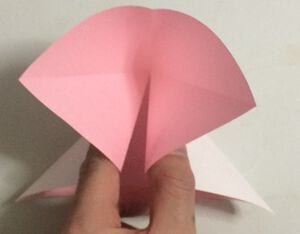
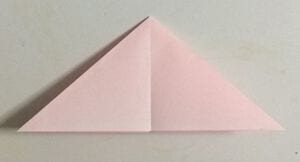
STEP 3. Fold the left and right corners so they meet the center top corner.
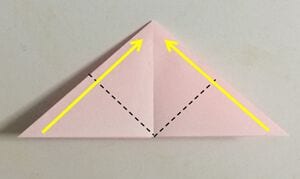
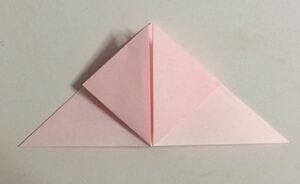
STEP 4. Fold the left and right corners inward.
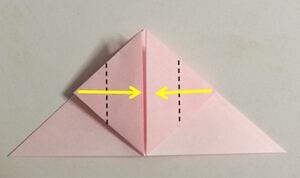
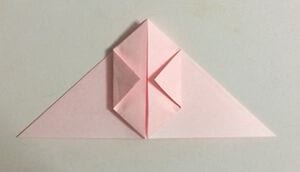
STEP 5. Fold the top corner down to make a crease, then tuck it inside.
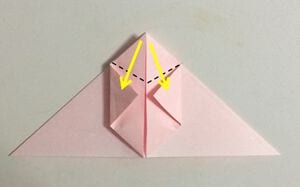
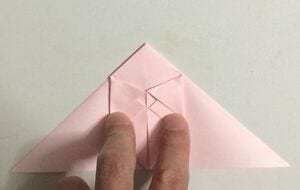
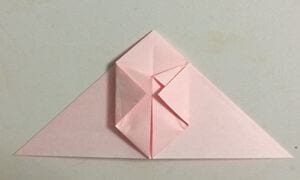
STEP 6. Turn it over and fold the left and right corners up to the top corner.
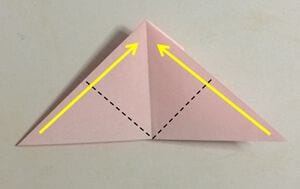
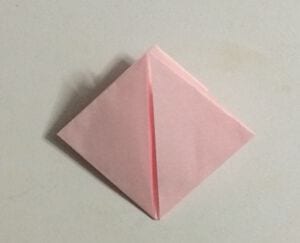
STEP 7. Fold the left and right corners back behind.
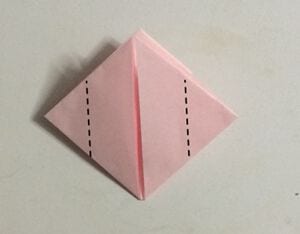
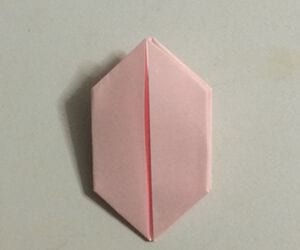
STEP 8. Fold as shown.
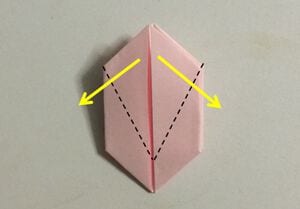
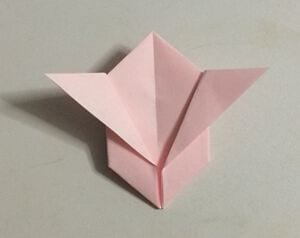
STEP 9. Open out the folded section to form the rabbit’s ears.
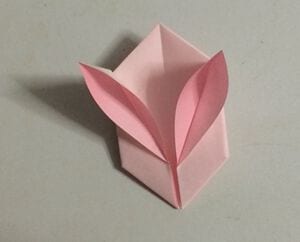
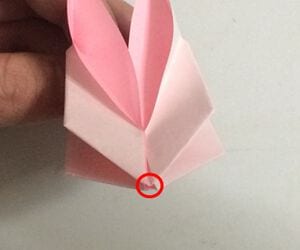
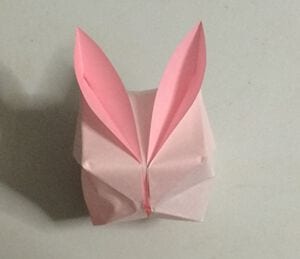
Blow into the opening shown in the picture to inflate it. Your rabbit balloon is complete!
How to Make a Balloon Goldfish
STEP 1. Mark the creases: mountain-fold in half both ways and valley-fold along one diagonal.
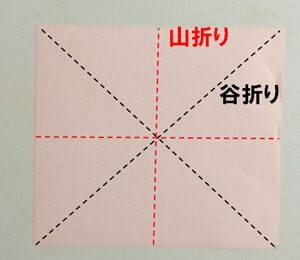
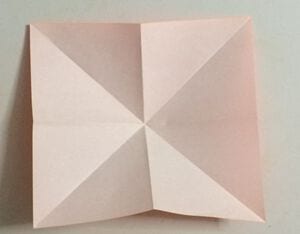
STEP 2. Collapse the paper along the creases.
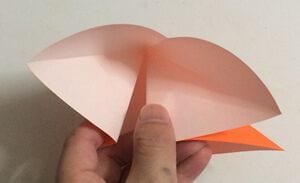
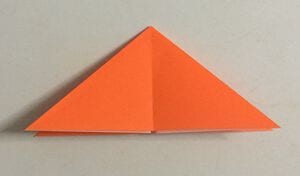
STEP 3. Fold the left and right corners up so they meet the top corner.
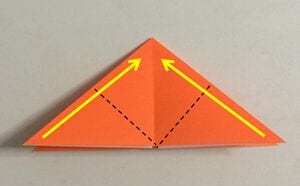
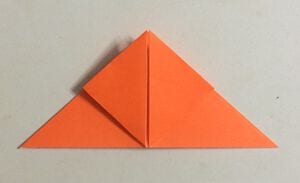
STEP 4. Fold the left and right corners toward the center.
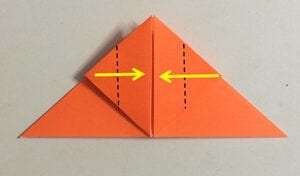
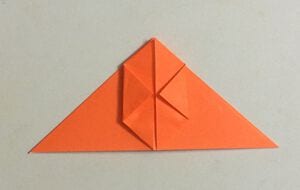
STEP 5. Fold as shown, crease, and tuck the flap inside.
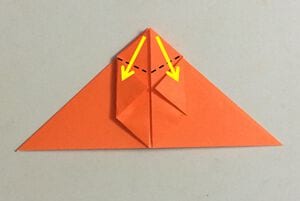
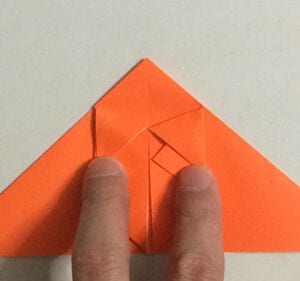
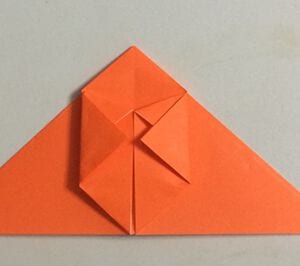
STEP 6. Fold the left and right edges inward along the center crease, as shown.
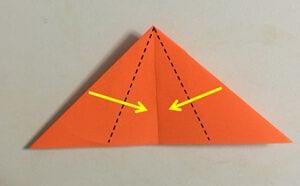
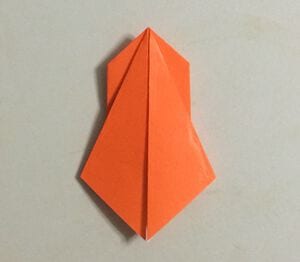
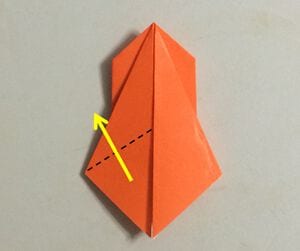
STEP 7. Fold along the dotted line so the white lines run parallel.
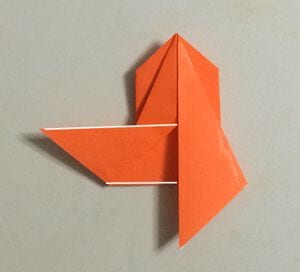
STEP 8. Glue the left and right sides together as shown.
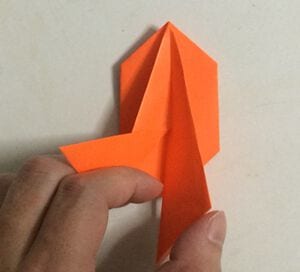
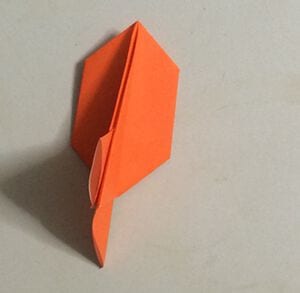
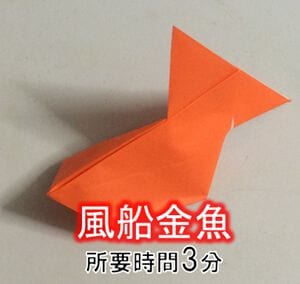
STEP 9. Blow into the opening shown in the picture to inflate it. Your balloon goldfish is complete!
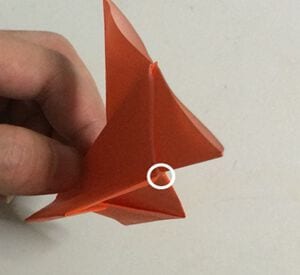
It’s a little tricky, but the key is to blow while spreading it open with your hands, keeping in mind that the face forms a triangle when viewed from the front.