
How to Fold an Origami Winnie the Pooh
Some characters are simply impossible not to smile at, and Winnie the Pooh is right at the top of that list. With his round tummy, stubby arms, and a love of honey that gets him into gentle trouble every time, he's been a quiet companion to generations of readers—myself included. Folding him out of a single square of paper feels like summoning a tiny, patient friend onto your desk.
This is a 24-step build, so it's a touch more involved than a quick fold, but every step is a basic valley or mountain crease—nothing scary. Pour something warm, take it one step at a time, and by the end you'll just need to add his friendly face with a pen. Let's fold Pooh.
Hello, this time I tried folding the Disney character Winnie the Pooh, who loves honey, with origami paper.
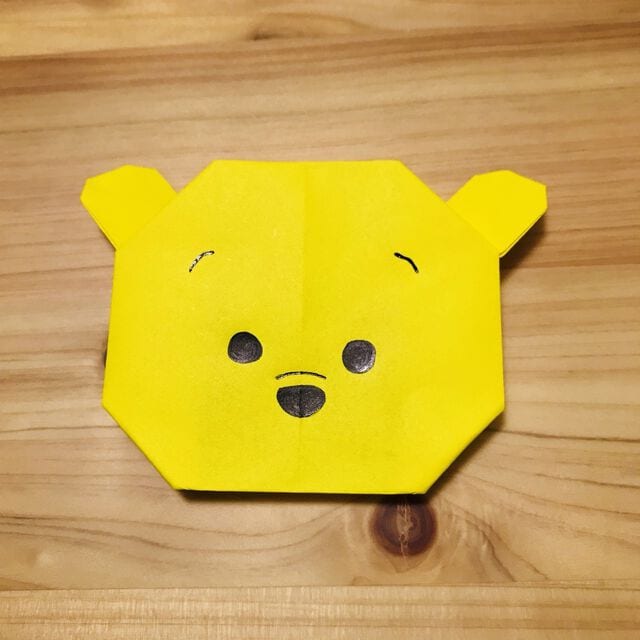
There was a picture book of Winnie the Pooh in the culture class with childcare that I was doing, and I read it to my child many times.
It's a cute story that Pooh, who loves honey, eats too much honey and gets overweight, and his bottom splits open (laughs).
Let's fold a cute bear like a stuffed animal with origami paper!
How to fold Origami Winnie the Pooh
This time too, we'll work from a single sheet of origami paper.
Let's start folding!
STEP 1 Fold it in half so that it becomes a rectangle, make a crease, and then put it back.
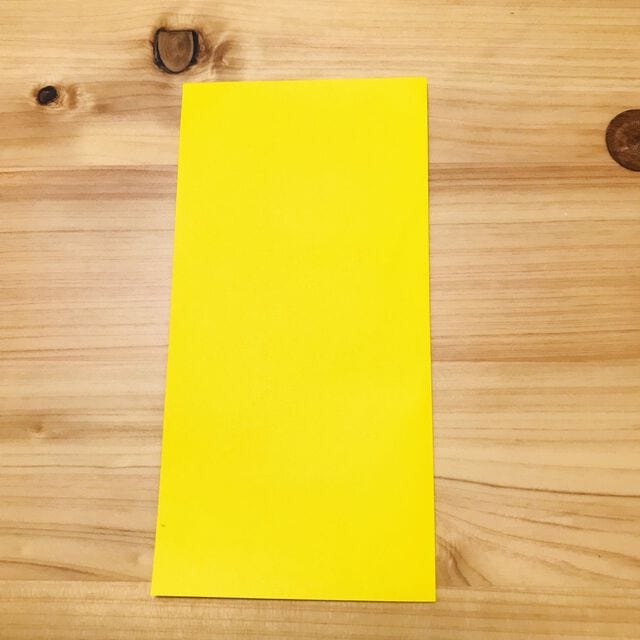
STEP 2 Fold the other side in half, make a crease, and then put it back.
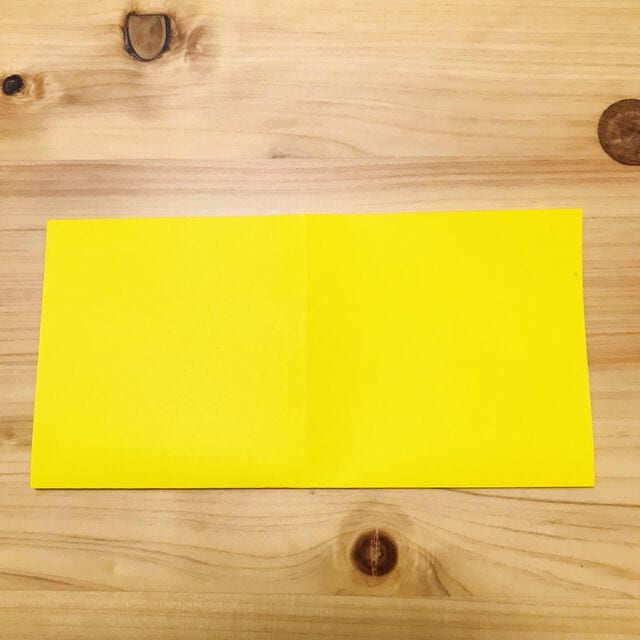
STEP 3 Fold the top surface to the center line, make a crease, and then put it back.
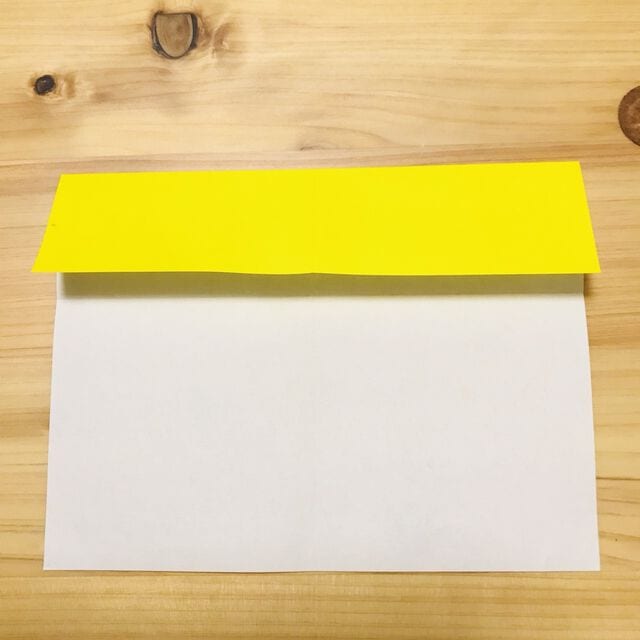
STEP 4 Fold the top surface up to the crease.
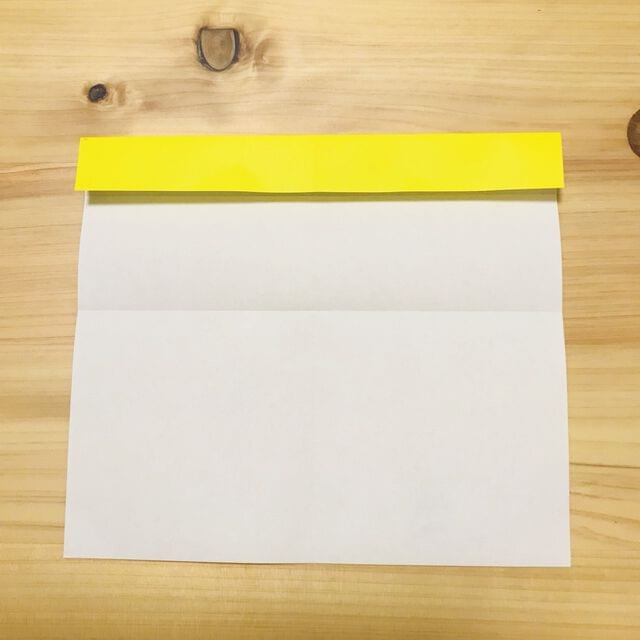
STEP 5 Fold the right side up to the center line, make a crease, and then put it back.
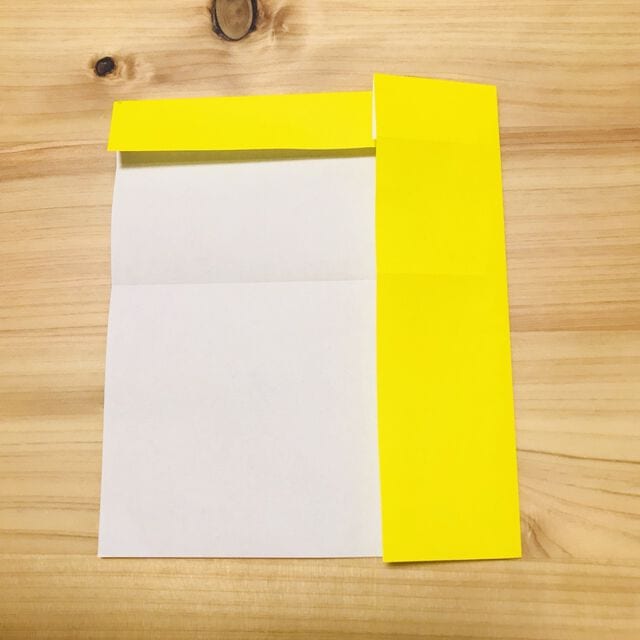
STEP 6 Fold the right side up to the crease.
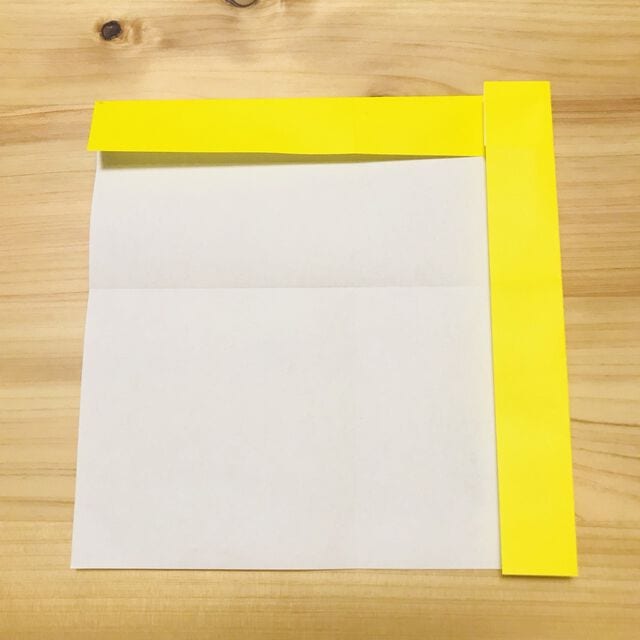
STEP 7 Fold the left side to the center line, make a crease, and then put it back.
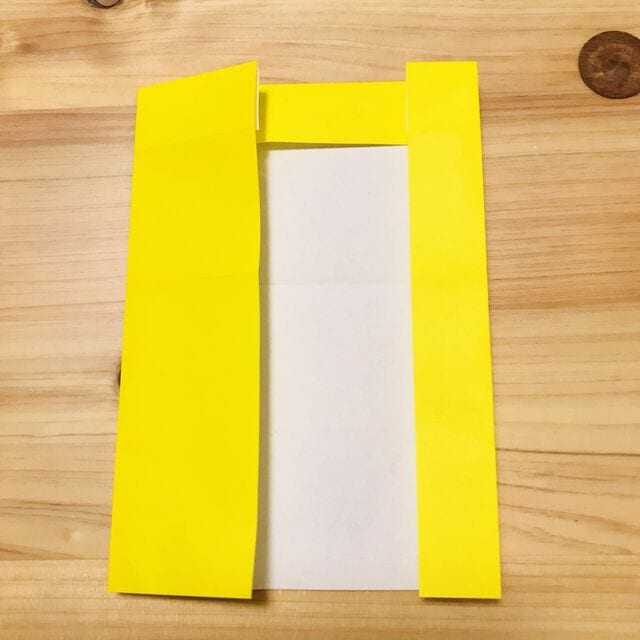
STEP 8 Fold the left side up to the crease.
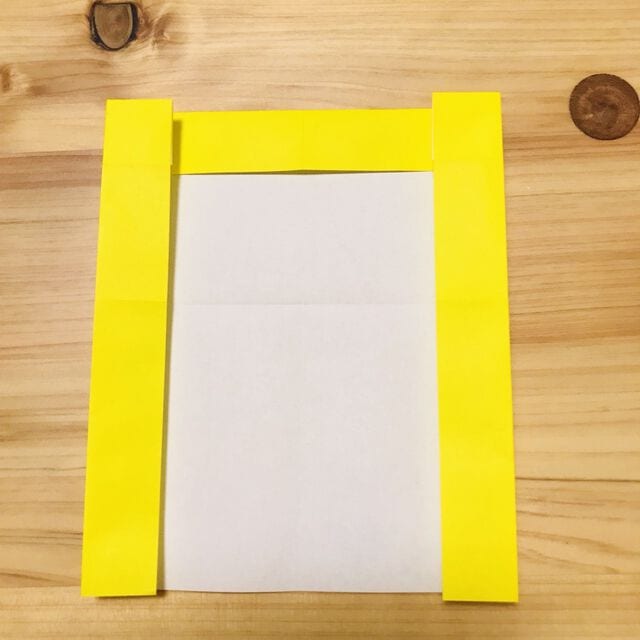
STEP 9 Fold the upper right corner to the right.
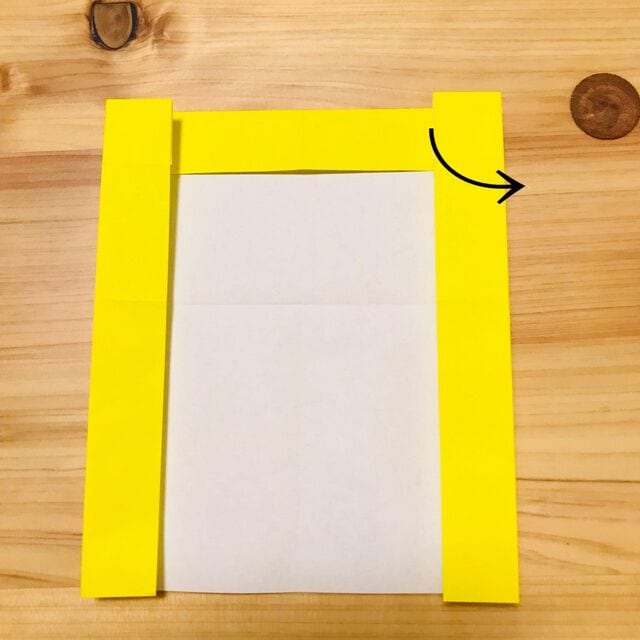
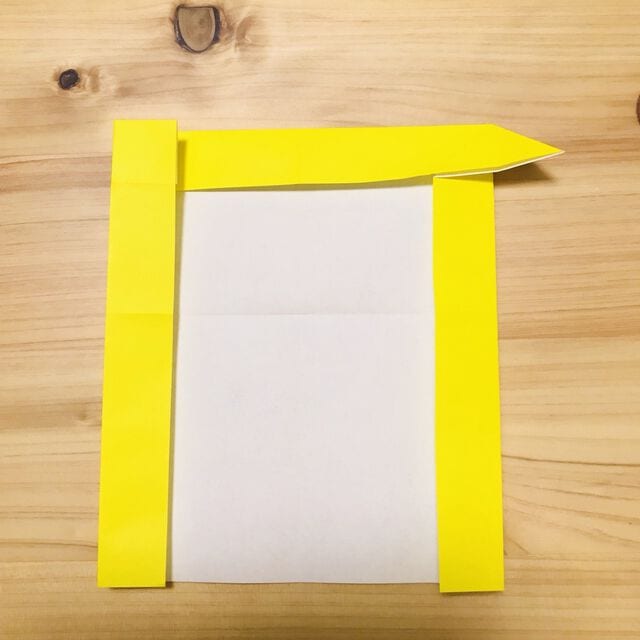
STEP 10 Fold the upper left corner to the left.
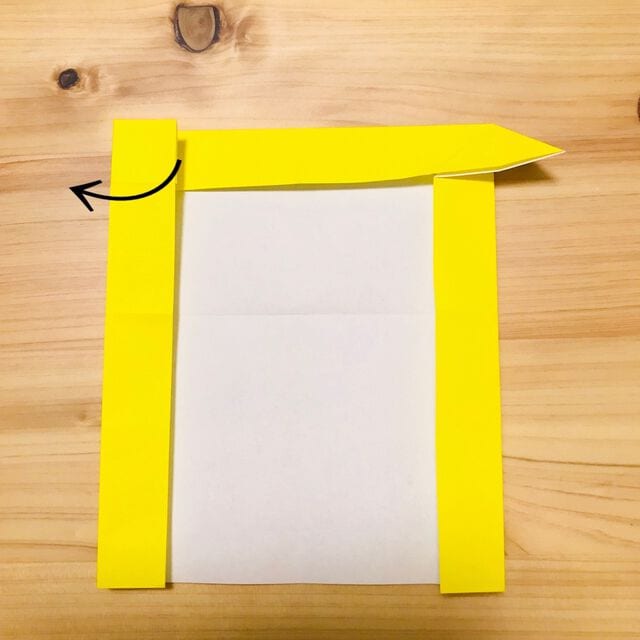
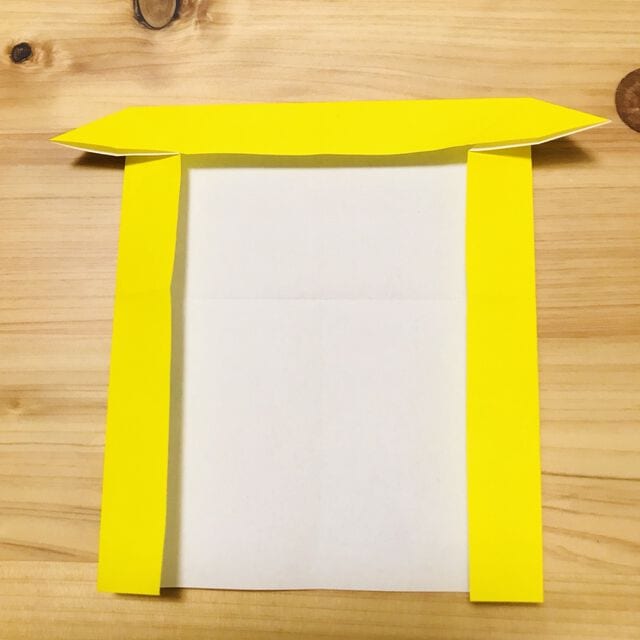
STEP 11 Fold the upper yellow part to the back side.
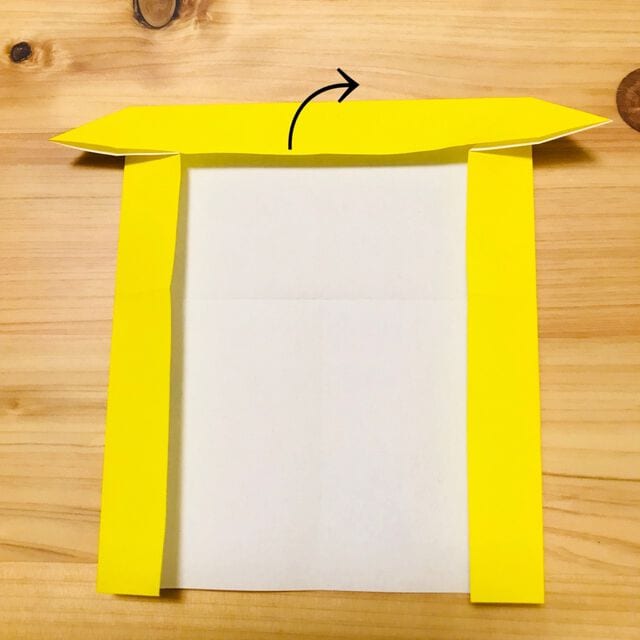
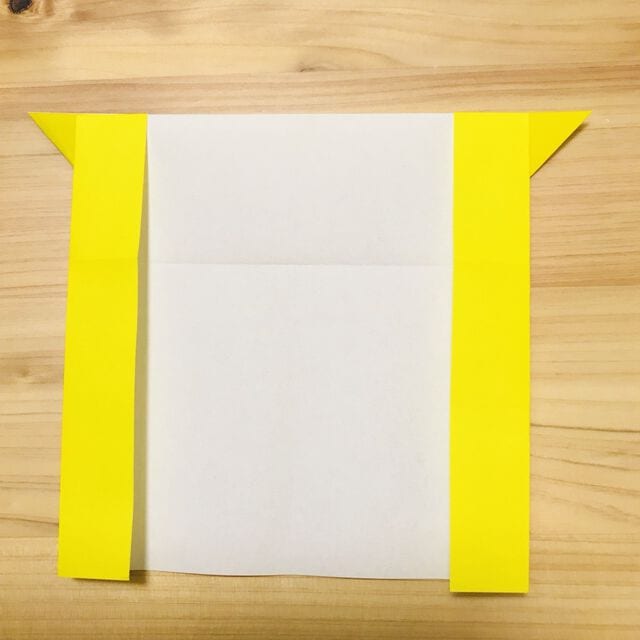
STEP 12 Fold the right side inward.
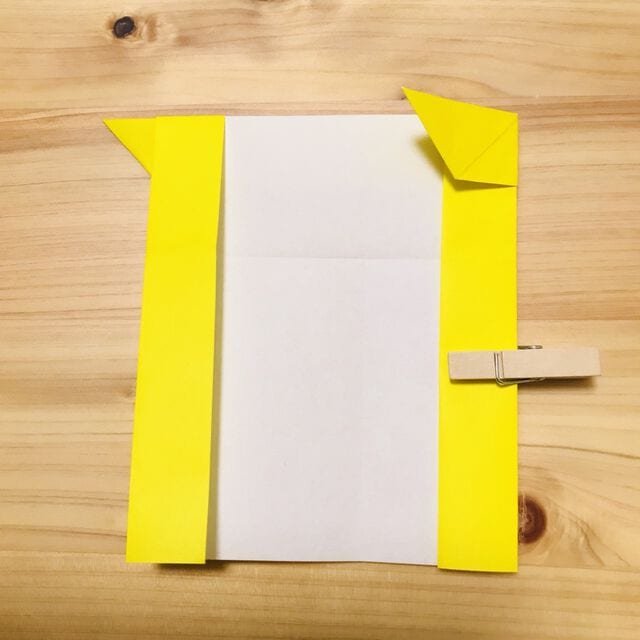
STEP 13 Fold the upper right corner to the right.
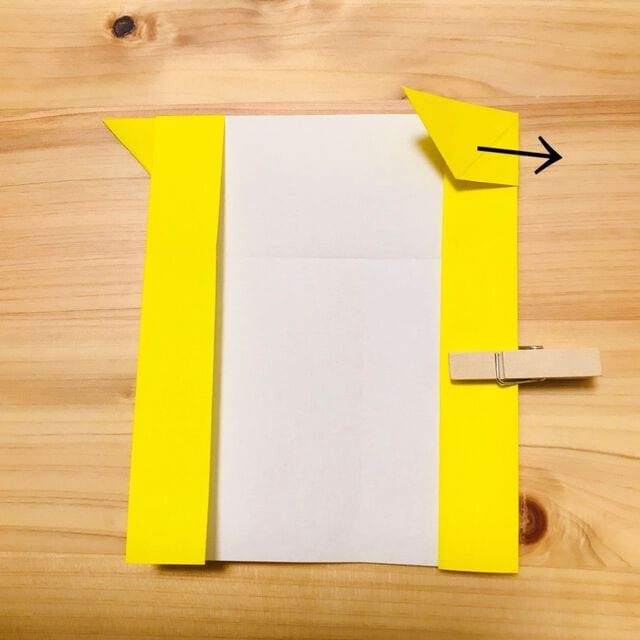
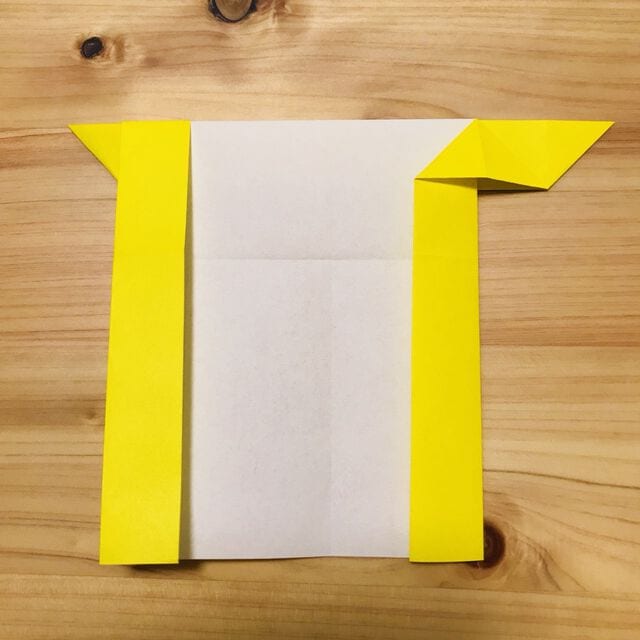
STEP 14 Fold the left side inward.
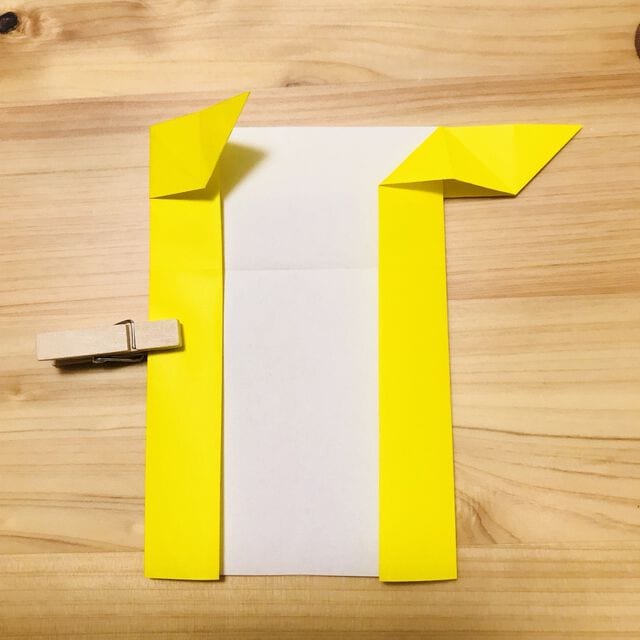
STEP 15 Fold the upper left corner to the left.
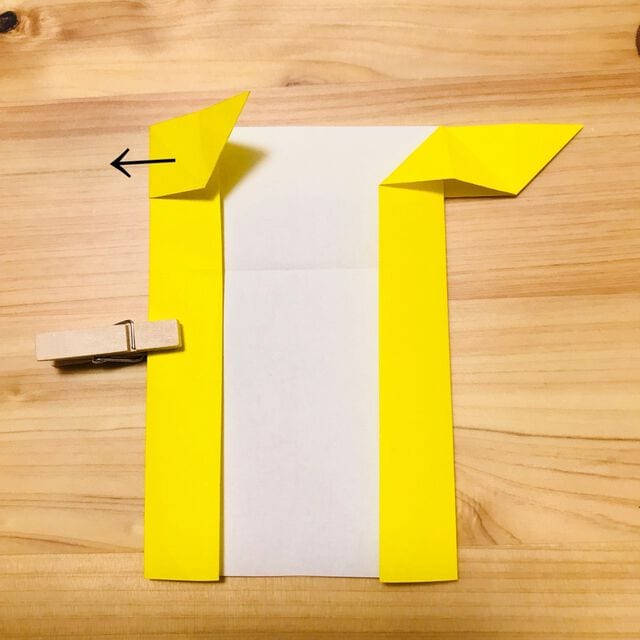
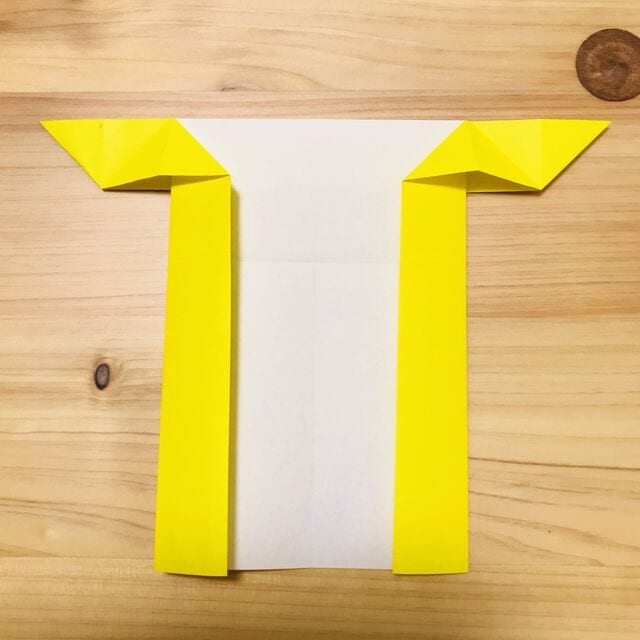
STEP 16 Fold the top surface down along the center line.
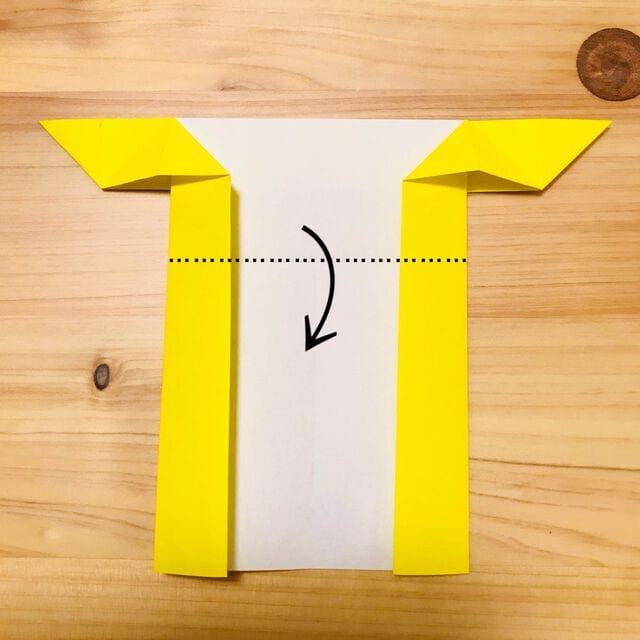
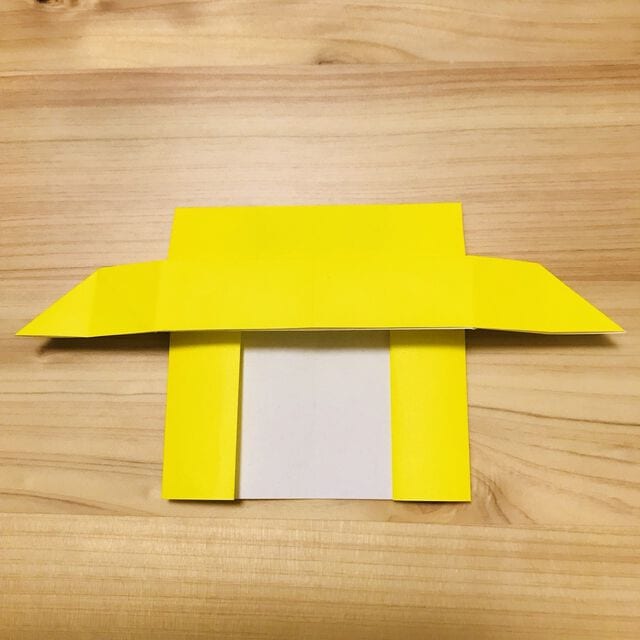
STEP 17 Fold the left and right upper corners inward.
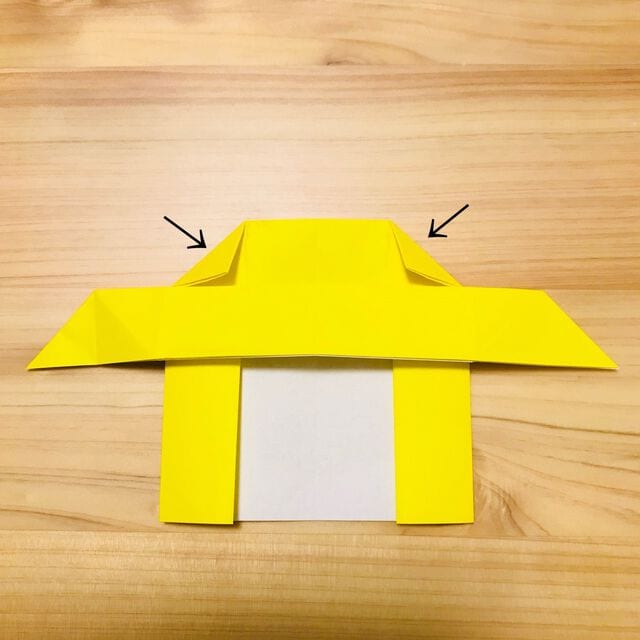
STEP 18 Fold the right corner diagonally upward.
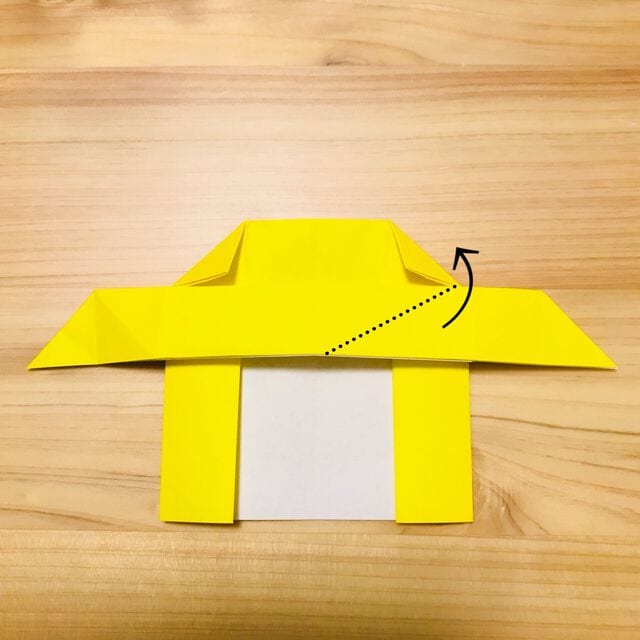
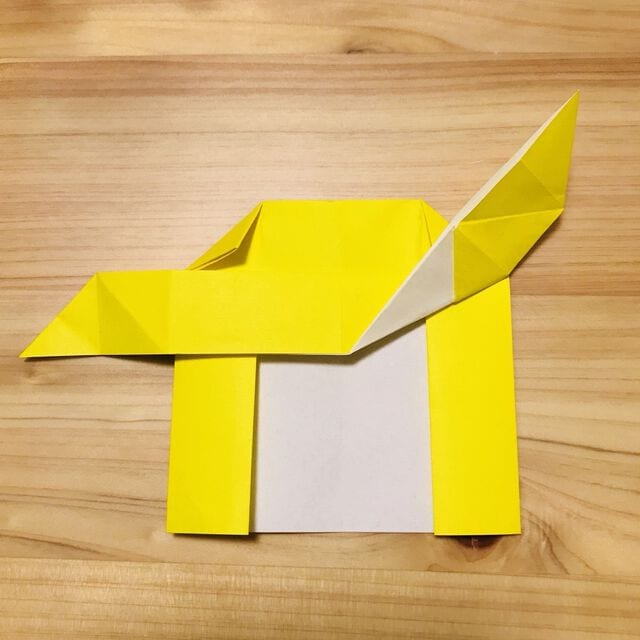
STEP 19 Fold the left corner in the same way as the right corner.
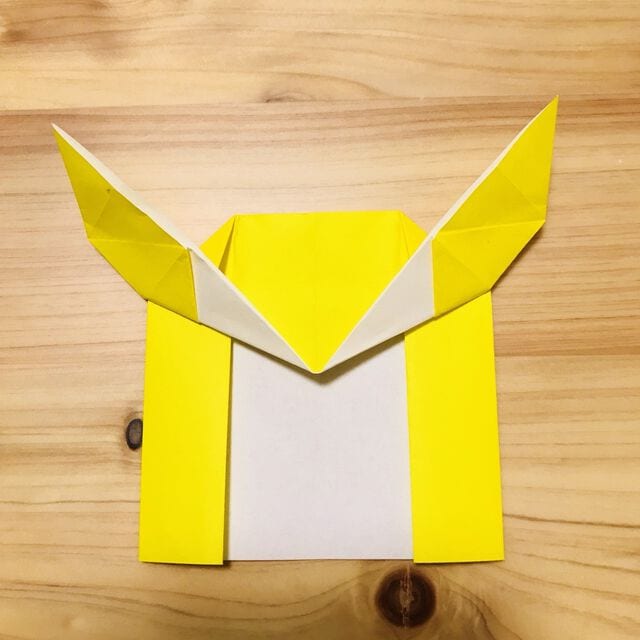
STEP 20 Fold the top left and right tips.
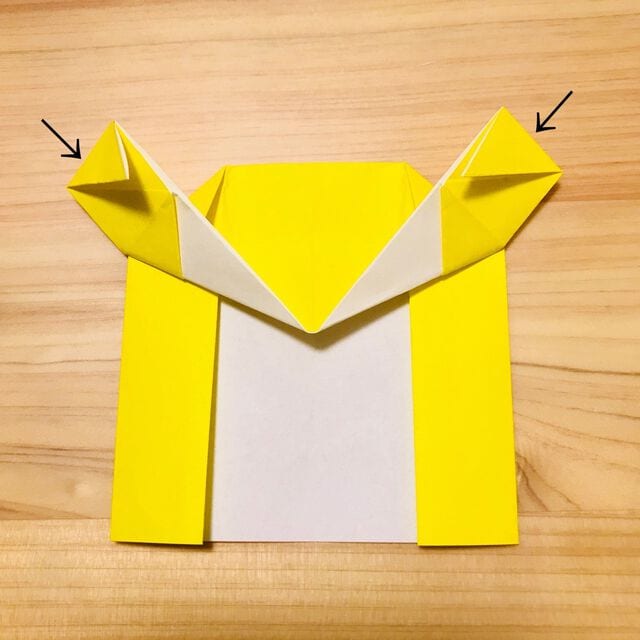
STEP 21 Fold the four corners on the left and right of the place you just folded slightly inward.
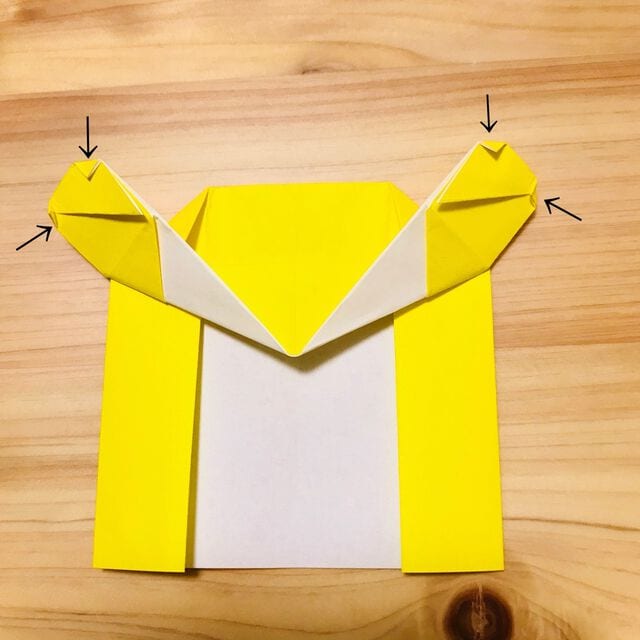
STEP 22 Fold the bottom surface up.
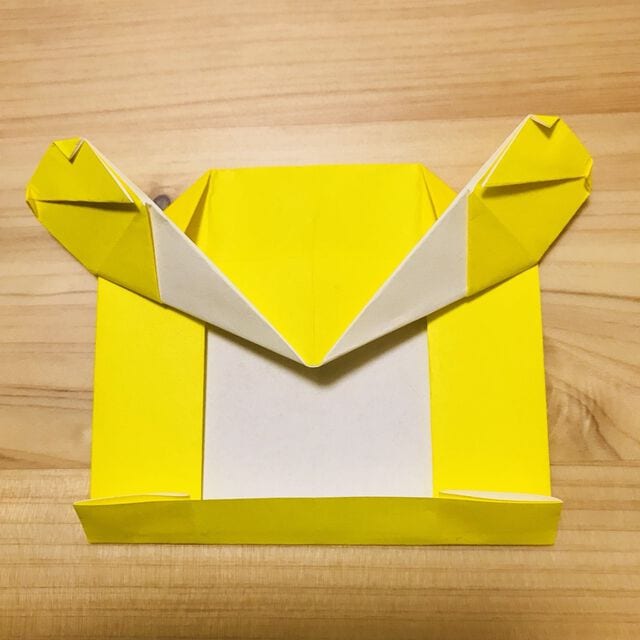
STEP 23 Fold the lower left and right corners inward.
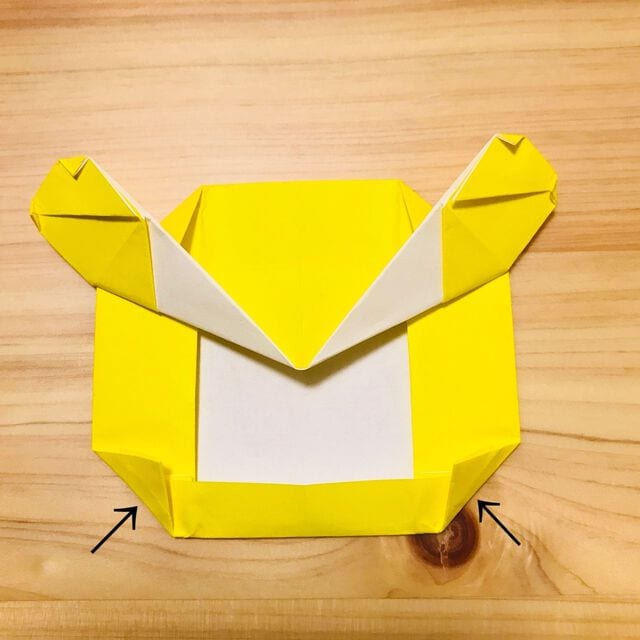
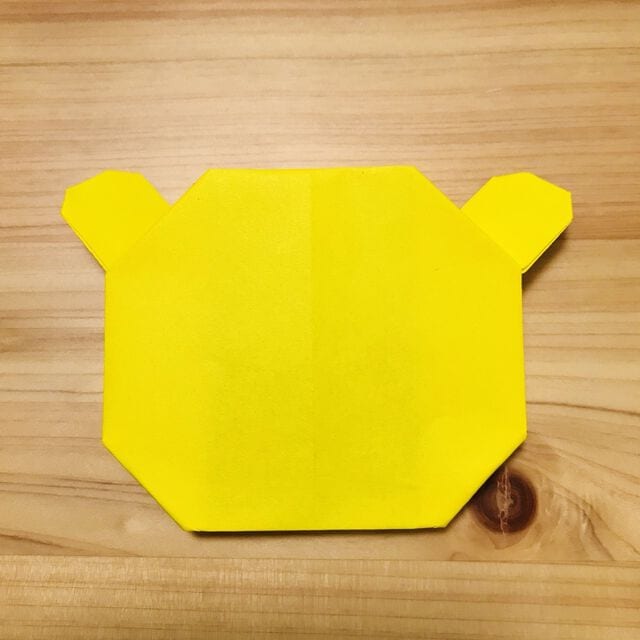
STEP 24 Turn it over and draw the eyebrows, eyes, and nose with magic, and you're done.
Thank you for your hard work
How was it?




