
Origami Folding Fan
Few origami projects give you as much payoff for so little work as a folding fan. There are no tricky collapses and no reverse folds here: you pleat a strip of paper back and forth, pinch one end, and suddenly you are holding something that looks like it came from a summer festival.
The trick worth knowing is that one sheet makes a slim fan, but two sheets stacked together make a full one. That extra thickness is what gives the fan its shape when you open it out. Washi or any patterned paper turns it into something genuinely pretty, and if you fold it a little smaller it doubles as a chopstick rest, which is a lovely touch when you have guests. Keep a strip of masking tape handy for the handle, it holds far better than a rubber band.
I made a folding fan out of origami paper, and I will show you how to fold it step by step with photos. Have a look if you like.
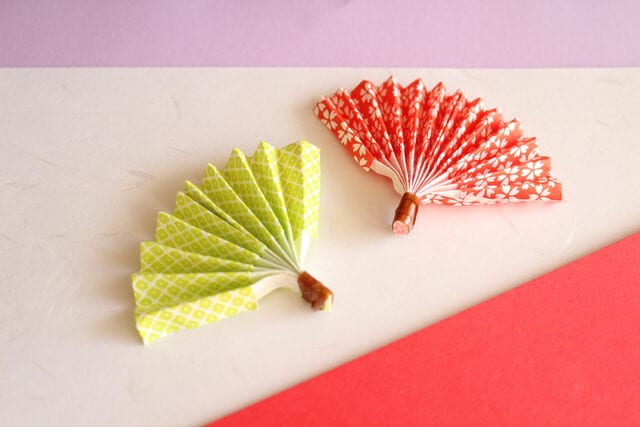
How to make a folding fan with origami
Hello everyone, and thank you for visiting.
Today I will show you how to make a folding fan from origami paper.
Folding fans are very easy to make and come together in no time at all.
They are handy for seasonal events and celebrations, they look cool, and they make lovely decorations for summer festivals.
Fold one from washi paper with a beautiful pattern and it becomes a gorgeous little fan.
It is practical too: it works as a chopstick rest as well as a decoration, so it makes a nice touch when you have guests over.
Do give origami folding fans a try.
The finished folding fan

When you are done, you will have a fan like the one in the photo above.
It is simple to fold, yet it has plenty of volume and looks really elegant.
This one is made from two square sheets of origami paper. A single sheet is enough, but using two gives the fan more body and makes it look richer.
Which paper will you choose? I am sure you can make a lovely fan.
How to fold a folding fan
STEP 1. Fold the square sheet of origami paper into thirds as shown, to make a long strip.
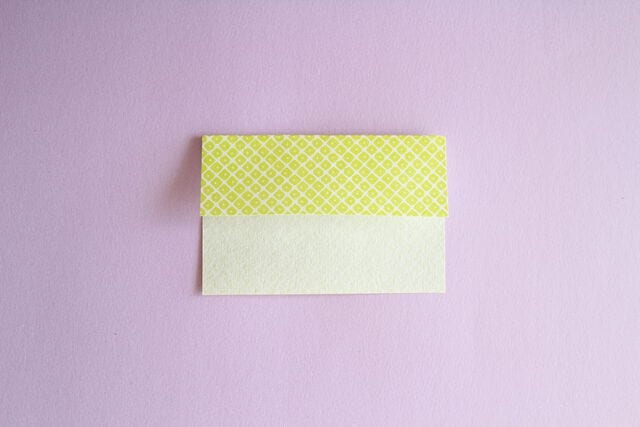
STEP 2. Next, alternate mountain folds and valley folds to pleat the strip into a bellows. When you finish folding, it should look like an accordion, as shown.
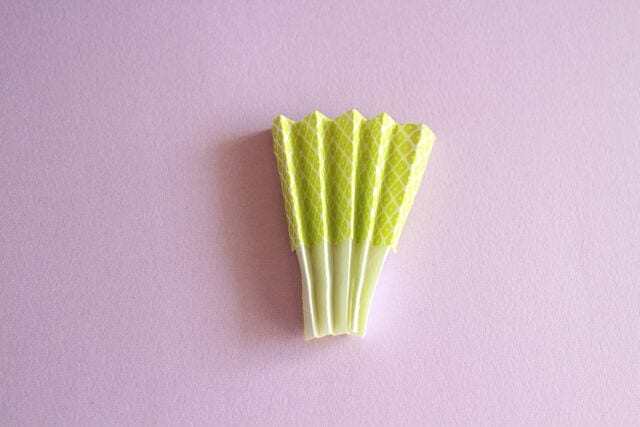
STEP 3. Prepare a second pleated strip in the same way. You will also need a small rubber band or some pretty masking tape.
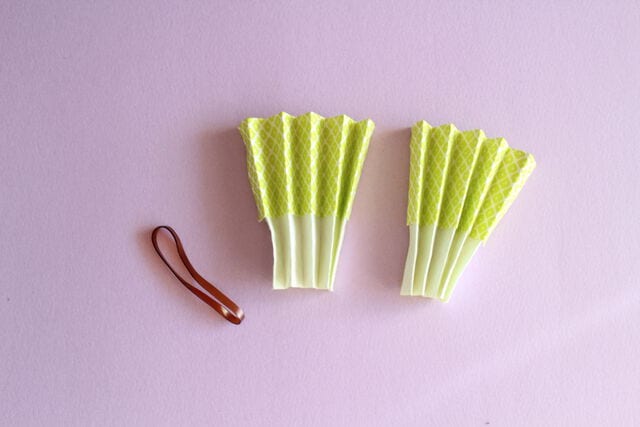
Bundle the plain ends together and fix them with a rubber band or masking tape. Masking tape is what I recommend.
The folding fan is ready!
See? This is how it looks when it is fixed with a rubber band, and the finish is a little rough, so masking tape is my recommendation.




