
Uchiwa with origami
When the summer heat rolls in, few things feel as instantly refreshing as a proper handheld fan — and folding your own uchiwa means you'll never be caught empty-handed. These flat Japanese fans have been cooling people off for centuries, and the paper version is as much a craft as it is a breeze.
This 16-step tutorial takes you from a single sheet to a finished fan with its own little handle, ready to flutter at a festival or simply brighten a wall. It's a satisfying blend of crisp folds and a touch of your own decoration — paint a motif on the blade, wrap the handle in washi tape, make it unmistakably yours. Grab some sturdy paper and let's make something that's both useful and beautiful.
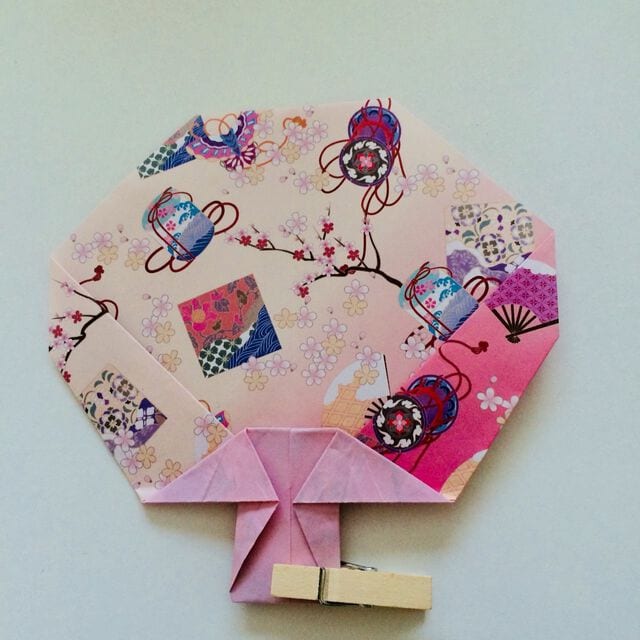
It has a beautiful shape, but the difficulty of folding it is not high, so please try it.
How to fold an origami fan
This time as well , I will fold the origami paper in one sheet.
Let's fold it now
[ 1 ] Fold it in half vertically so that it becomes a triangle, make a crease, and put it back.
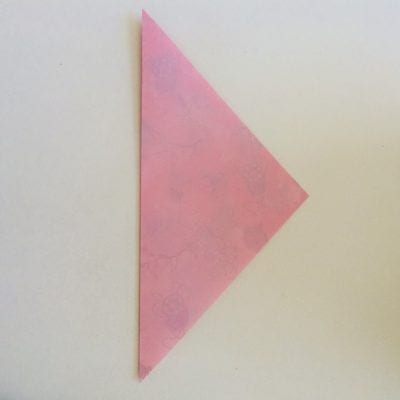
[ 2 ] Fold it up to the crease with the left and right corners on the center line.
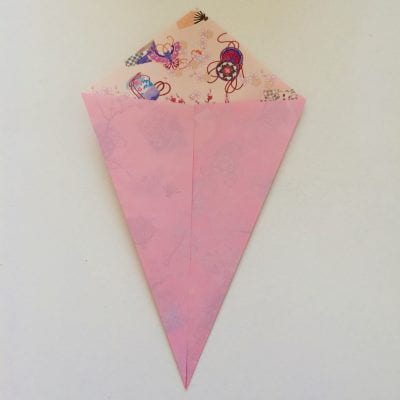
[ 3 ] Fold the two pieces of paper in the middle diagonally outward on each side.
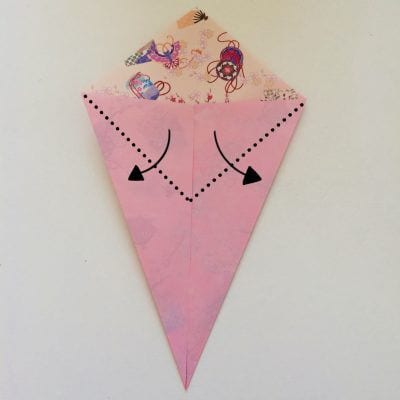
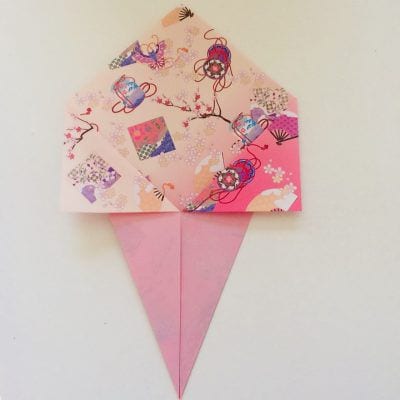
[ 4 ] Turn it over and fold the right corner inward slightly diagonally.
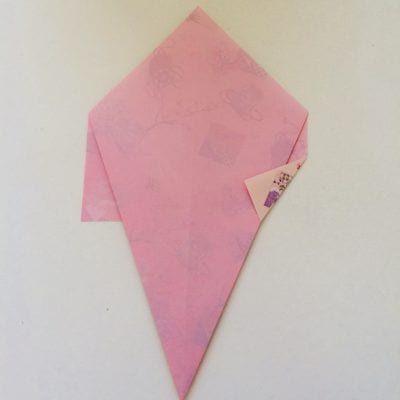
[ 5 ] Fold the left corner diagonally inward in the same way.
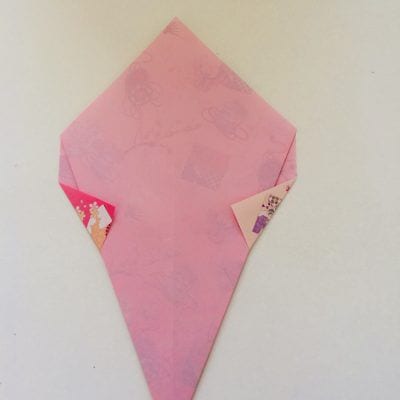
[ 6 ] Turn it over and fold the bottom tip up.
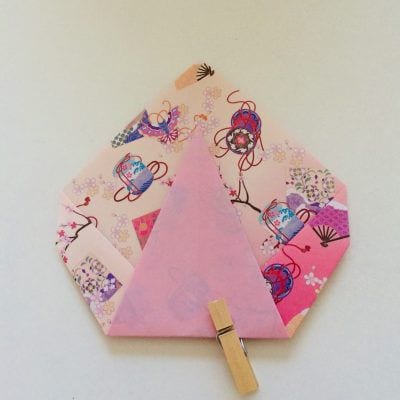
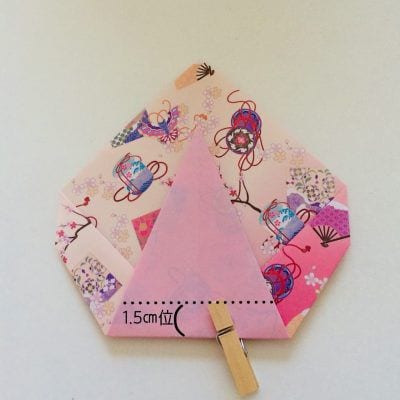
[ 7 ] Fold it back at a point about 1.5 cm from the bottom side .
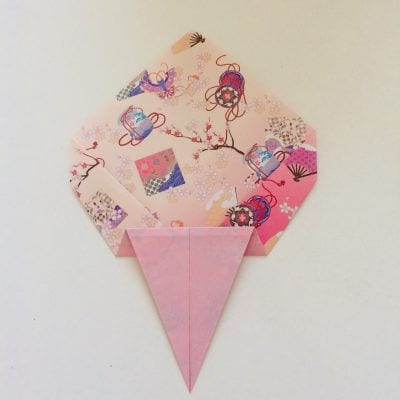
[ 8 ] Fold the left and right corners down a little and make a crease firmly.
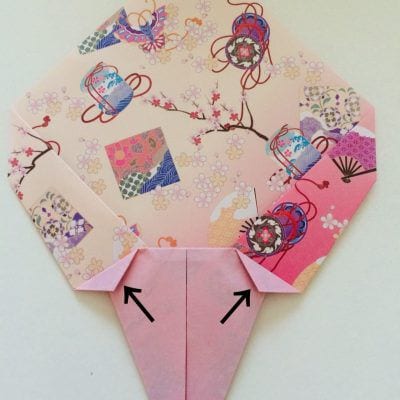
[ 9 ] Fold it while opening it according to the crease.
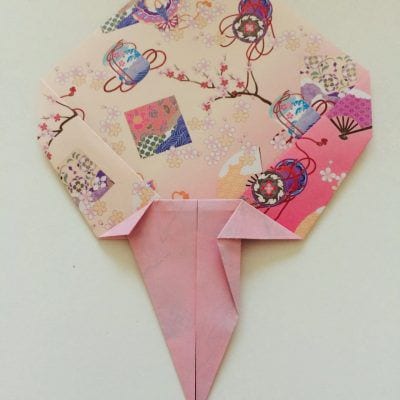
[ 10 ] Open the crease on the left side in the same way and fold it.
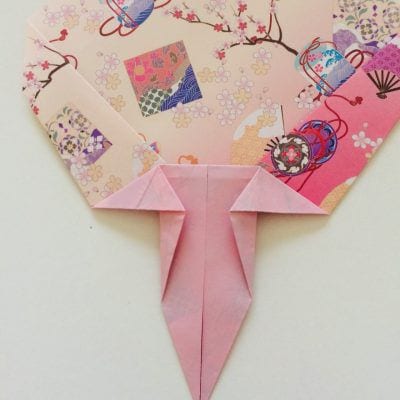
[ 11 ] Turn it over and fold the bottom tip up.
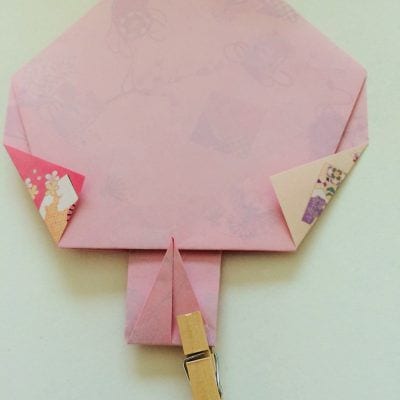
[ 12 ] Fold down the top corner.
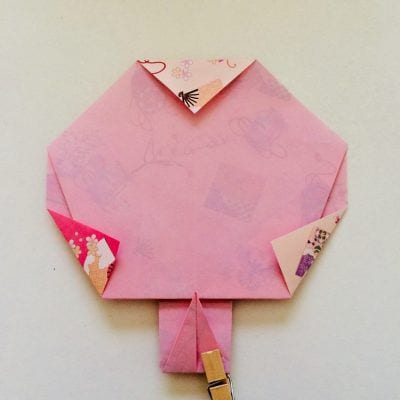
[ 13 ] Turn it over and you're done
Thank you for your hard work
How was it?
It looks difficult because you can see many creases, but it was quite easy to make.
The creases are visible to the outside, so if you fold them carefully, they will look beautiful.




