
Origami Girl
This little origami girl has a lovely backstory. When my niece Emily showed her sister Jasmine the origami boy I'd made, Jasmine asked for a girl of her own — so Emily designed one. The result is about as friendly and frustration-free as folding gets.
There are no tricky moves here, just fifteen relaxed steps and a single square of paper. It's a great first project for kids, and it makes the perfect companion to the origami boy. Let's fold one together.
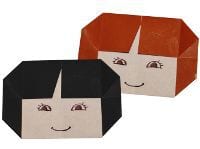
My niece Emily, a third-grader, showed the origami boy I had made to her little sister Jasmine. Jasmine asked if she could make an origami girl too, so Emily took on the challenge and came up with this design. It is very easy to make, with no tricky folds at all. Have fun!
Step 1: Start with a square sheet of origami paper, colored side down. If you don’t have origami paper, follow the instructions for making your own from a regular 8.5 × 11 sheet.
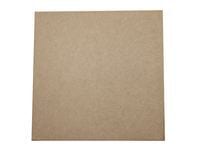
Step 2: Fold the paper in half from left to right, then unfold.
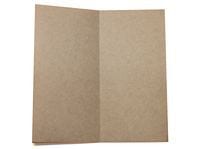
Step 3: Fold the paper in half again, this time from top to bottom, then unfold.
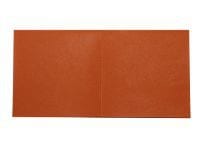
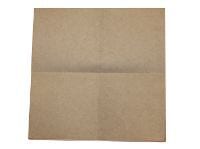
Step 4: Fold the top-left and top-right corners in to the center.
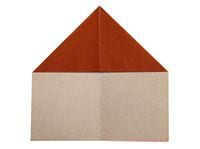
Step 5: Turn the paper over.
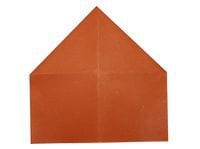
Step 6: Fold the top corner down to the center crease.
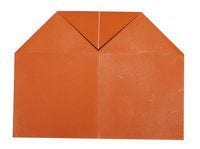
Step 7: Turn the paper over again.
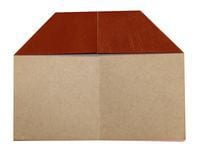
Step 8: Fold the left and right sides in so their edges meet at the center, then unfold. You now have two new creases.
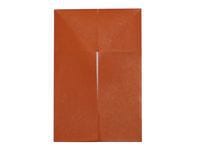
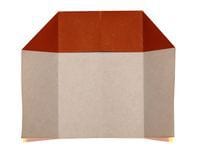
Step 9: Now fold the left and right edges in to the creases you just made.
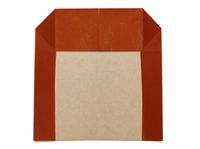
Step 10: Turn the figure over.
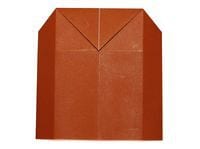
Step 11: Fold the bottom edge up to the base of the triangle.
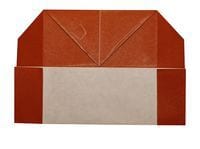
Step 12: Fold up the bottom-left and bottom-right corners.
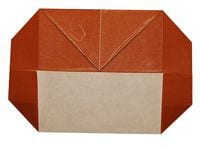
Step 13: Turn the figure over. We’re almost done.
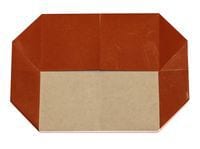
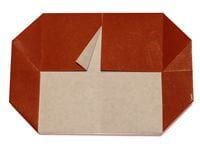
Step 14: Take the flap at the left side of the center and fold part of it outward, then fold it back behind to hide it.
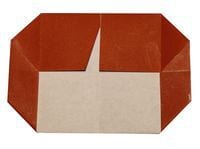
Step 15: Draw a face on your origami girl. That’s it — enjoy your new paper friend!





