
Butterfly
There is something almost magical about turning a flat square of paper into a butterfly that looks ready to flutter off your desk. This classic fold has been a favorite for generations, and you will spot paper butterflies everywhere — perched on gift boxes, dancing across handmade cards, or strung up as a cheerful mobile. Don't let the delicate shape fool you: it is built from simple, repeatable moves, so even if you are new to origami you will have one fluttering in your hands within minutes. Let's fold together and bring a little paper life to your workspace.
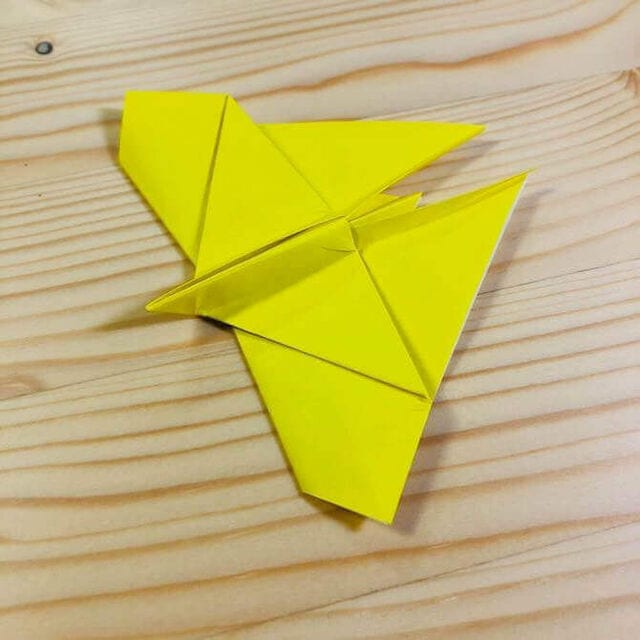
STEP 1
Fold the paper in half.
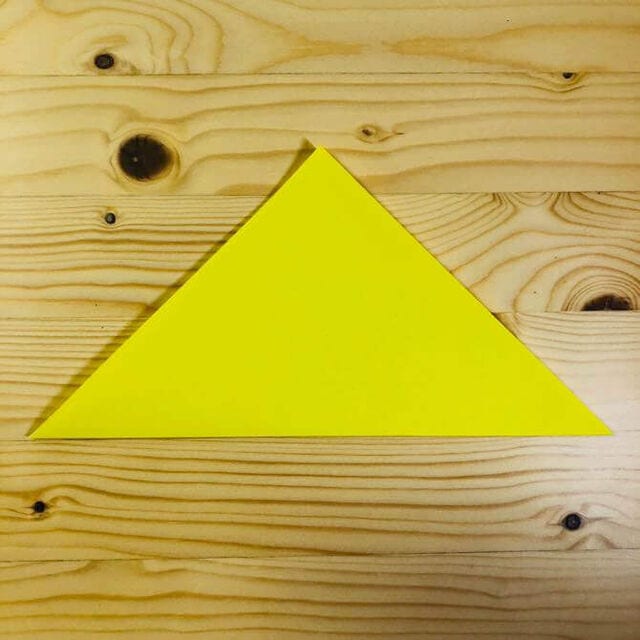
STEP 2
Fold the bottom edge up so it meets the top corner.
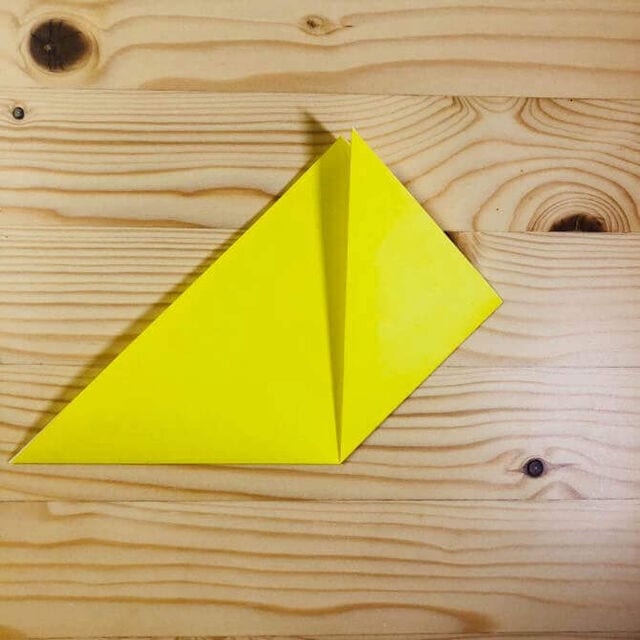
STEP 3
Fold the other side up in the same way.
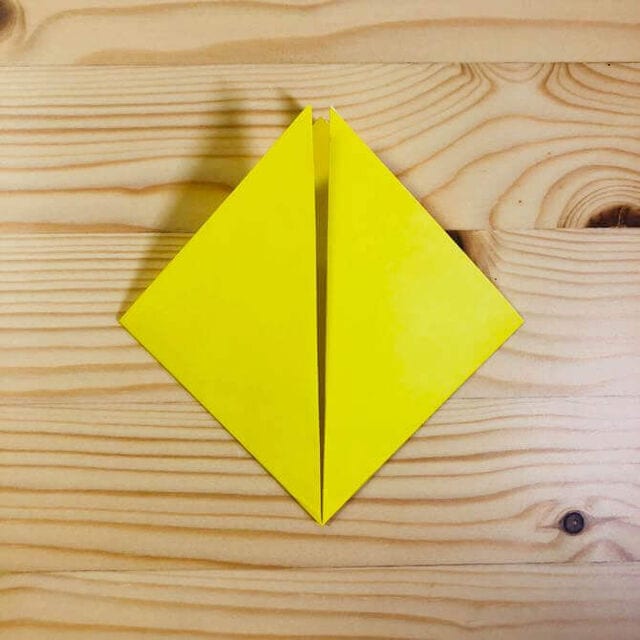
STEP 4
Fold the flap down toward the bottom corner.
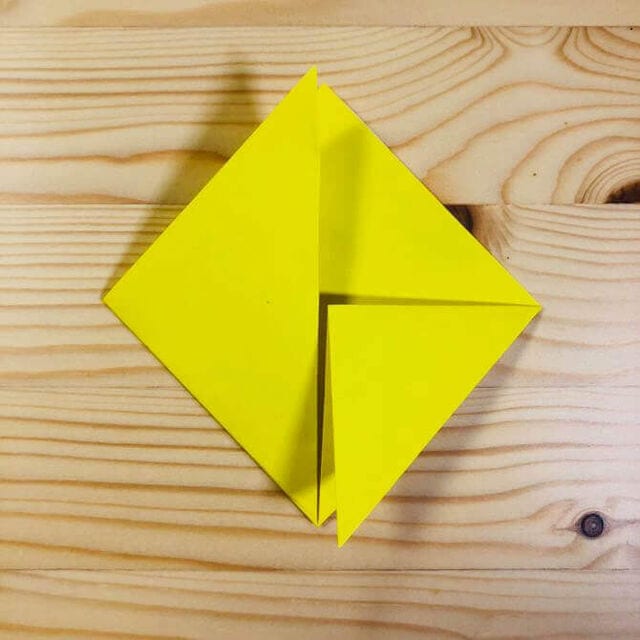
STEP 5
Fold the other flap down in the same way.
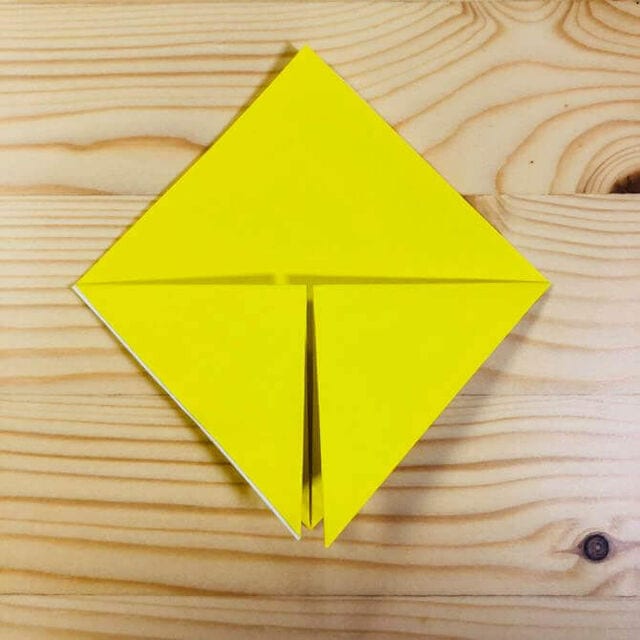
STEP 6
Fold the tip down at the position shown in the photo.
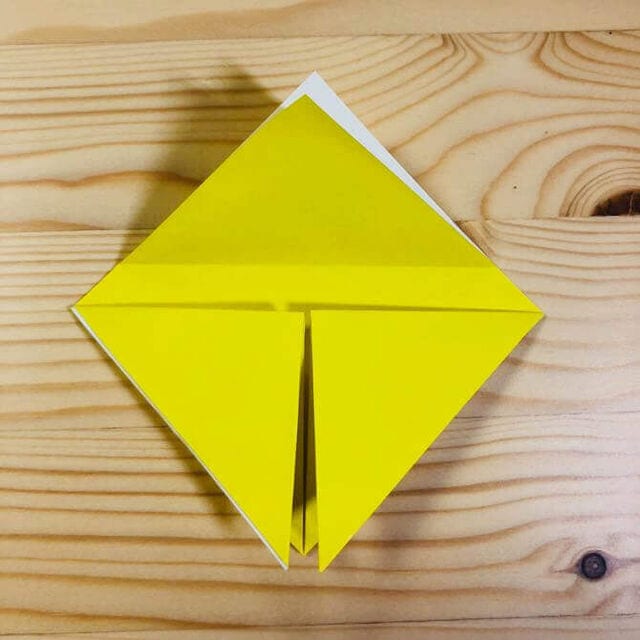
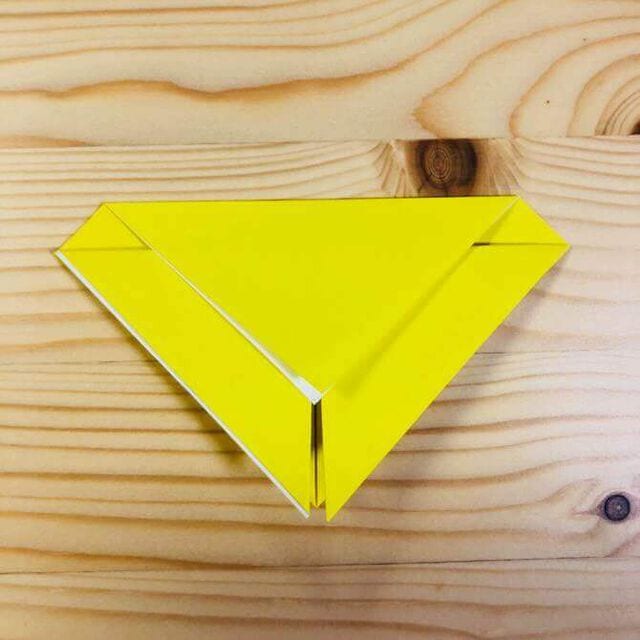
STEP 7
Turn the model over.
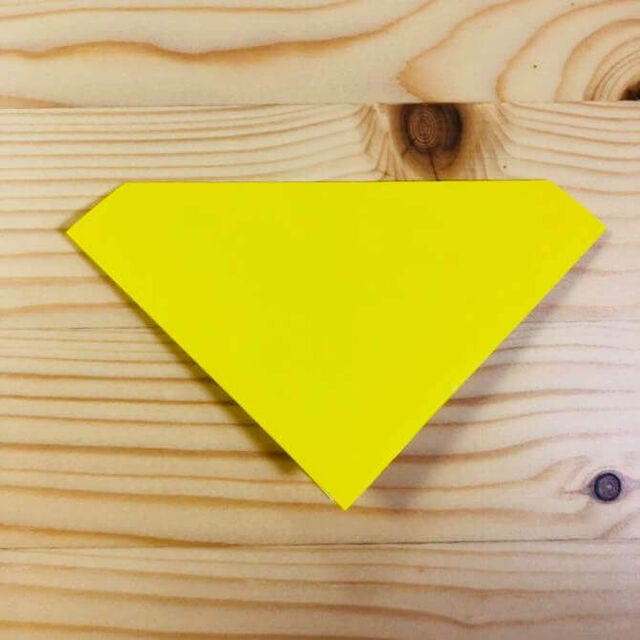
STEP 8
Fold only the front layer up at the position shown in the photo.
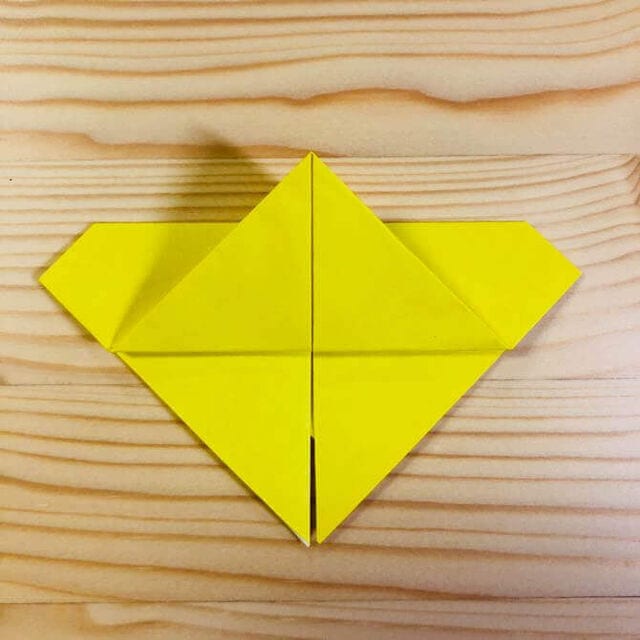
STEP 9
Turn the model over again.
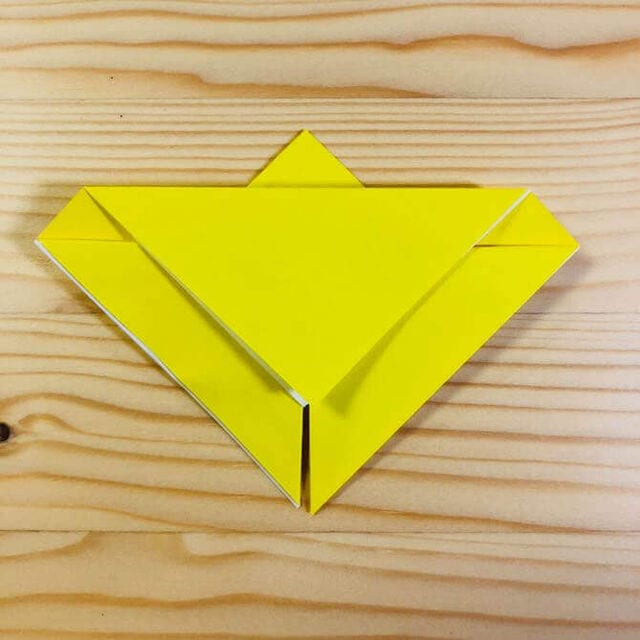
STEP 10
Fold the model in half toward you (valley fold along the center).
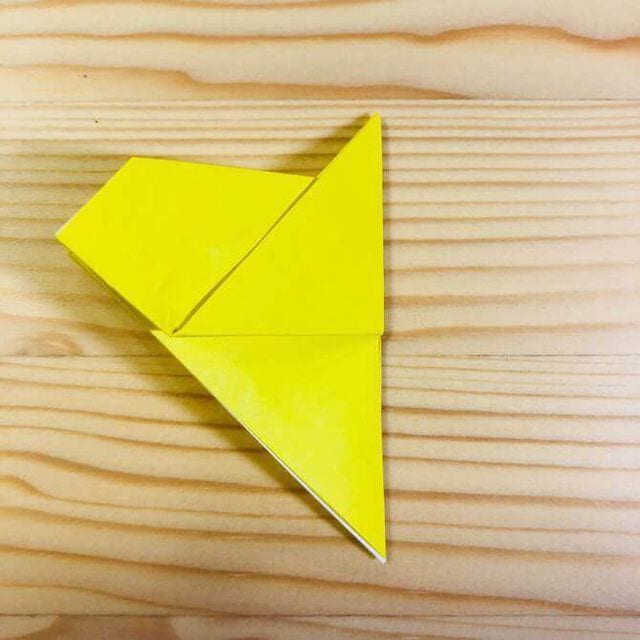
STEP 11
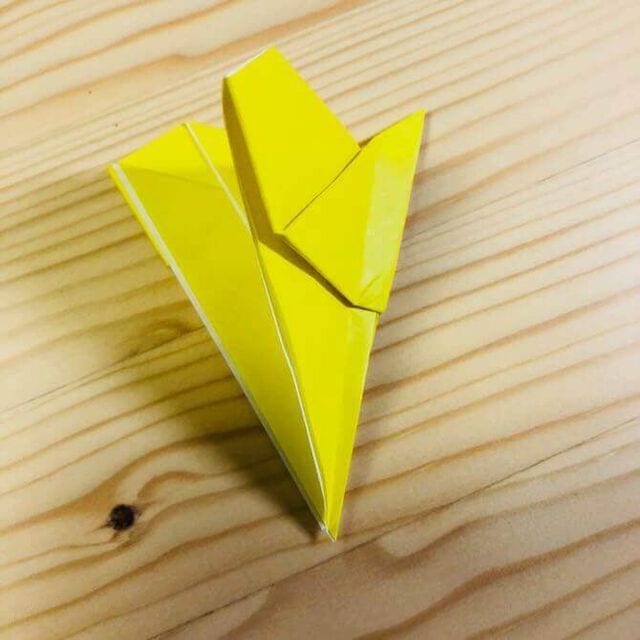
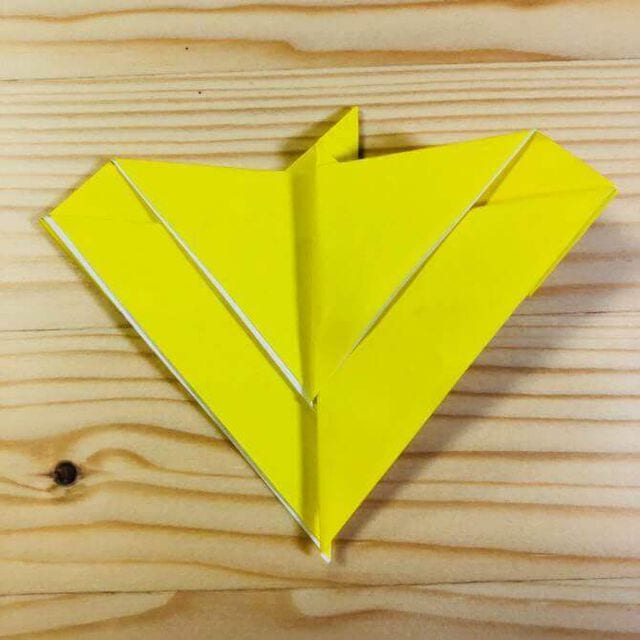
Fold the wing at the position shown in the photo.
STEP 12
Fold the other wing in the same way.
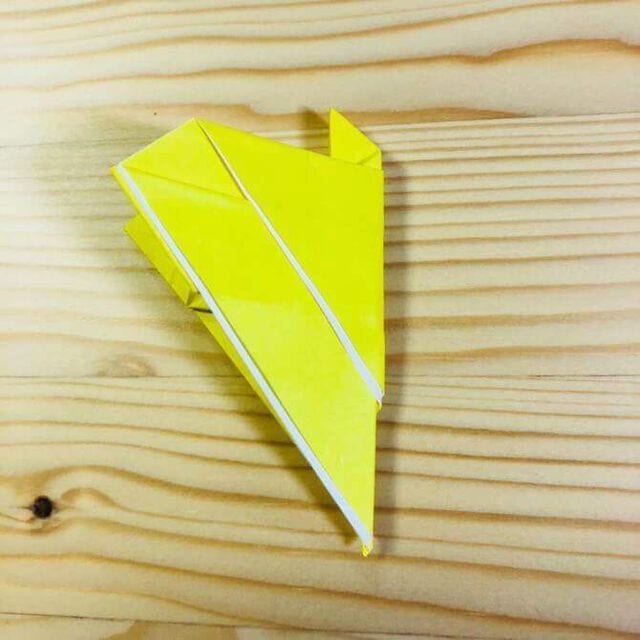
Completion!
Open up and shape the model, and your butterfly is complete.




