
Alphabet "I"
There is a quiet satisfaction in spelling something out with your own two hands — and paper. This origami letter "I" is the kind of fold that looks crisp and architectural yet asks almost nothing of you except a square of paper and a few patient creases. Once you master it, you can line up an entire alphabet and turn someone's name or a favorite word into a handmade banner, card, or party sign. Don't worry if you have never folded letters before; the steps are gentle, the shapes are forgiving, and soon you'll have a tidy little "I" standing proudly on your desk.
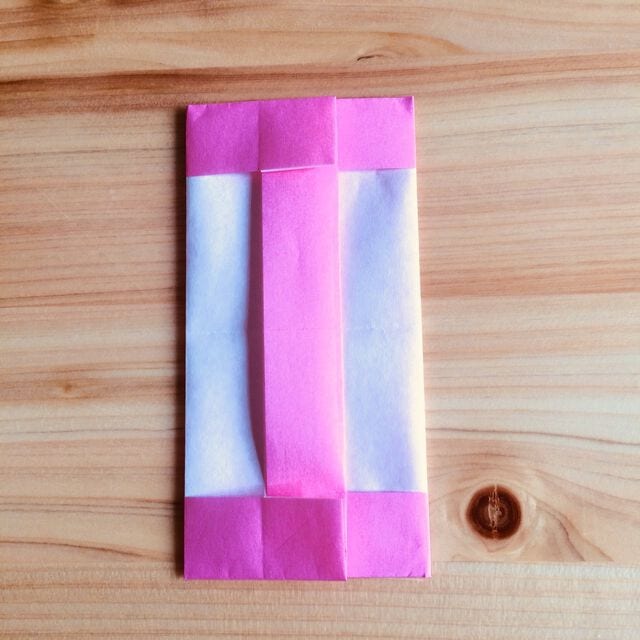
Hello!
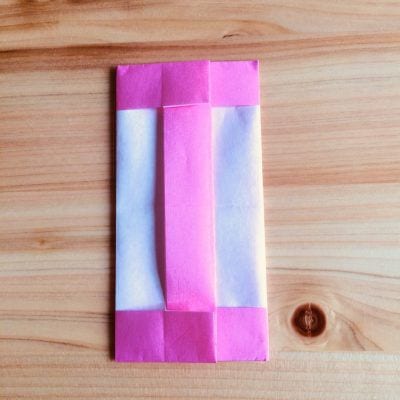
You don’t need any prior experience with alphabet origami.
It is fairly easy to fold, so give it a try.
How to Fold the Origami Letter “I”
Choose a sheet of origami paper in your favorite color so your letter turns out bright and cheerful.
Let’s start folding.
[ 1 ] Fold the paper in half to form a rectangle.
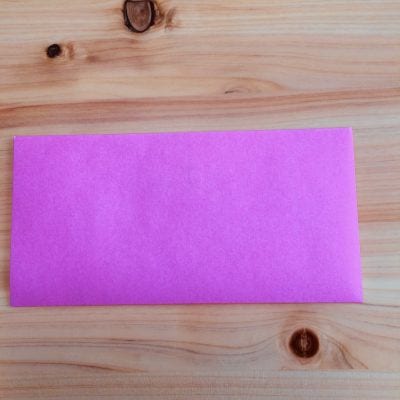
[ 2 ] Fold the top edge down in half.
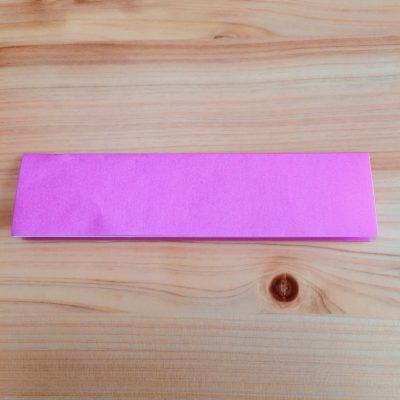
[ 3 ] Fold only the top layer in half.
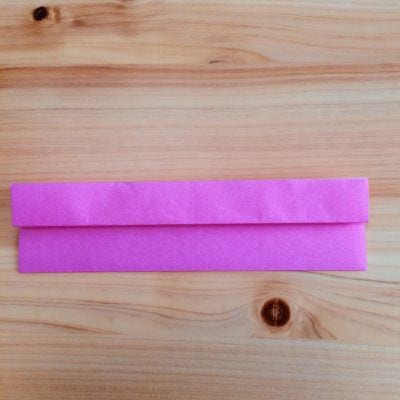
[ 4 ] Unfold everything again.
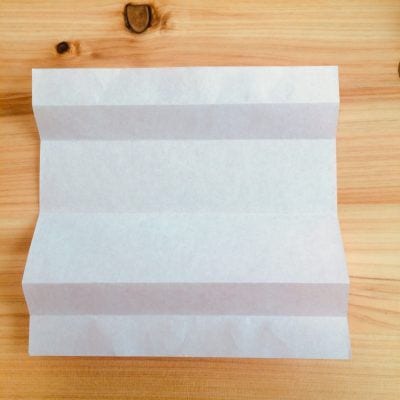
[ 5 ] Fold it in half vertically.
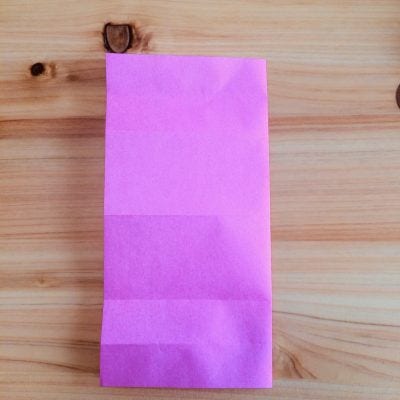
[ 6 ] Fold the left side in half toward the right.
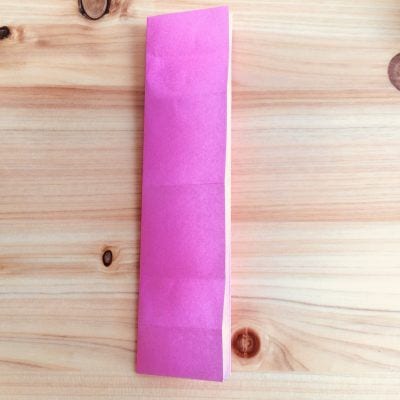
[ 7 ] Unfold, then fold the right side up to the arrowed line to make a crease, and fold it back.
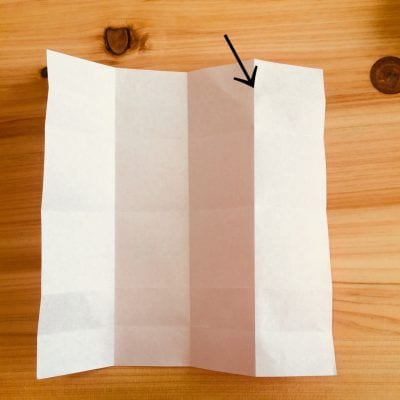
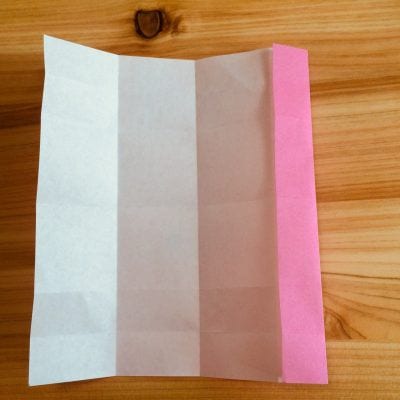
[ 8 ] Fold the right side up to the arrowed line to make a crease, then fold it back.
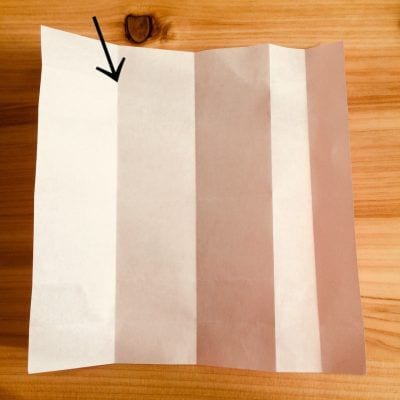
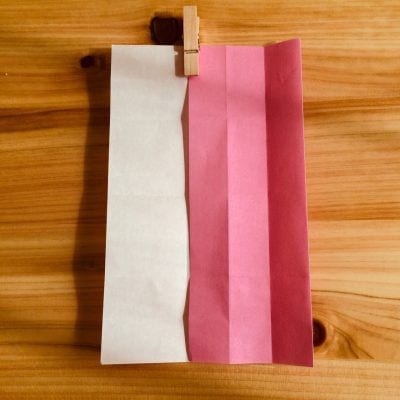
[ 9 ] Fold the right side along the arrow line.
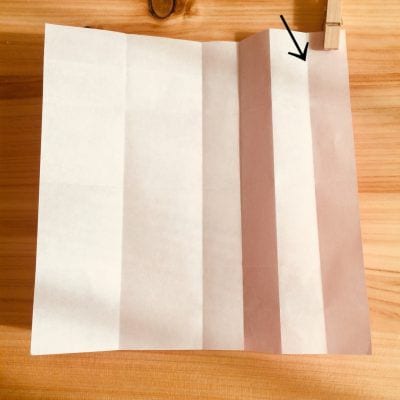
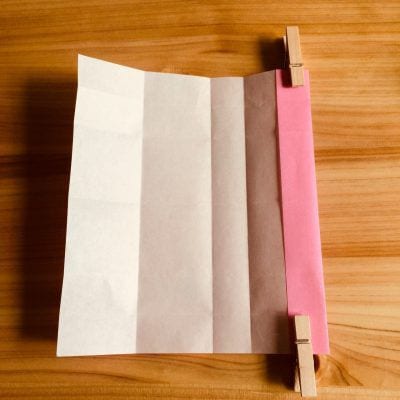
[ 10 ] Fold the top and bottom edges along the up and down arrow lines.
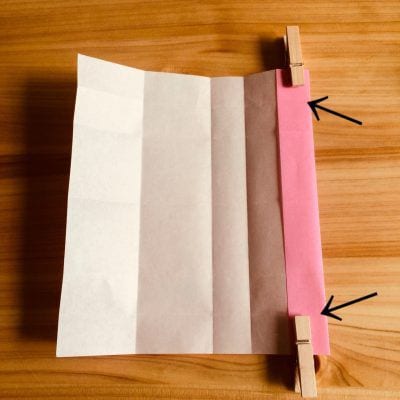
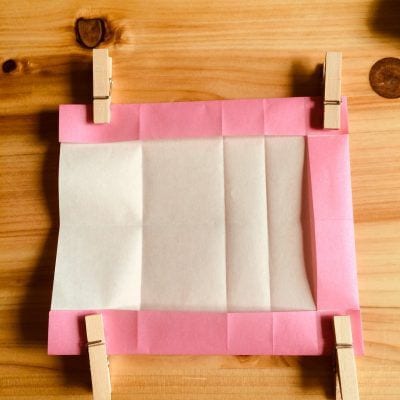
[ 11 ] Mountain-fold the left side along the arrow line and fold it back.
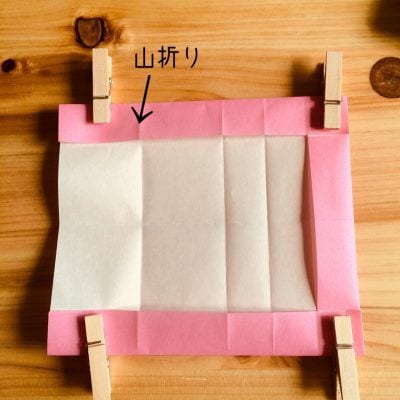
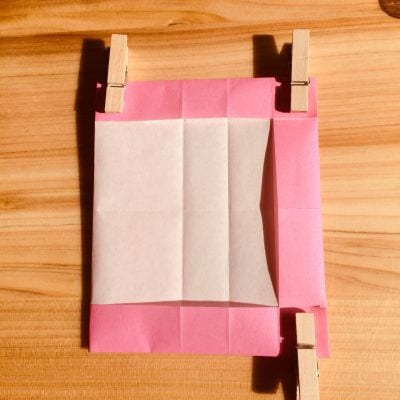
[ 12 ] Turn it over, then turn the left side to the right along the arrow line to finish.
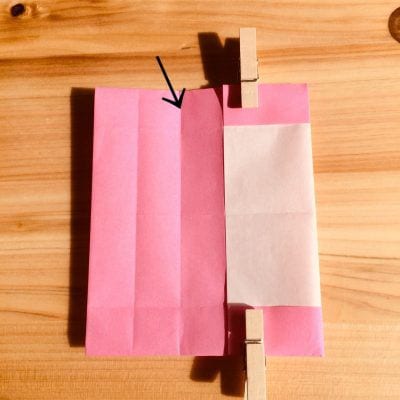
Great job!
How did it go?
Follow along with the photos as you fold.




