
Hammer Paper Airplane
There is a whole family of paper airplanes that just look good on the shelf, and then there is the Hammer. Small, sharp, and deceptively fast, the Hammer is built to fly — and to win. This tutorial takes you through the entire fold, step by careful step, from a plain sheet of printer paper to a compact plane with a pointed nose and crisp wings. The instructions are photo-guided, so you can match your creases to the pictures as you go. We do not stop at the fold, either: the last steps cover how to open the wings, hold the plane, and throw it so it really travels. If you have ever wanted a paper airplane that performs rather than just floats, the Hammer is a great one to master. Find a sheet of 8.5 x 11 paper and some open space, and let's build one.
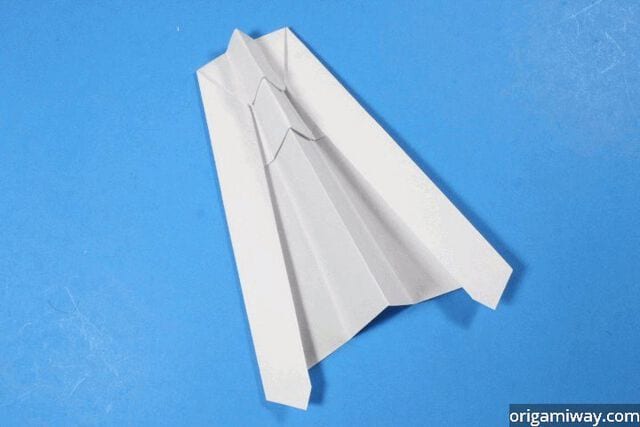
The Hammer is a mean little flying machine — don't let its small size fool you. It's fast, sturdy, and will outfly just about any plane it meets.
STEP 1. Start with a regular piece of rectangle paper that's 8.5 x 11.0 inches (215.9 x 279.4 mm).

STEP 2. Fold the top right corner to the left edge as shown.


STEP 3. Unfold.

STEP 4. Now fold the top left corner to the right edge as shown.


STEP 5. Unfold.

STEP 6. Fold the right edge along the diagonal crease indicated by the red line.


STEP 7. Do the same for the left edge.


STEP 8. Fold the left half to the right.


STEP 9. Unfold.

STEP 10. The triangle flap inside most likely remained folded to the left. Fold it back to the right.


STEP 11. Fold the very top edge down to the bottom edge — in other words, fold the top half down.


STEP 12. Let's create "new creases" to work with. Fold the top two corners to the center of the X crease indicated by the black arrow.


STEP 13. Unfold.

STEP 14. Fold the top flap up at the red arrows, where its edges meet the "new creases".

STEP 15. Fold the left and right diagonal edges to the "new creases".


STEP 16. Fold in diagonally one more time at the "new creases".


STEP 17. Fold the top part down as shown.


STEP 18. Turn the paper over.

STEP 19. Fold the left half to the right.


STEP 20. Make the wings by folding the right edge to the left edge indicated by the black arrow.


STEP 21. Turn the paper over.

STEP 22. Now fold the second wing to line up with the first wing.


STEP 23. Open the wings. All done! Now let's learn how to fly the Hammer right.

STEP 24. When unfolding the wings, make sure they are tilted up a bit like this so the plane flies well.

STEP 25. Hold this part of the plane and aim it slightly upward so it flies far. Now throw it hard!





