
Miffy
Miffy might just be the calmest celebrity in the origami world. That tiny round head and those two dots for eyes have quietly charmed people since 1955, and there's something oddly comforting about recreating such a famous face with a single square of paper. When news came that Dick Bruna had passed away, folding this little bunny felt like a small, quiet way to say thank you.
The best part? You don't need fancy paper or advanced skills — just white origami, a marker, and a few patient minutes. Let's fold one together.
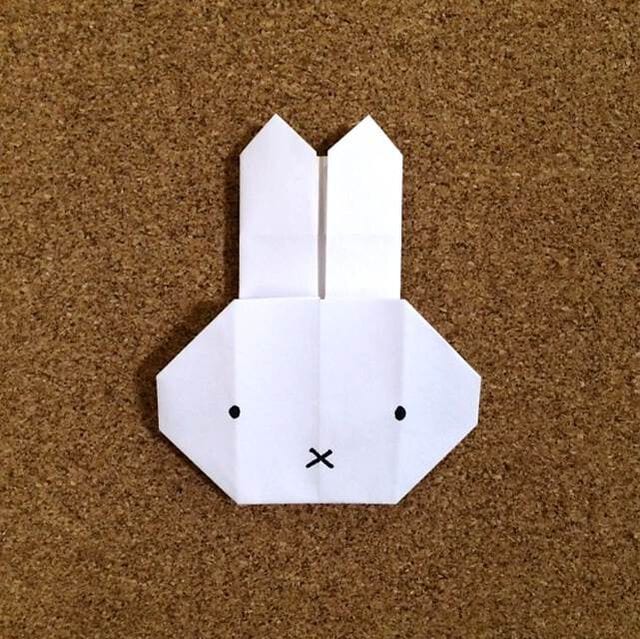
Recently, news came that Miffy’s original creator had passed away. May he rest in peace.
Since 1955, the character Miffy has been loved all over the world for more than 60 years. I folded this origami as a small tribute.
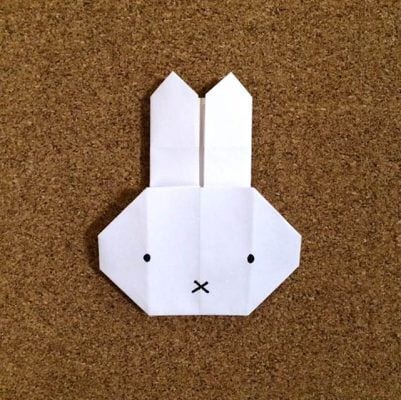
There’s something special about that simple little face, isn’t there? It’s easy to fold and to draw on, so do give it a try.
Now let me walk you through how to fold Miffy.
How to Fold Miffy
It’s time for the white origami paper I haven’t had a chance to use lately — prepare one sheet of white origami paper.
Once you have a pen or felt-tip marker ready for the face, let’s start folding! This time I followed along with a video tutorial for reference.
Step 1: Fold in half, crease the center, and unfold.
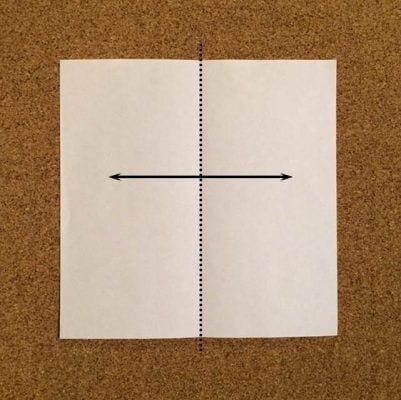
Step 2: Fold the left and right edges to align with the center line.
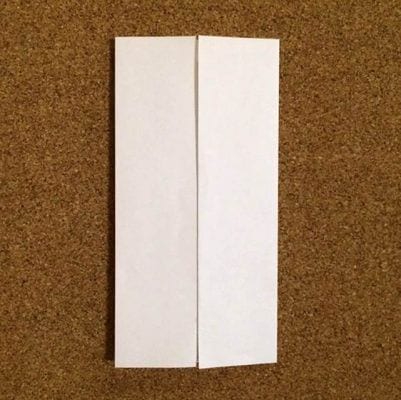
Step 3: Fold in half from bottom to top, then unfold.
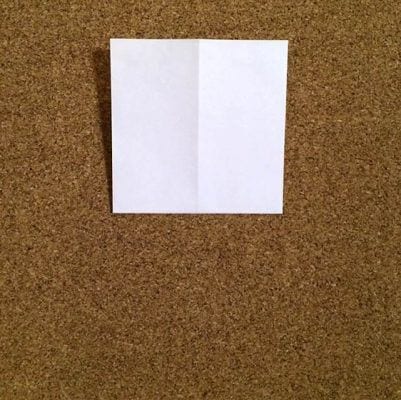
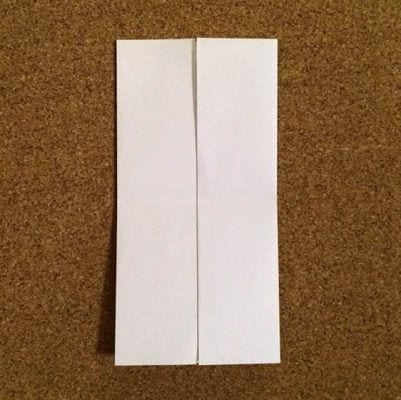
Step 4: Fold the lower half along the horizontal center line and unfold.
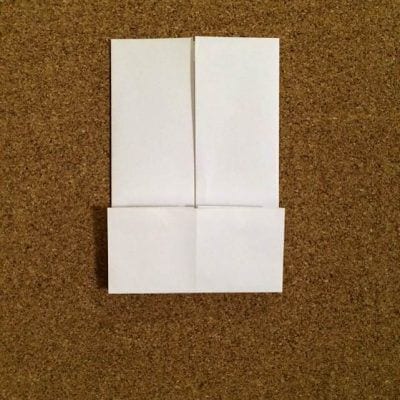
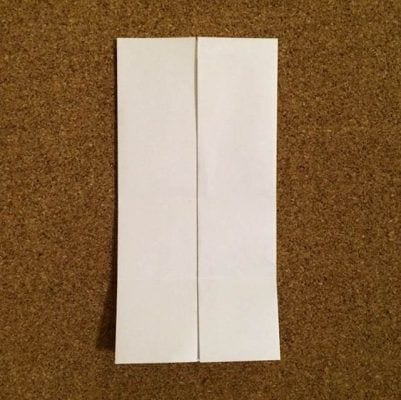
Step 5: Open the lower section from the crease and fold both top and bottom into triangles.
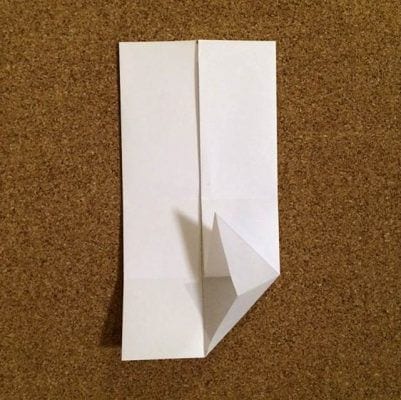
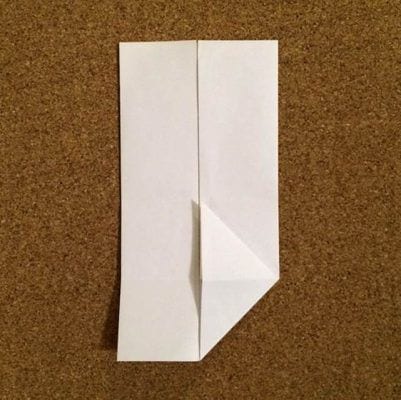
Step 6: Do the same on the left side — open from the crease and fold both top and bottom into triangles.
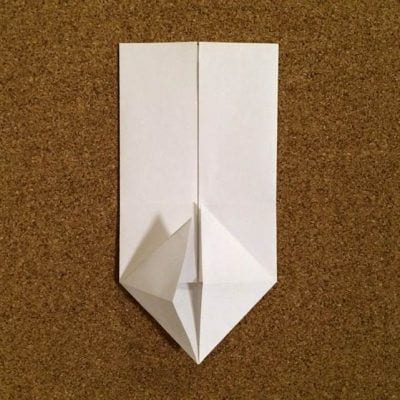
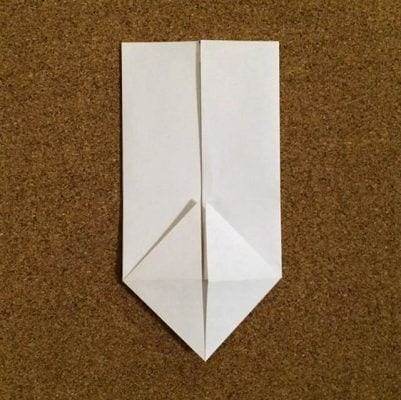
Step 7: Fold the top of the triangle down along the crease.
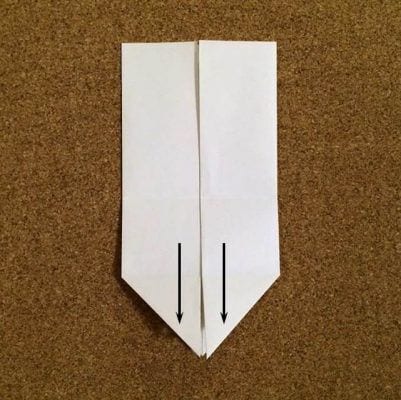
Step 8: Once folded to here, flip it upside down.
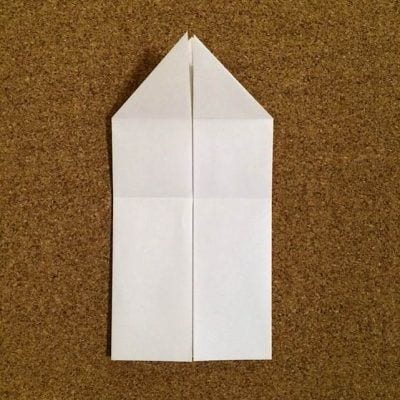
Step 9: Fold the paper below up with a gap of about 1.5 cm from the base of the triangle.
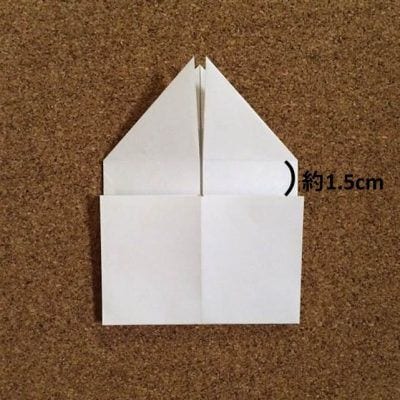
Step 10: Turn it over after folding to this point.
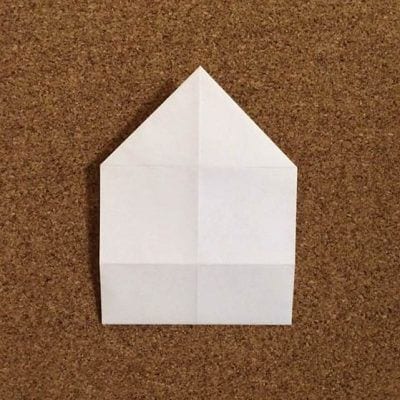
Step 11: Fold the left and right sides together along the center line.
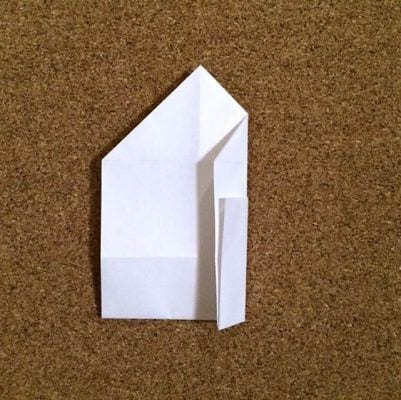
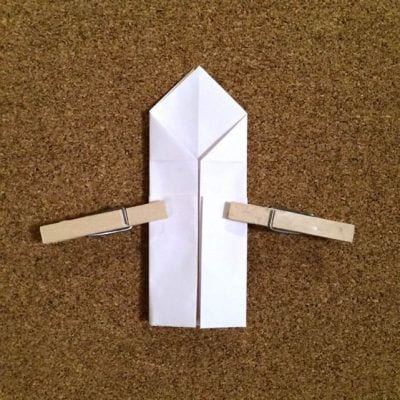
Step 12: Open the overlapping section outward and squash the lower part into a triangle.
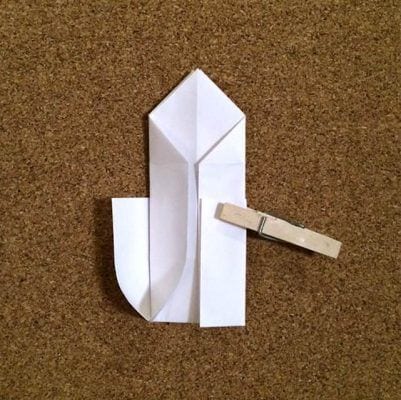
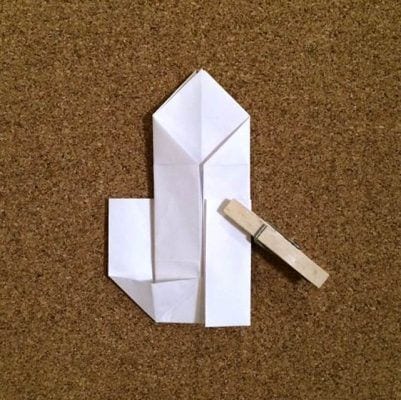
Step 13: Do the same on the right — open outward and squash into a triangle.
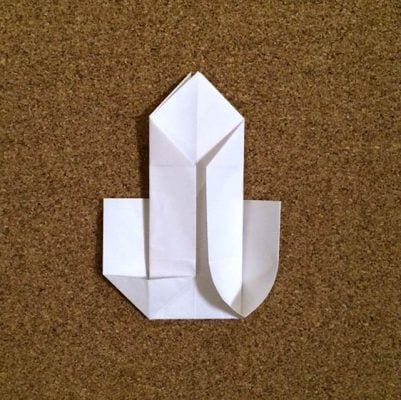
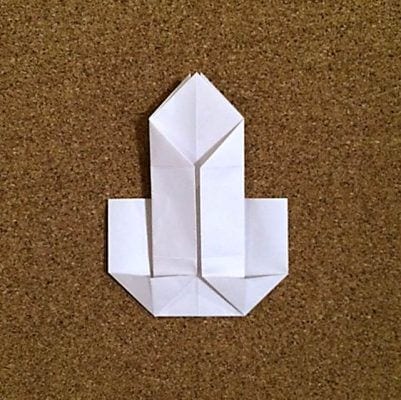
Step 14: Fold both back corners toward you.
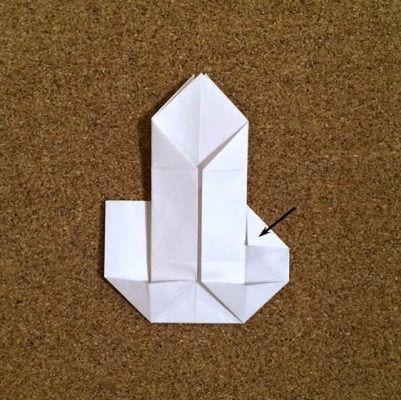
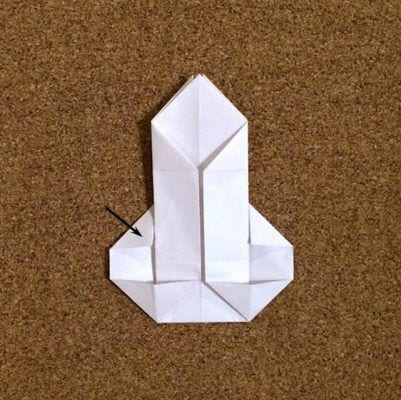
Step 15: Fold one of the top triangular flaps toward you.
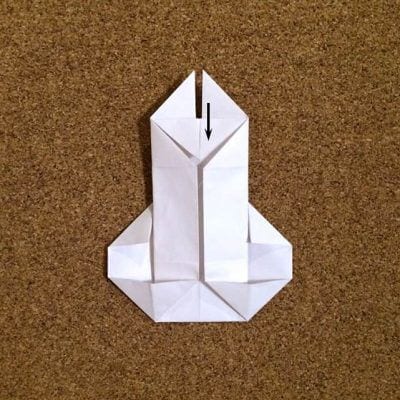
Step 16: Fold both triangular flaps at the back as shown in the photo.
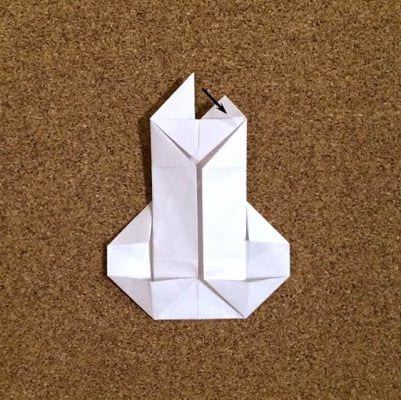
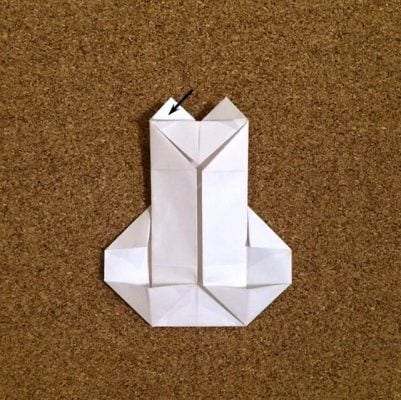
Step 17: Turn it over after folding to this point.
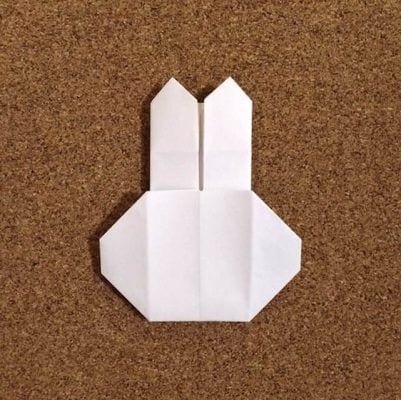
Step 18: Draw the eyes and mouth with a marker, and Miffy is complete.
How did your folding go?
I included a few extra photos to keep each step clear, but it really isn’t difficult. The face is simple too, so please fold one together with your child.




