
Chicken (Complete Tutorial)
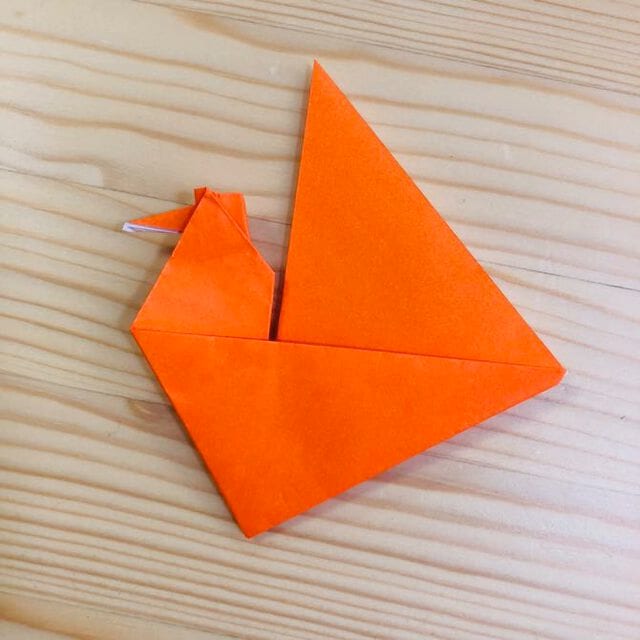
The chicken is a perennial favorite in the origami zoo — cheerful, recognizable, and a great next step once you've folded a few simpler birds. This complete tutorial walks through all 14 steps, alternating crease-and-fold sequences that gradually shape the body, wings, and head from a single square. It's an ideal project for a rainy afternoon, a farm-themed craft session, or decorating an Easter table. Use a sheet with a different color on each side and the finished chicken will show a nice two-tone effect. Let's get folding.
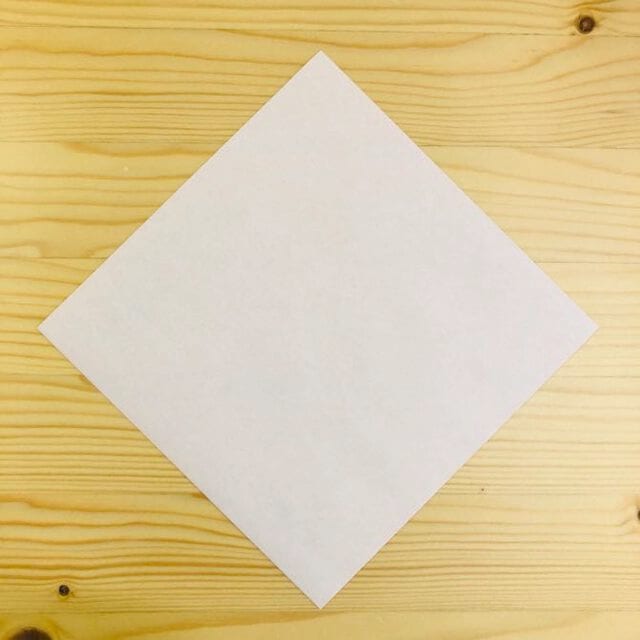
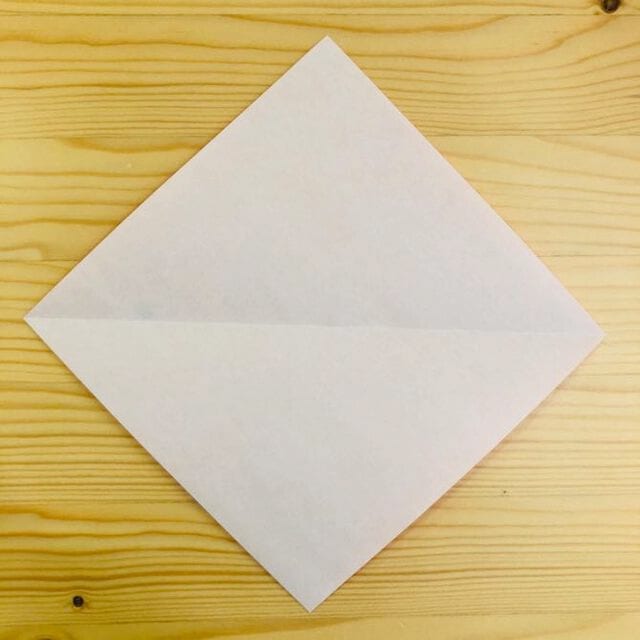
Step 1.
Fold it in half and make a crease.
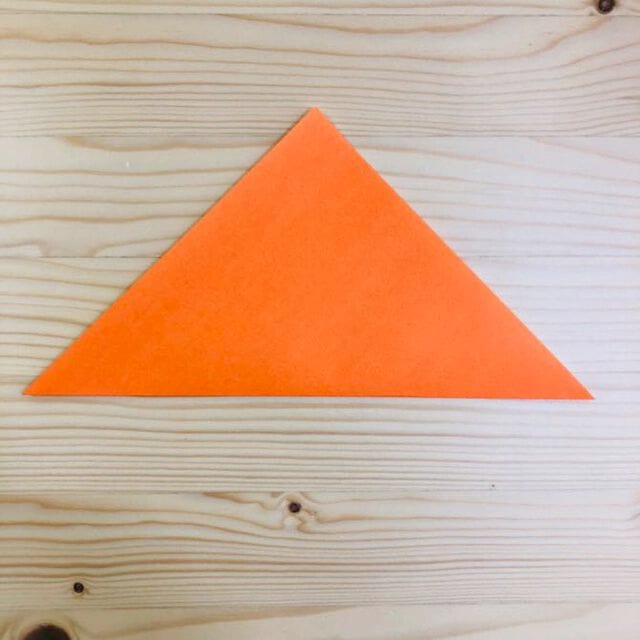
Step 2.
Fold it along the crease.
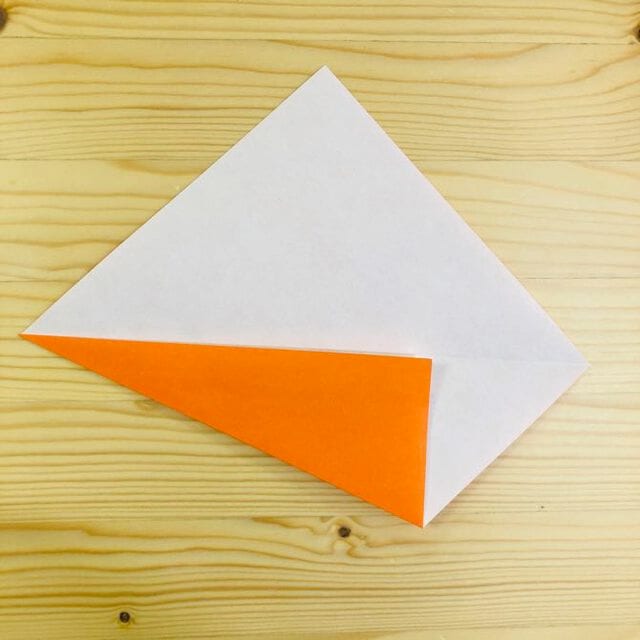
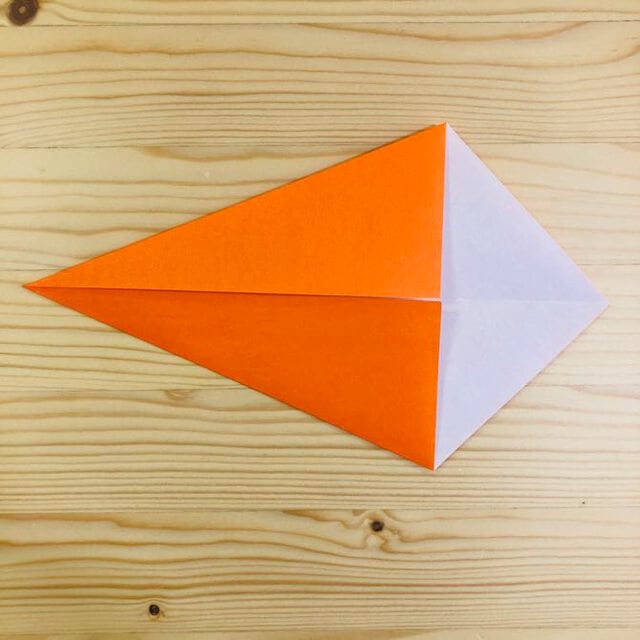
Step 3.
Turn it over.
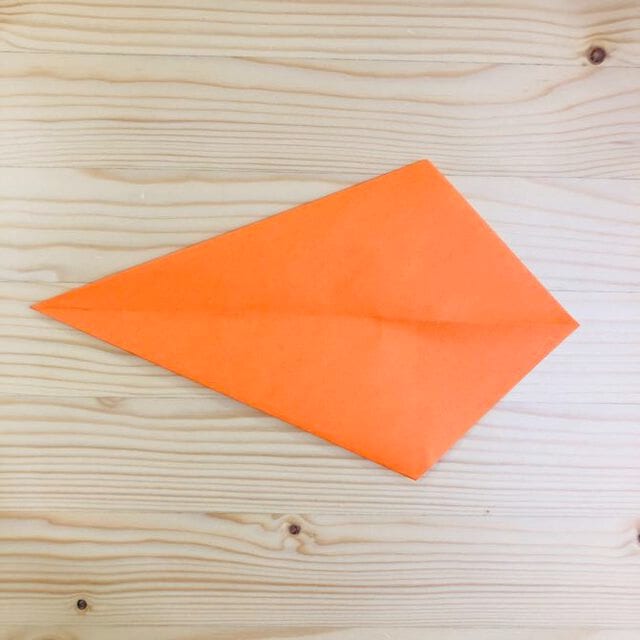
Step 4.
Fold it in half.
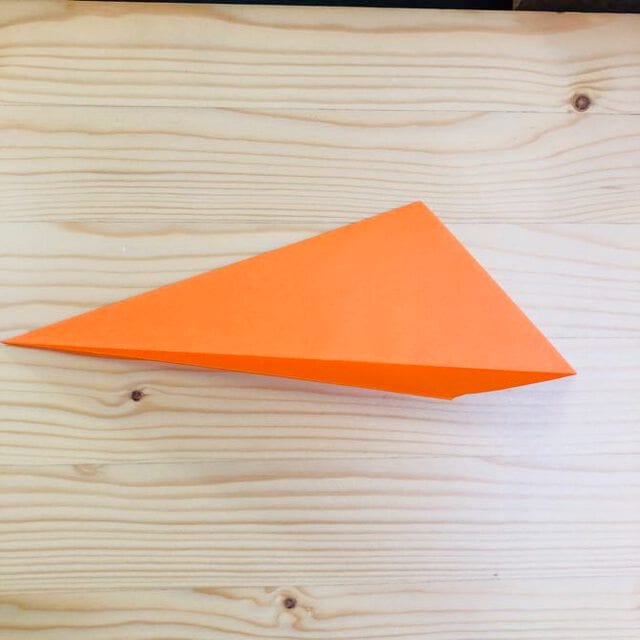
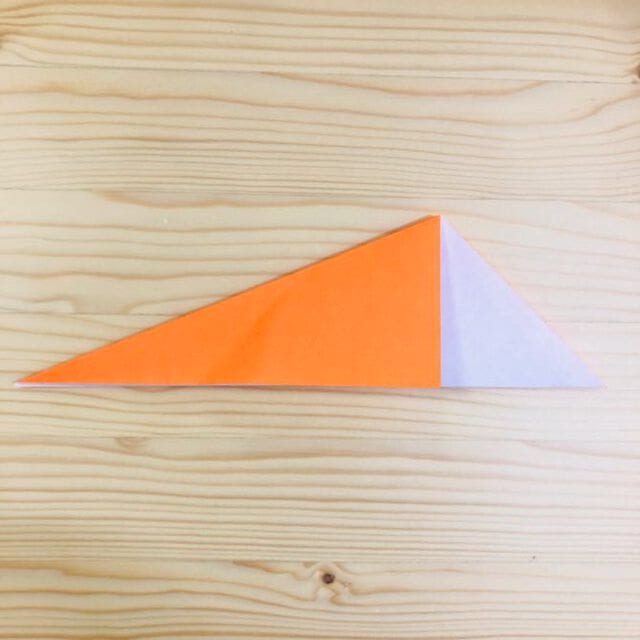
Step 5.
Make a crease at the position shown in the photo.
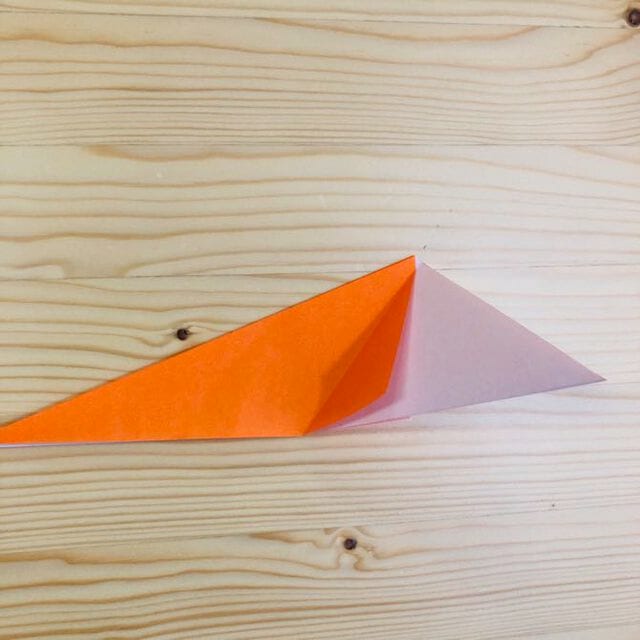
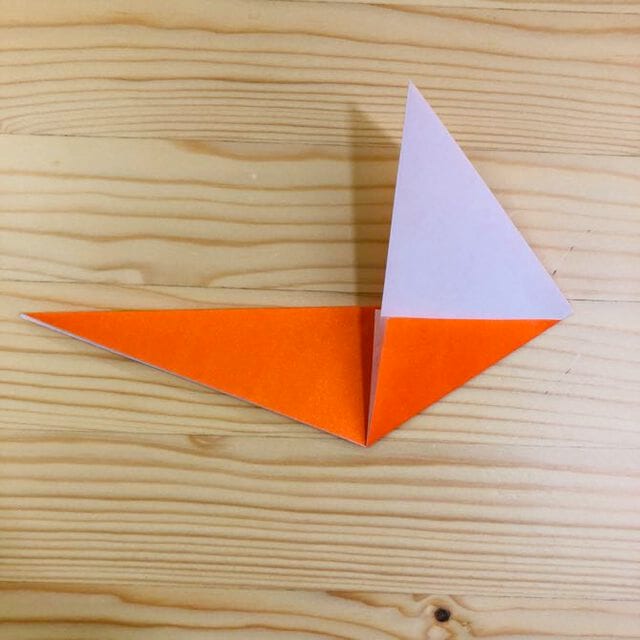
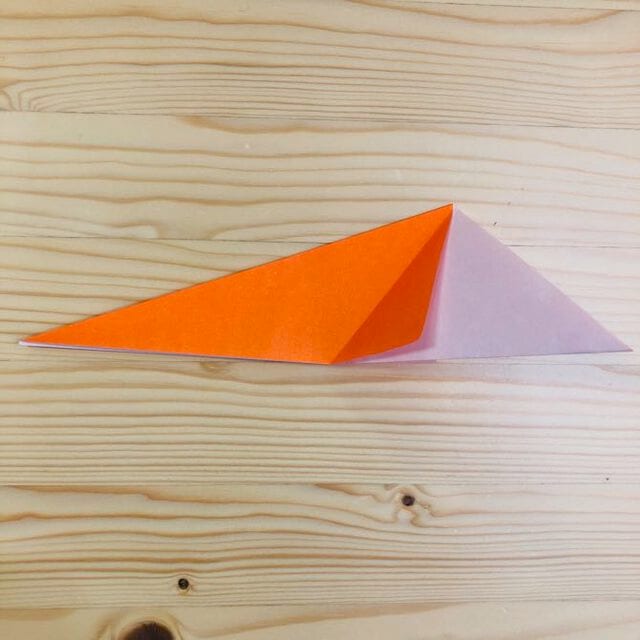
Step 6.
Fold it inward at the crease.
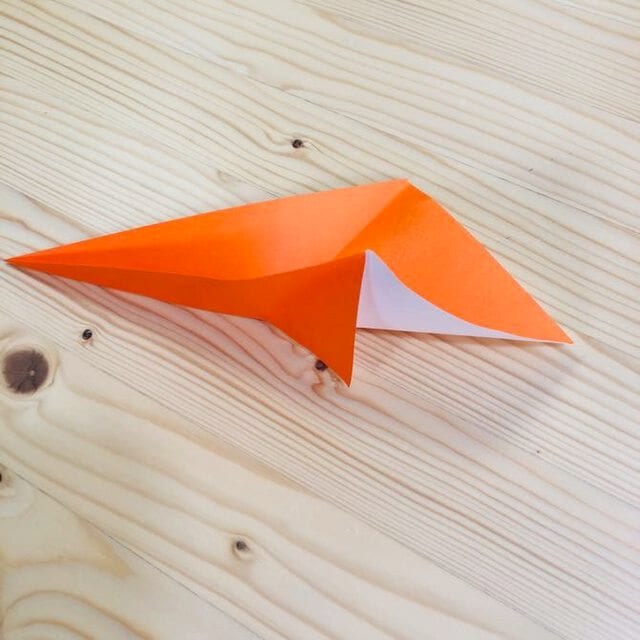
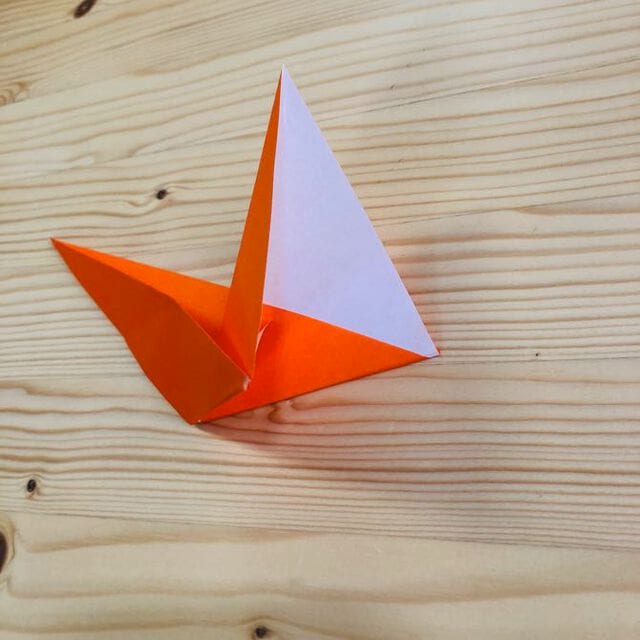
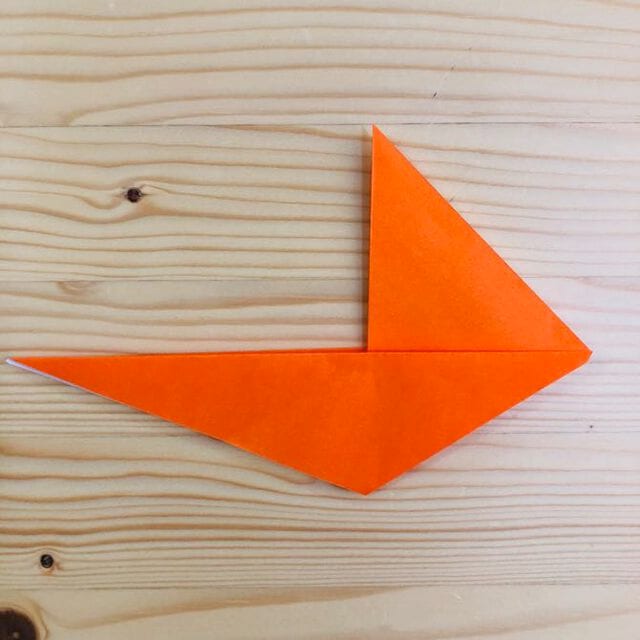
Step 7.
Make a crease at the position shown in the photo.
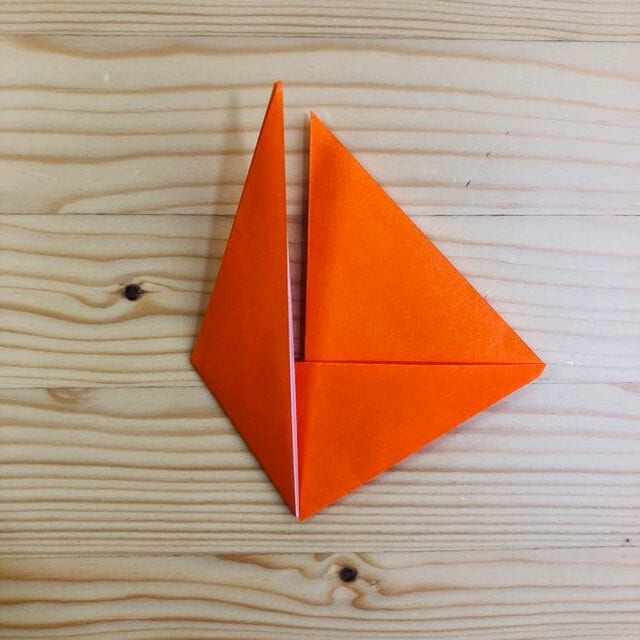
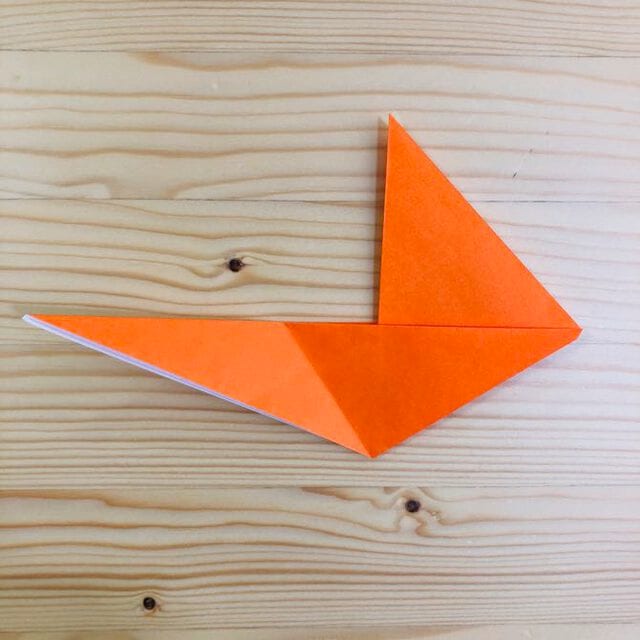
Step 8.
Fold it inward at the crease.
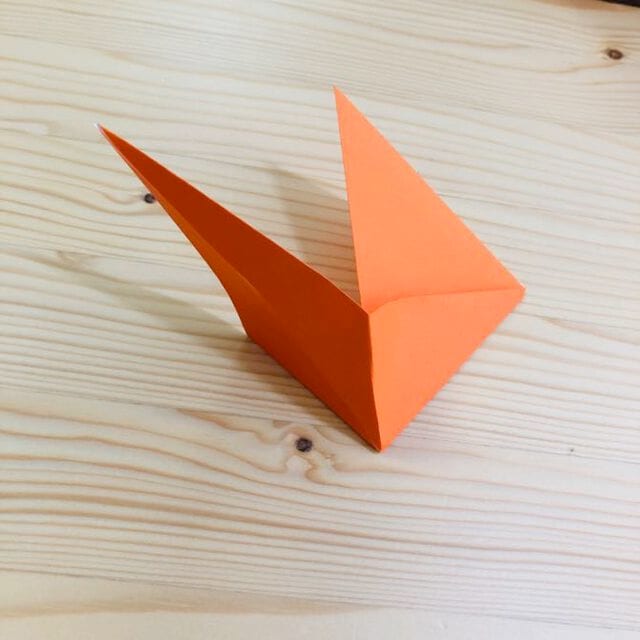
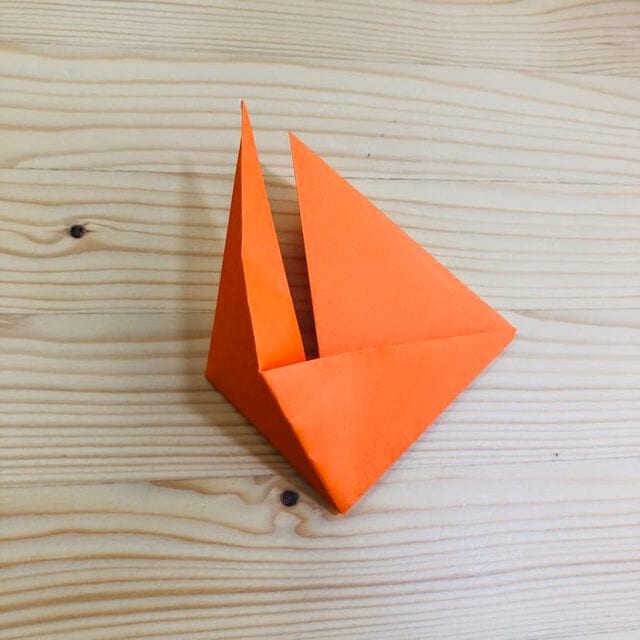
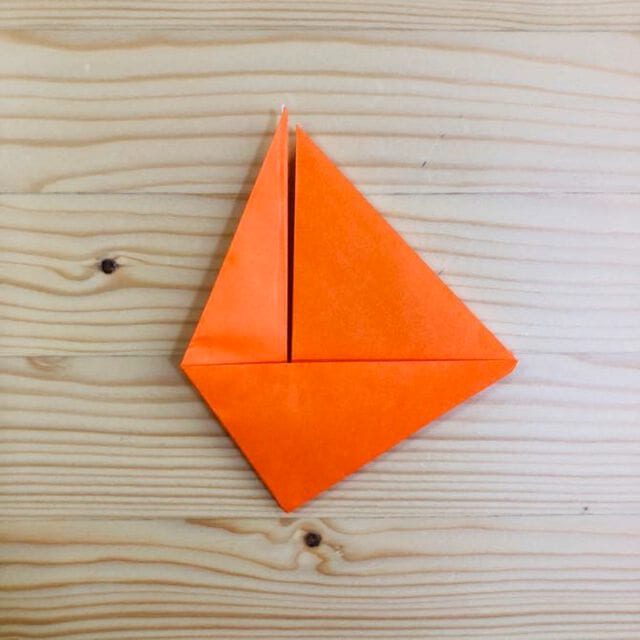
Step 9.
Make a crease at the position shown in the photo.
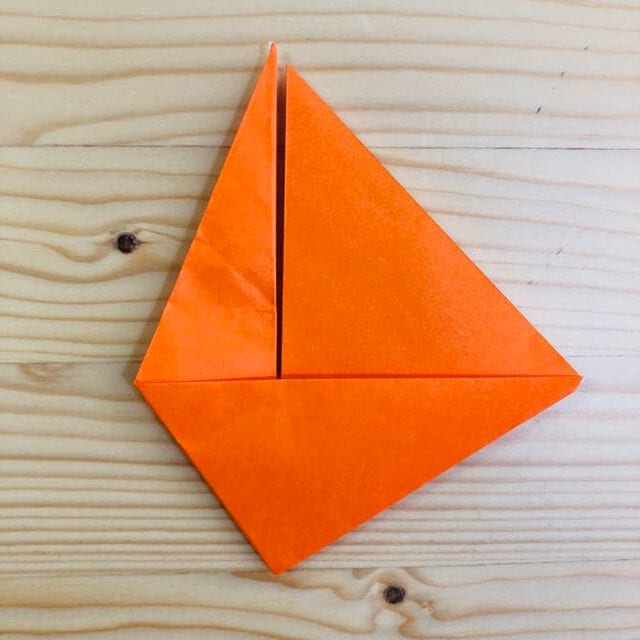
Step 10.
Fold it inward at the crease.
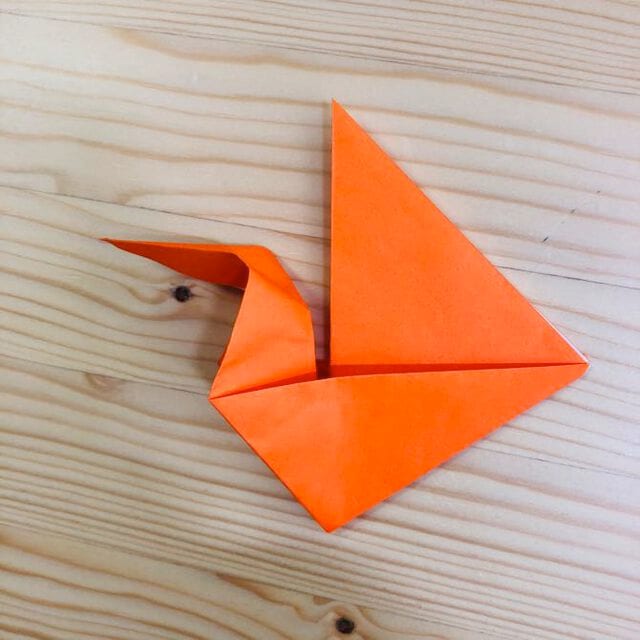
Step 11.
Make a crease at the position shown in the photo.
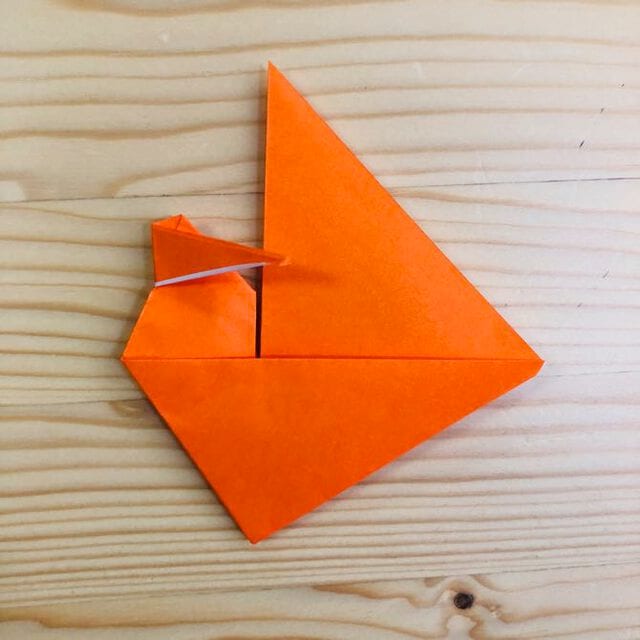
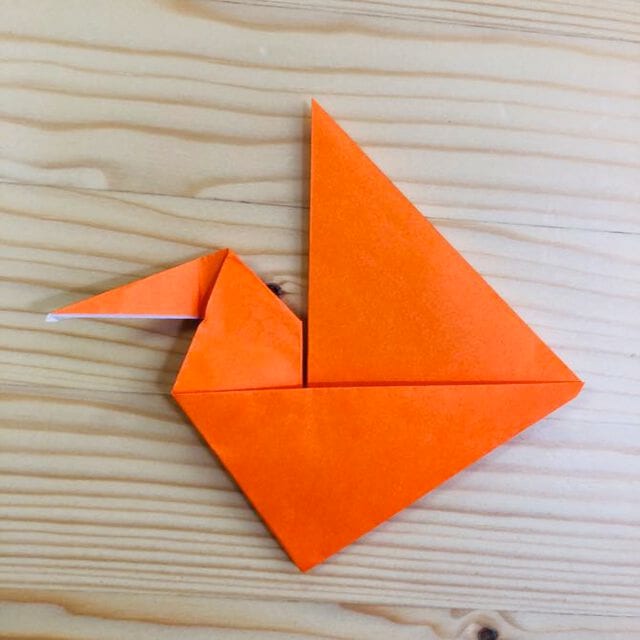
Step 12.
Fold it inward at the crease.
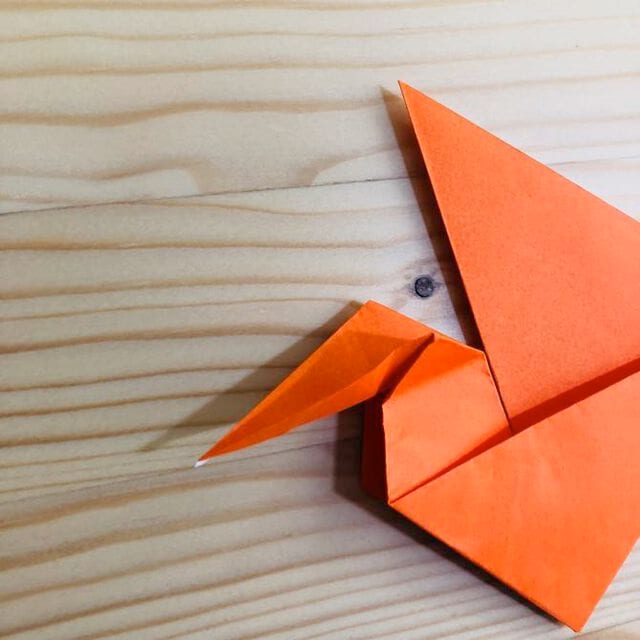
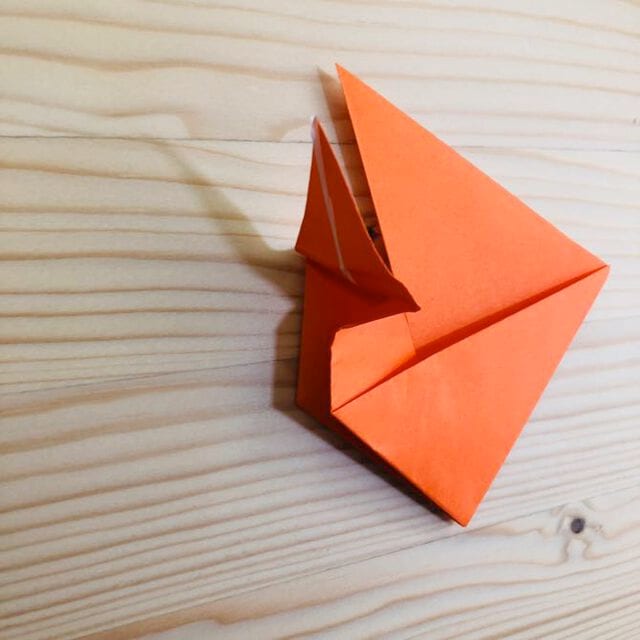
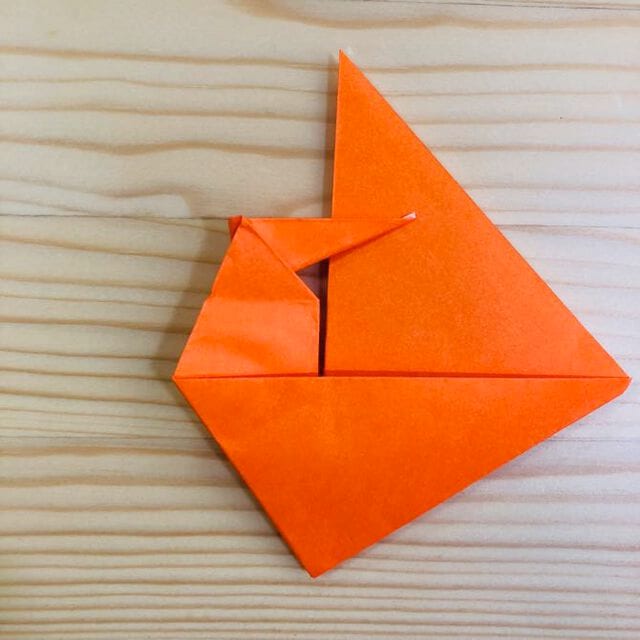
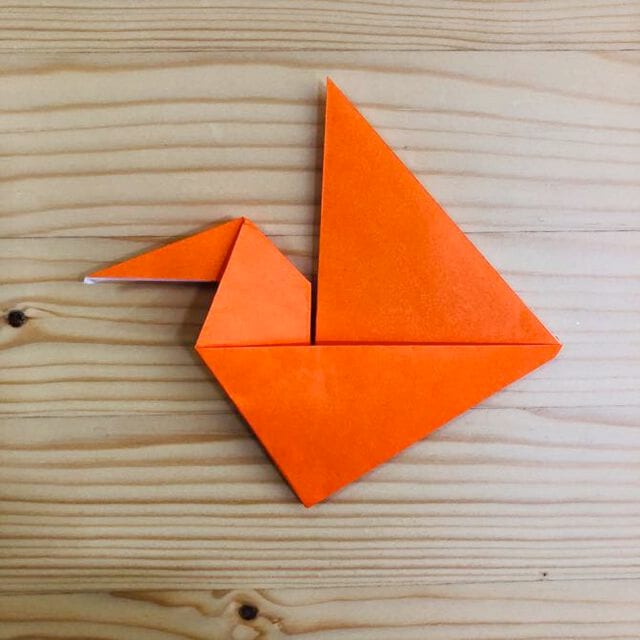
Step 13.
Make a crease at the position shown in the photo.
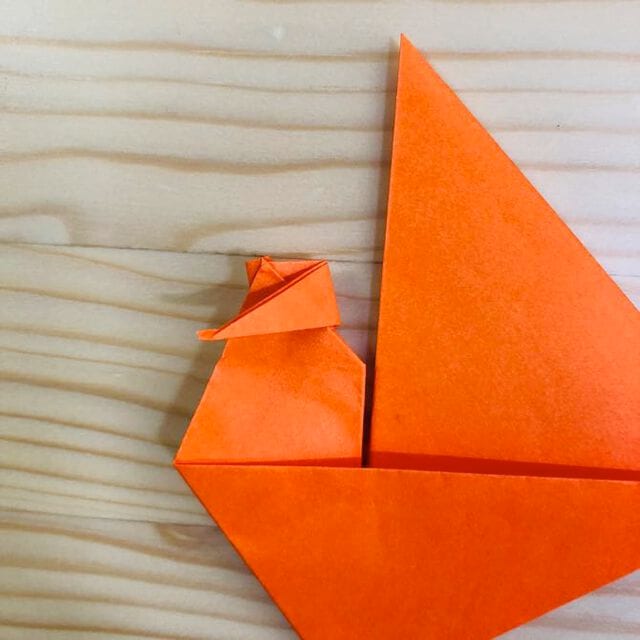
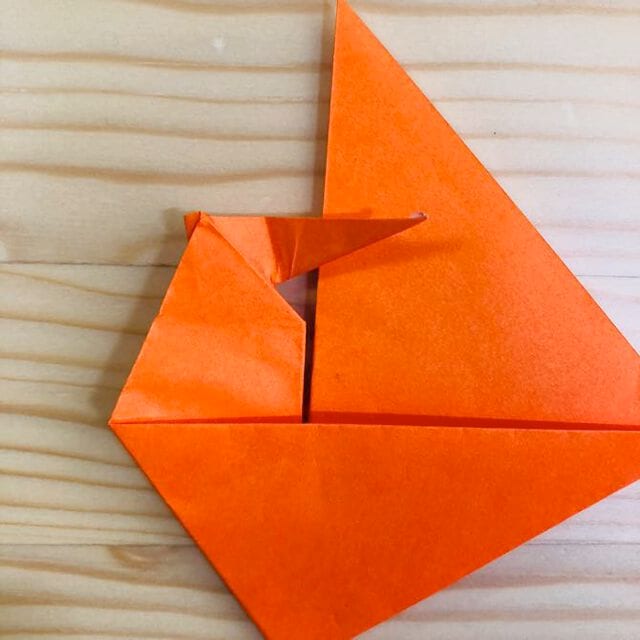
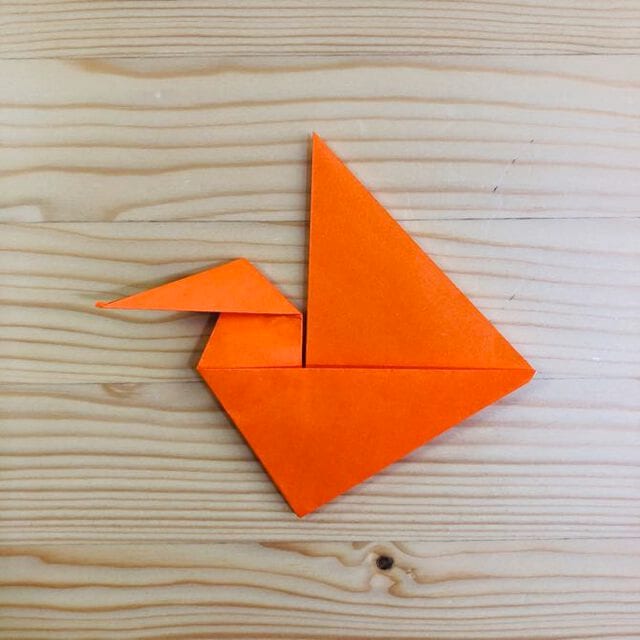
Step 14.
Fold it inward at the crease.
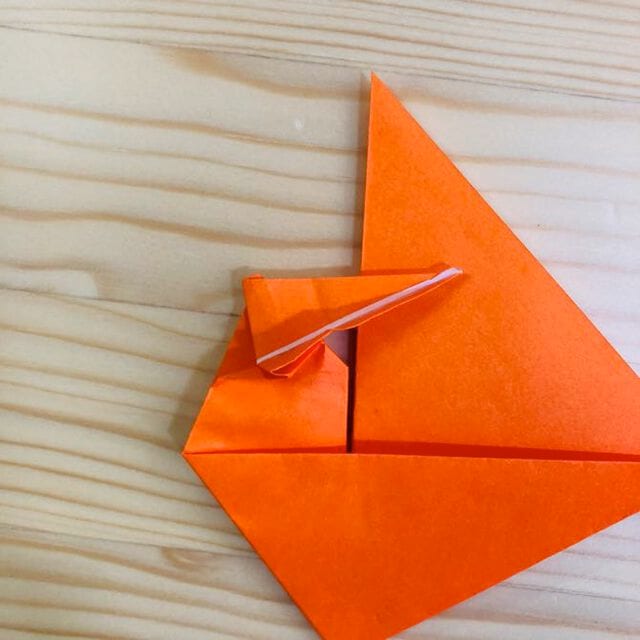
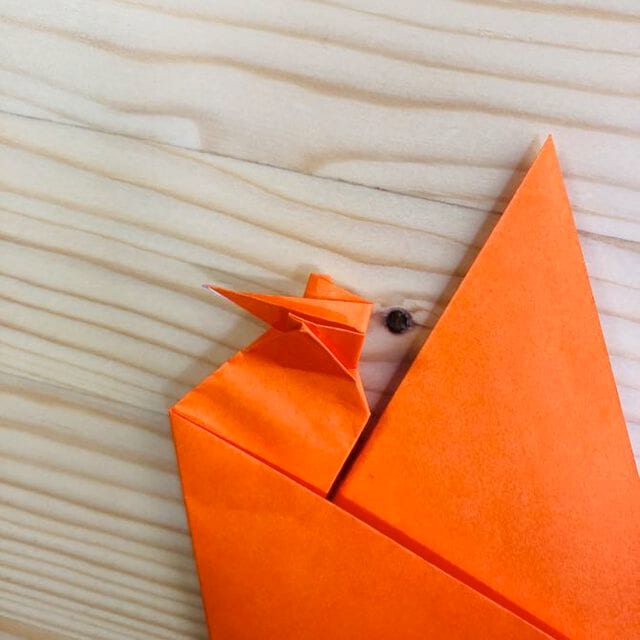
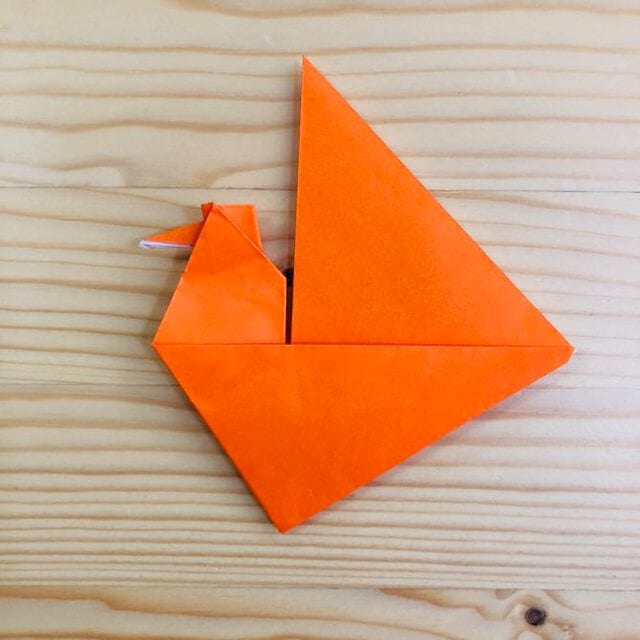
You’re done!
The chicken is complete.




