
Boar
There's something instantly charming about a pudgy little paper boar — all snout, ears, and stubby legs, with that unmistakable 'I'm up to no good' expression. Among origami animals, the boar is a quiet favorite: angular enough to be forgiving for newer folders, yet characterful enough to hold its own next to the more famous crane or fox.
This 30-step photo tutorial walks you from a flat square to a finished boar with a proper snout and a tail you can actually curl. Take your time with the head shaping and you'll end up with a sturdy little creature that stands proudly on its own four feet. Grab a sheet in your favorite earthy tone and let's bring the whole sty to life.
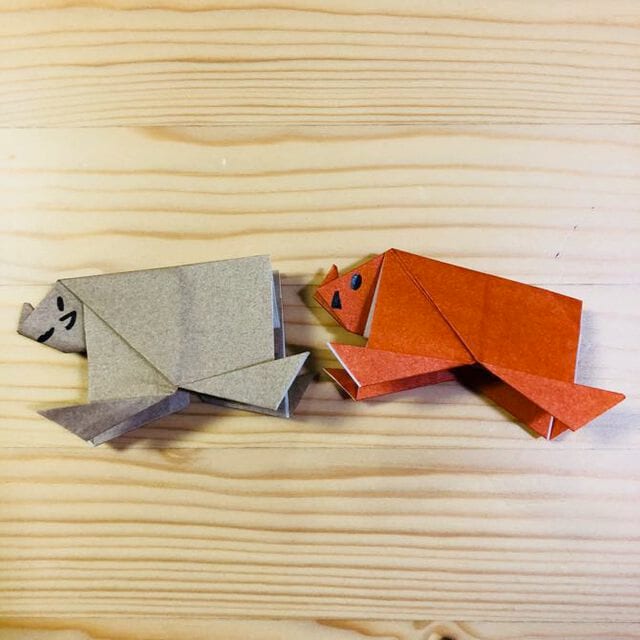
STEP 1
Fold it in half.
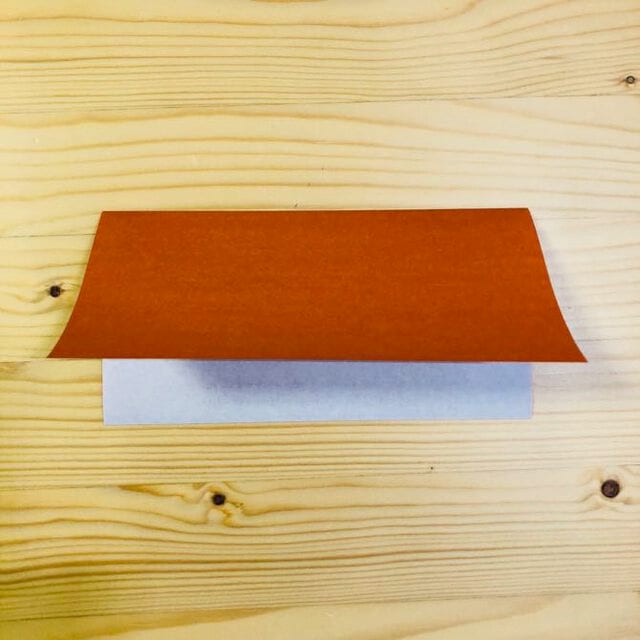
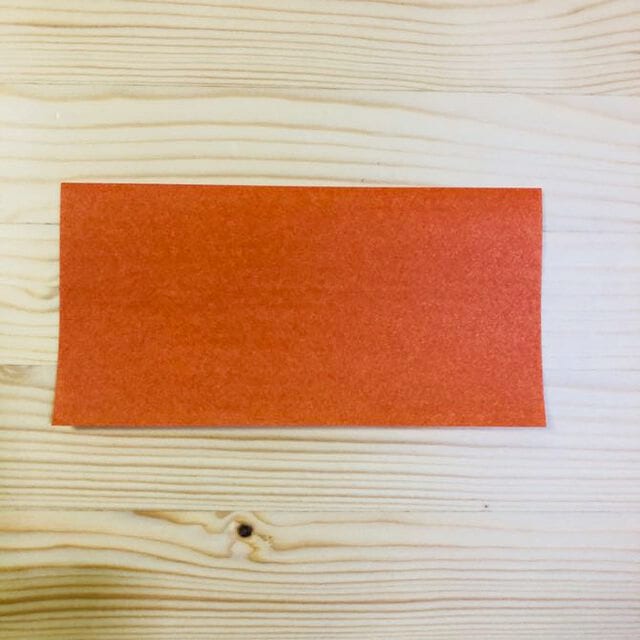
STEP 2
Fold it in half.
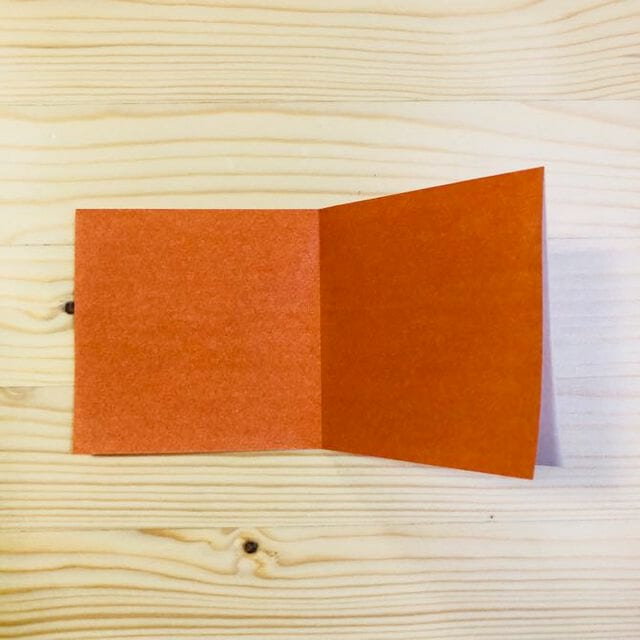
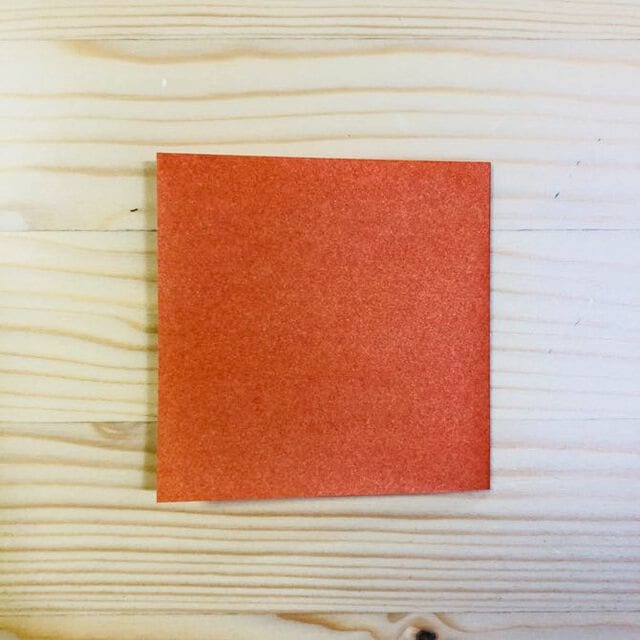
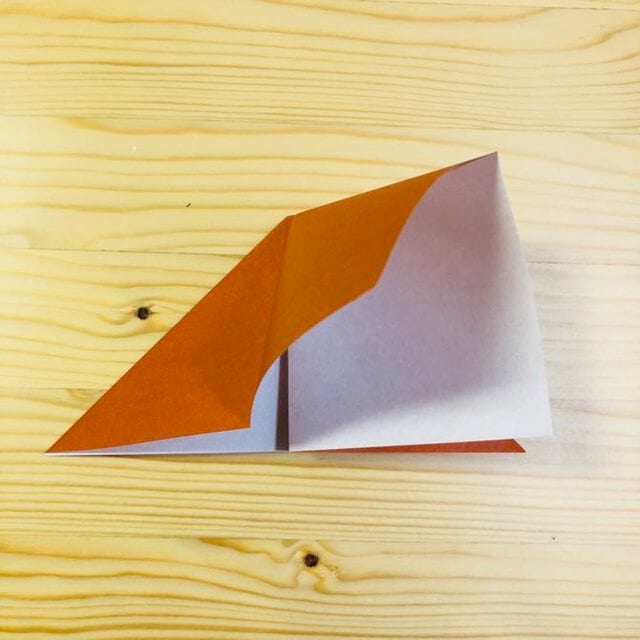
STEP 3
Open and fold as shown in the picture.
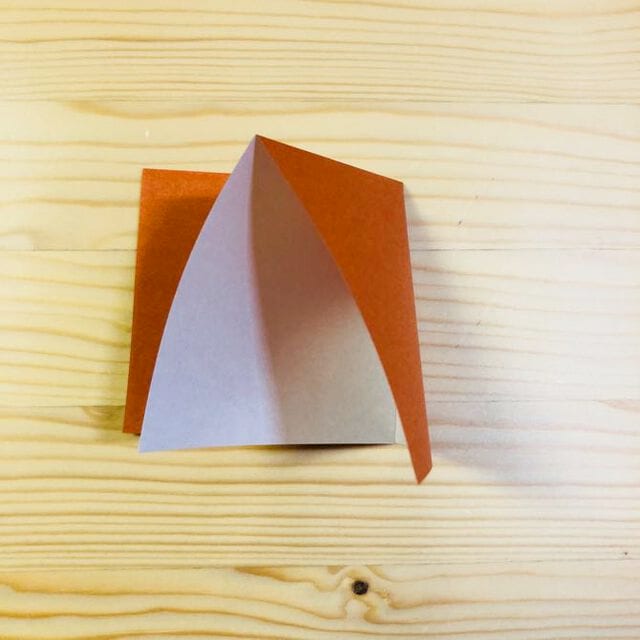
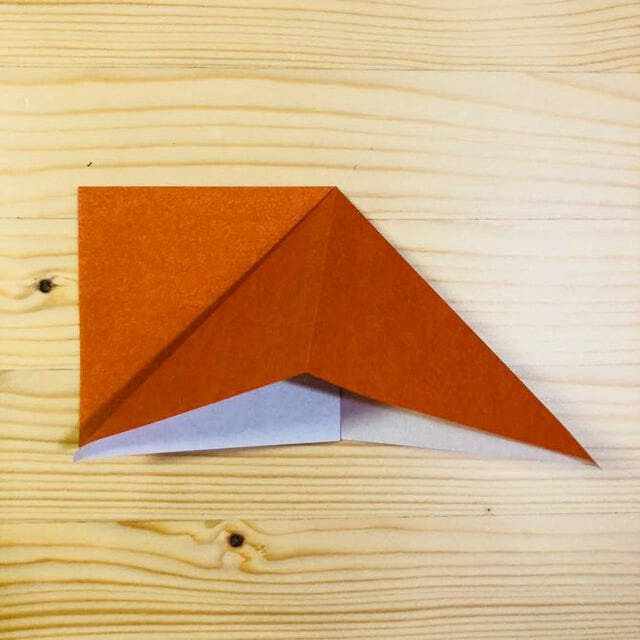
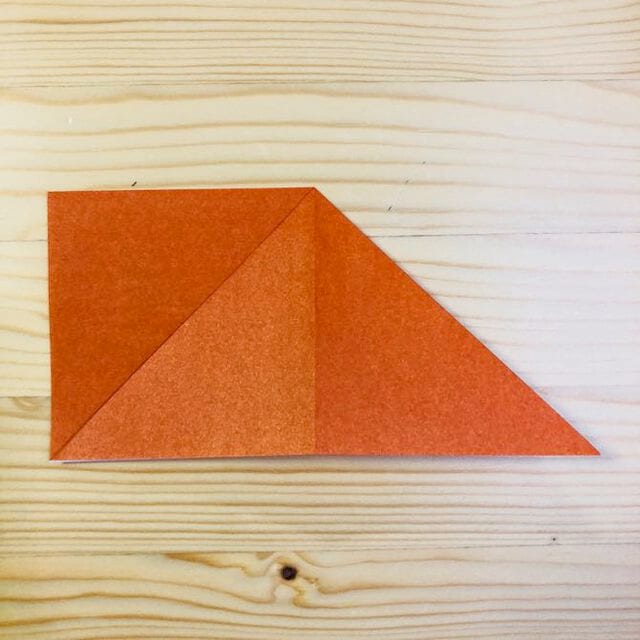
STEP 4
Fold the back side in the same way.
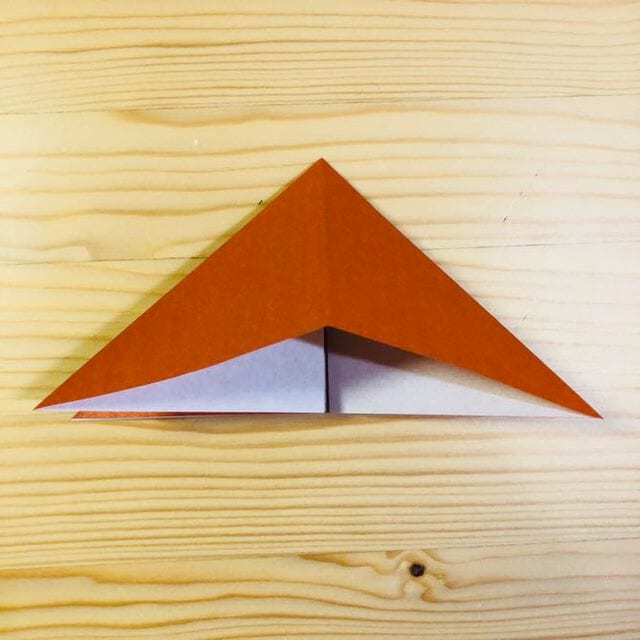
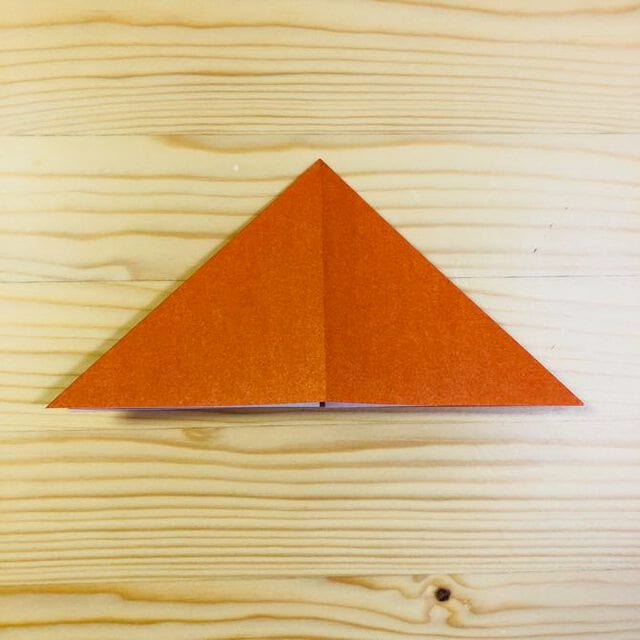
STEP 5
Fold it up at the position shown in the photo.
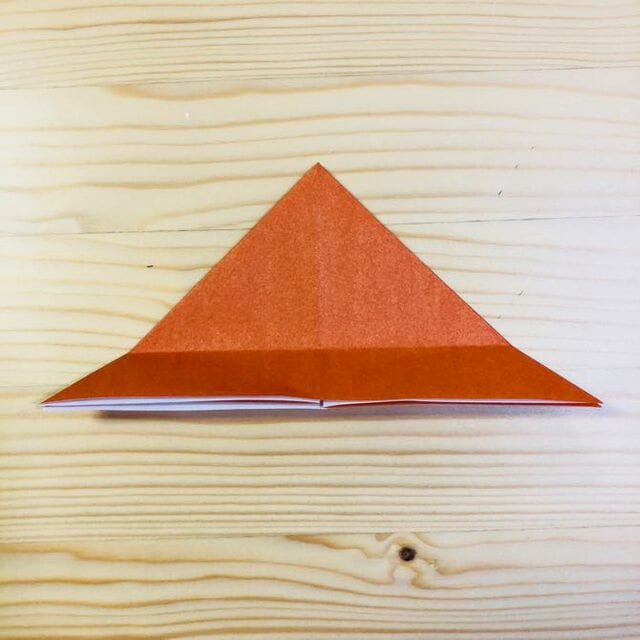
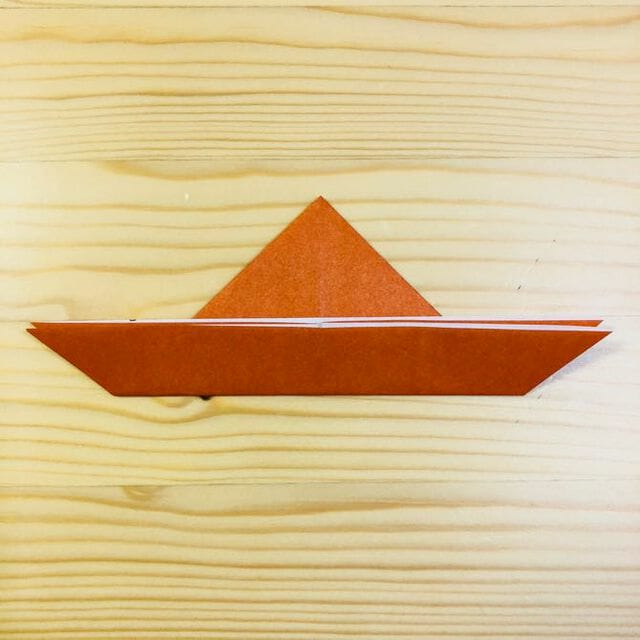
STEP 6
Fold it while opening it as shown in the picture.
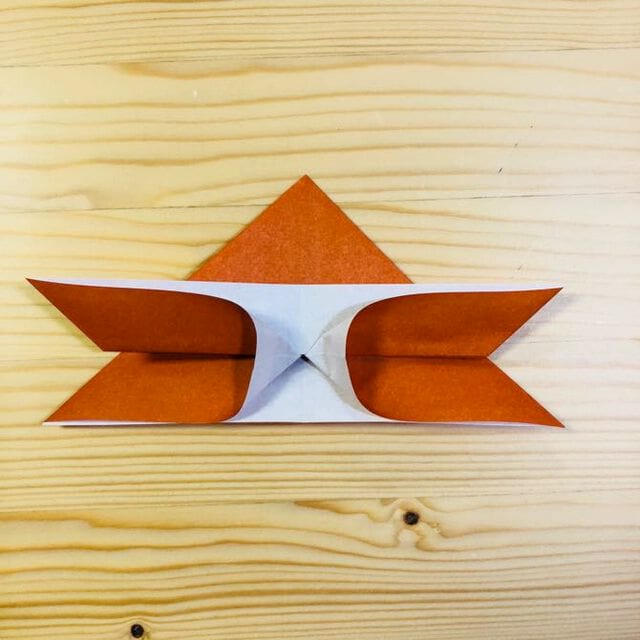
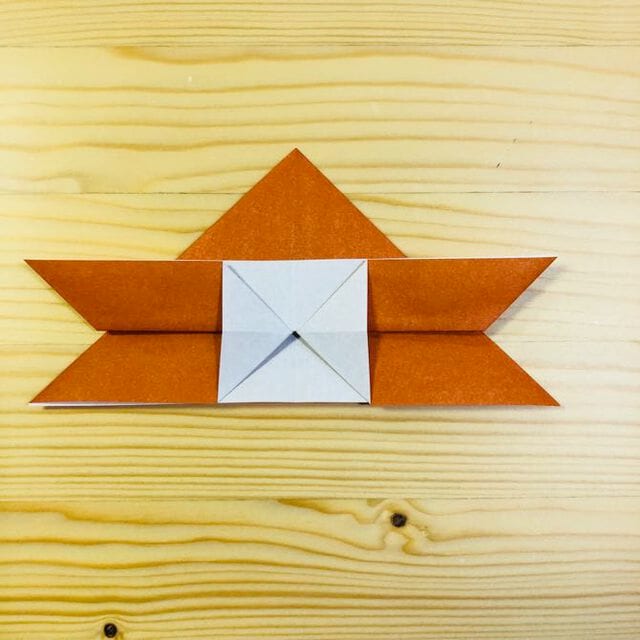
STEP 7
Fold it in half.
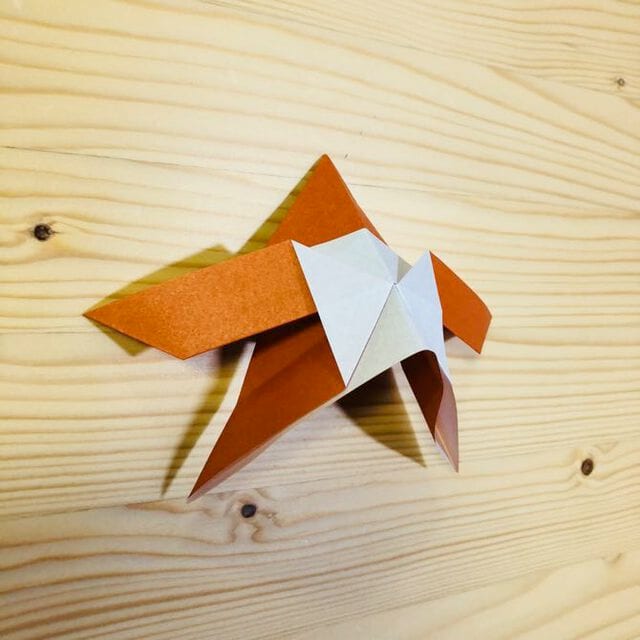
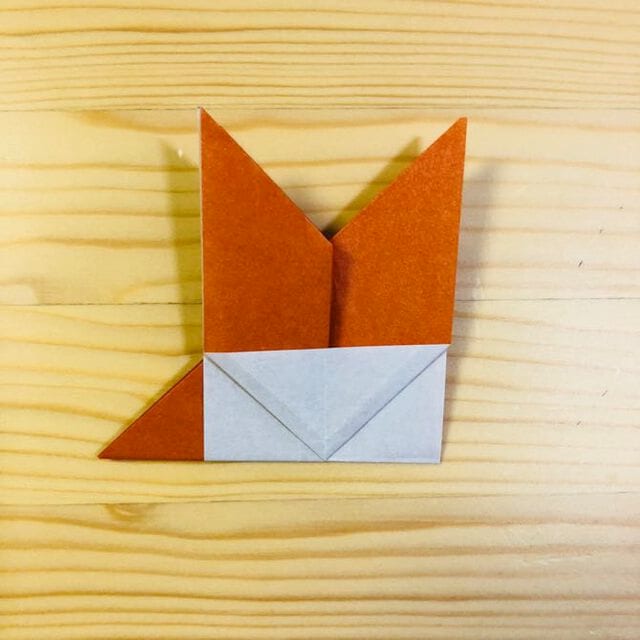
STEP 8
Fold it down at the position shown in the photo.
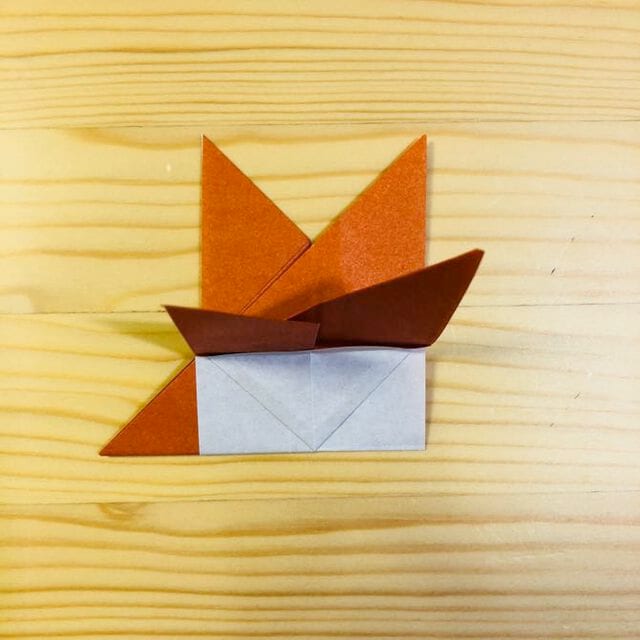
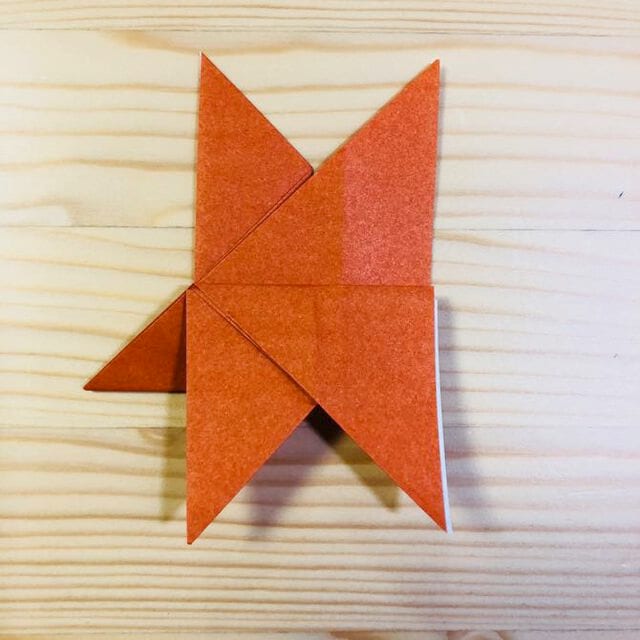
STEP 9
Fold the back side in the same way.
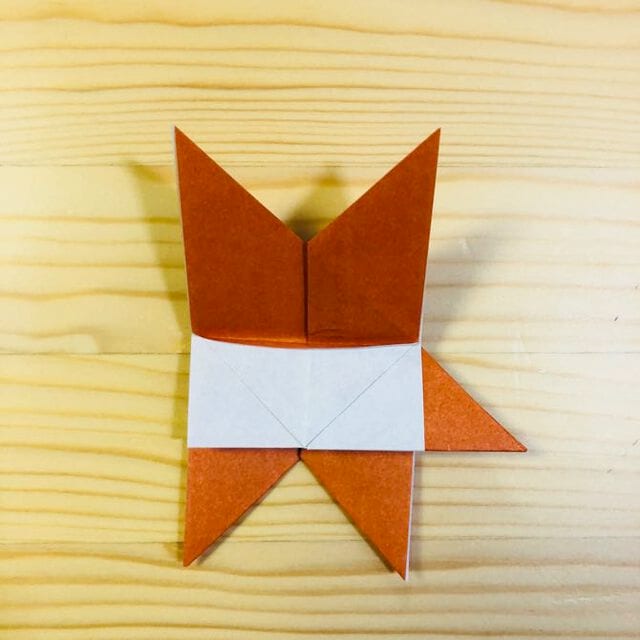
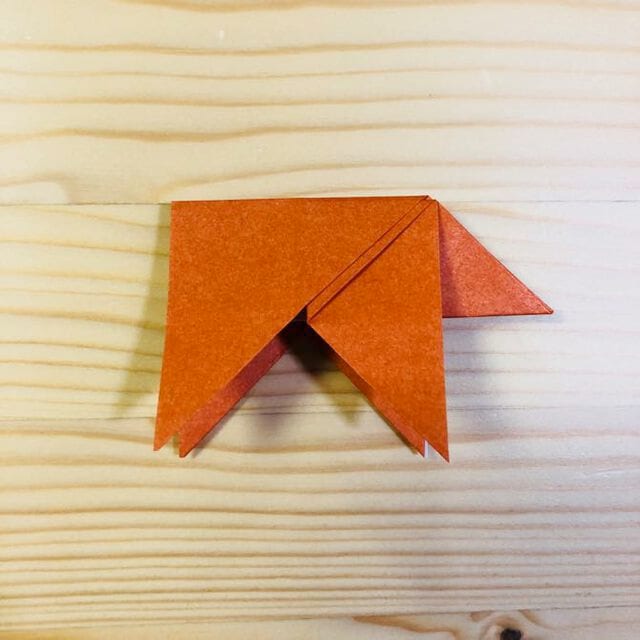
STEP 1.
Fold it inward at the position shown in the photo.
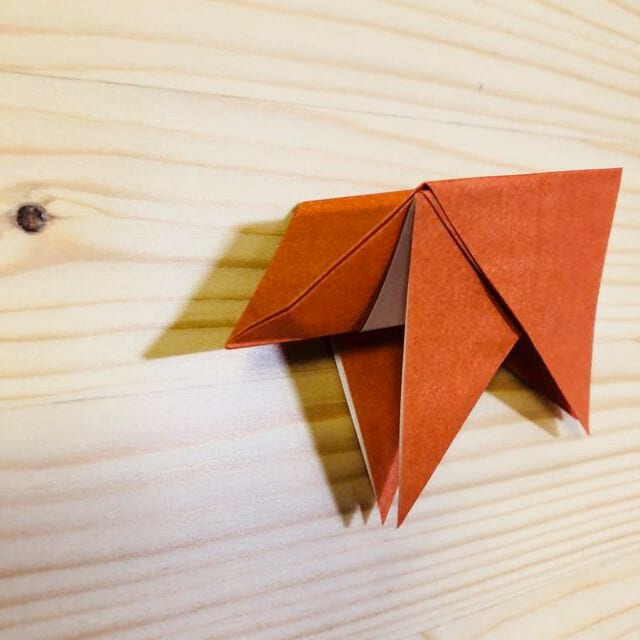
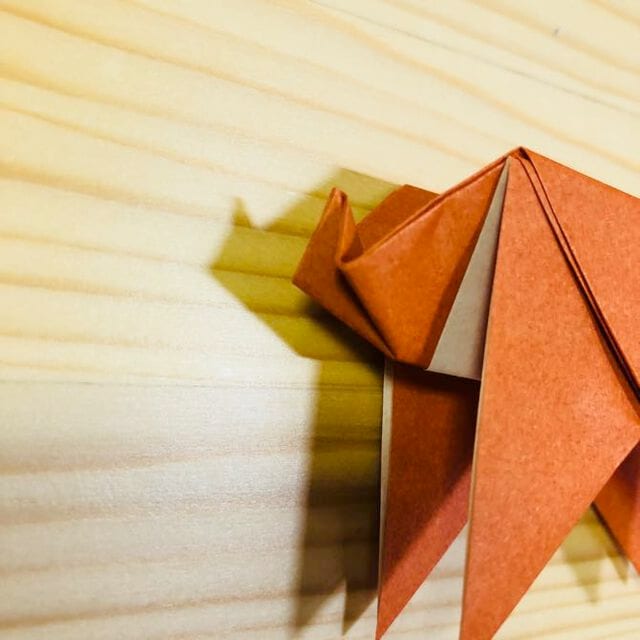
STEP 1.
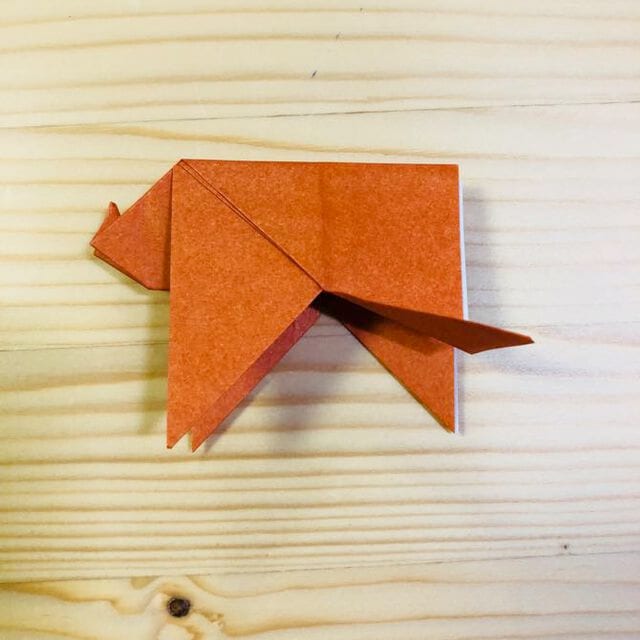
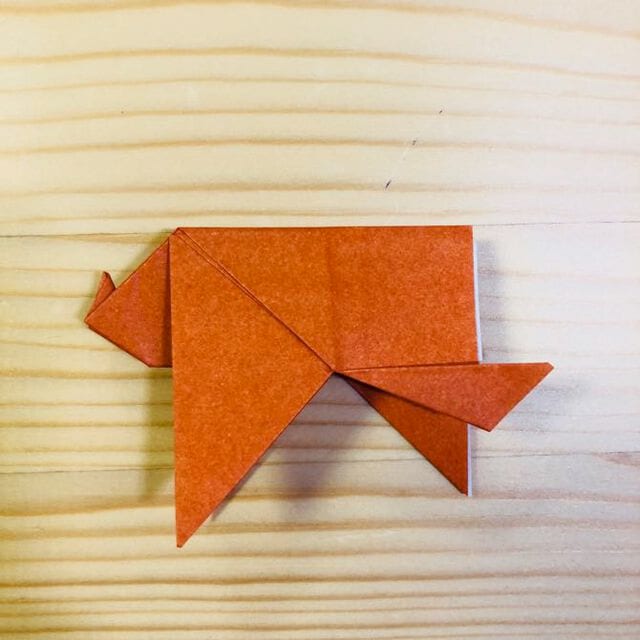
Fold it up at the position shown in the photo.
STEP 1.
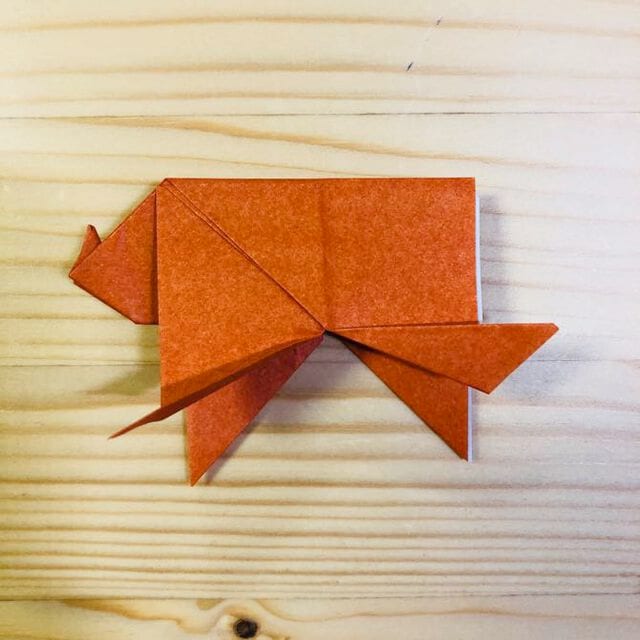
Fold it up at the position shown in the photo.
STEP 1.
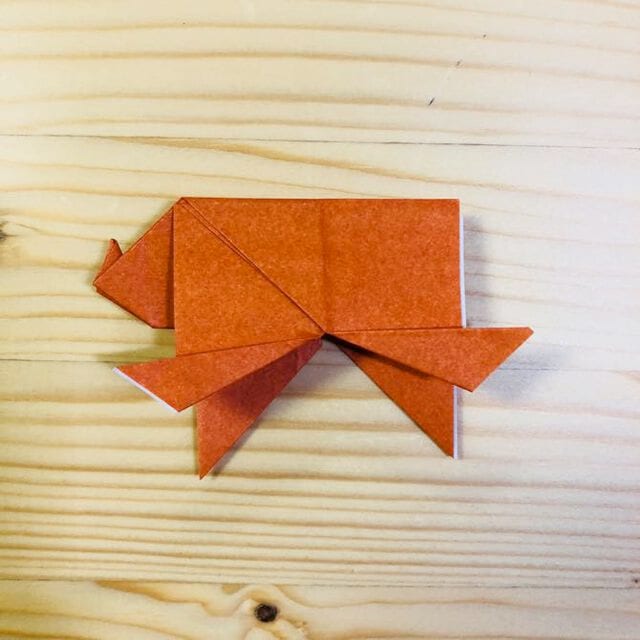
Fold the back side in the same way.
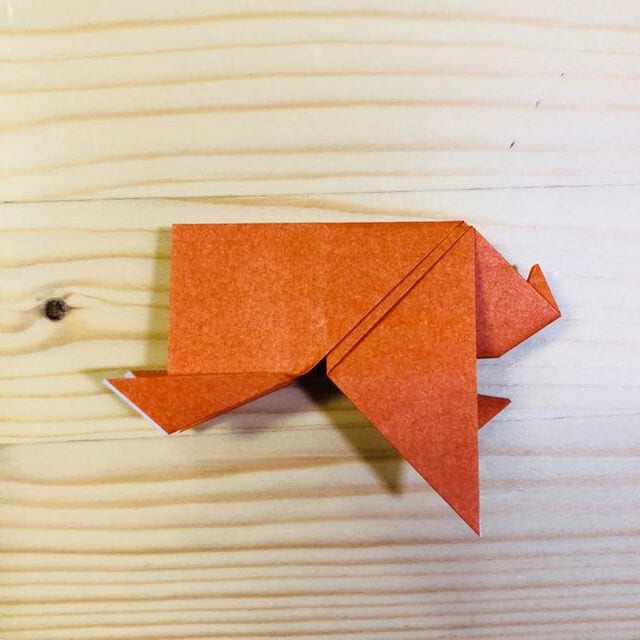
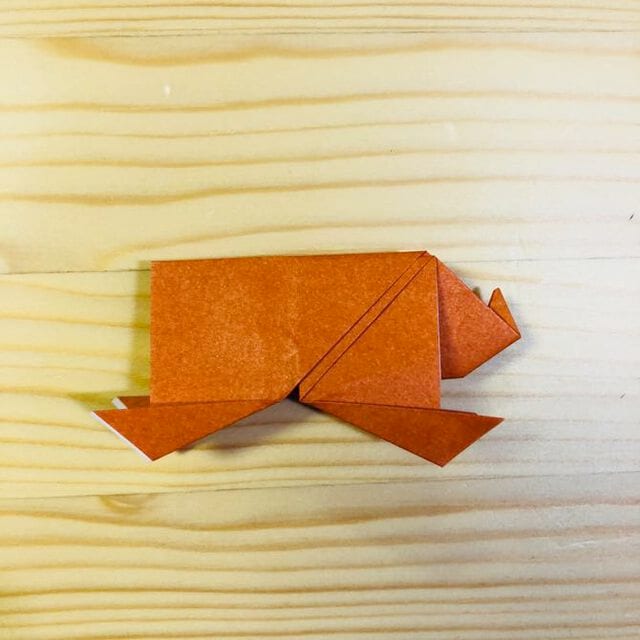
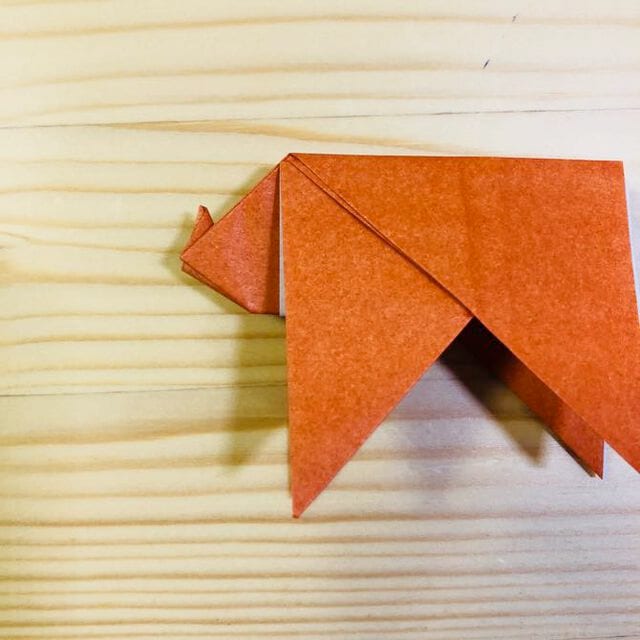
Completion !!
The wild boar is completed.




