
Frog (Complete Tutorial)
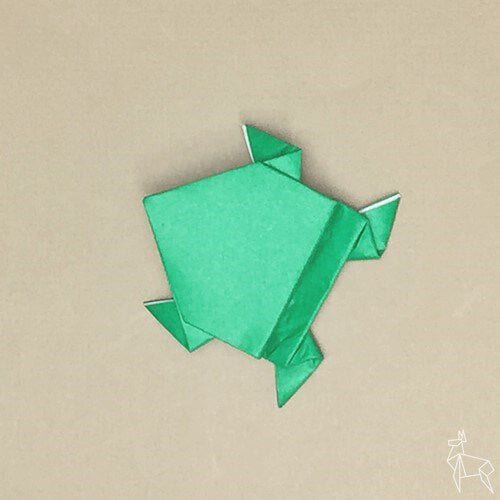
There's a reason the jumping frog is one of the first models many folders learn — and one they come back to again and again. With its wide eyes, splayed feet, and those powerful hind legs, a finished frog looks like it's about to spring right off the table. Fold a few and you've got an instant pond, a handful of tiny athletes, or the star of a child's birthday card.
This complete tutorial takes you from a flat square all the way to a bounce-ready frog across thirty-five photo-illustrated steps. The legwork at the end is the fun part: once you've set the hinges, a gentle press on the back sends your frog hopping across the desk. Grab a sturdy square of paper and let's get folding — just try not to lose any under the sofa.
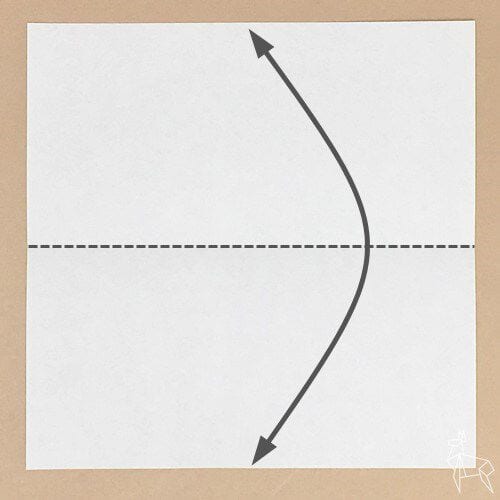
STEP.1
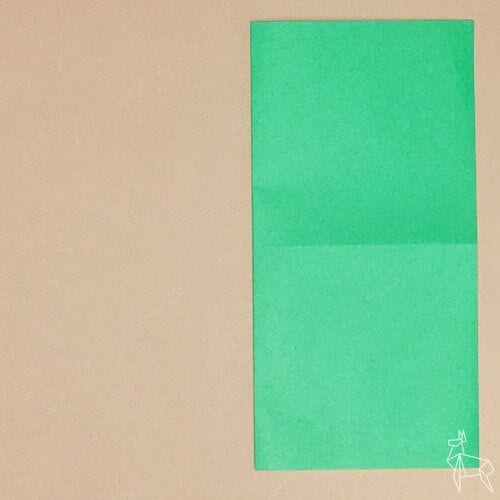
Place the origami paper with the white side facing up, halve it along the dotted line, and make a crease.
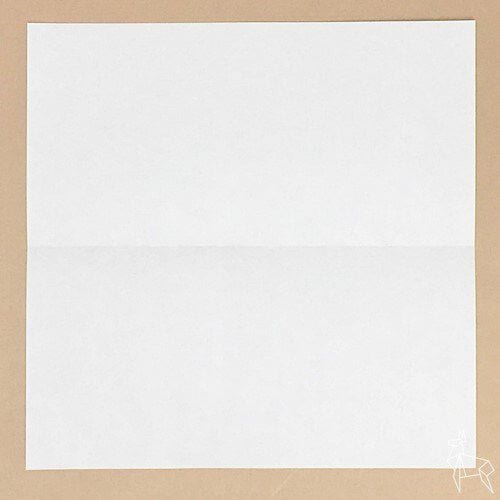
STEP.2
Fold it in half along the dotted line.
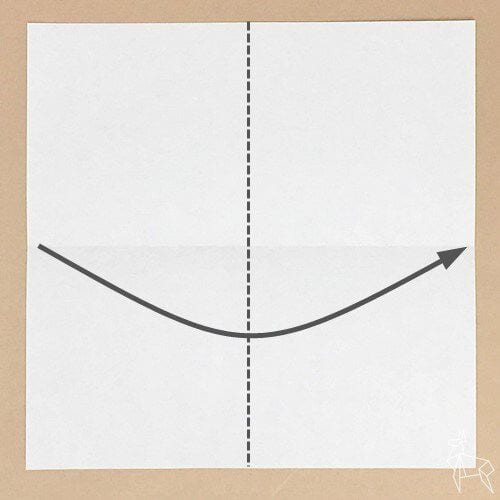
STEP.3
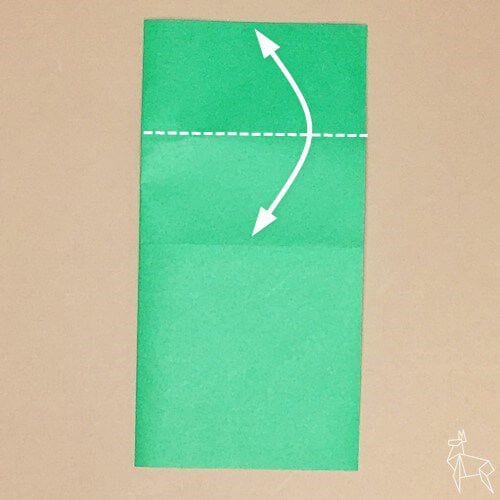
Make a crease along the dotted line, aligning the top edge with the crease.
STEP.4
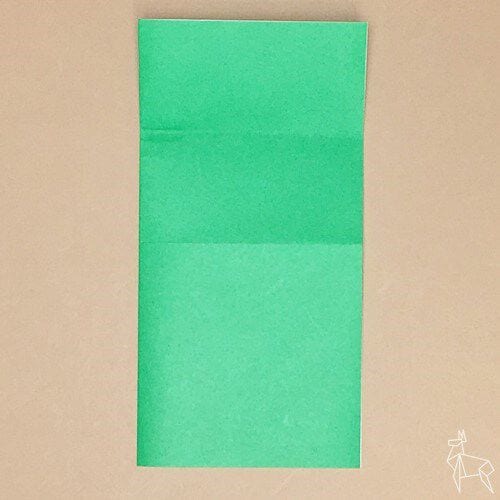
Turn it over.
STEP.5
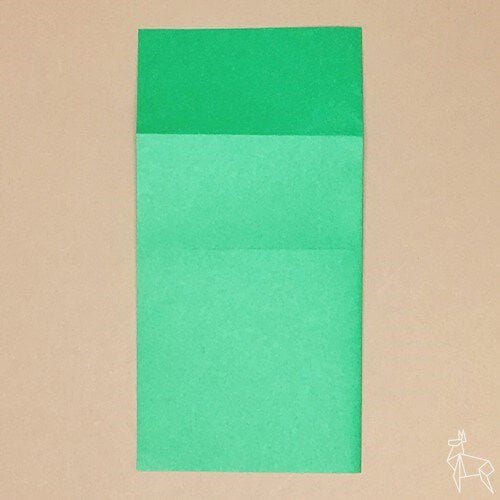
Make a crease along the dotted line.
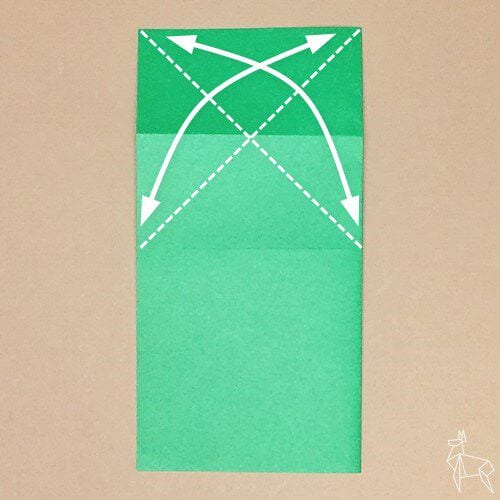
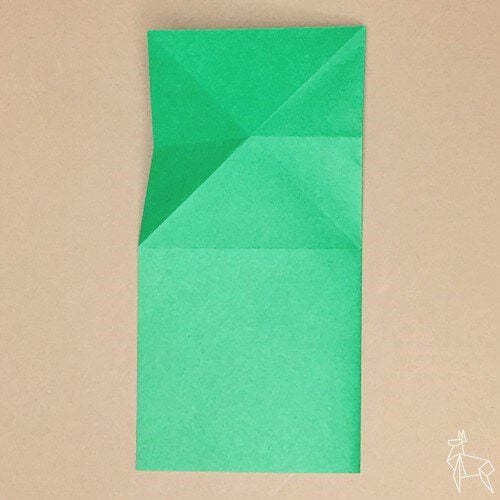
STEP.6
Fold along the creases.
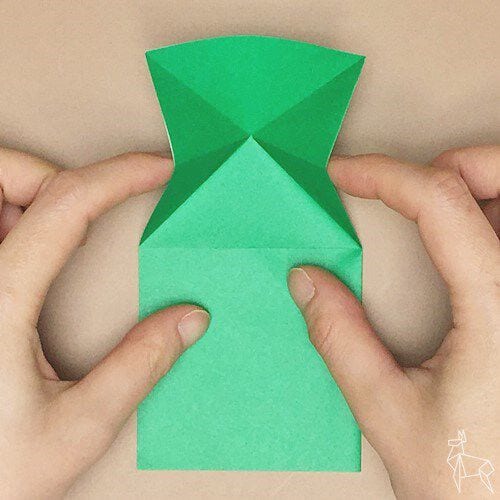
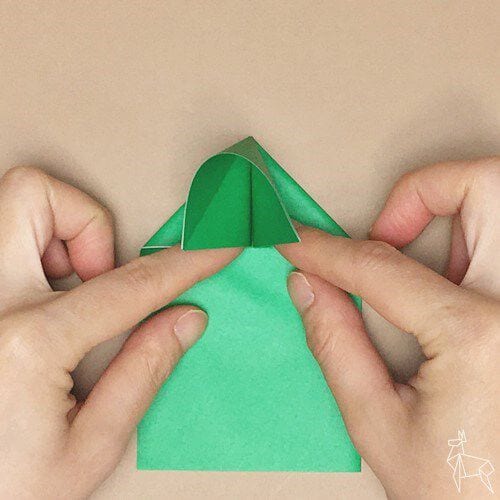
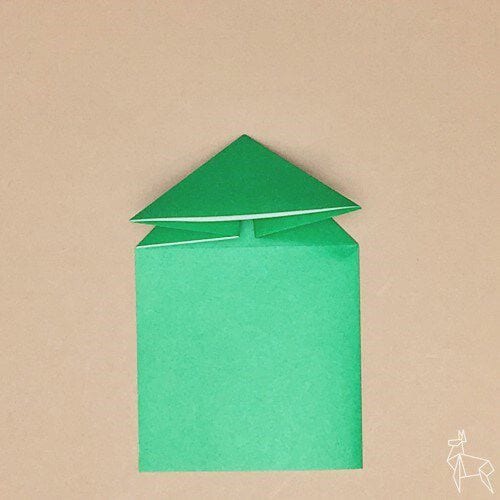
STEP.7
Fold it along the dotted line.
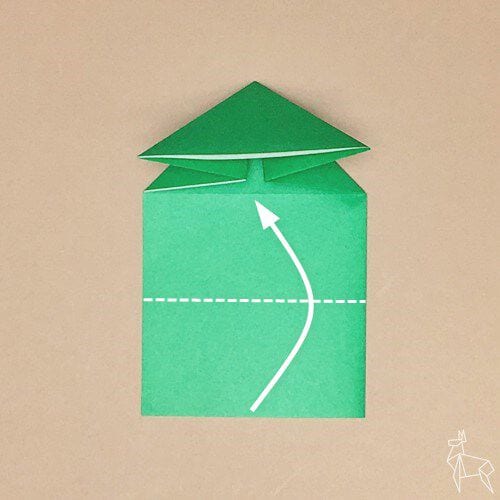
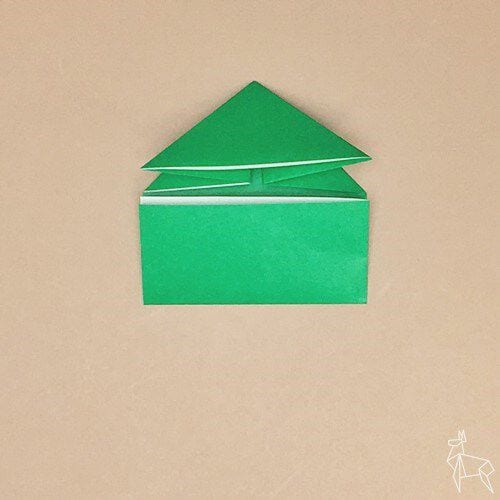
STEP.8
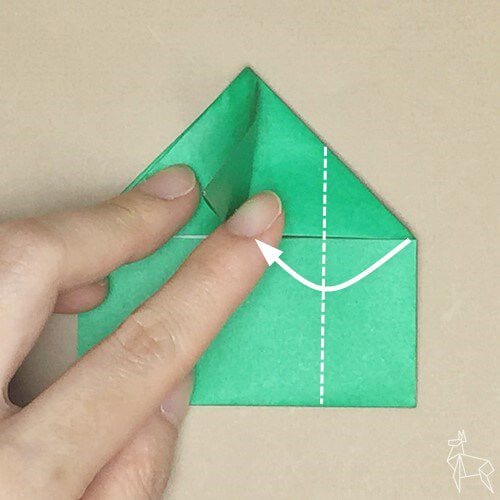
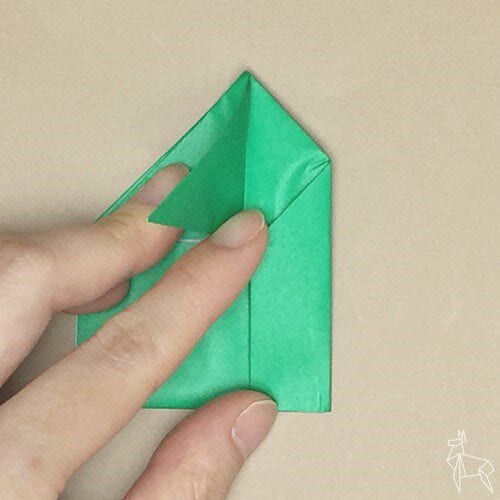
Turn the corner and fold it along the dotted line so that the right edge is centered.
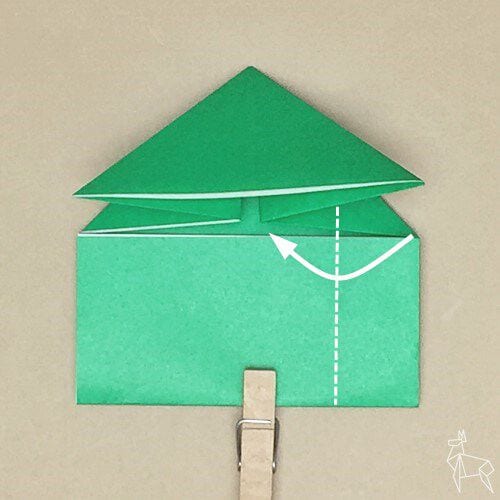
STEP.9
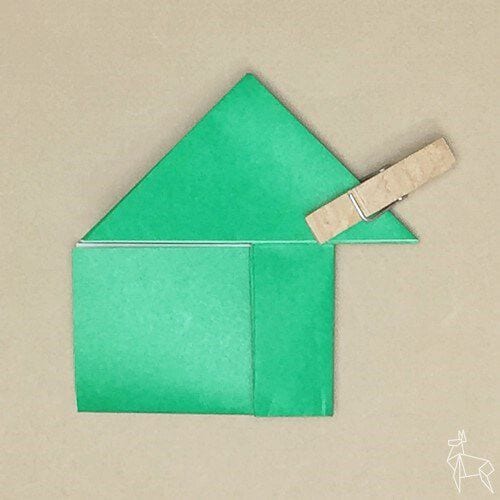
Fold the left side in the same way.
STEP.10
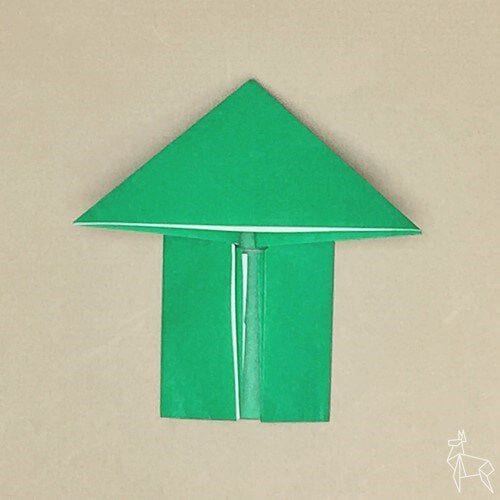
Fold it along the dotted line.
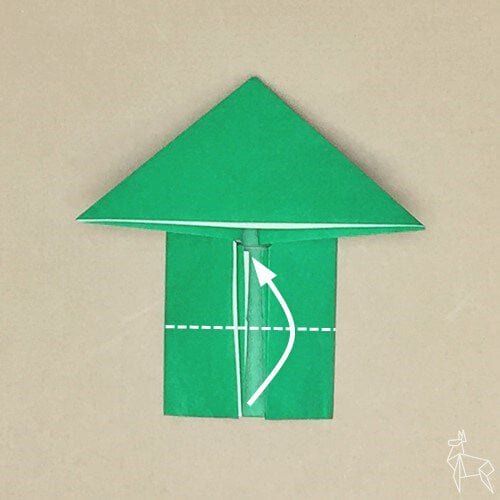
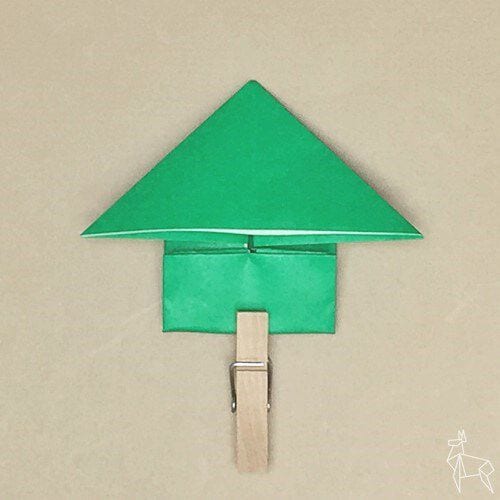
STEP.11
Fold the corners along the dotted line.
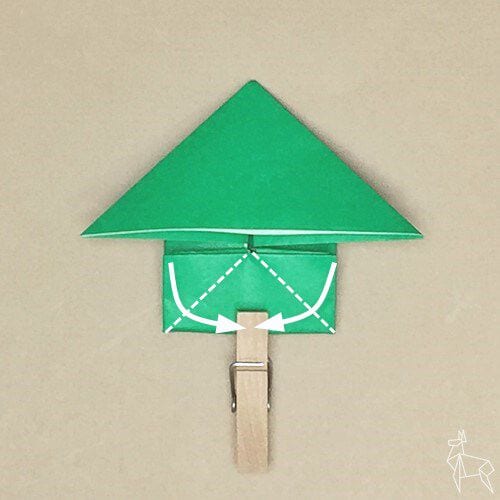
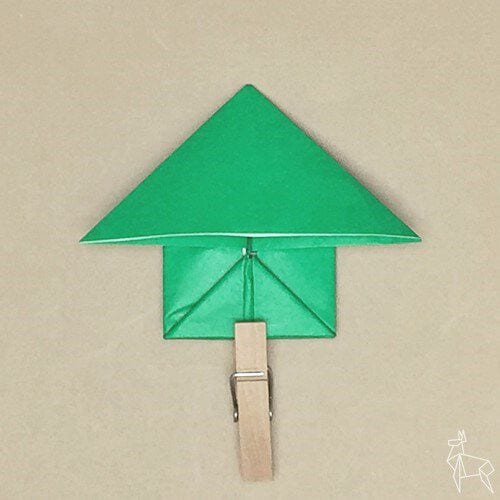
STEP.12
Pull out the inner corner.
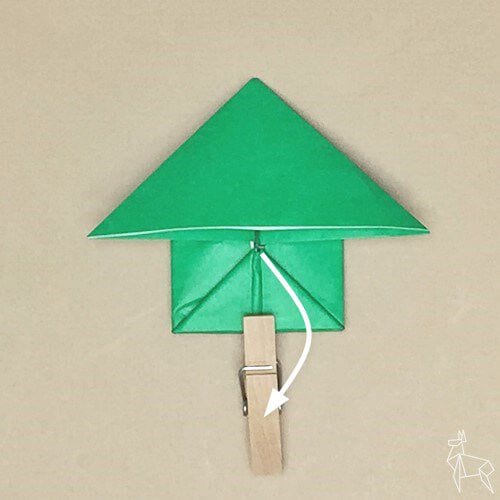
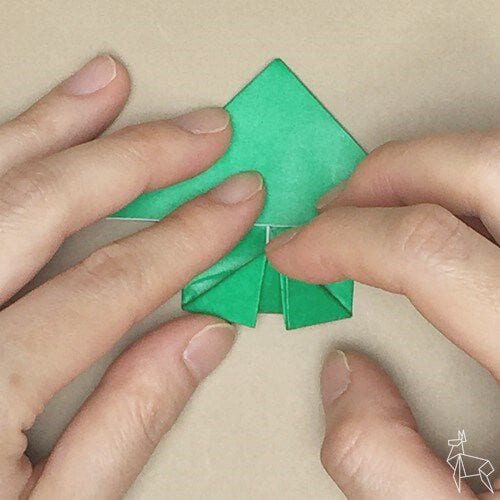
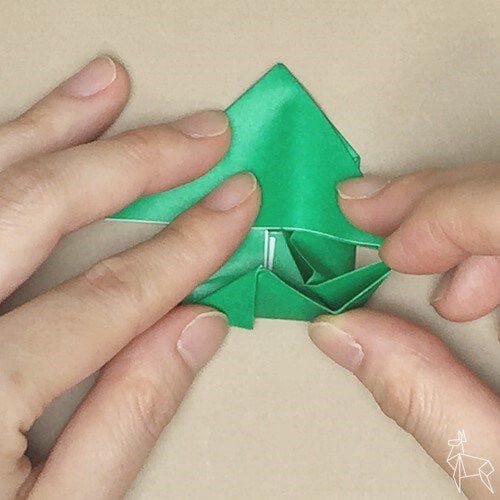
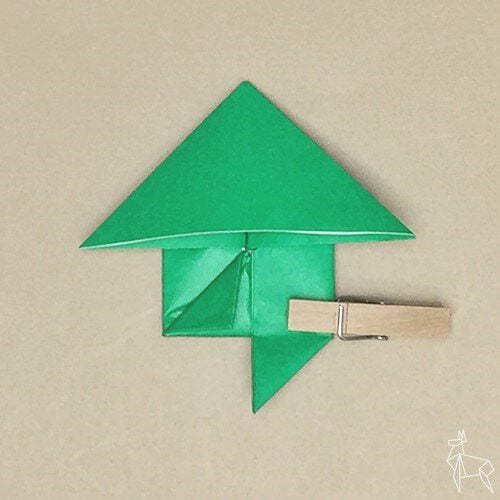
STEP.13
Pull out the other side in the same way.
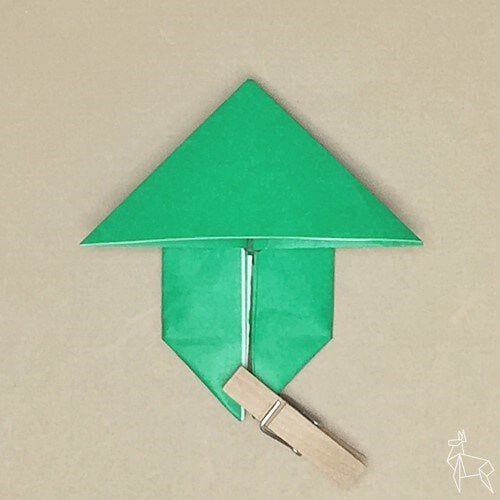
STEP.14
Fold it along the dotted line.
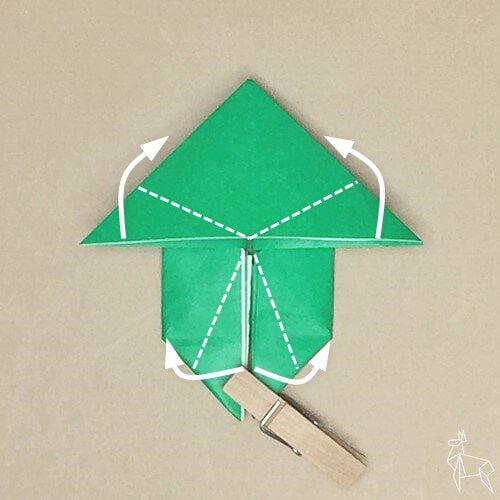
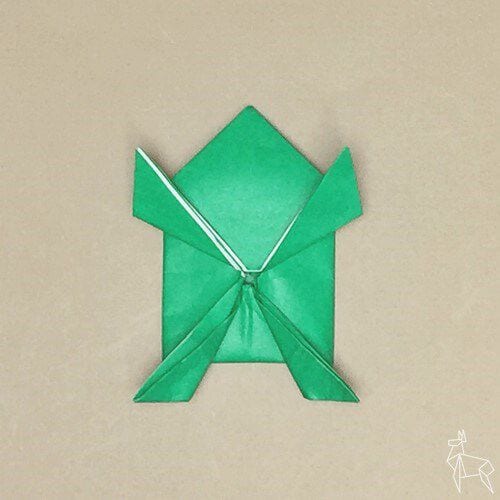
STEP.15
Fold it along the dotted line.
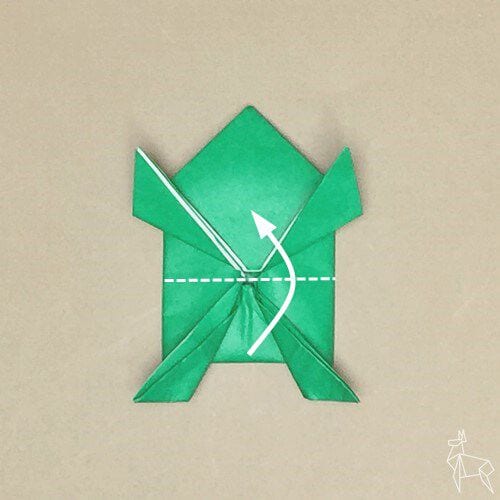
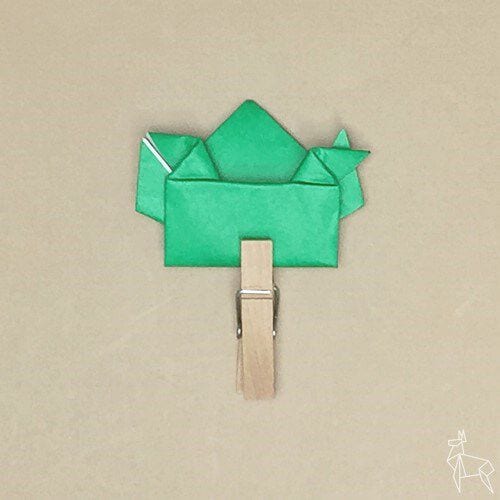
STEP.16
Fold it along the crease and the dotted line slightly above the center of the crease.
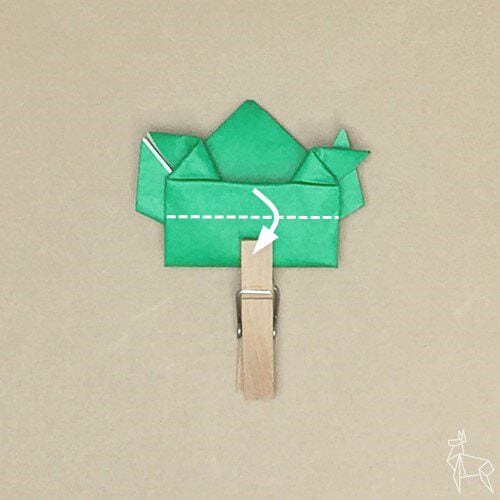
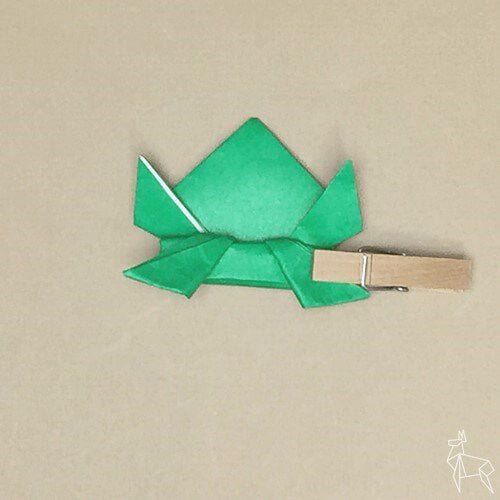
STEP.17
Turn it over and you're done with the Pyon Pyon Frog. Please draw your eyes and face as you like.




