
3D Origami Star
A flat paper star is nice, but a three-dimensional one has real presence — it stands up, catches the light, and looks far more impressive than the handful of folds it actually takes. This version is built from five identical units that you fold from quartered origami paper, then glue together into a rounded, faceted star. It reads as more advanced than it is: the unit itself is just a few triangle folds, and the only tricky part is joining the pieces neatly. Kids can help, and a dab of glue plus maybe a bead in the center finishes it off. Hang a few in different colors and you have a charming ornament for the holidays or a handmade gift topper.
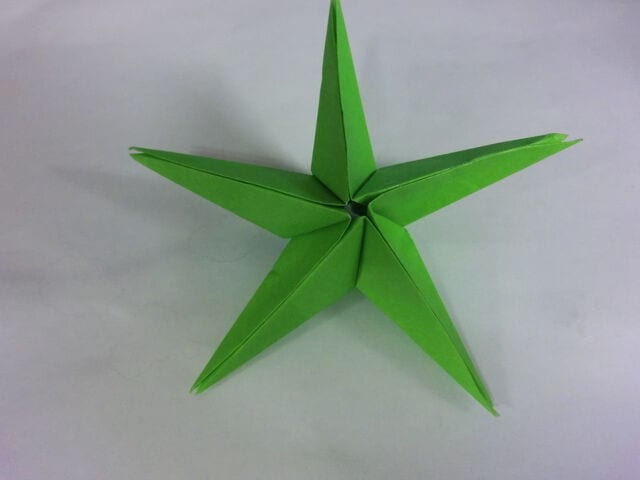
This is a three-dimensional origami star — a step up from the flat star I showed you before. At first glance the finished star looks complicated, but it is actually quite easy to fold. Because several pieces are joined together, younger children might need a hand, but elementary-school kids can manage it, so it is a great project to try together.
How to Fold a 3D Origami Star
You will need five folded units in total. If you use standard 15 cm origami paper the star comes out rather large, so this time I cut the paper into quarters — two sheets of origami give you the five small units you need. A glue stick is handy for assembling them.
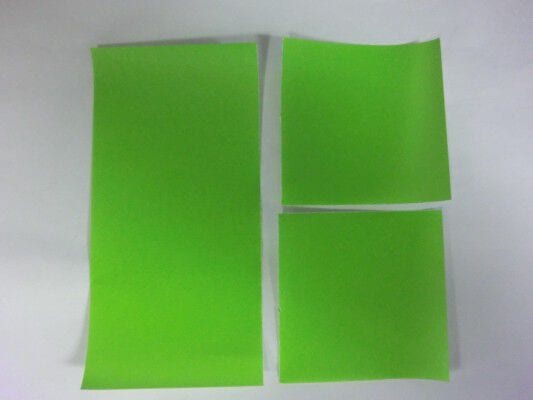
Step 1
Prepare your origami squares.
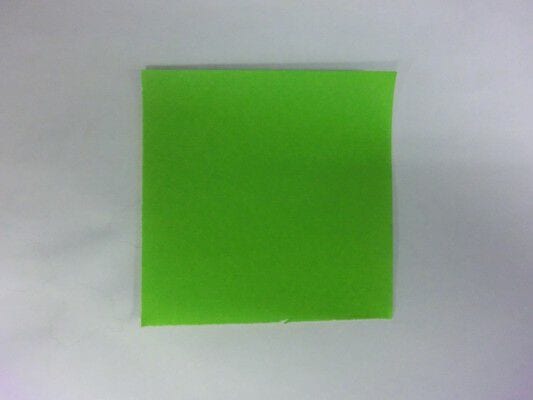
Step 2
Fold one square into a triangle.
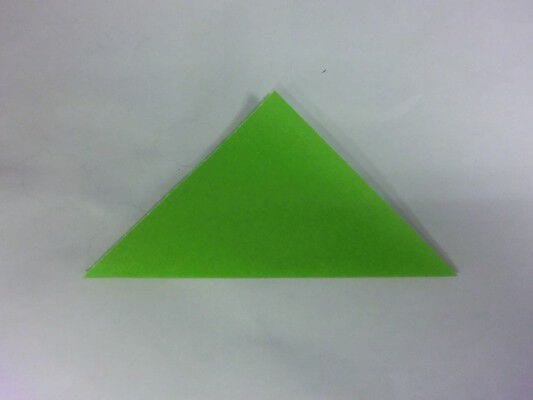
Step 3
Open it and fold along the crease.
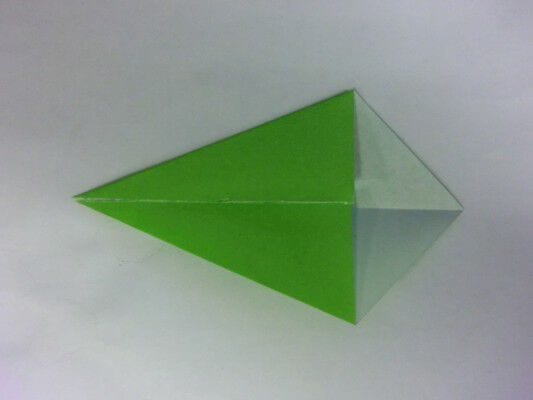
Step 4
Fold the other side the same way along the center crease.
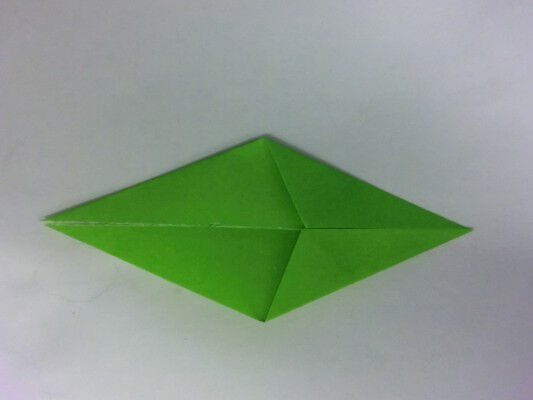
Step 5
Fold it in half so the folded edge is on the outside.
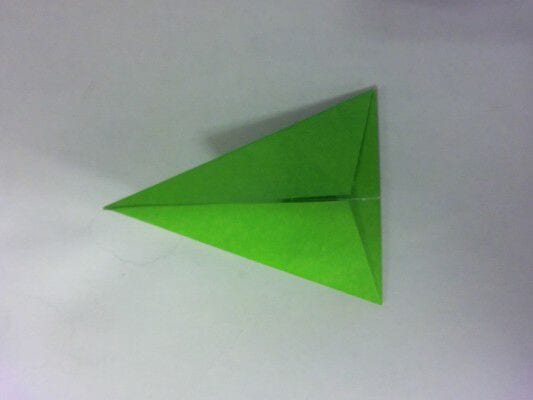
Step 6
Pull both ends.
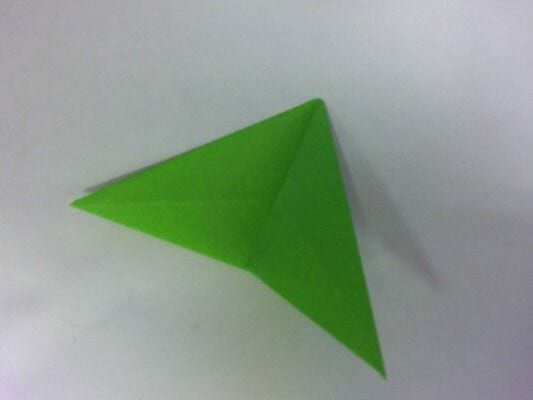
Step 7
Fold along the crease edge (red line).
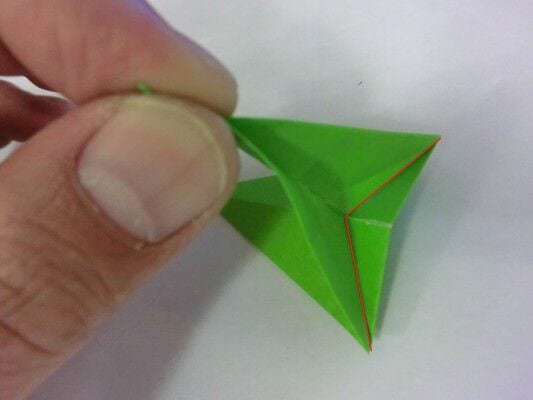
Step 8
Fold while aligning the creases.
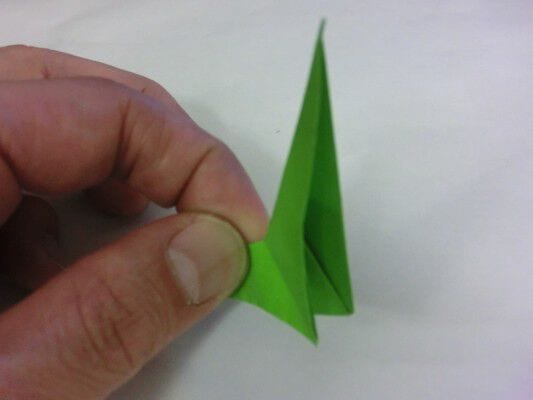
Step 9
Shape the unit.
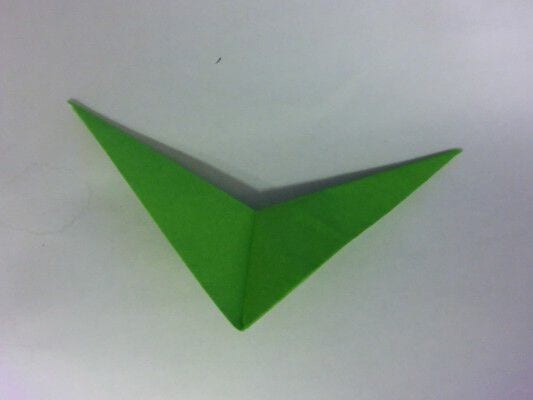
Step 10
Open one half back once.
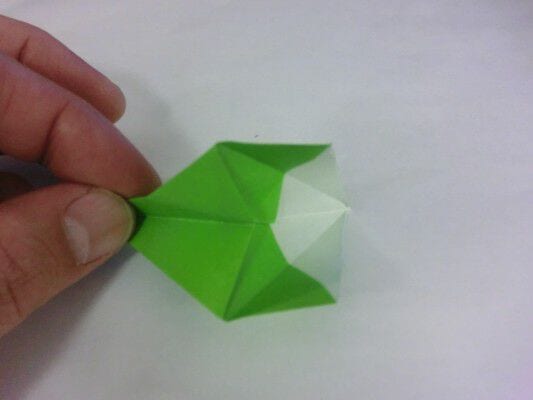
Step 11
Fold it back and flatten (squash) it.
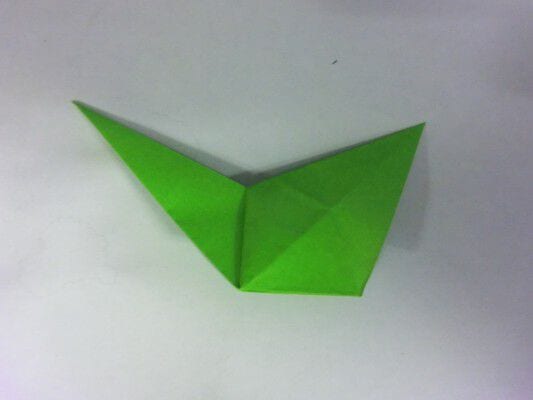
Step 12
Make five units in the same way.
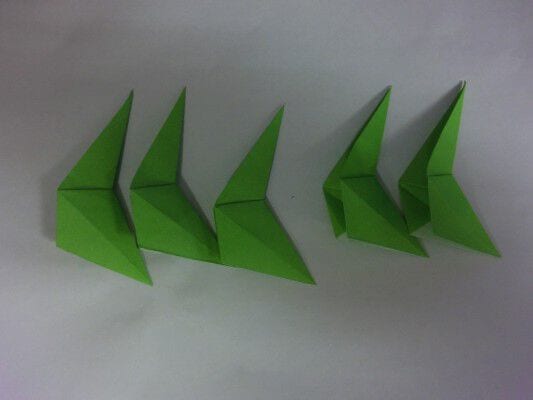
Step 13
As shown, put glue inside the red triangle and match the pieces.
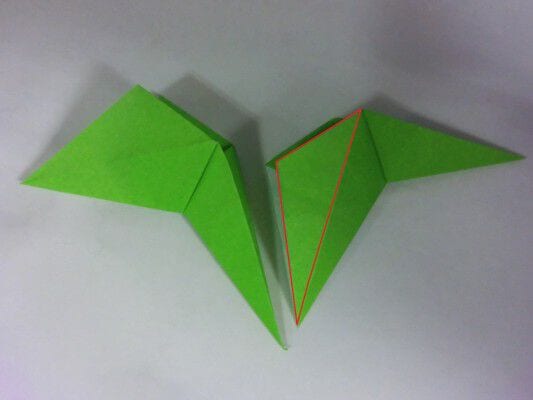
Step 14
First, attach two units together.
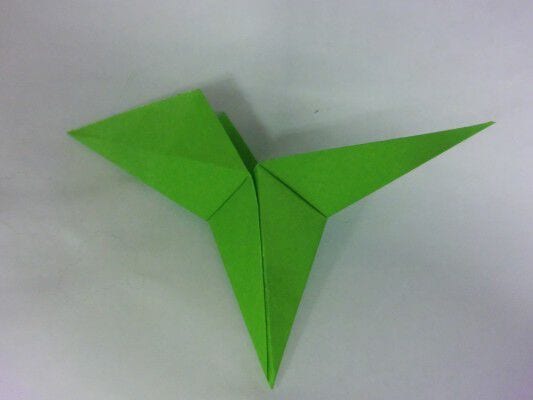
Step 15
Stick the remaining three units together.
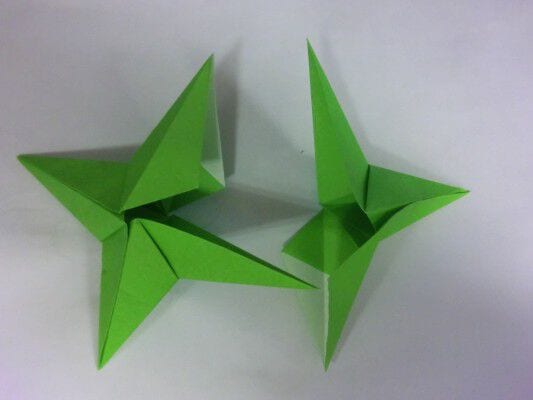
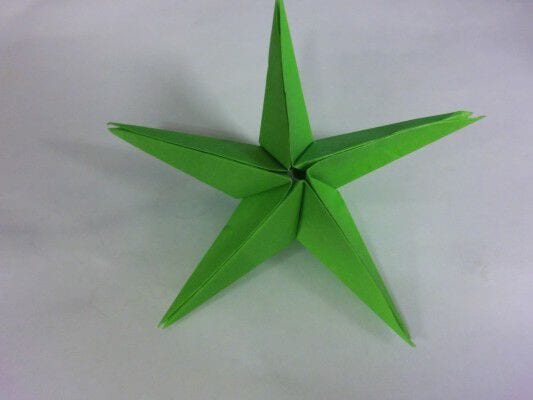
Step 16
A glue stick works better than liquid glue here. Then glue the last parts together, painting glue on the red triangle as shown. As you can see, there may be a small gap in the center of the finished star — especially if you don’t glue it too tightly — so you can hide it with a bead or similar decoration.




