
3D Origami Beetle
The flat paper beetle is a classic, but a flat beetle is only so impressive. This version stands up: fold two sheets of black or brown origami into a rounded, three-dimensional body and a pair of bent legs, and suddenly you have a little beetle with real presence. It is a medium-difficulty project because it uses two sheets and a few inside and mountain folds, but each step is small, so elementary-school kids can manage it with a bit of patience. The result is sturdy and fun to play with, and because you make the legs separately and glue them on, you can pose them however you like. It is a great make for insect fans, classroom crafts, or anyone who wants a paper bug that actually looks like a bug.
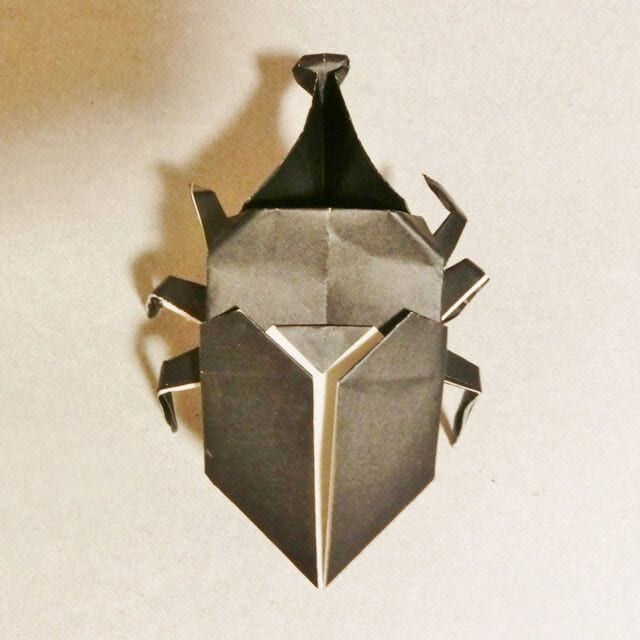
There is a super-easy way to fold a beetle, but it doesn’t look that cool as a flat model. This three-dimensional version is good for young children, and I think it is easy enough for elementary-school students to fold.
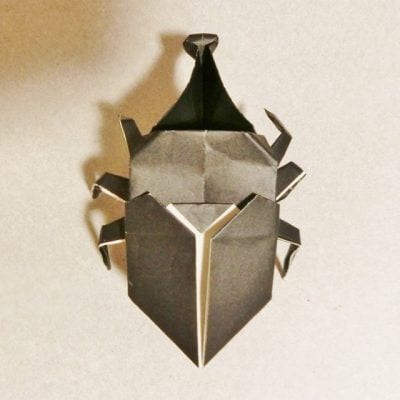
The difficulty level is medium because the origami is folded in two sheets.
How to Fold a 3D Origami Beetle
This time we fold it from two sheets so it can be made in 3D easily.
Prepare two sheets of black or brown origami.
Let’s fold it now
Step 1
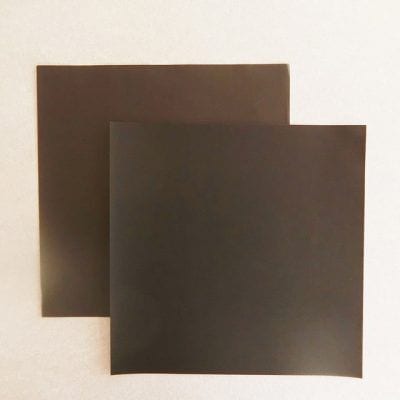
Prepare two sheets of square paper of the same size .
Step 2
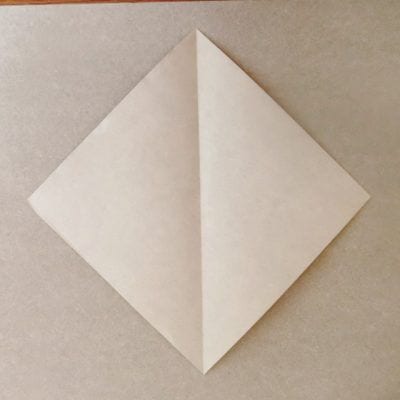
Make a crease diagonally.
Step 3
Fold the bottom right and bottom left along the fold line.
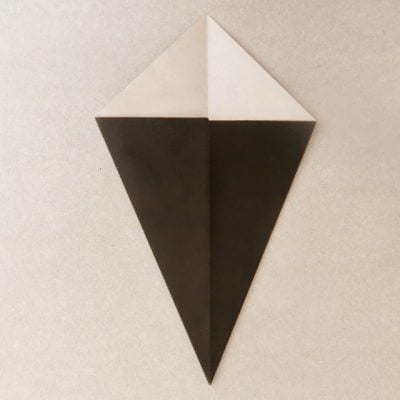
Step 4
Turn it over and fold it so that the bottom corner is aligned with the top corner.
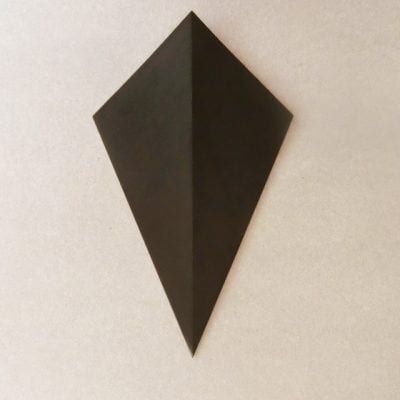
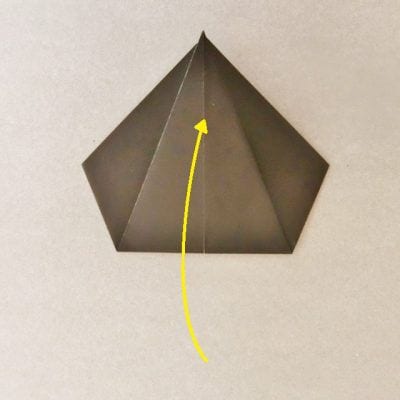
Step 5
Fold the right and left corners toward you.
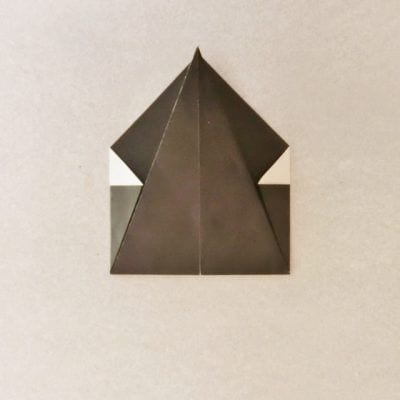
Step 6
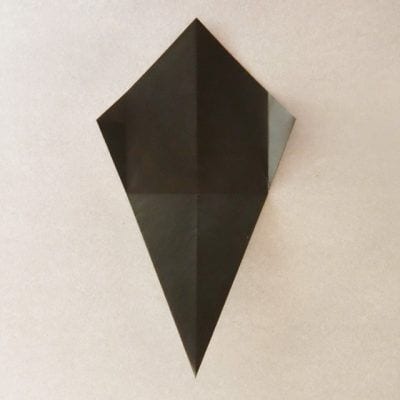
Fold the top triangle back before folding it up and down.

Step 7
Fold the top corner along the left and right fold lines.
Step 8
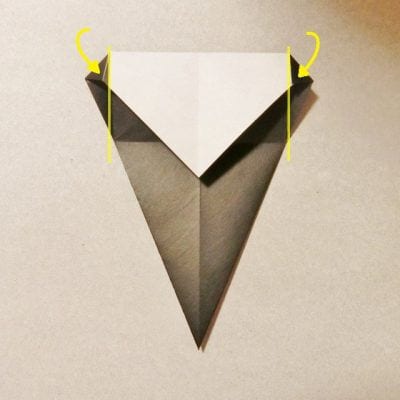
Fold the left and right edges along the center line.
Step 9
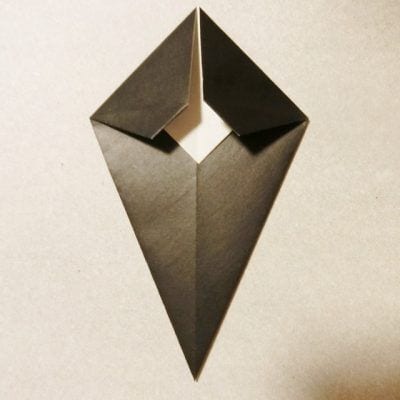
Fold the white corner in the middle up so that the white part disappears.
Step 10
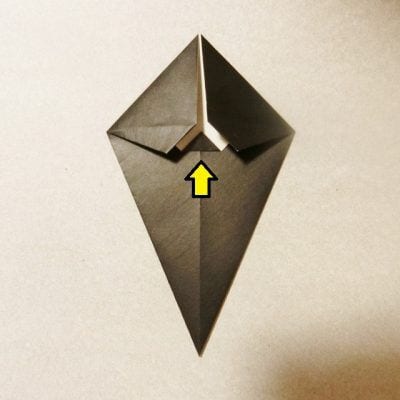
Turn it over and fold the left and right corners along the intersection of the center and the fold line.
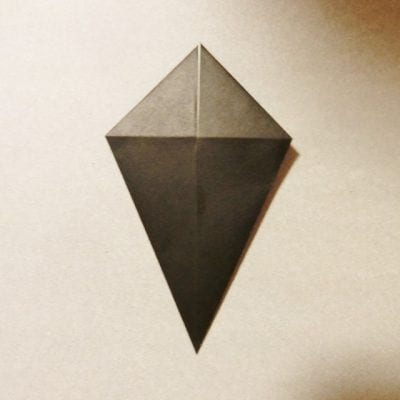
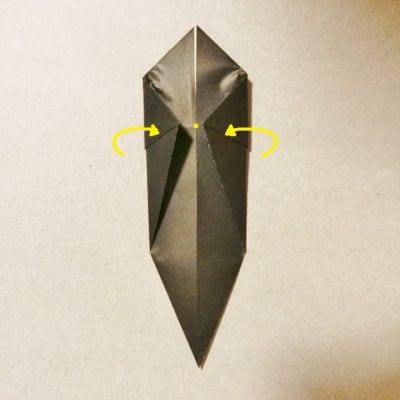
Step 11
Fold the top corner to the bottom corner.
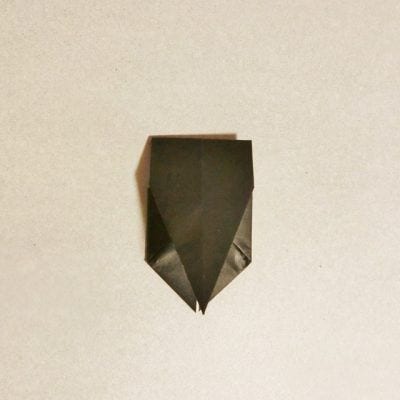
Step 12
Fold the top corner slightly.
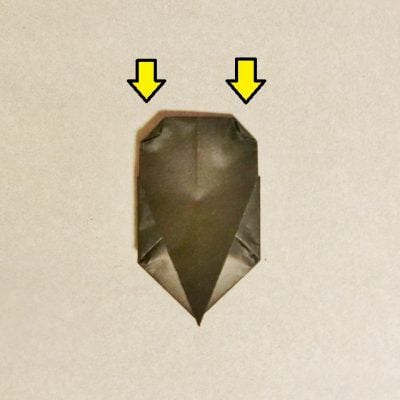
Step 13
Fold the bottom corner up to the point where you fold the corner.
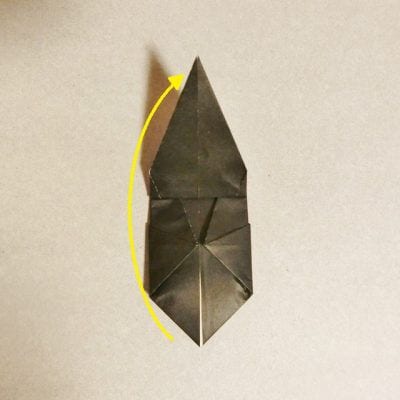
Step 14
Turn it over and fold the upper triangle left and right along the line with the extended corners.
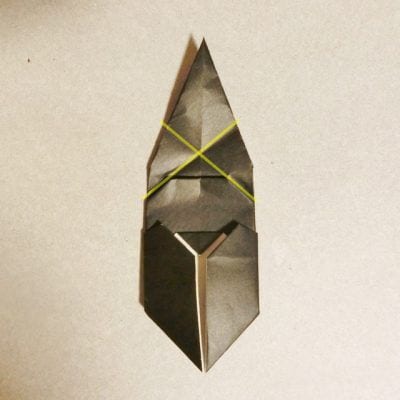
Step 15
Use this fold line to bring both ends of the triangle to the center.
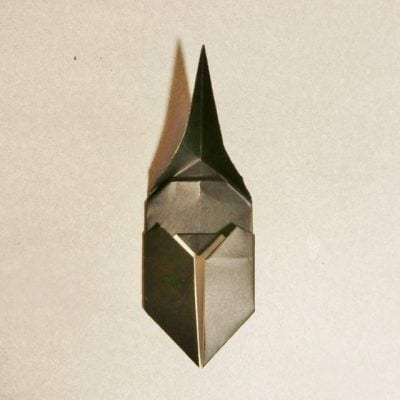
Step 16
Place the edges inside the folded corner as shown in the photo. In addition, fold the tip slightly toward you.
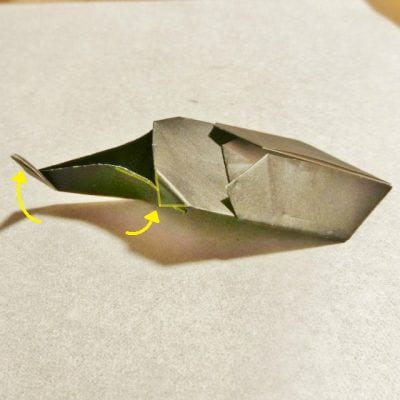
Step 17
Fold the tip in half using the fold line.
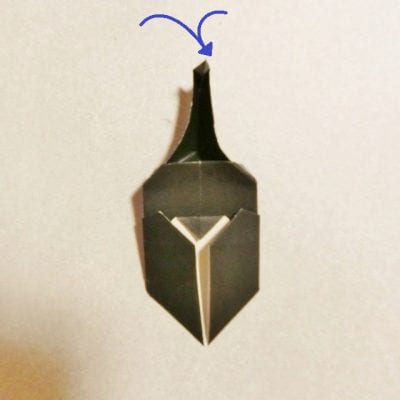
Step 18
Turn it over, open the folded tip, and open the center.
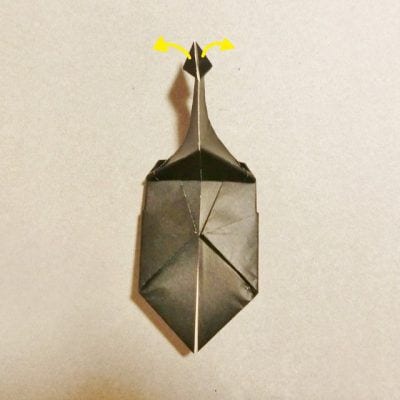
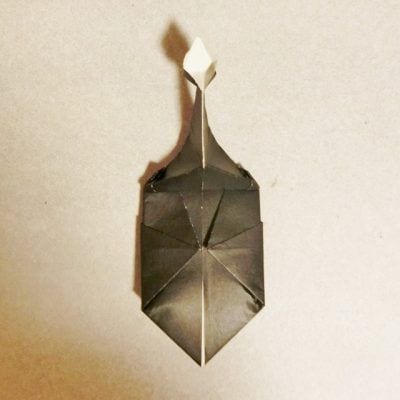
Step 19
Fold it down to hide the white part.
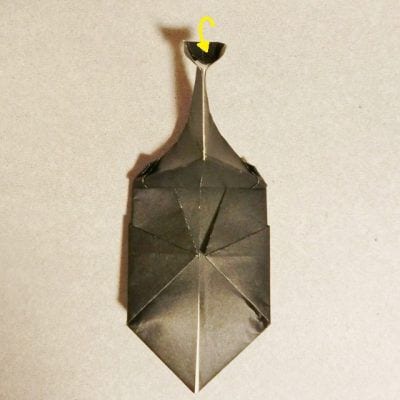
Step 20
Return to the original surface, fold the center line slightly to make a bulge, and the body part is completed.
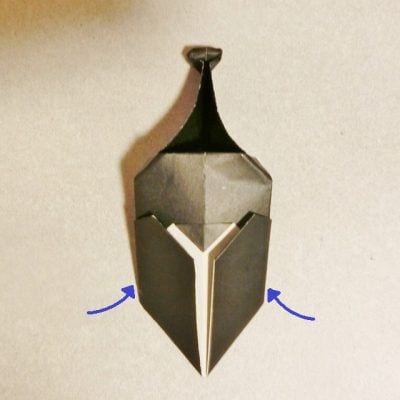
Step 21
Make a leg with another piece. Cut the paper in half.
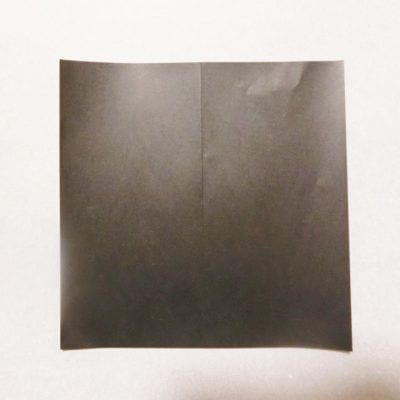
Step 22
Align the top and bottom of one piece of paper and make a crease.
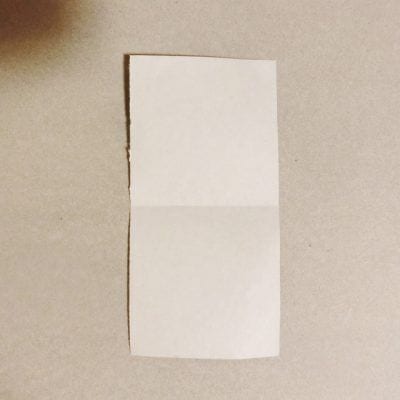
Step 23
Fold the top and bottom corners on the right side along the fold line.
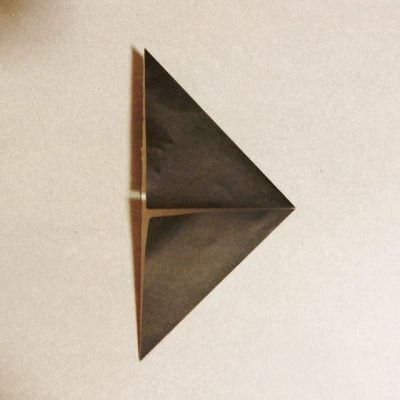
Step 24
Fold the top and bottom corners to the right corner.
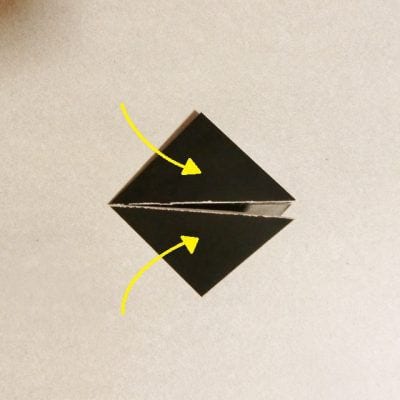
Step 25
Fold the top and bottom of the right side to the center.
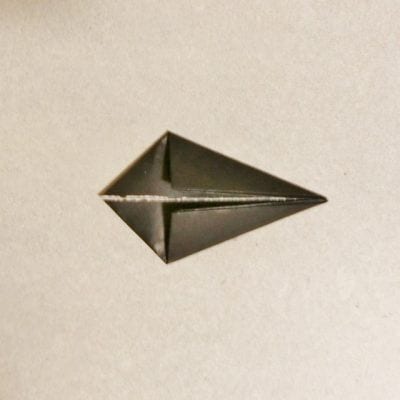
Step 26
Return to the large triangle, extend the fold line in the photo, and fold it.
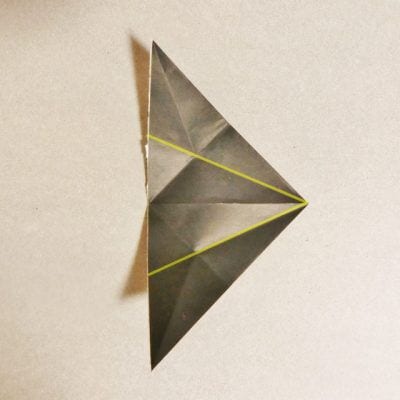
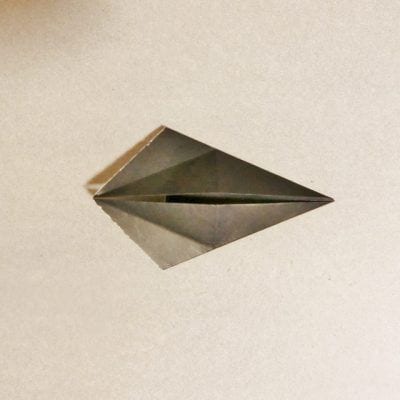
Step 27
Fold the right corner to the left corner.
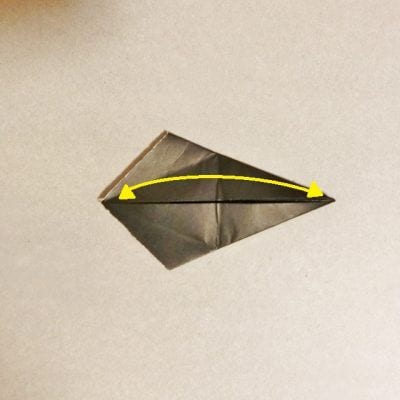
Step 28
Use the fold line to fold the left corner to the right.
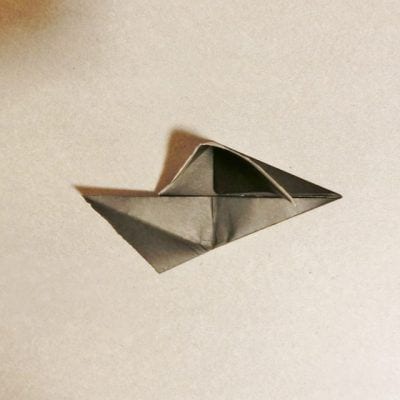

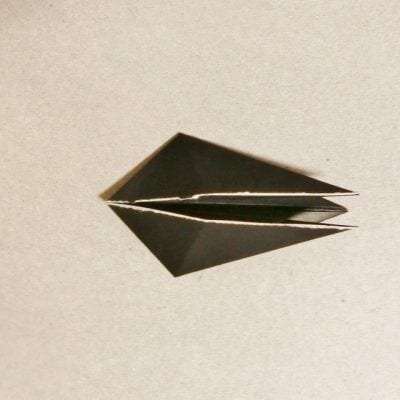
Step 29
Fold it along the middle line.
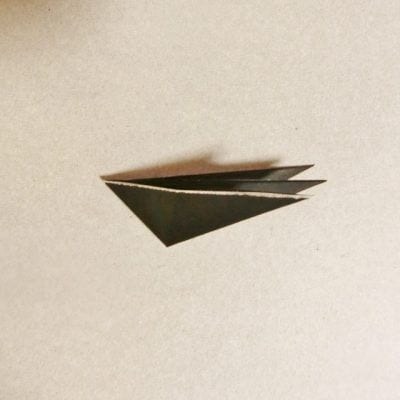
Step 30
Make the same thing with the other piece of paper.
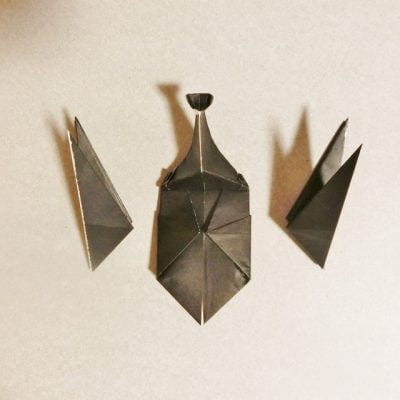
Step 31
Insert the left and right feet into the place shown in the photo of the body part and paste it with glue.
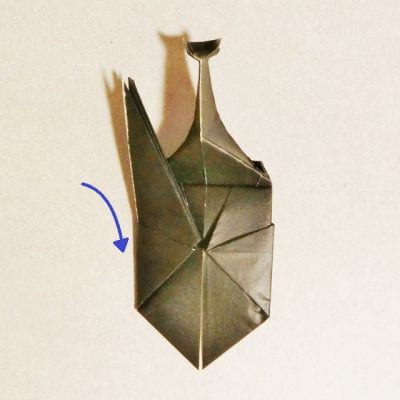
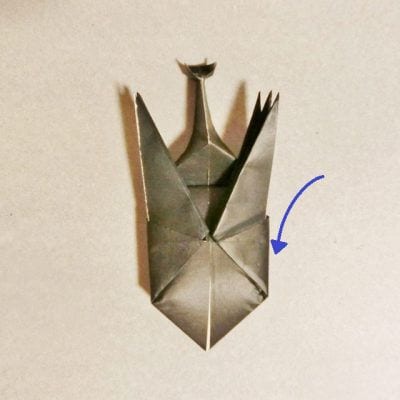
Step 32
Fold it down along the line where you inserted your foot.

Step 33
Pinch one by one from both sides and fold it into a mountain fold. Please fold the mountain to the root as much as possible.
Please fold the mountain to the root as much as possible.
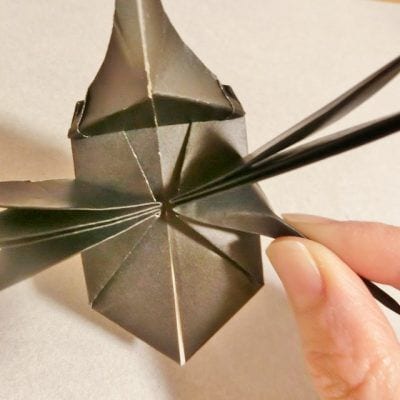
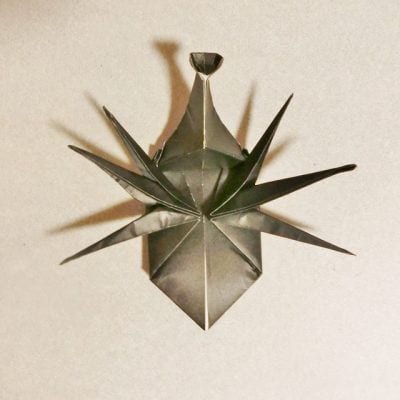
Step 34
Bend your legs from the middle to make it look like a beetle.
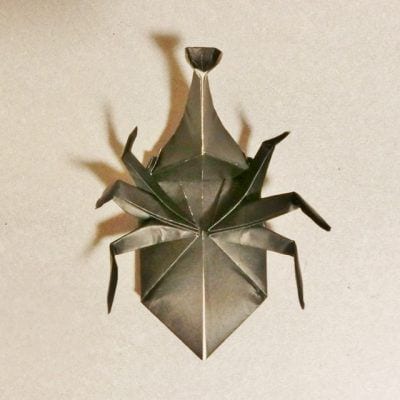
Step 35
Turn it over and you’re done
It’s pretty cool, isn’t it? Give it a try and fold one together.




