
Origami Gondola Boat
Picture a gondola drifting along a canal in Venice — not just the boat, but the little chairs and the stand it rests on. This model folds the whole scene from paper, and the result is far more delightful than you'd expect from a few square sheets.
It's a modular build: you make the hull from a long canoe base, fold four tiny chairs, and add a stand to display it. None of the individual steps are hard if you know your basic valley- and mountain-folds, but putting the pieces together is what makes it feel like a real diorama. Take it one part at a time, and you'll end up with a paper gondola you'll actually want to show off.
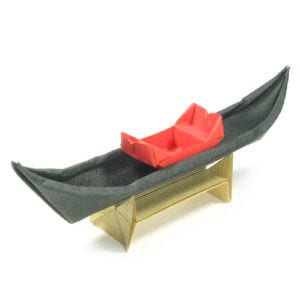
This page is for those who want instructions to fold an origami Gondola boat.
The origami Gondola boat consists of (1) a boat, (2) four chairs, and (3) a stand. The boat itself is derived from a long canoe. It takes 16 steps to make a boat stand and 31 steps for the Gondola chair. Since this guide takes 21 steps, the three models together total 68 steps.
Before working on this model, you need to know what valley-fold and mountain-fold are. If you know these two folding techniques, then you will have no problem making an origami Gondola boat.
If you are ready, then let's get started.
We need three sheets of square paper: a large sheet for the Gondola boat, and two small sheets for the Gondola chair and the boat stand.
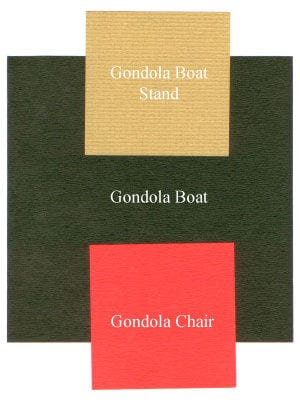
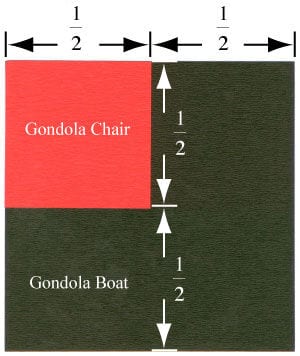
The paper size for Gondola chair should be one-quarter of the one for Gondola boat.
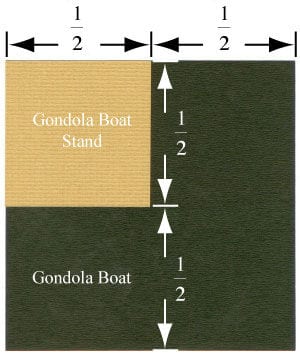
The paper size for boat stand should be the same as the one for Gondola chair.
STEP 1.
Let us make an origami Gondola boat first. Select the large paper and start making a Long Origami Canoe. You can learn to make a long origami canoe in its own tutorial.
STEP 2.
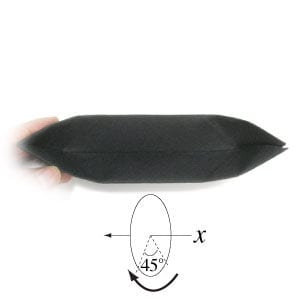
Make a long origami canoe. Prepare to rotate the long origami canoe by 45 degrees.
STEP 3.
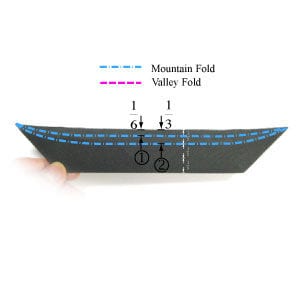
Rotate the long origami canoe by 45 degrees to see the side. (1) Prepare to apply a mountain-fold at 1/6 height of the boat. (2) And then apply another mountain-fold at 1/3 height of the boat.
STEP 4.
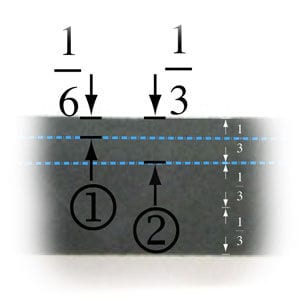
Here is the zoomed-in view of the step #3.
STEP 5.
Apply the 1st mountain-fold of the step #3. Prepare to apply the 2nd mountain-fold of the step #3.
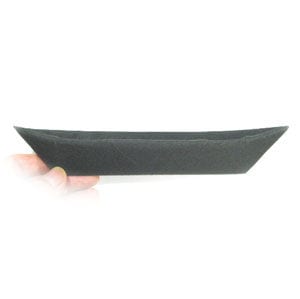
STEP 6.
Apply the 2nd mountain-fold of the step #3. Prepare to turn the origami boat model over.
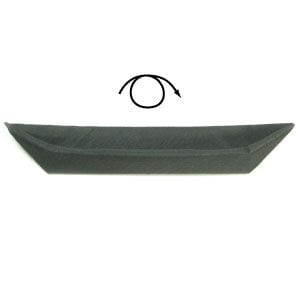
STEP 7.
Turn the origami boat model over. Prepare to repeat the steps #3-6.
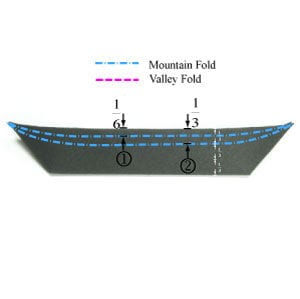
STEP 8.
Repeat the steps #3-6. Prepare to rotate the origami boat model by 90 degrees.
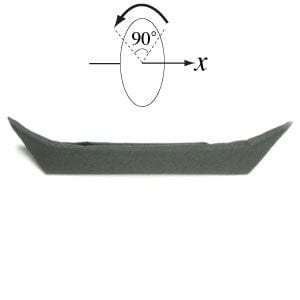
STEP 9.
Rotate the origami boat model by 90 degrees. Now, you have just completed making a boat. Prepare to make a boat stand.
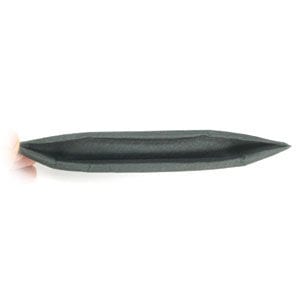
STEP 10.
Get the paper for boat stand. Start making an Origami Boat Stand. You can follow the dedicated boat-stand tutorial for this part.
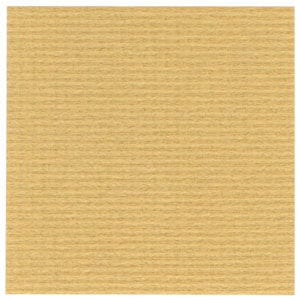
STEP 11.
Make an origami boat stand. This is the top view of the origami boat stand. Prepare to put the boat you made over the stand.
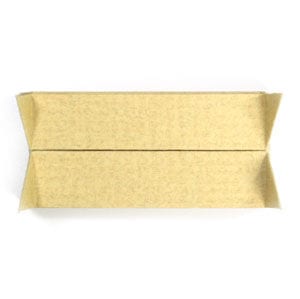
STEP 12.
Put the boat over the stand. This is the top view.
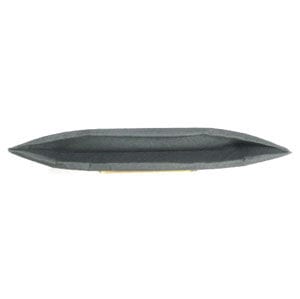
STEP 13.
This is the side view of both boat and stand. Prepare to make a Gondola chair now.
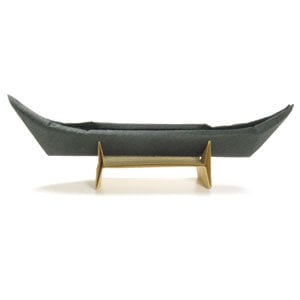
STEP 14.
Let's get the paper for Gondola chair. We need to cut the paper in half. Refer to the Origami Gondola Chair tutorial to make one.
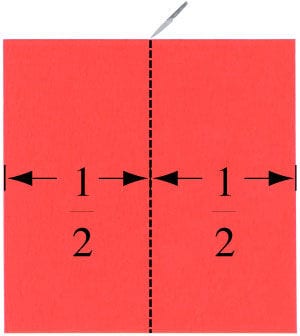
STEP 15.
Let us make an origami Gondola chair. Prepare to insert the chair into the boat.
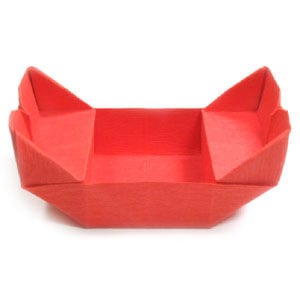
STEP 16.
Start inserting the chair into the boat.
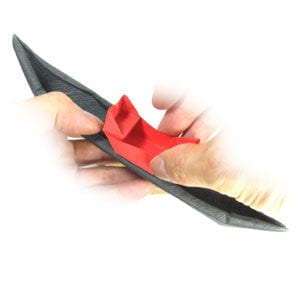
STEP 17.
Continue inserting the chair into the boat.
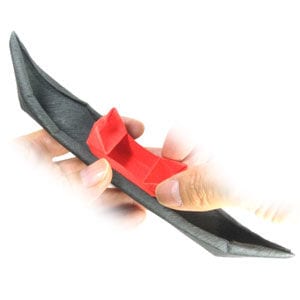
STEP 18.
Finish inserting the chair into the boat. Prepare to put the Gondola boat over the stand.

STEP 19.
Put the Gondola boat over the stand. This is the top view of the Gondola boat.
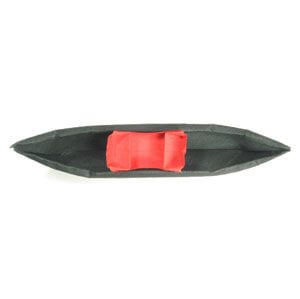
STEP 20.
This is the side view of the Gondola boat.

STEP 21.
Congratulations! You have just completed making an origami Gondola boat.




