
Gondola Origami Chair
Have you ever looked at a gondola gliding down a Venetian canal and noticed those little curved chairs? This model lets you fold one of them out of a single sheet of paper. It sounds fancy — and the finished chair really does look ornate — but the path there is just a patient sequence of folds you already half-know.
The technique at the heart of this design is the chair-fold, taken to a more advanced level than the basic version. If you have folded a few animals or boxes before, you will feel right at home. Grab a square sheet, take your time with the crease pattern, and by the end you will have a tiny chair that could seat a doll — or at least look charming on your desk.
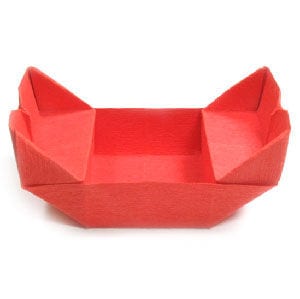
This page is for those who want instructions to fold a Gondola origami chair.
This Gondola origami chair recreates the four chairs found on a gondola boat. A special folding technique that you need to learn from this model is a chair-fold (but you will use a more advanced version of it).
Before working on this model, you need to know what valley-fold and mountain-fold are. If you know these two folding techniques, then you will have no problem making an origami chair.
If you are ready, then let's get started.
The paper I am using here is a 20 cm × 20 cm square sheet. It is a good size for those new to paper folding. Once you become familiar with this model, you can try smaller paper.
This is the front side of the paper. You may use any kind of paper to fold this origami chair. Here I’m using a sheet with the same color and texture on both sides. But you can use a different color and/or texture.
This is the back side of paper.
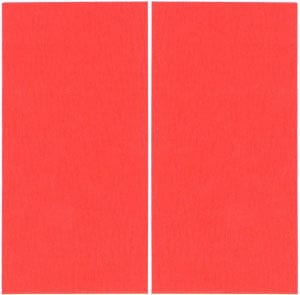
Prepare to cut the paper in half vertically.
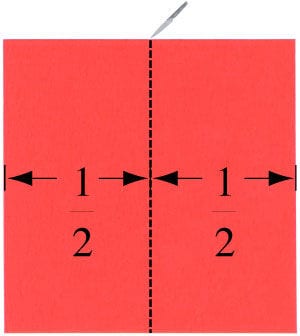
Cut the paper in half vertically. We will be using only one of the two halves.
STEP 1.
Let us start with one half of square paper. Prepare to mountain-fold in half horizontally and then “unfold”.
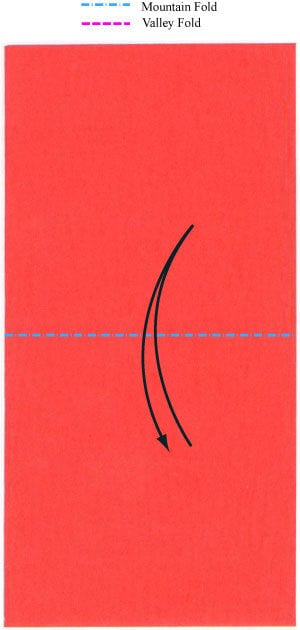
STEP 2.
Mountain-fold in half horizontally and then “unfold”. Prepare to apply a horizontal “gate-fold” and then “unfold”.
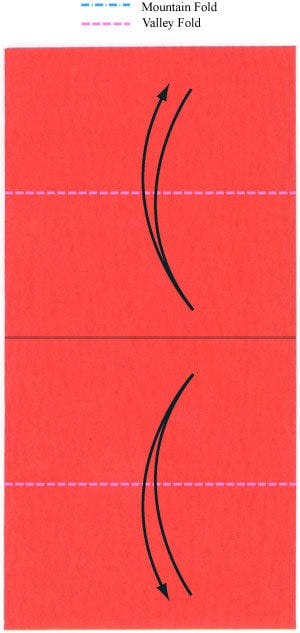
STEP 3.
Apply the horizontal “gate-fold” of the step #2 and then “unfold”. Prepare to mountain-fold in half vertically and then “unfold”.
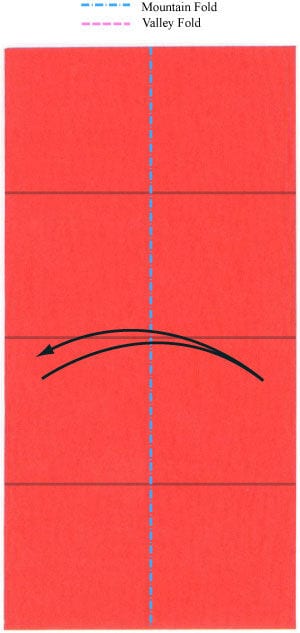
STEP 4.
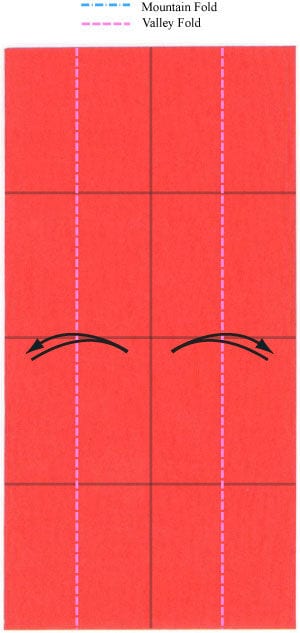
Mountain-fold in half vertically and then “unfold”. Prepare to apply a vertical “gate-fold” and then “unfold”.
STEP 5.
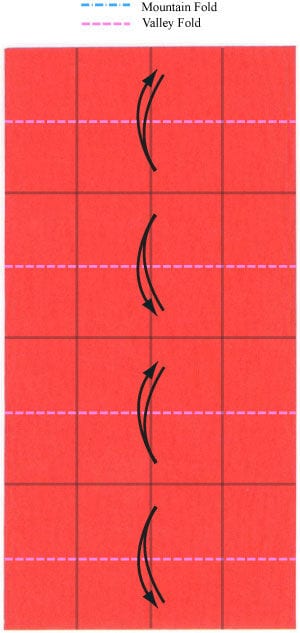
Apply the vertical “gate-fold” of the step #4 and then “unfold”. Prepare to apply four horizontal “valley-folds” and then “unfold”.
STEP 6.
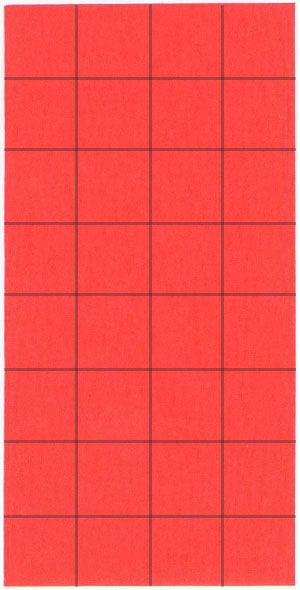
Apply four horizontal “valley-folds” of the step #5 and then “unfold”. Make sure that there are ten crease lines.
STEP 7.
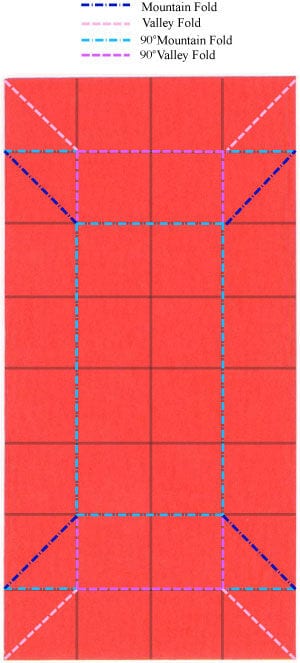
Prepare to apply the crease pattern (CP) shown on the left.
STEP 8.
Start applying the CP of the step #7.
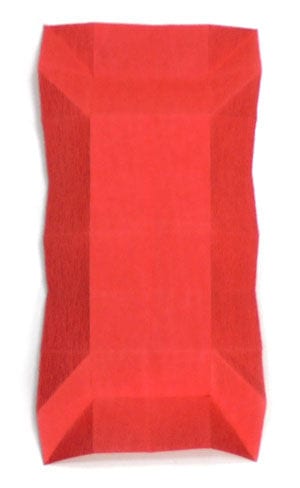
STEP 9.
Continue applying the CP of the step #7.
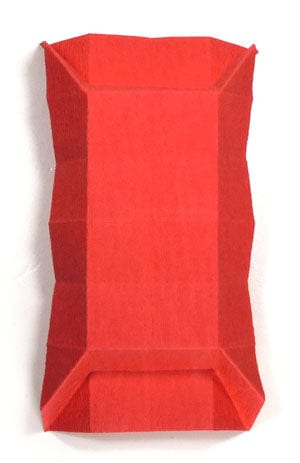
STEP 10.
Keep applying the CP of the step #7.
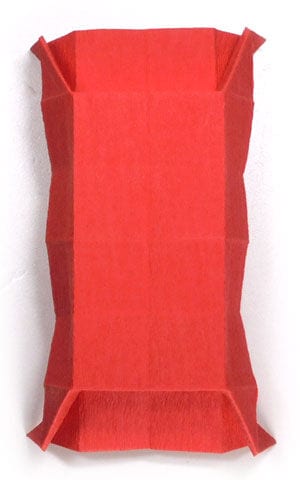
STEP 11.
Complete applying the CP of the step #7. Prepare to apply four “valley-folds”.
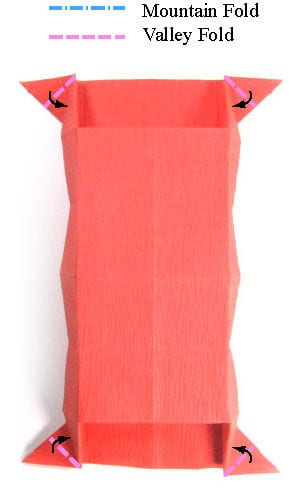
STEP 12.
Apply four “valley-folds” of the step #8. Prepare to rotate the origami Gondola chair model by 90 degrees.
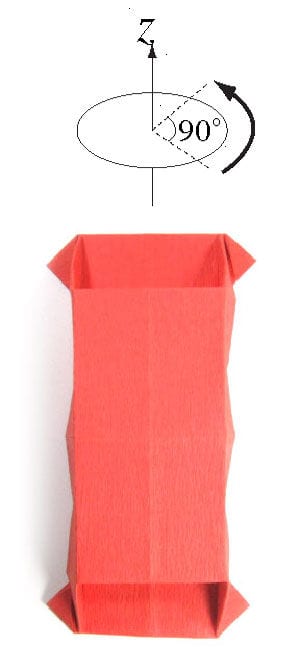
STEP 13.
Rotate the origami Gondola chair model by 90 degrees. Prepare to pull the frontmost layer out following the arrow direction.
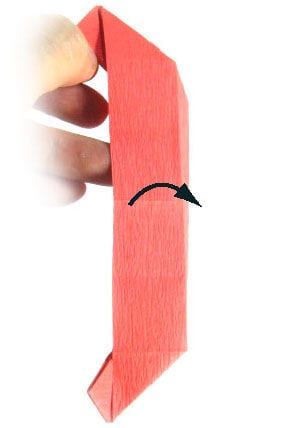
STEP 14.
Pull the frontmost layer out following the arrow direction of the step #10. Prepare to apply two “valley-folds”.
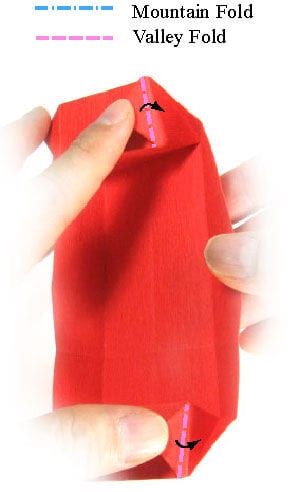
STEP 15.
Apply two “valley-folds” of the step #11. Prepare to put the frontmost layer back.
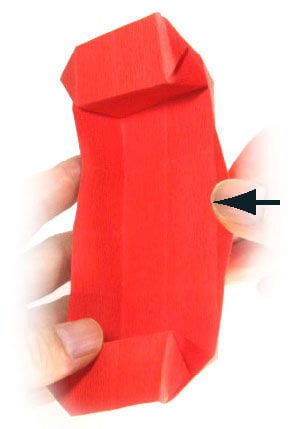
STEP 16.
Put the frontmost layer back. Prepare to rotate the origami Gondola chair model by 180 degrees.
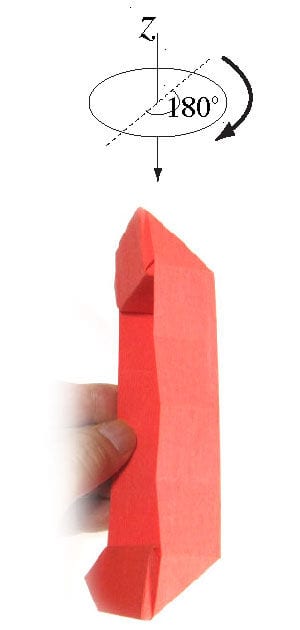
STEP 17.
Rotate the origami Gondola chair model by 180 degrees. Prepare to repeat the steps #10-13.
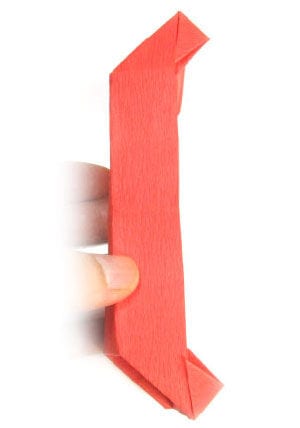
STEP 18.
Repeat the steps #10-13. Prepare to rotate the origami Gondola chair model by 90 degrees.
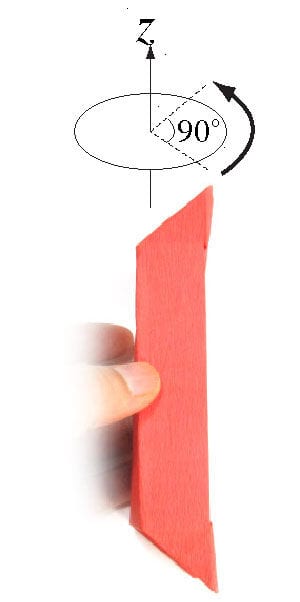
STEP 19.
Rotate the origami Gondola chair model by 90 degrees. Prepare to press the region encircled with a dotted circle.
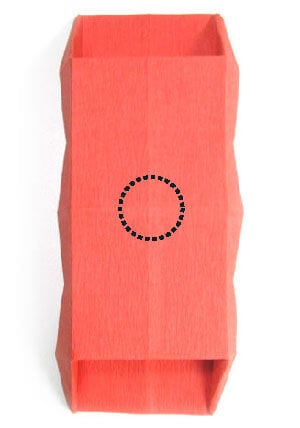
STEP 20.
Press the region encircled with a dotted circle according to the step #16. Prepare to apply a horizontal valley-fold and then “unfold”.
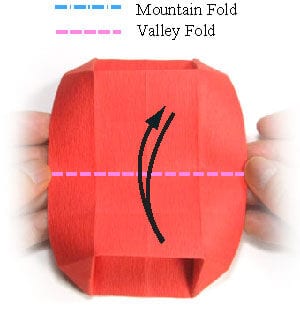
STEP 21.
Apply the horizontal valley-fold of the step #17 and then “unfold”. Prepare to apply the crease pattern (CP) shown on the left.
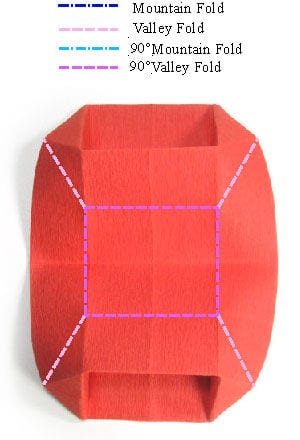
STEP 22.
Apply the CP of the step #18. Prepare to rotate the origami Gondola chair by 90 degrees.
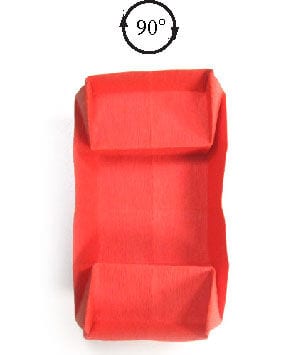
STEP 23.
Rotate the origami Gondola chair by 90 degrees. This is the top view of the origami Gondola chair. Prepare to rotate the origami Gondola chair by about 60 degrees.
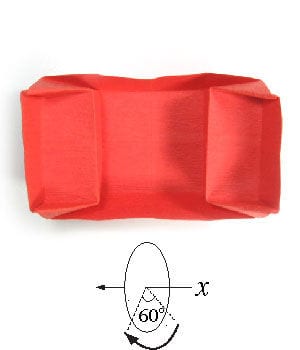
STEP 24.
Rotate the origami Gondola chair by about 60 degrees. Congratulations! You have completed your Gondola origami chair.
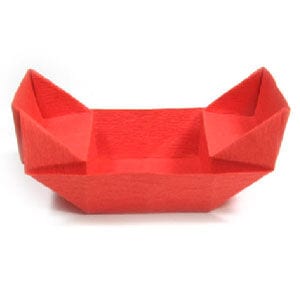
STEP 25.
You can stop at the step #21. There are some variations to the model. You can go back to the step #19 and then prepare to put glue on the inner layer spots indicated by four arrows.
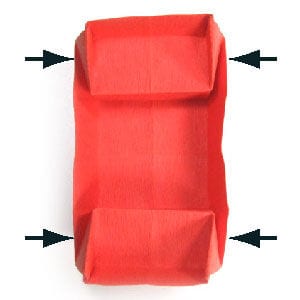
STEP 26.
Put glue on the inner layer spots indicated by four arrows of the step #22. Prepare to rotate the origami Gondola chair by 90 degrees.
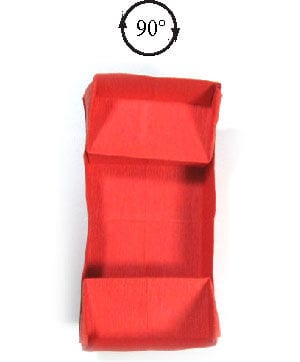
STEP 27.
Rotate the origami Gondola chair by 90 degrees. This is the top view of the origami Gondola chair. Prepare to rotate the origami Gondola chair by about 60 degrees.
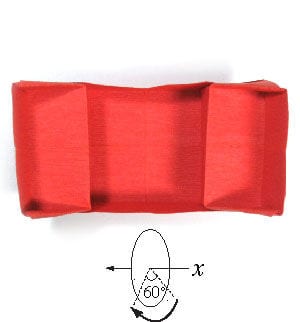
STEP 28.
Rotate the origami Gondola chair by about 60 degrees. You have completed the 2nd version of the Gondola origami chair. You can stop here. But if you want, you can work on the 3rd version. Prepare to rotate the origami Gondola chair by 90 degrees.
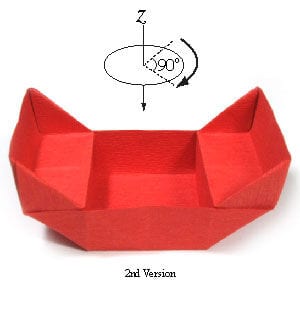
STEP 29.
Rotate the origami Gondola chair by 90 degrees. You can come here directly from the step #21 instead of the step #25. If you are making this chair for Gondola boat, then you can skip the steps #22-25. Prepare to apply the crease pattern (CP) shown on the left.
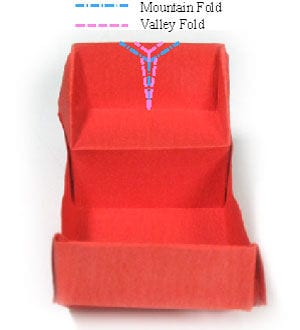
STEP 30.
Apply the CP of the step #26. Prepare to rotate the origami Gondola chair by 180 degrees.
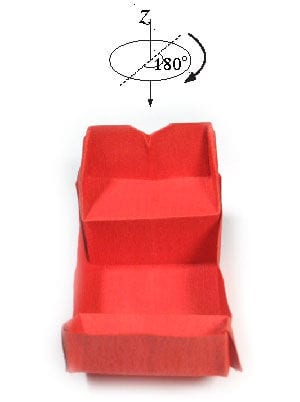
STEP 31.
Rotate the origami Gondola chair by 180 degrees. Prepare to apply the crease pattern (CP).
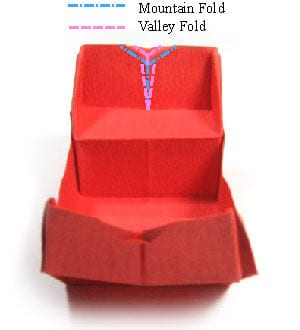
STEP 32.
Apply the CP of the step #28. Prepare to rotate the origami Gondola chair by 90 degrees.





