
3D Origami Hydrangea
A hydrangea is all about abundance — big, rounded clusters of tiny petals — and this paper version captures that magic by gluing lots of little folded flowers onto one leaf base. Best of all, it is simple enough that even kindergarten kids can join in.
Pick your palette, cut a few small squares, and let's build a whole blossom one bloom at a time.
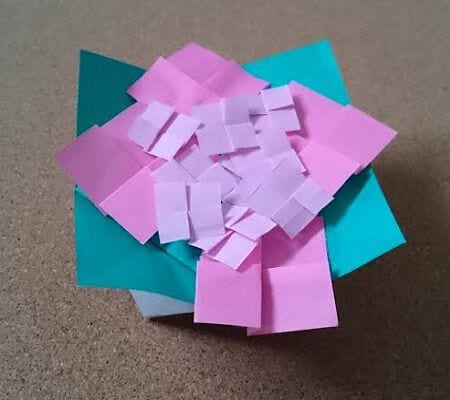
How to Make a 3D Hydrangea
This is a simple, three-dimensional hydrangea that even young children in kindergarten can make. Pick any number of flowers and colors you like.

You will need:
· 1 sheet of 15 × 15 cm origami paper (for the leaves)
· 4 sheets of 3.5 × 3.5 cm origami paper
· 8 sheets of 1.75 × 1.75 cm origami paper
· Glue
Make the flowers in a few different sizes. This time we use 4 sheets of 3.5 cm squares and 8 sheets of 1.75 cm squares. First make the leaves, then glue the little flowers onto them.
Part 1: The Little Flowers
STEP 1. Fold a small square in half with the colored side facing up.


STEP 2. Fold one flap down a little, offset from the center.


Seen from the side, it looks like this.

STEP 3. Fold it in half.


STEP 4. Fold the flap slightly offset again.


Seen from the side, it looks like this.

The flower is complete.
Feel free to make as many flowers, in as many colors, as you like.
Part 2: The Leaves
STEP 1. Fold a triangle twice and make a crease.


STEP 2. Fold all four corners toward the center.


Turn it over.

STEP 3. Fold all four corners toward the center.


STEP 4. Fold all four corners toward the center.


Turn it over.

STEP 5. Spread the four sections that become the leaves outward.


Glue the flowers onto the leaf base, and you are done.




