
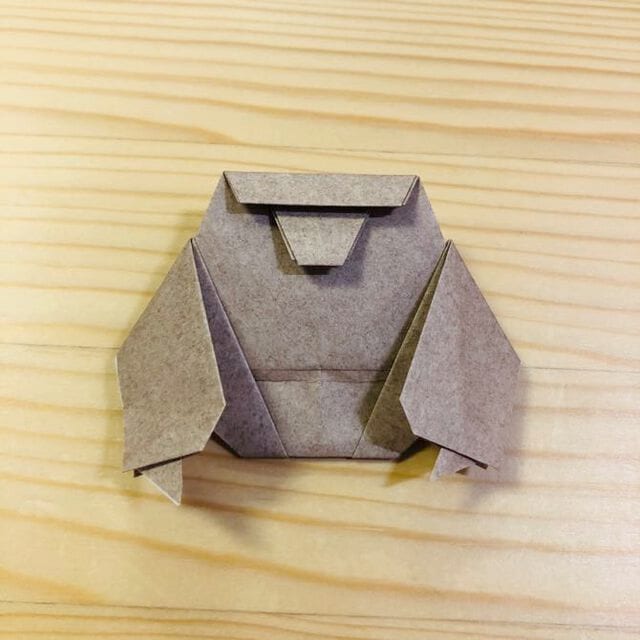
Origami Gorilla
A gorilla is a bold choice for an origami session — big, blocky, and full of personality — and this version delivers exactly that from one humble square. The fold is longer than a quick bird, but every crease earns its place, and the payoff is a little ape you will actually want to show off.
Set aside a quiet fifteen minutes, pick a deep gray or brown sheet, and follow the photos. By the final tuck, you will have a gorilla worth a spot on the shelf.
STEP 1. Fold it in half.


STEP 2. Fold it up at the position shown in the photo.


STEP 3. Fold it down at the position shown in the photo.


STEP 4. Turn it over and make a crease at the position shown in the photo.


STEP 5. Make a crease at the position shown in the photo.


STEP 6. Open and fold as shown in the picture.


STEP 7. Fold it up at the position shown in the photo.


STEP 8. Turn it over.

STEP 9. Open and fold as shown in the picture.


STEP 10. Fold it inward at the position shown in the photo.


STEP 11. Fold it down at the position shown in the photo.


STEP 12. Fold it inward at the position shown in the photo.

STEP 13. Fold it down at the position shown in the photo.


STEP 14. Turn it over and it is in the position shown in the photo.

Completion!
The gorilla is complete.




