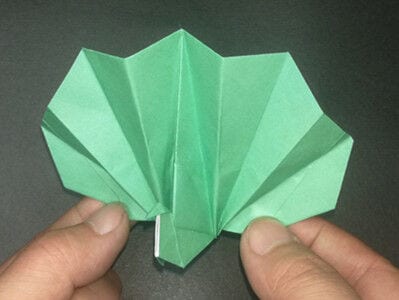
Origami Peacock (Short Tutorial)
Peacocks are one of those origami subjects that look far harder than they are. Once the tail fans out behind the body, even the simplest version gets a reaction, and this one needs just a single square of paper and a bit of patience with the early creases.
The first few steps are all preparation: you pinch, unfold, pinch again, and it may feel like nothing is happening yet. Those little marks are what let the tail spread cleanly later on, so resist the urge to skip ahead. The only place you really need to slow down is the neck, where two outside reverse folds turn a plain point into a head. If that move is new to you, practise it on a scrap sheet first. By the last step you can pull the wings apart and adjust the feathers until the bird looks proud enough to show off on a shelf.
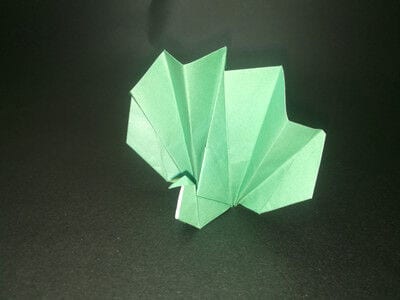
Learn how to fold an easy origami peacock with the instructions below. All you need is one square sheet of paper. The folding is a little more involved than usual, because this peacock has a spreading tail of feathers. Green paper is used here, but you can pick any color you like. It also helps to know the inside reverse fold and the outside reverse fold before you shape the head. Let us begin.
STEP 1.
Start with the paper white side up. Fold it in half and unfold, then fold it in half again in the other direction.
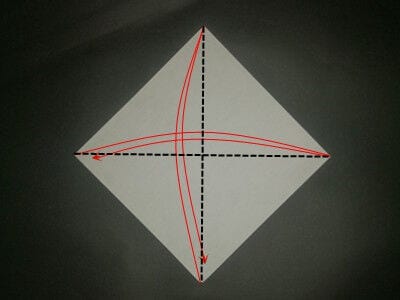
STEP 2.
Make small creases by folding three corners into the center as shown, then unfold.
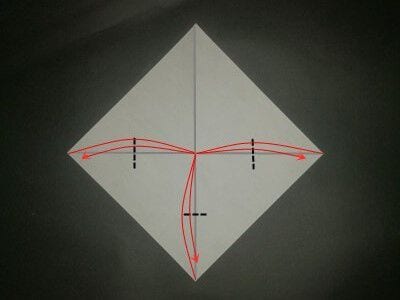
STEP 3.
Make a small crease by folding the upper corner down to the crease made in step 2, then unfold. Fold the left and right corners the same way as the top corner. This step adds small creases along a quarter of the center line, getting the paper ready for the next step.
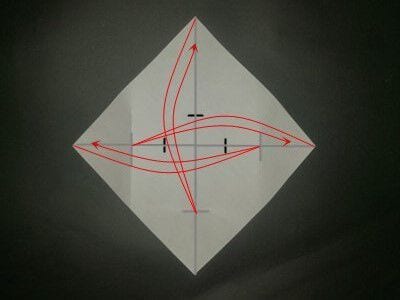
STEP 4.
Fold the three corners into the center points of the creases made in step 3.
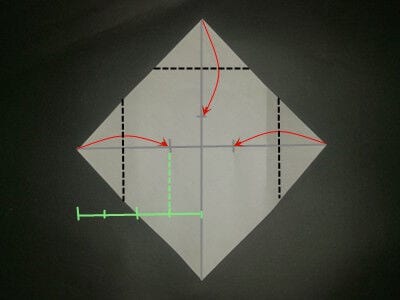
STEP 5.
Fold both bottom edges to the center line.
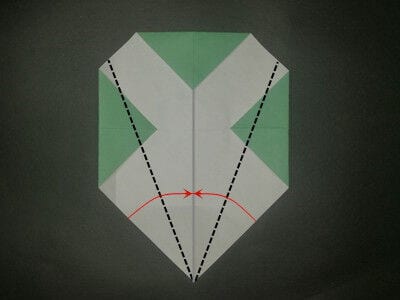
STEP 6.
Fold the model over along the crease.
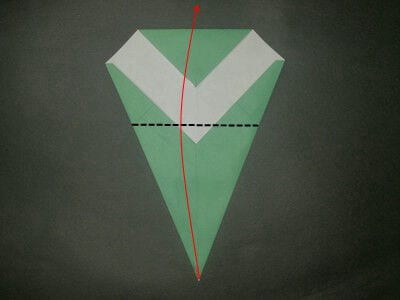
STEP 7.
Make a crease by folding the top corner down to the center point of the bottom edge, then unfold.
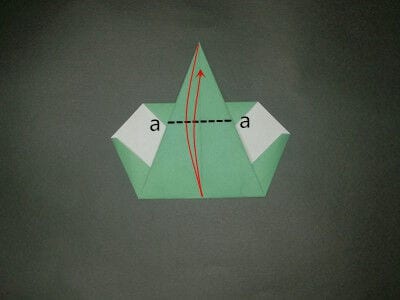
STEP 8.
Fold by bringing crease (a) onto line (b).
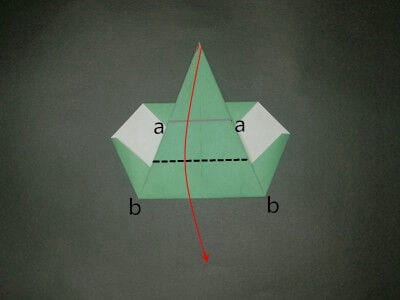
STEP 9.
Fold the flap behind.
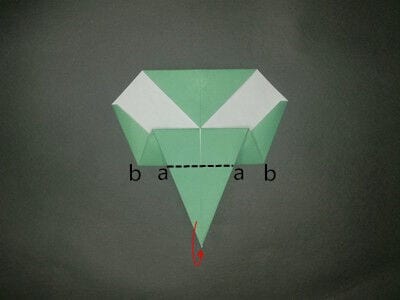
STEP 10.
Unfold the model.
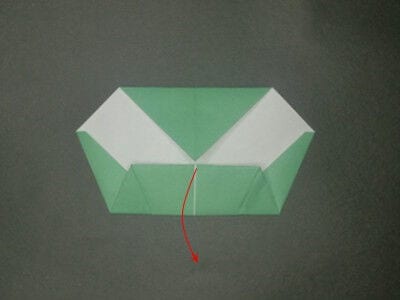
STEP 11.
Make a crease by folding the bottom left edge onto the crease along the dotted line. Do the same with the bottom right edge.
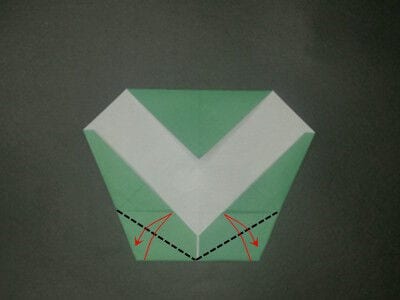
STEP 12.
Fold along the crease.
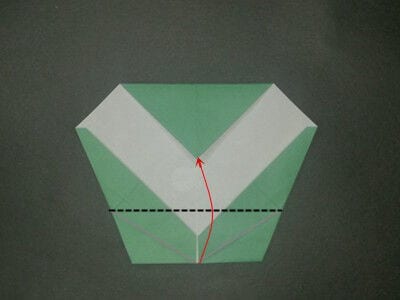
STEP 13.
Pull the layers out along the creases made in step 11.
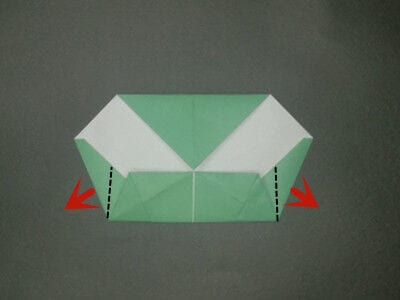
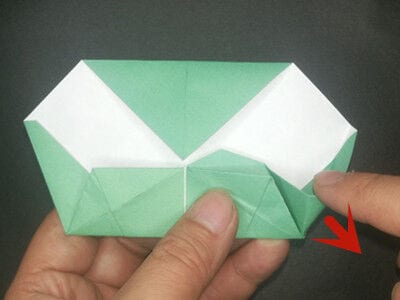
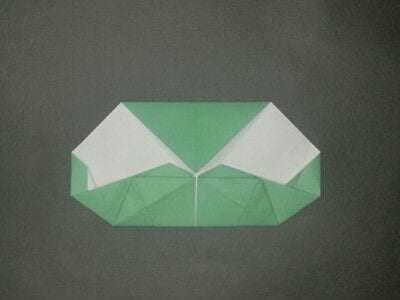
STEP 14.
Turn the model over.
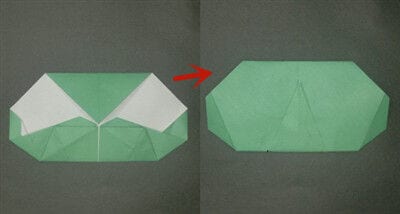
STEP 15.
Make creases along the dotted lines.
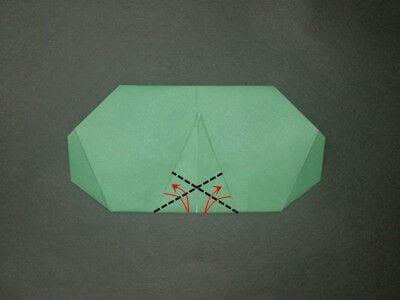
STEP 16.
Fold according to the valley fold lines. The black dotted lines are valley folds and the red dotted lines are mountain folds.
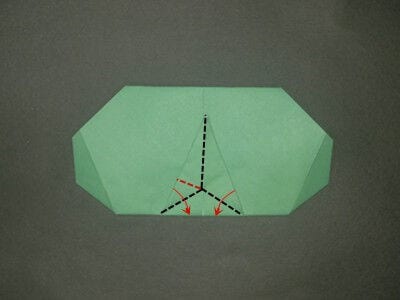
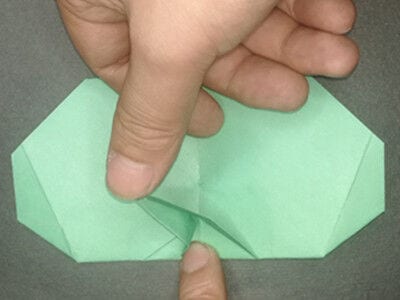
STEP 17.
Fold the flap behind.
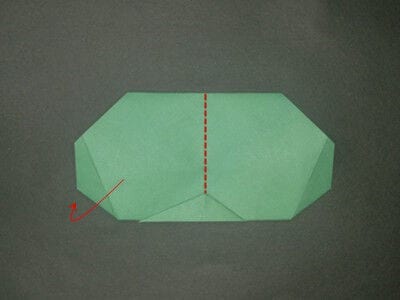
STEP 18.
Make a crease along the dotted line as shown, then unfold.
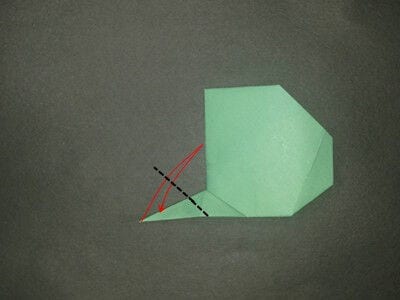
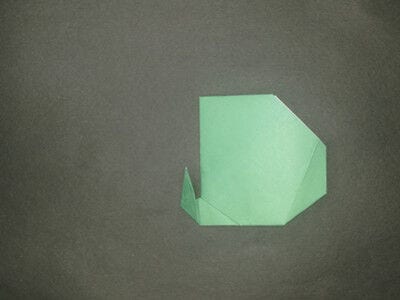
STEP 19.
Make an outside reverse fold to shape the neck.
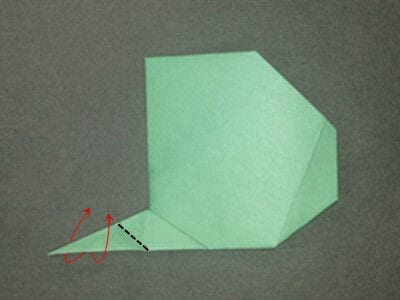
STEP 20.
Make another outside reverse fold to shape the head.
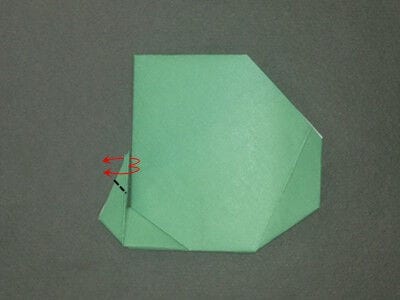
STEP 21.
Make a valley fold.
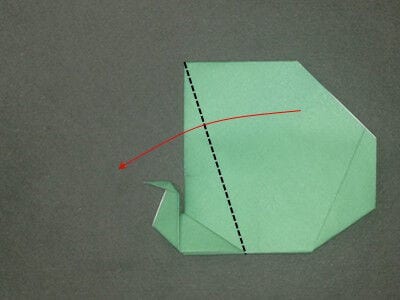
STEP 22.
Fold so that point (a) meets point (b).
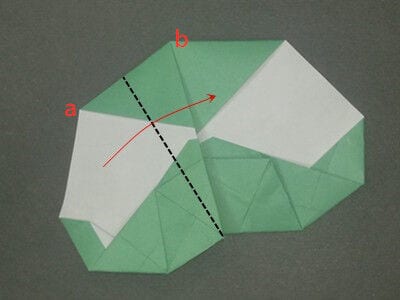
STEP 23.
Fold once more along the dotted line.
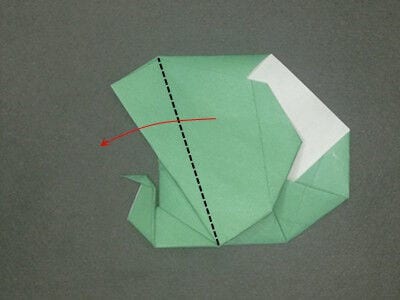
STEP 24.
Fold along the dotted line.
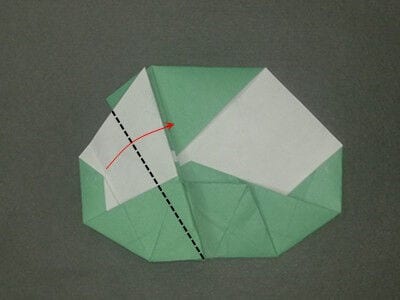
STEP 25.
Fold along the dotted line.
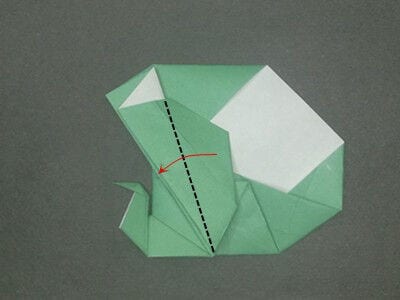
STEP 26.
Repeat the same fold on the other side.
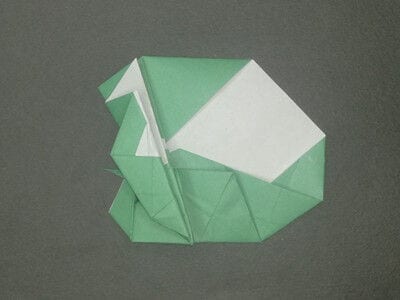
STEP 27.
Hold the wings together and pull the body downwards.
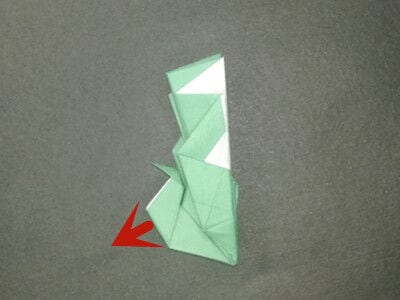
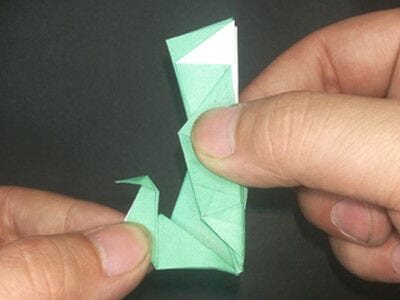
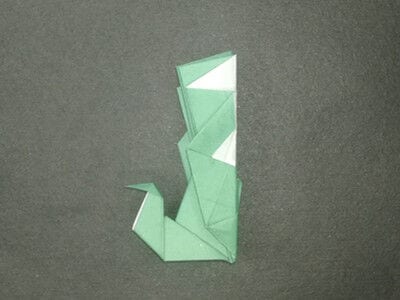
STEP 28.
Open out and shape the wings nicely. Your origami peacock is done.