
Wide Origami Boat
A wide origami boat is a step up from the basic paper boat — its broad beam and rounded hull come from three classic techniques: the inside reverse fold, the squash-fold, and the petal-fold. It's a great model for stretching your folding skills.
In this tutorial we work through 23 steps, building a grid of creases and then collapsing them with those three signature folds. If you're comfortable with valley- and mountain-folds, you're ready to take this one on — let's fold a boat with real width.
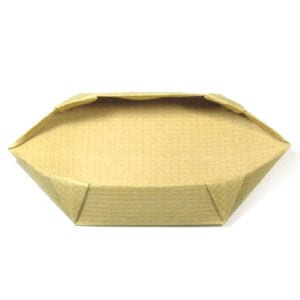
How to Fold a Wide Origami Boat
This wide origami boat mimics a boat with an extra-wide beam. The special techniques you’ll learn from this model are the inside reverse fold, the squash-fold, and the petal-fold.
Before you start, make sure you know what a valley-fold and a mountain-fold are. If those two basics are familiar, you’ll have no trouble here.
If you’re ready, let’s get started.
You can use any paper. I’m using a 16 cm × 16 cm square — a good size for beginners. Once you’re comfortable, you can try smaller paper.
This is the front side of the paper.
This is the back side, which is the same color as the front.
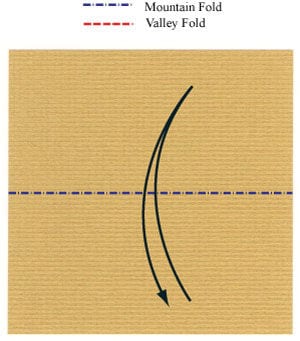
STEP 1: Start with the backside of the paper facing up. Mountain-fold in half horizontally, then unfold.
STEP 2: Mountain-fold in half as before, then unfold. Apply a horizontal gate-fold.
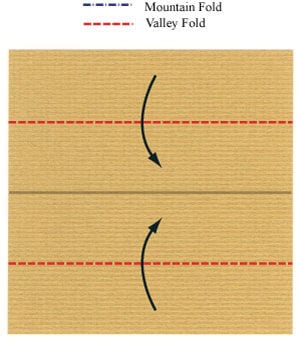
STEP 3: Apply the horizontal gate-fold from step 2. Apply four valley-folds.
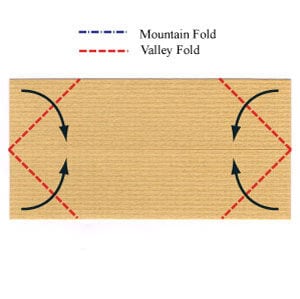
STEP 4: Apply the four valley-folds from step 3. Unfold all four of them.
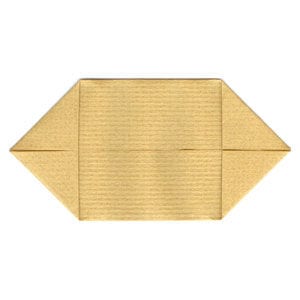
STEP 5: Unfold the four valley-folds from step 4. Apply four inside reverse-folds.
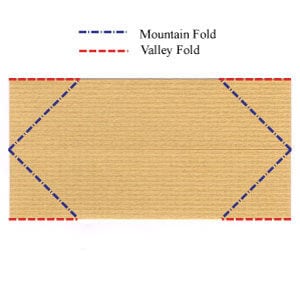
STEP 6: Start applying the four inside reverse-folds from step 5.
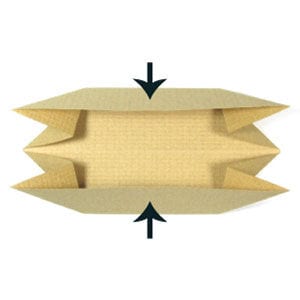
STEP 7: Complete the four inside reverse-folds from step 5. Apply two vertical valley-folds.
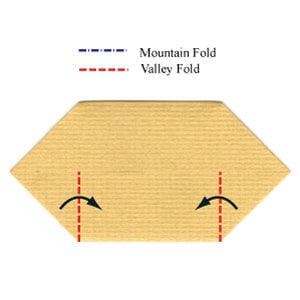
STEP 8: Apply the two vertical valley-folds from step 7. Apply two squash-folds.
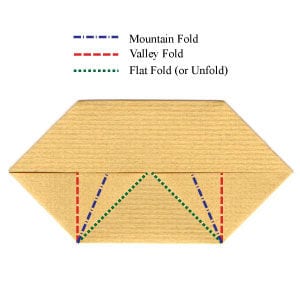
STEP 9: Apply the two squash-folds from step 8. Apply four valley-folds, then unfold.
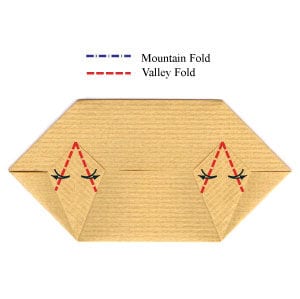
STEP 10: Apply the four valley-folds from step 9, then unfold. Apply two petal-folds.
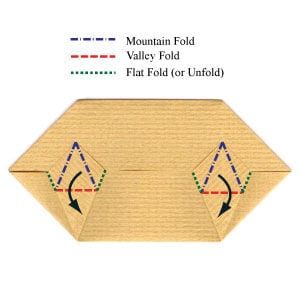
STEP 11: Start applying the two petal-folds from step 10.
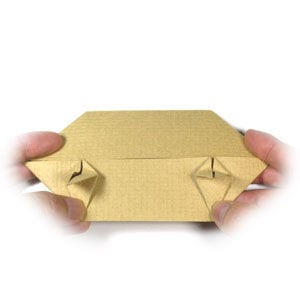
STEP 12: Complete the two petal-folds from step 10. Apply two valley-folds.
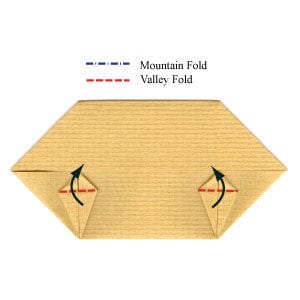
STEP 13: Apply the two valley-folds from step 12. Apply a rounded mountain-fold on the front-most layer.
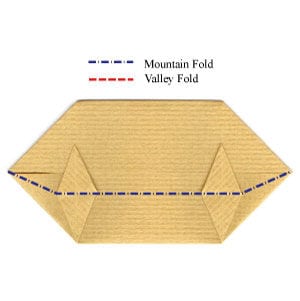
STEP 14: Start applying the rounded mountain-fold from step 13. Rotate the model by 180 degrees.
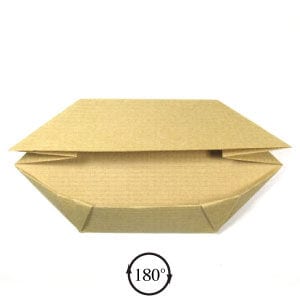
STEP 15: Rotate the model by 180 degrees. Apply two valley-folds.
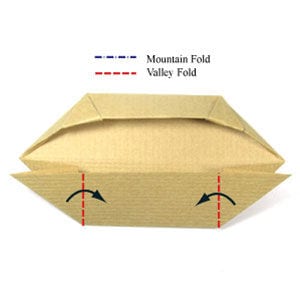
STEP 16: Apply the two valley-folds from step 15. Apply two squash-folds.
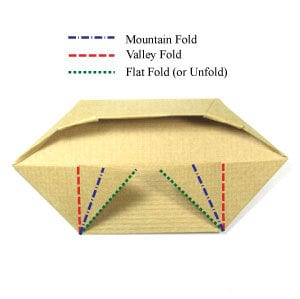
STEP 17: Apply the two squash-folds from step 16. Apply four valley-folds, then unfold.
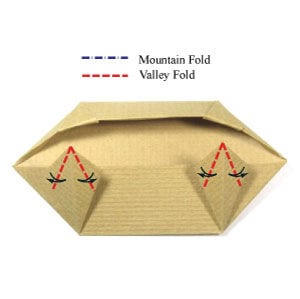
STEP 18: Apply the four valley-folds from step 17, then unfold. Unfold the four valley-folds you just applied.
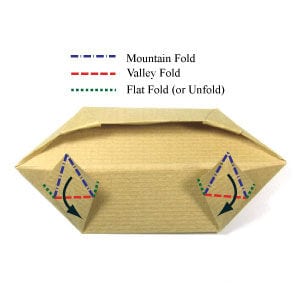
STEP 19: Unfold the four valley-folds you just applied. Apply two petal-folds.
STEP 20: Start applying the two petal-folds from step 19.
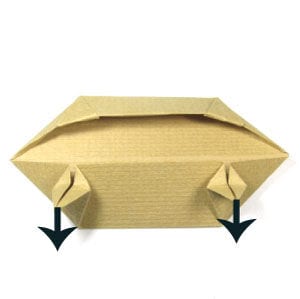
STEP 21: Complete the two petal-folds from step 19. Apply two valley-folds.
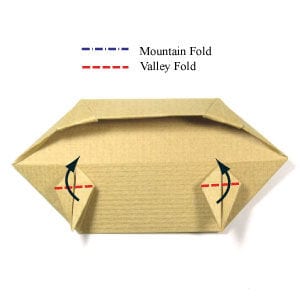
STEP 22: Apply the two valley-folds from step 21. Apply a rounded mountain-fold.
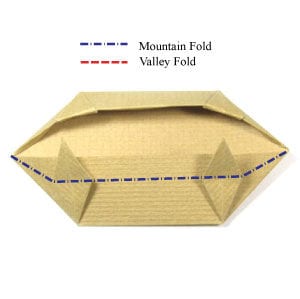
STEP 23: Apply the rounded mountain-fold from step 22. Congratulations — you’ve just completed your wide origami boat!




