
Apron
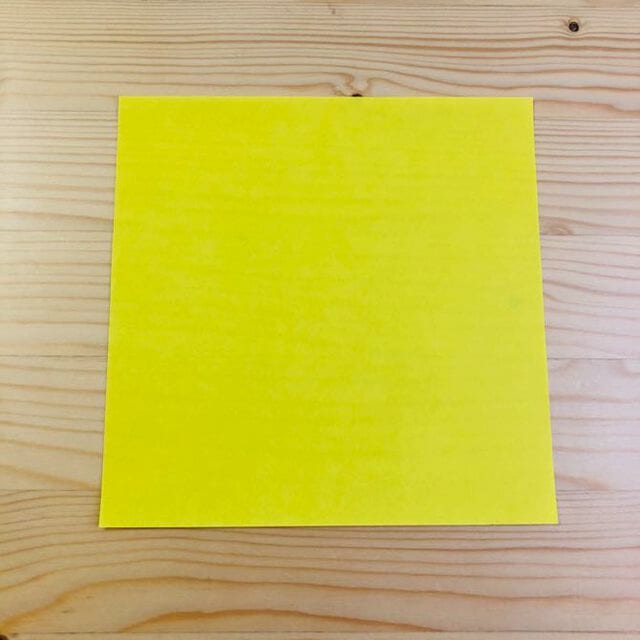
An origami apron is one of those small, charming folds that's both quick and surprisingly satisfying. With a square sheet and a handful of folds you get a recognizable little garment — perfect for paper dolls, play kitchens, or a tiny costume accessory.
In this short tutorial we build the apron through 10 simple steps, following the photo positions at each fold. No scissors or glue needed — just grab a square of paper and let's fold.
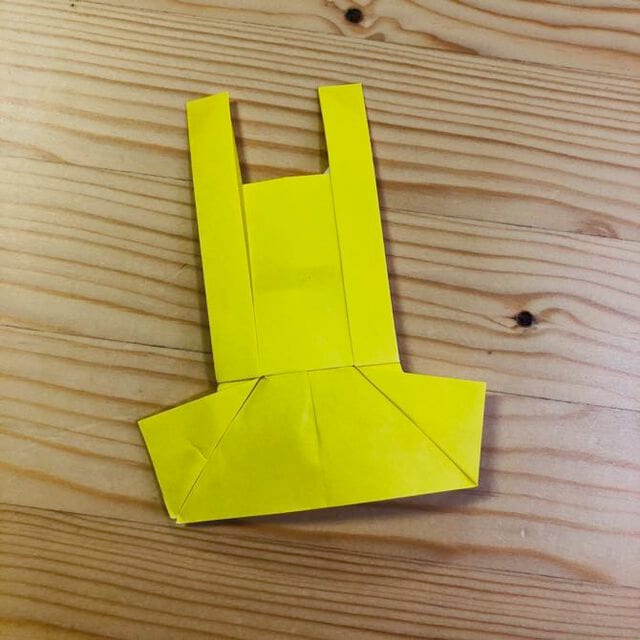
How to Fold an Origami Apron
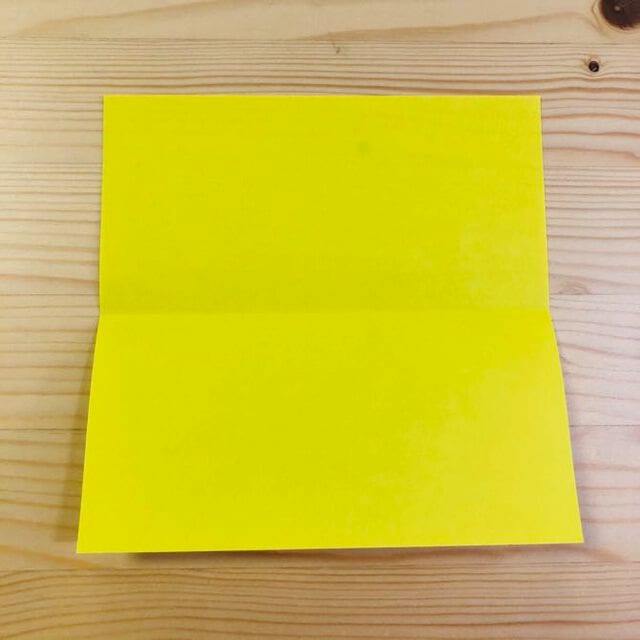
STEP 1: Fold the paper in half and make a crease.
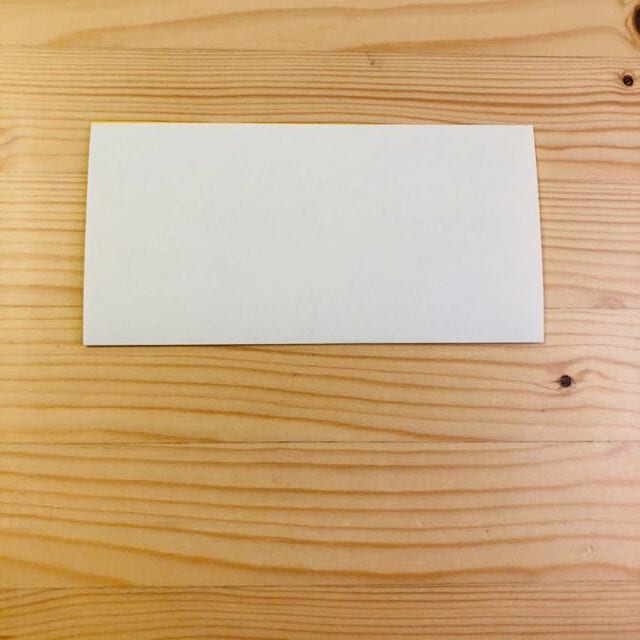
STEP 2: Fold it at the position shown in the photo.
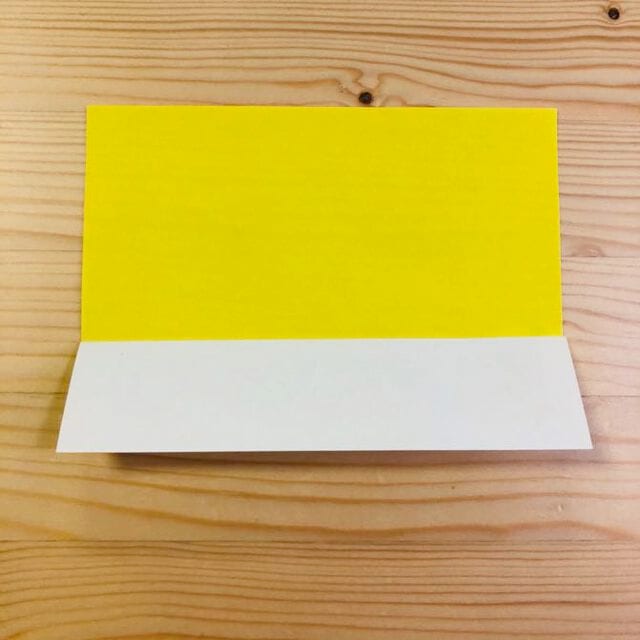
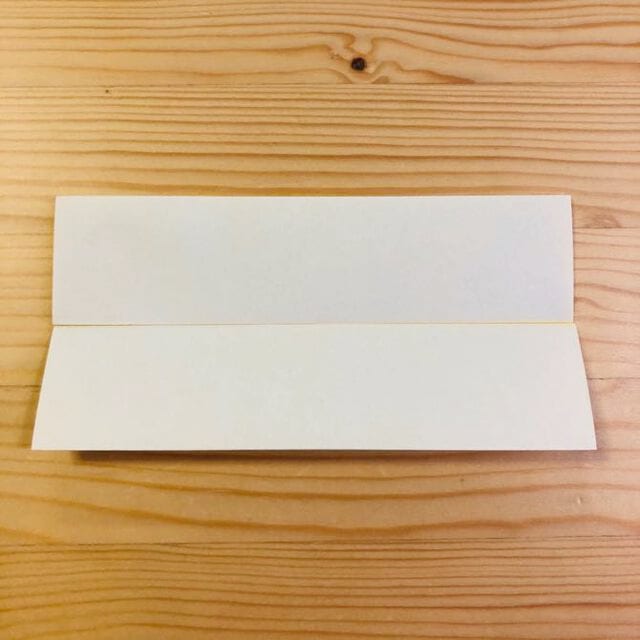
STEP 3: Fold it again at the position shown in the photo.
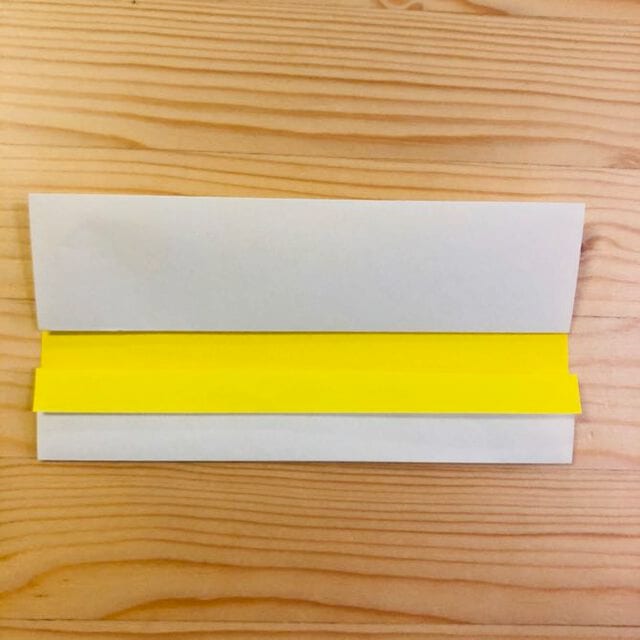
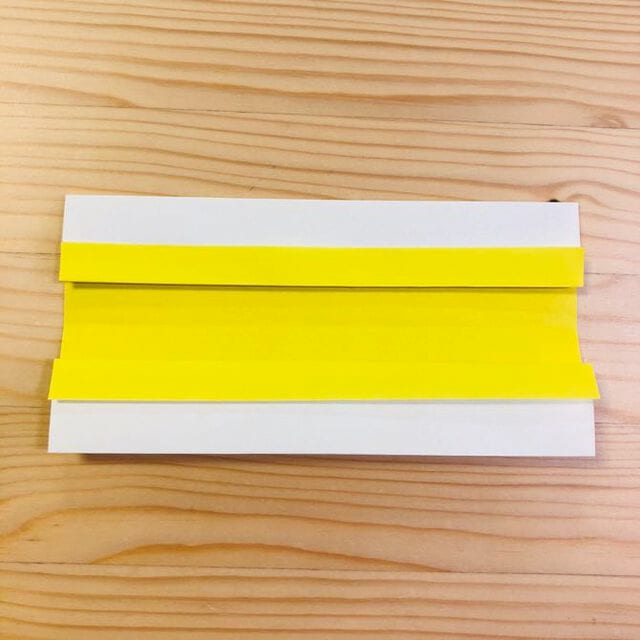
STEP 4: Turn the paper over and crease it at the position shown in the photo.
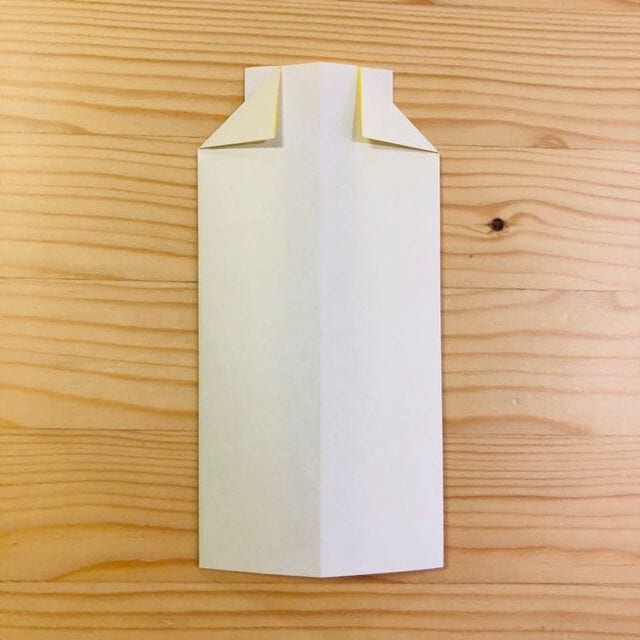
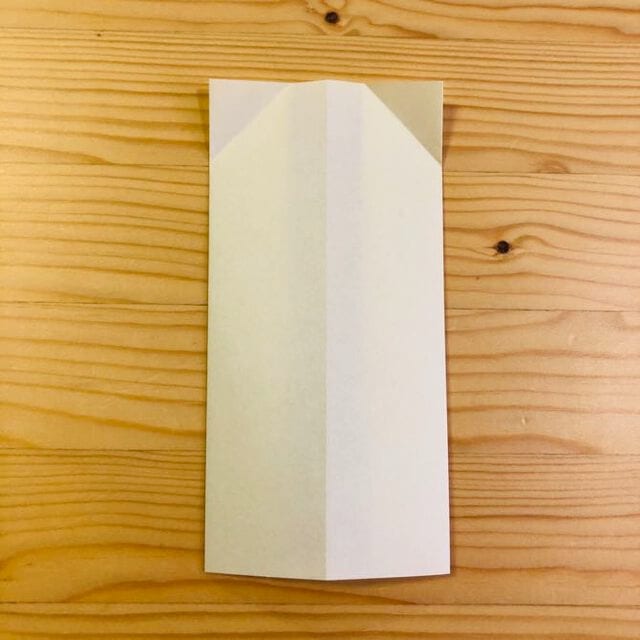
STEP 5: Open and fold the paper as shown in the picture.
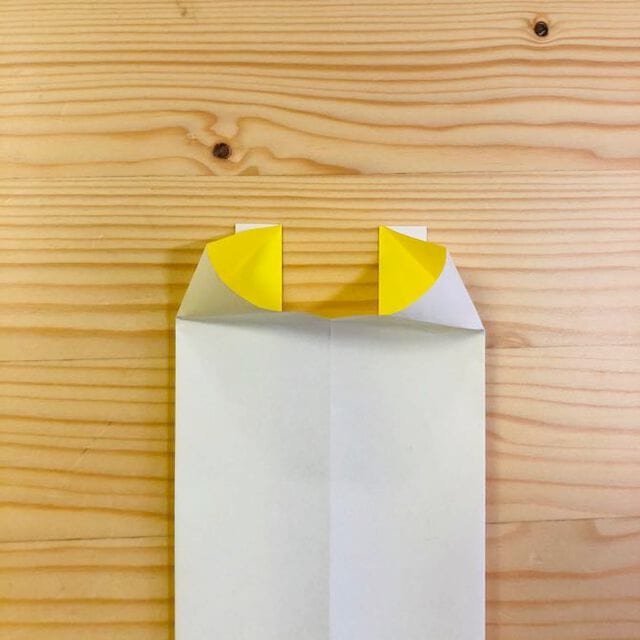
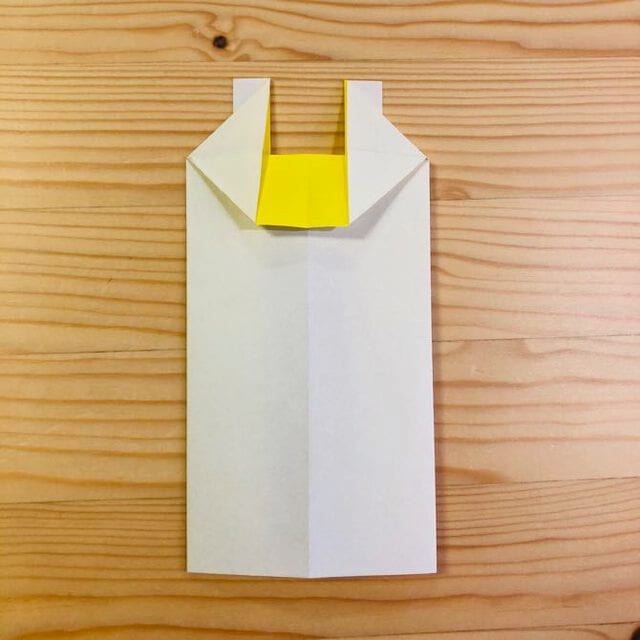
STEP 6: Fold it in half.
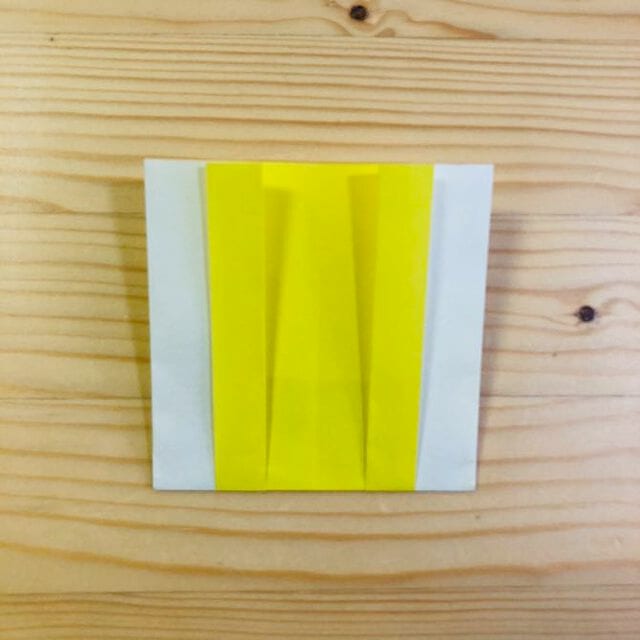
STEP 7: Fold it down at the position shown in the photo.
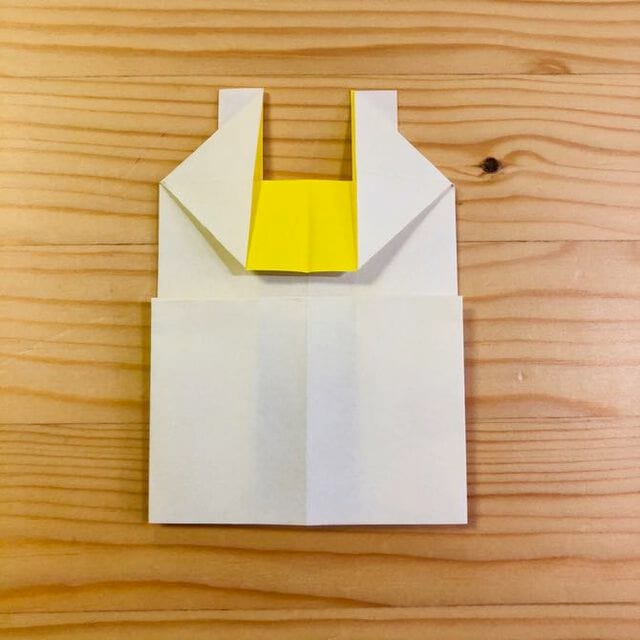
STEP 8: Turn it over — it should now match the position shown in the photo.
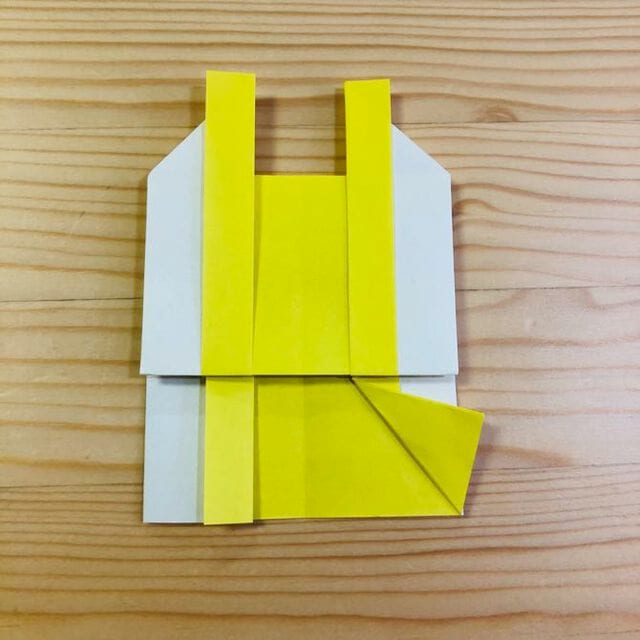
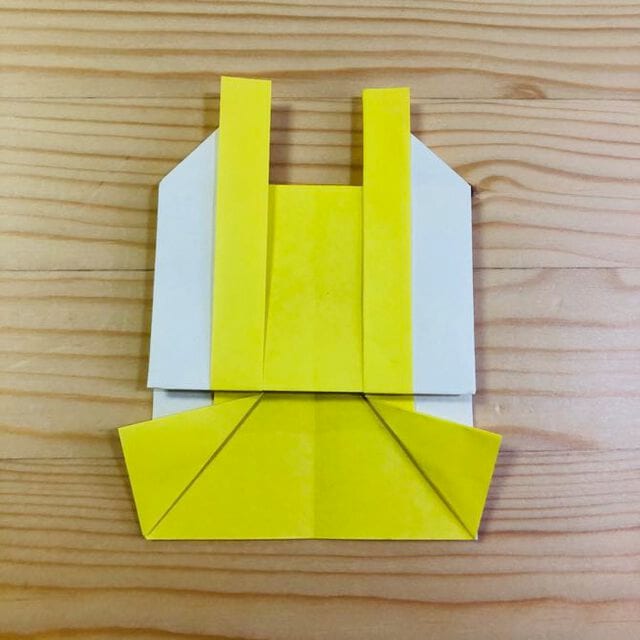
STEP 9: Turn it over again — it should match the position shown in the photo.
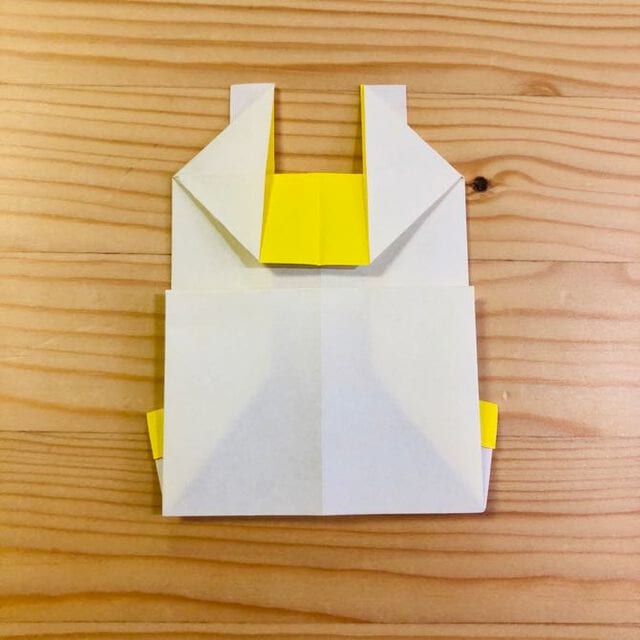
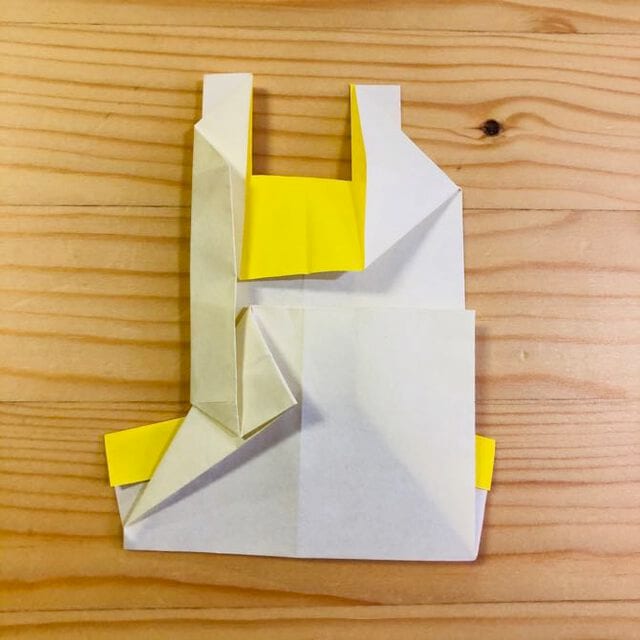
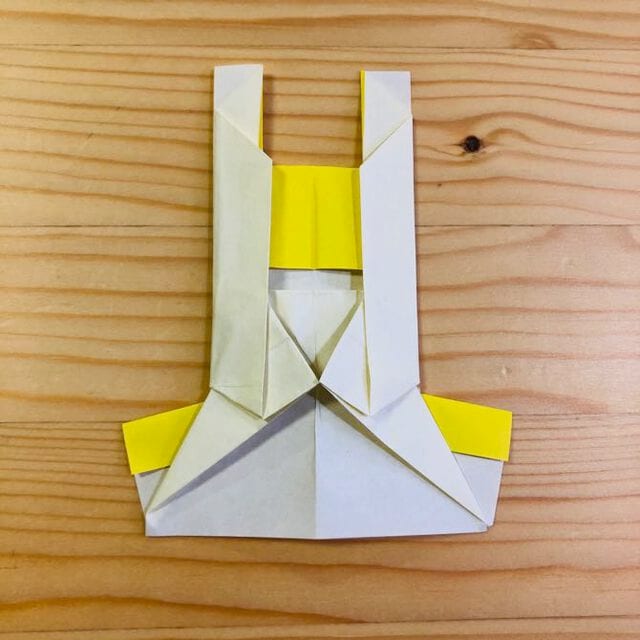
STEP 10: Turn the model over to finish.
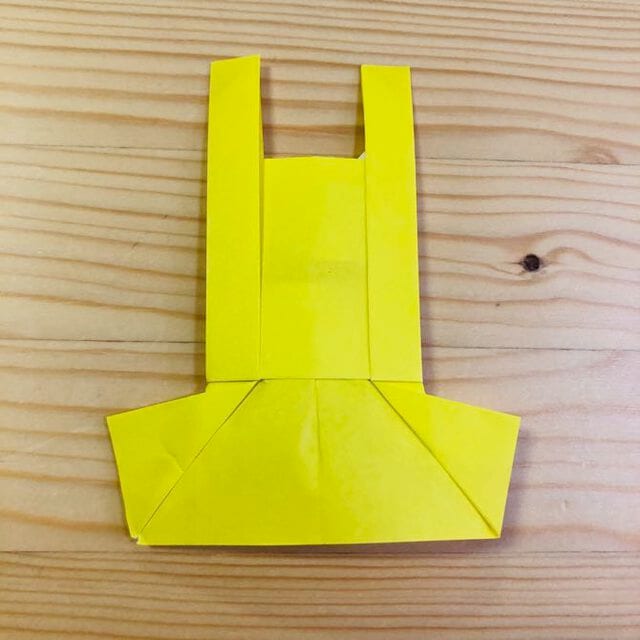
All done! Your origami apron is complete.




