
Origami Chicken (Complete Tutorial)
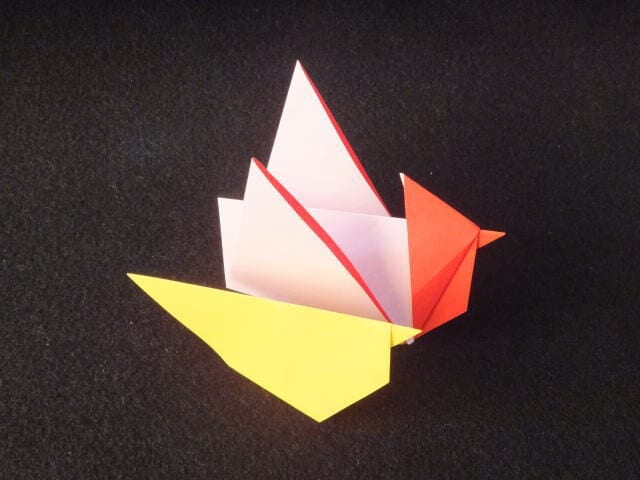
There is a special kind of joy in a paper chicken that actually stands up on its own, and this one does — little red comb, round body, and all. The whole thing comes from a single square, and the magic moment is step twelve, when you pull the comb up and the bird suddenly has a face.
It is gentle enough for kids to try by themselves (the comb is the only fiddly bit), and quick enough that you will soon have a whole flock. Let's fold one.
Folding Instructions
STEP 1. Place the red side face up and fold it into a triangle.

STEP 2. Fold it in half again.

STEP 3. Once the crease is made, unfold it back into the large triangle.

STEP 4. Fold one top corner down along the dotted line as shown.

STEP 5. Fold up along the dotted line so the tip pokes out a little.

STEP 6. Fold the back side to match the creases on the front.

STEP 7. Turn it over. The back side is folded as shown. Fold it from the halfway point to the back.

STEP 8. Change the angle to make it easier to work with.

STEP 9. Fold one of the lower flaps up along the dotted line.

STEP 10. Fold the back side to match the crease.

STEP 11. Pull up the red triangle along the dotted line.

STEP 12. Hold it down so it does not tear, and pull it up.

STEP 13. Shape it and flatten the creases. The chicken is complete.

STEP 14. Spread it open a little and let it stand.

Tips for Folding
There is nothing difficult about this fold, so children can make it on their own. Please help them with the slightly tricky part of the comb.
Depending on how you shape it, you will get a chicken with its own character.
Make lots of them and enjoy arranging them in different ways.




