
Connected Origami Cranes from One Sheet
Ask someone to fold a paper crane and you know exactly what you will get. Ask them to fold two cranes that are still holding on to each other, out of one sheet, and suddenly everyone is paying attention.
The secret is almost insultingly small: one short snip near the top before you start, leaving a thin bridge of paper between the two halves. Everything else is the crane you already know, folded twice over at the same time. It does demand patience — that bridging strip takes real abuse as the layers stack up — but it is one of those models where the payoff is far bigger than the trick behind it.
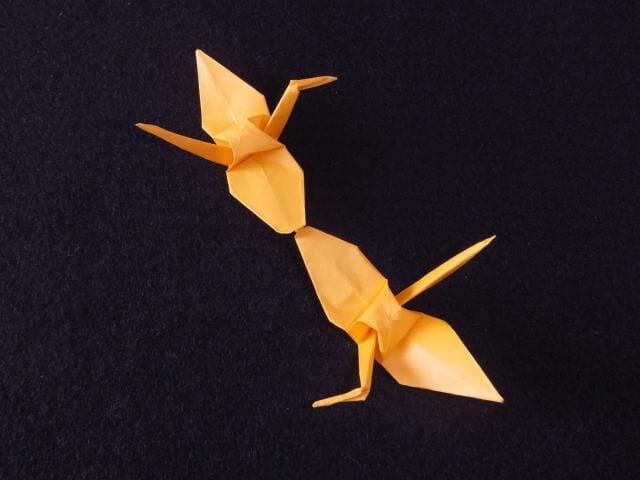
Everyone knows the classic paper crane. This version changes only one thing — the sheet is halved and given a short cut before folding — and instead of one bird you end up with two cranes still joined at beak and tail, from a single piece of paper.
How to fold connected cranes
STEP 1. Prepare a sheet roughly half the size of ordinary origami paper. Lay it with the coloured side facing up and fold it in half.
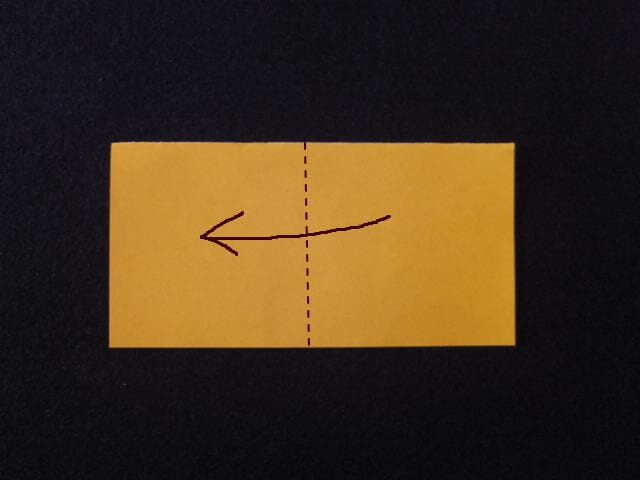
STEP 2. Once the crease is made, open the paper out again.
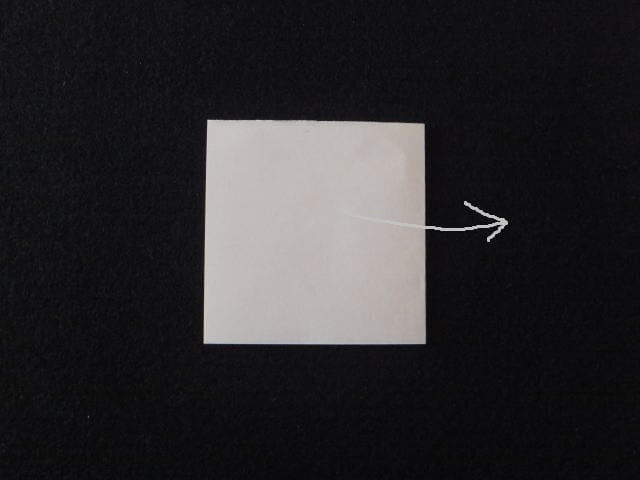
STEP 3. Cut along the marked line, leaving about 5 mm uncut at the top.
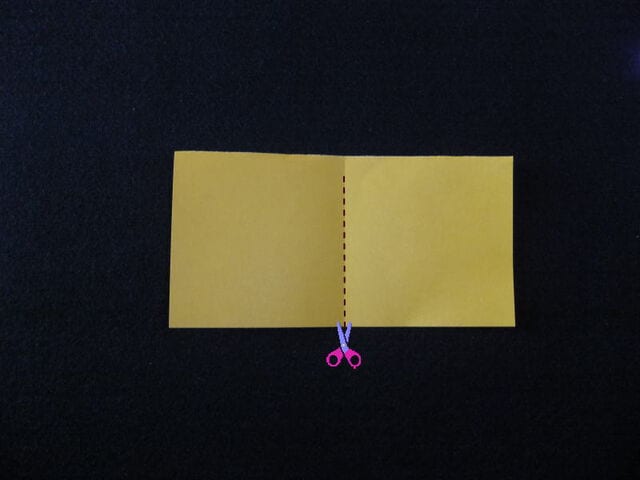
STEP 4. From here you are folding two cranes at once. Fold the left and right sides in half to make a triangle, then turn the paper over.
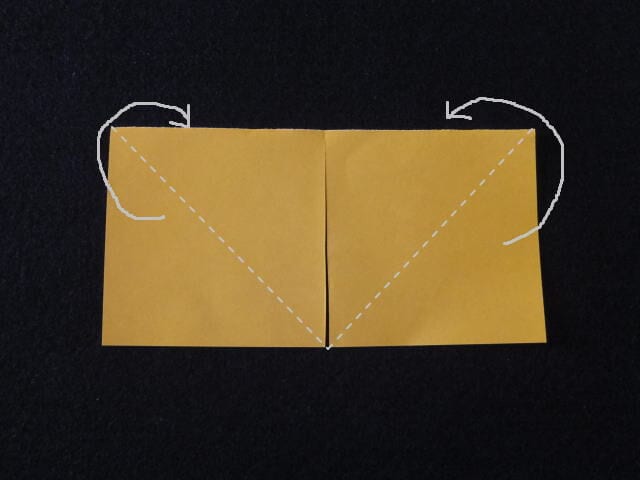
STEP 5. Fold the sides in so that the corners meet at the center.
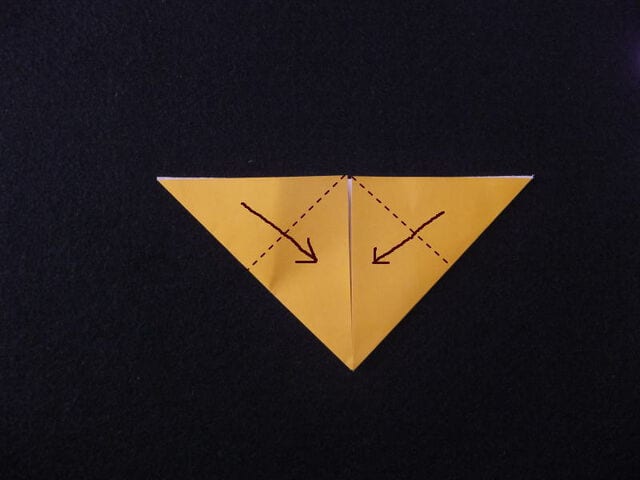
STEP 6. Turn the paper over.
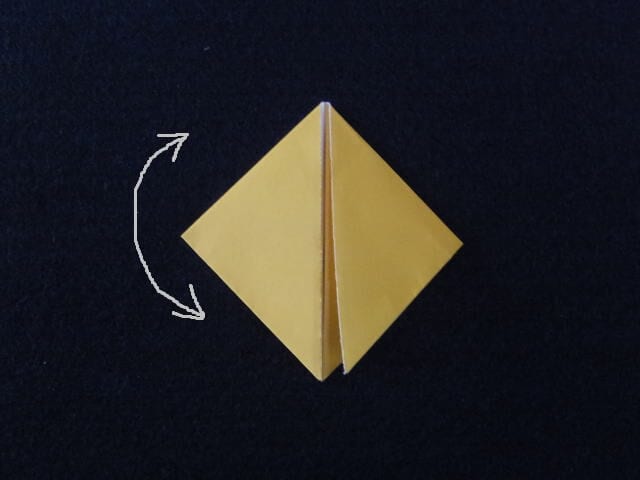
STEP 7. With the open side facing up, slip your fingers into the triangular pocket and open it out into a square.
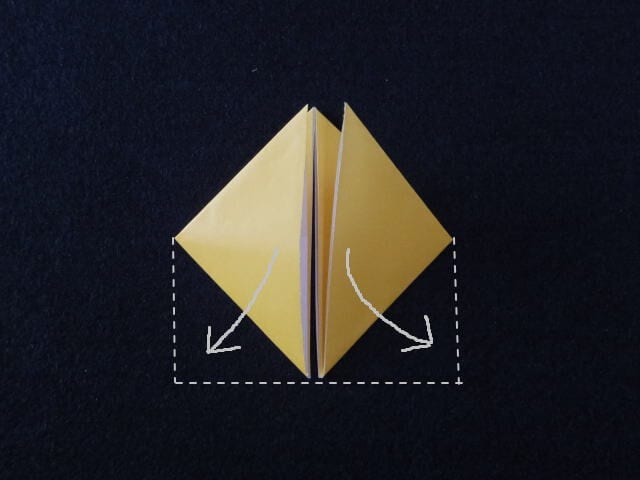
STEP 8. Once the front has been opened out, turn the model over and open the back into a square in the same way.
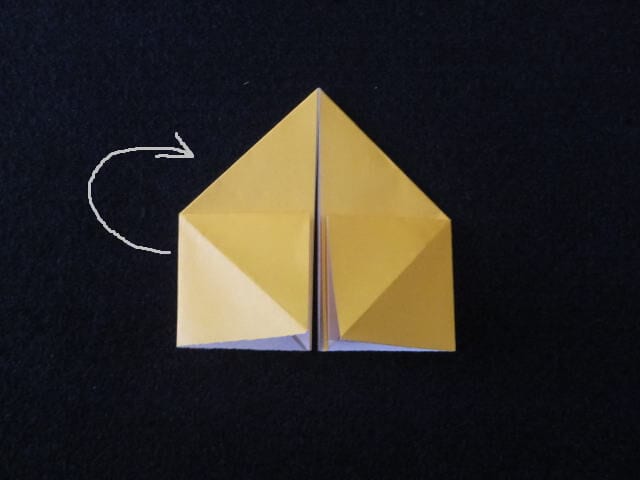
STEP 9. Pulling too hard will tear the paper, so work gently and crease along the dotted line.
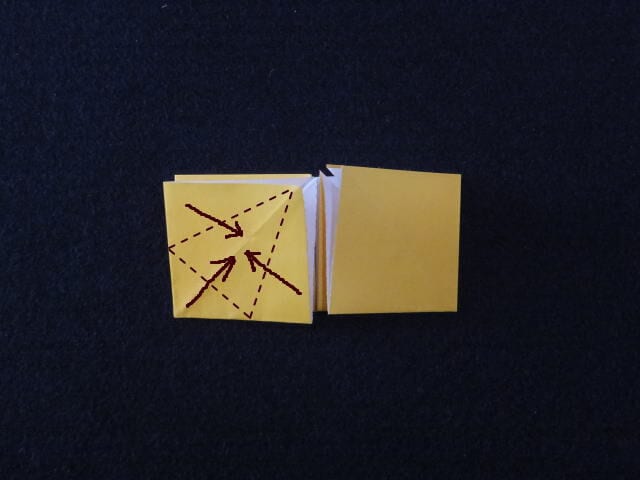
STEP 10. Open the paper out along that crease, then turn it over.
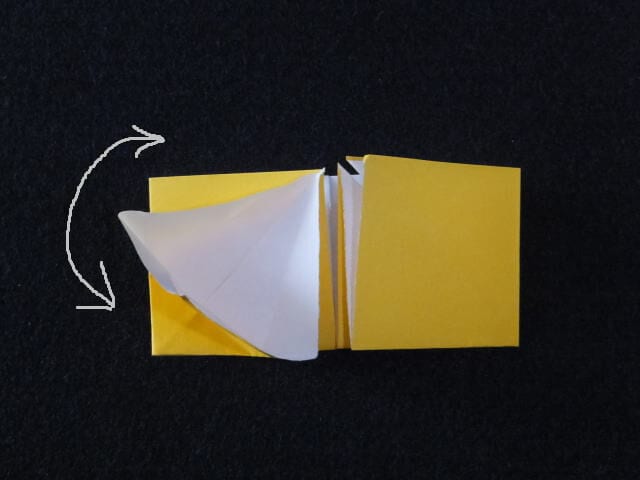
STEP 11. Make the same crease on the other side and open it out.
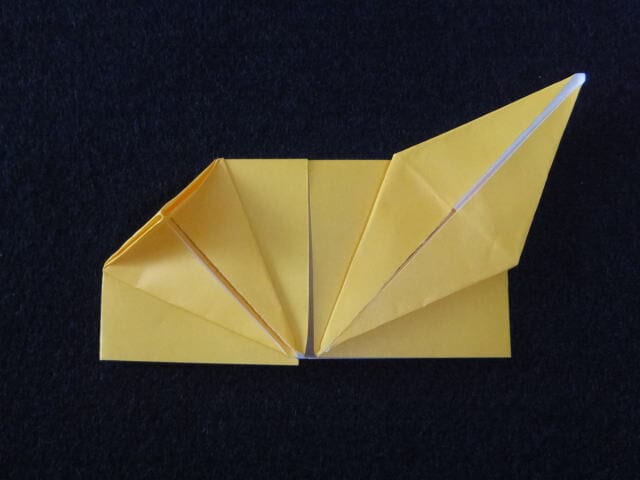
STEP 12. Open the back in the same way, taking care that the joined section does not tear.
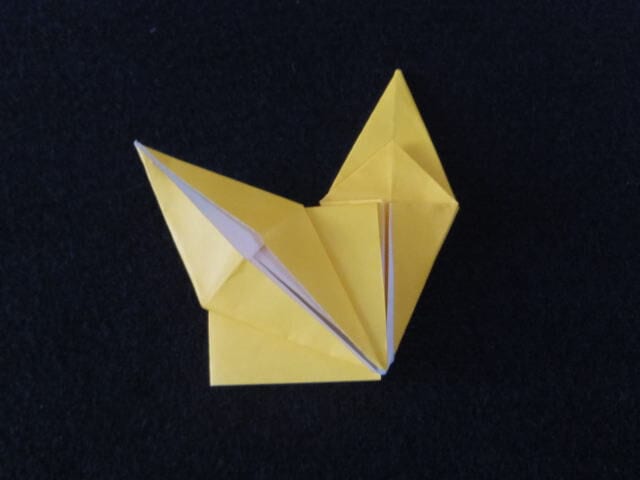
STEP 13. Turn the model over.
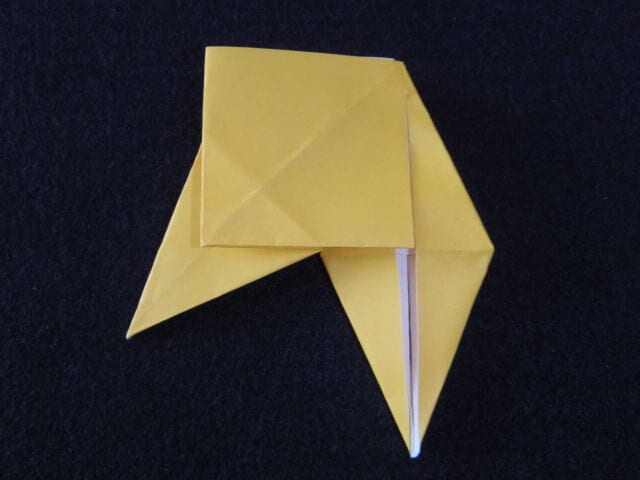
STEP 14. There is one more layer that can be opened out in the same way.
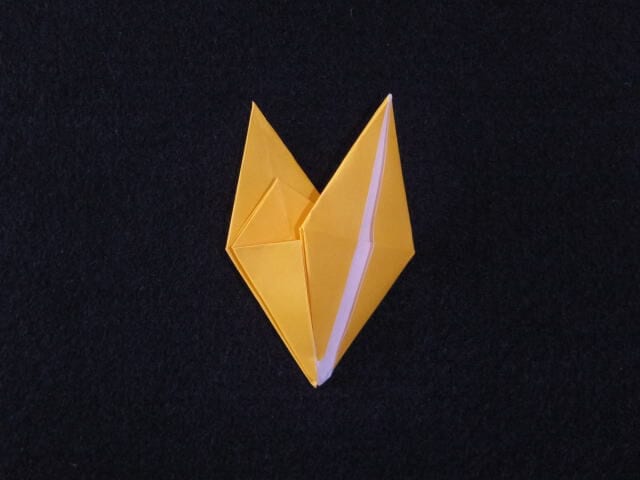
STEP 15. Once all four layers are open, fold the sides in towards the center along the dotted lines.
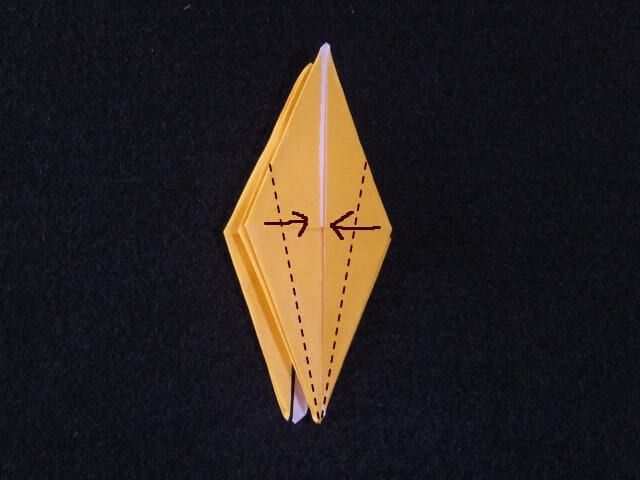
STEP 16. That is one side finished — fold the other side in exactly the same way.
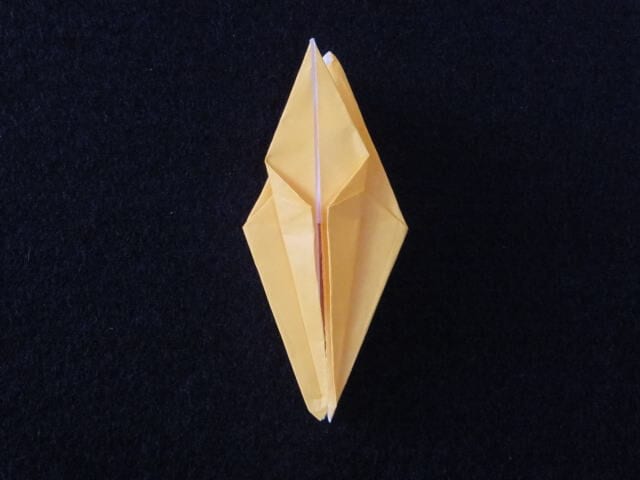
STEP 17. Be careful not to twist the joined part of the paper, or it will tear.
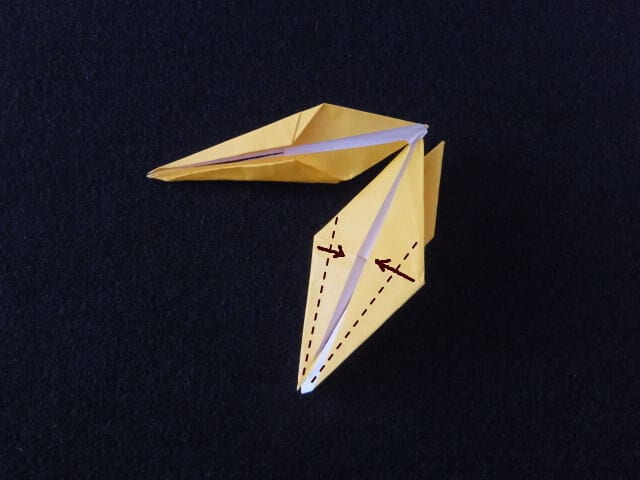
STEP 18. When every layer is open, stack them as in step 15 and settle the creases flat.
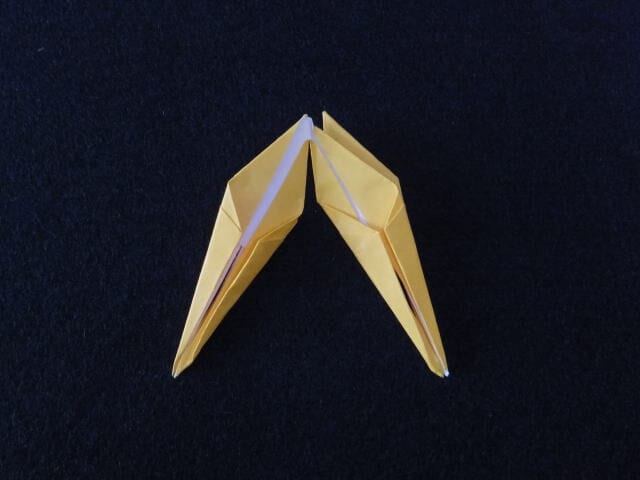
STEP 19. Fold the legs and the neck in half.
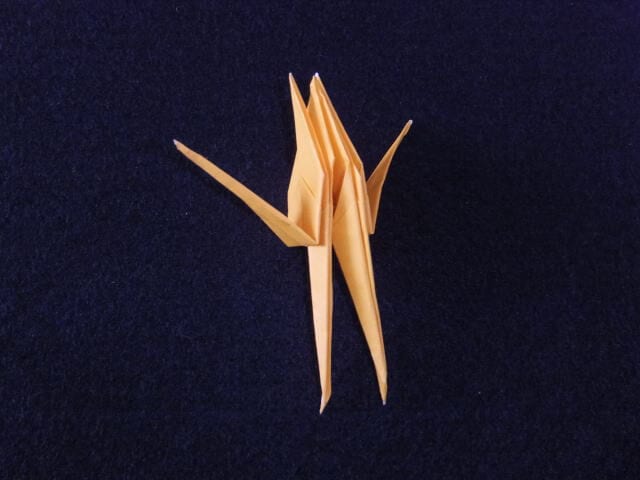
STEP 20. With all four layers opened out, hold both sides and pull them outwards on the diagonal.
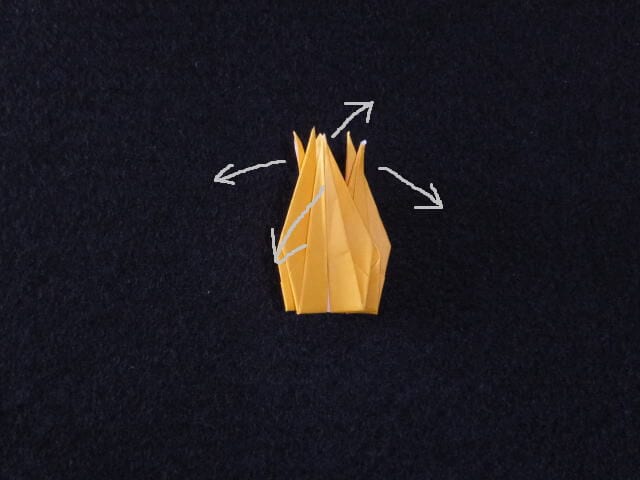
STEP 21. Fold the diagonal part over at the neck.
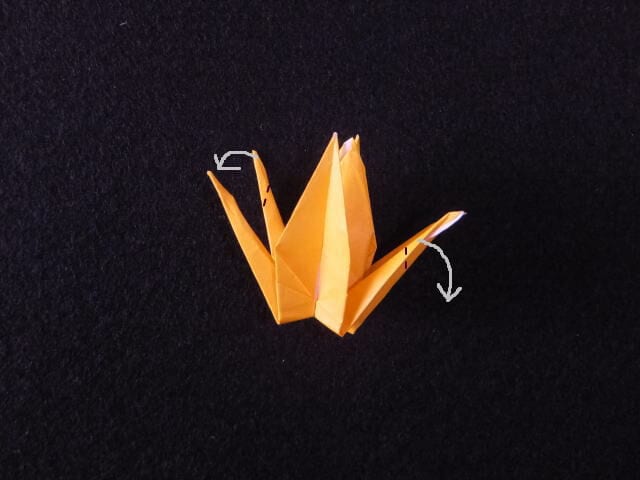
STEP 22. Reverse-fold the neck, then open the wings out.
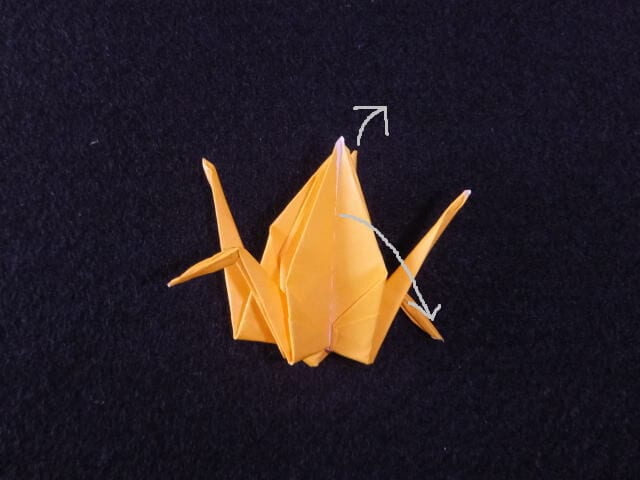
STEP 23. Open each bird out one at a time.
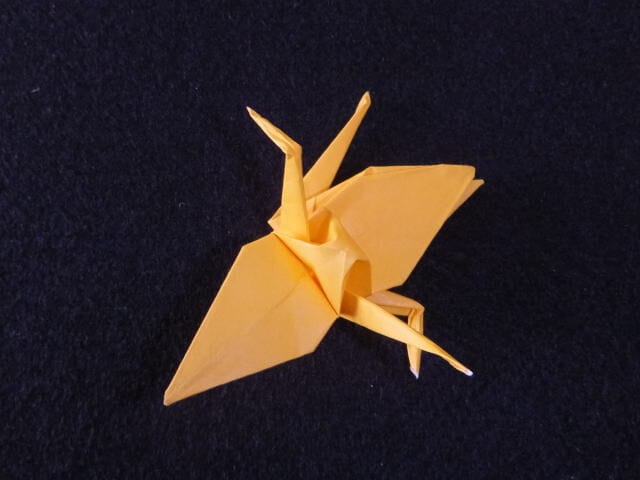
STEP 24. Your cranes are finished, still linked beak to tail.
Points to keep in mind
If the join tears, the cranes will no longer be connected, so fold carefully and never force a crease.
The layers overlap heavily, so leave yourself about 1 cm to work with at first.
Change the direction you fold at step 4 and you get cranes linked beak to tail; with one sheet you can even make four. Try different cuts and see what other ways you can fold these cranes together.




