
Origami Cake (10-Step Version)
Every paper feast needs a dessert, and this little cake has been doing the job for years. It is small enough to finish in a couple of minutes, which means you can fold one per guest without the afternoon disappearing.
What makes this version slightly different from other paper cakes is a single cut partway through, just enough to open the shape up rather than simply turning another flap over. Beyond that it is gloriously undemanding: turn it over, line the edge up with the photo, crease, carry on. Put it next to the shrimp sushi and you have a full spread.
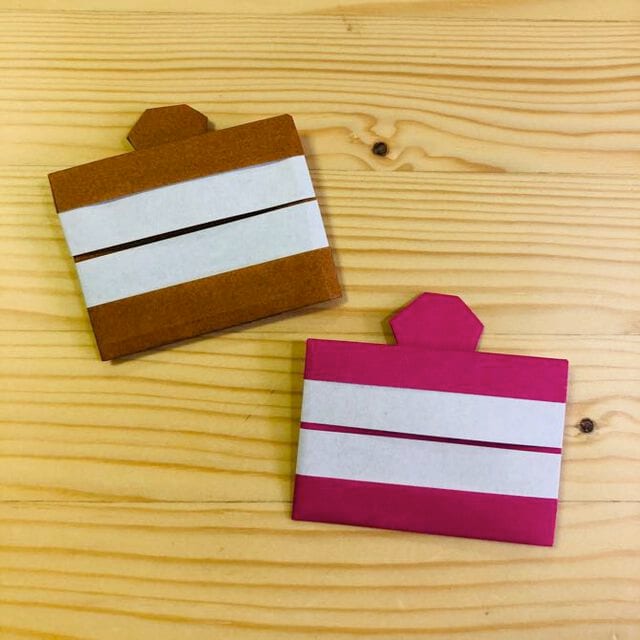
This origami cake takes ten steps and one square sheet of paper, with a small cut midway through that opens up the shape. There is nothing to memorise — most steps are simply a matter of judging where the edge should sit against the photo — but keep a pair of scissors handy for step 8.
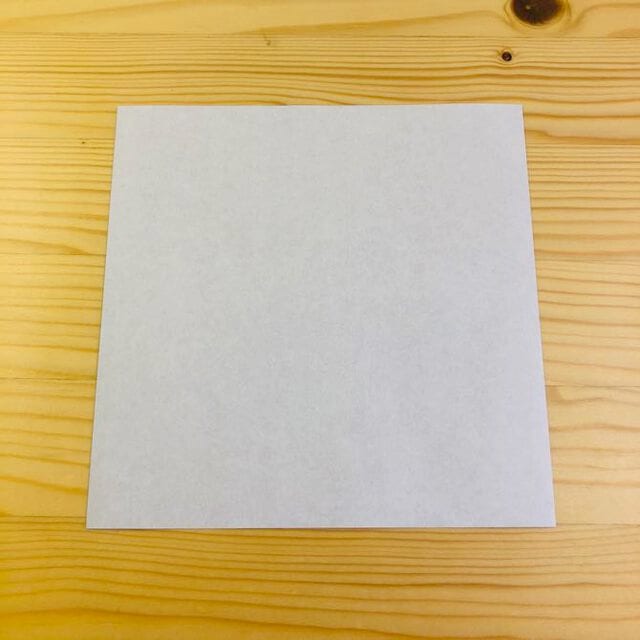
STEP 1. Fold the paper at the position shown in the photo.
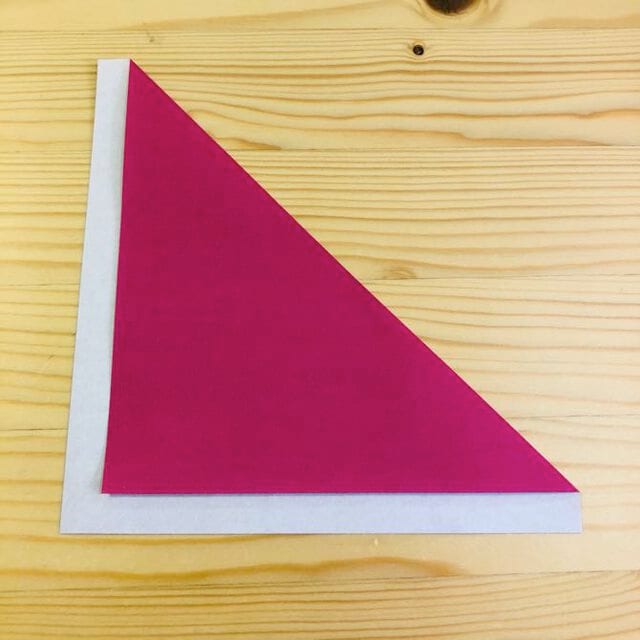
STEP 2. Turn the paper over.
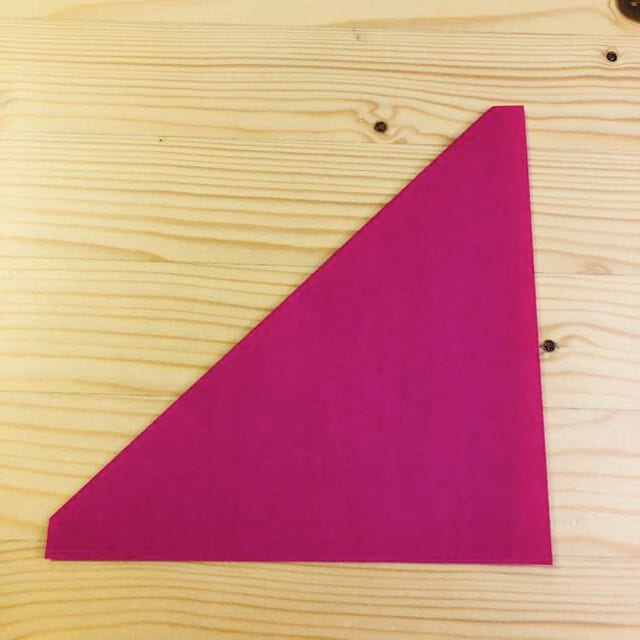
STEP 3. Fold the edge up at the position shown in the photo.
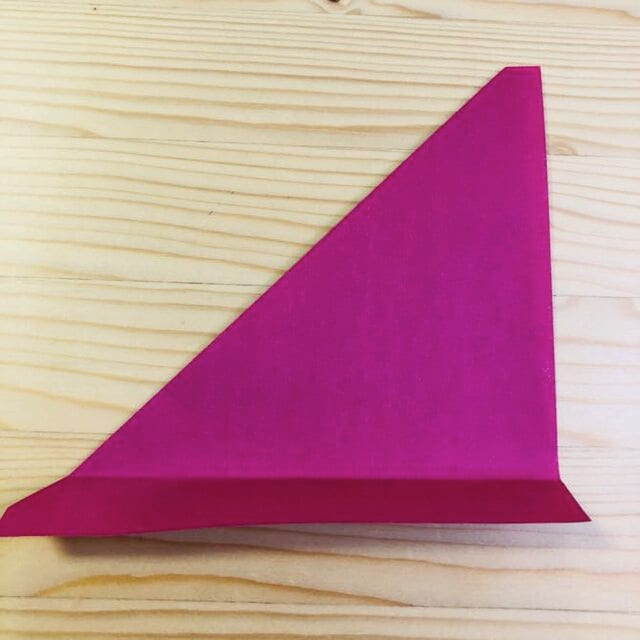
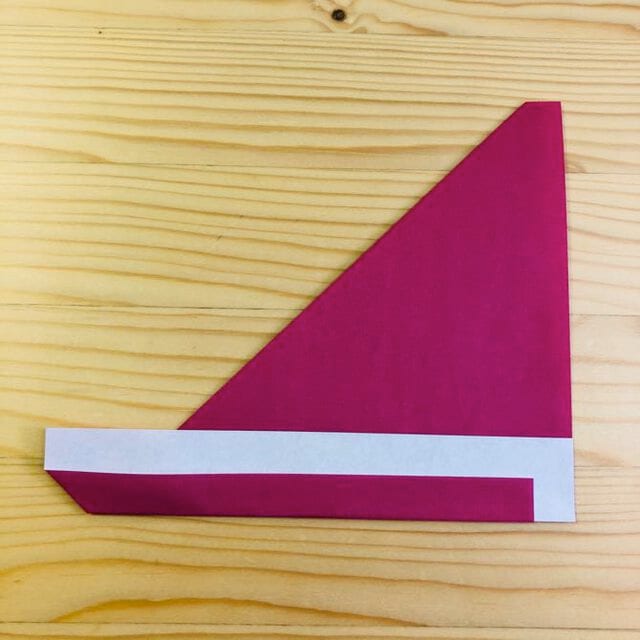
STEP 4. Fold at the position shown in the photo.
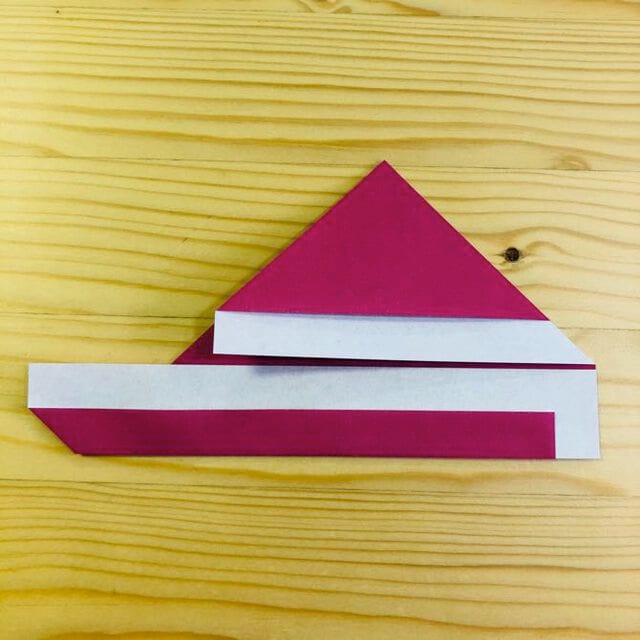
STEP 5. Turn the paper over.
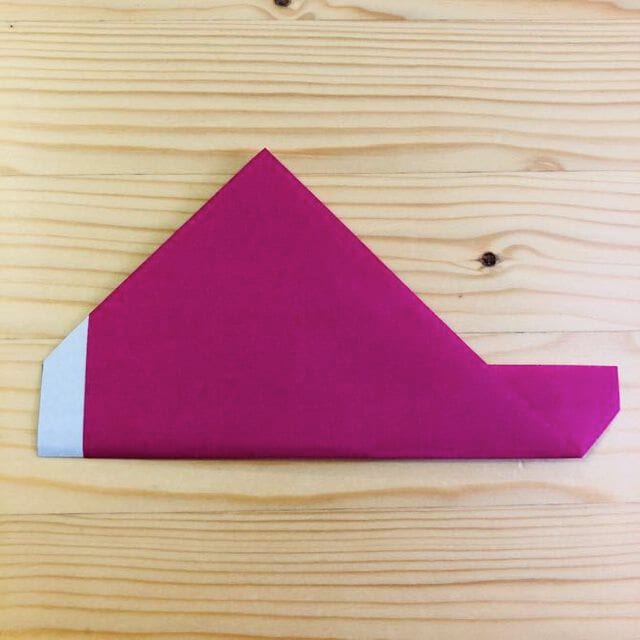
STEP 6. Fold at the position shown in the photo.
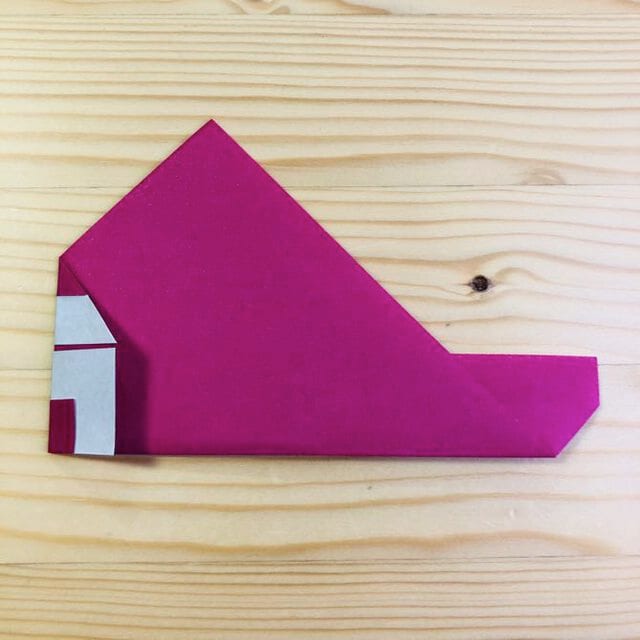
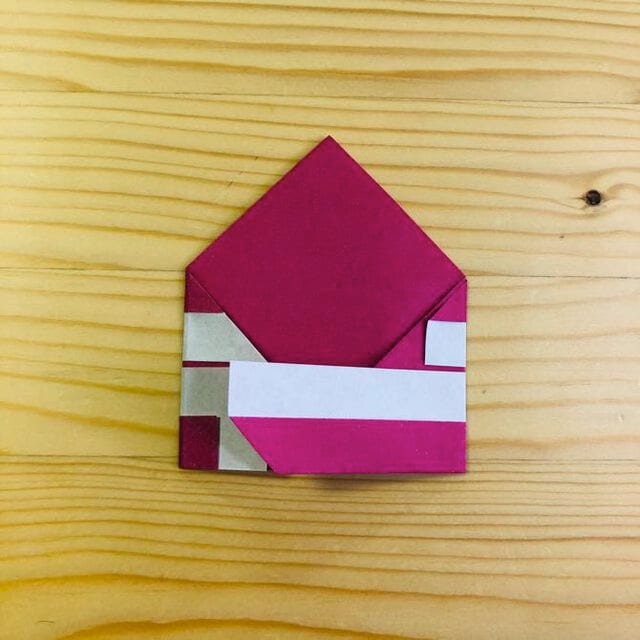
STEP 7. Crease the paper at the position shown in the photo.
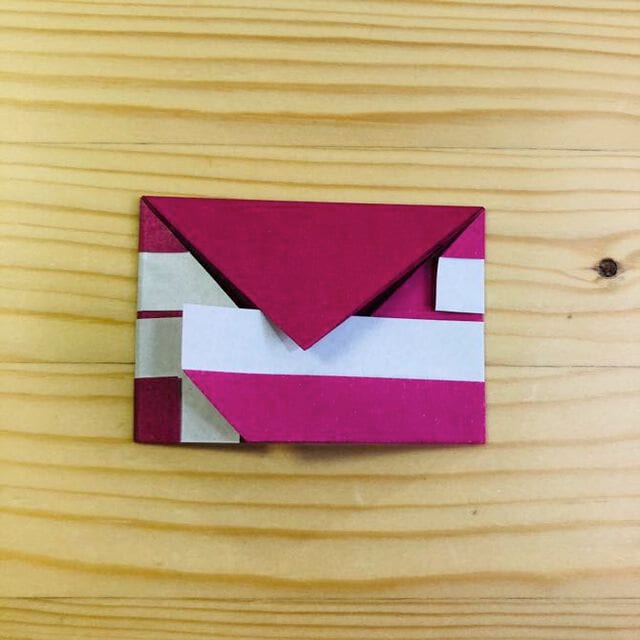
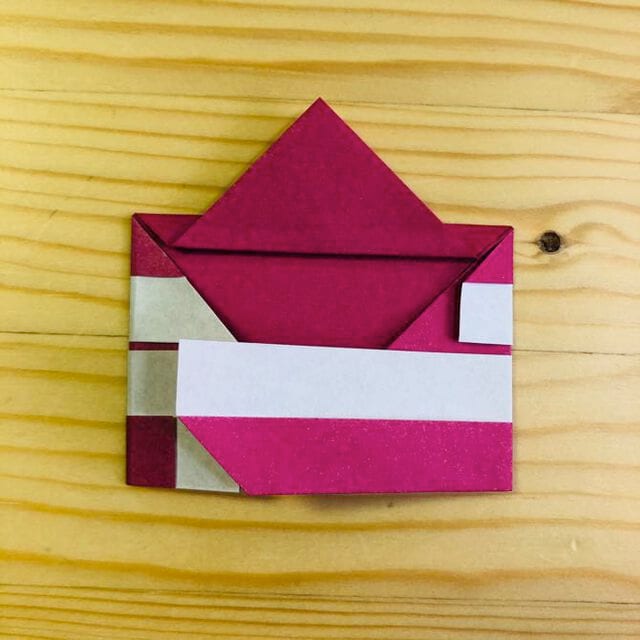
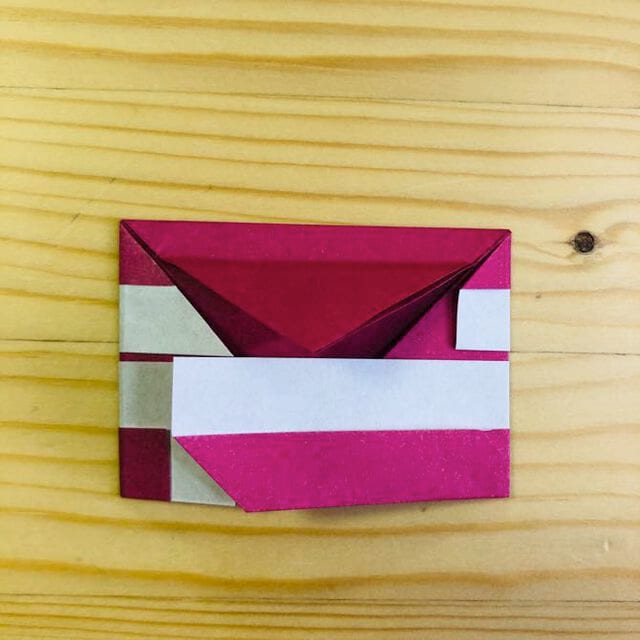
STEP 8. Cut along the marked line with scissors.
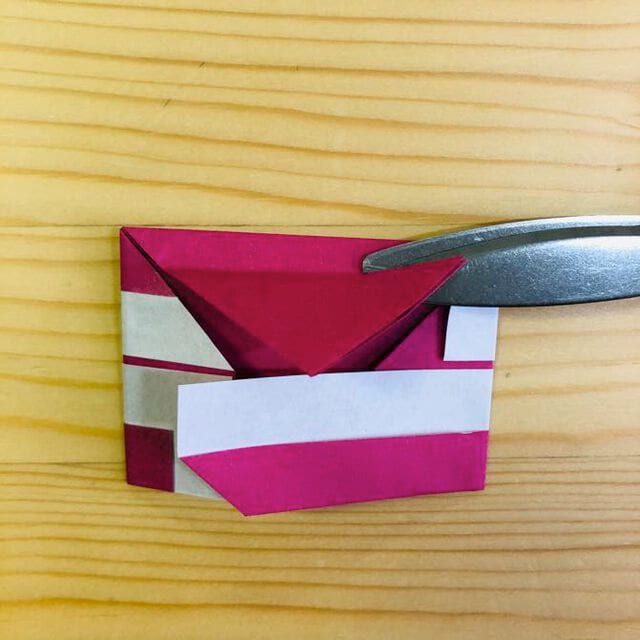
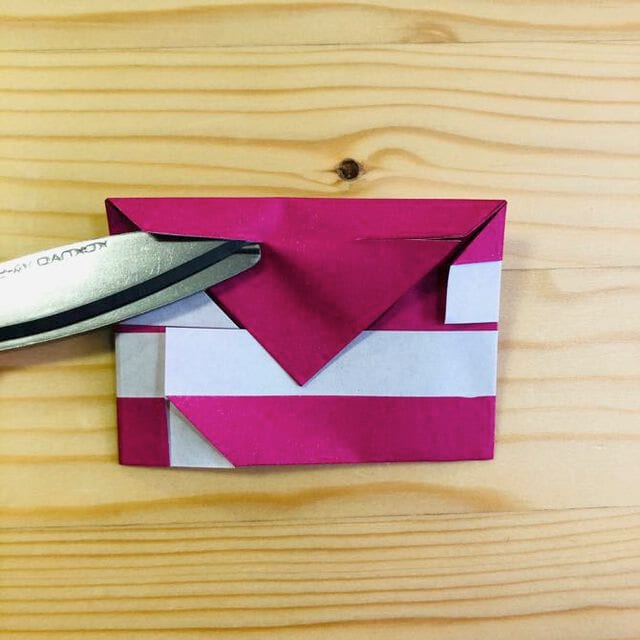
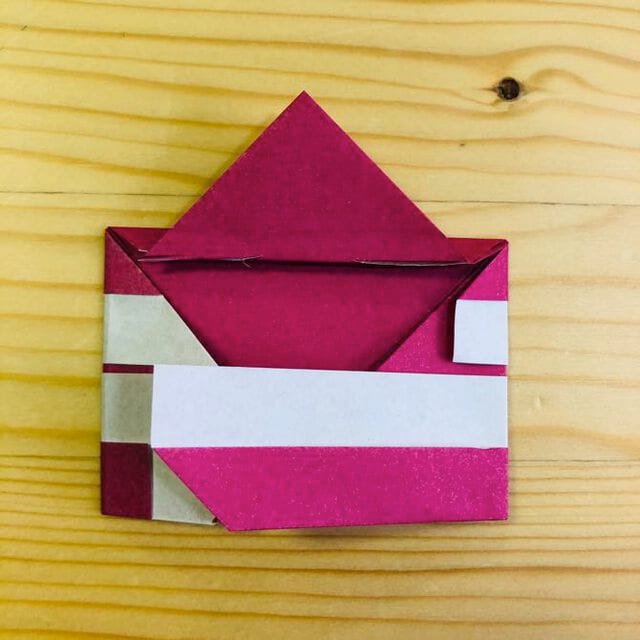
STEP 9. Fold at the position shown in the photo.
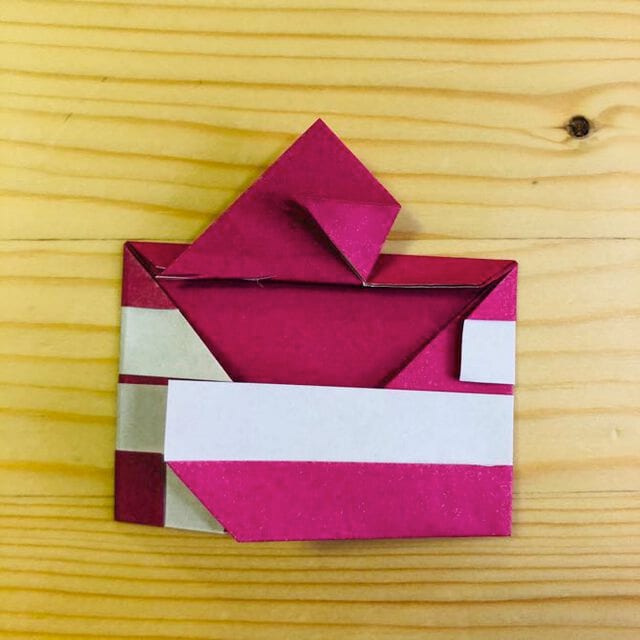
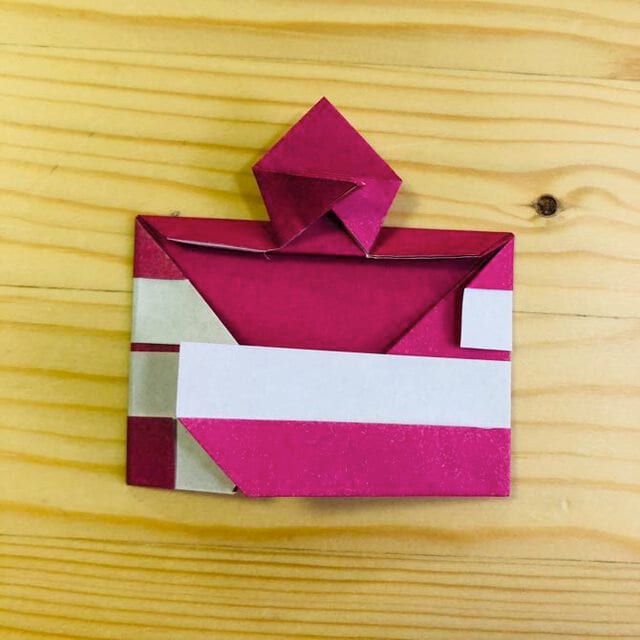
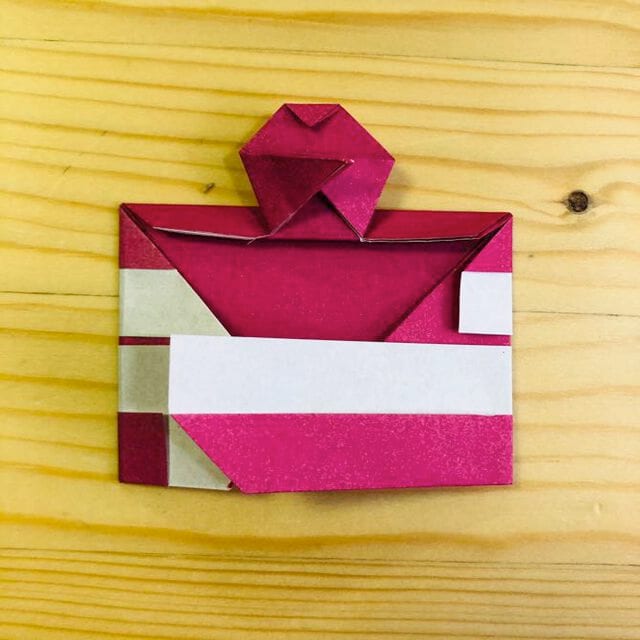
STEP 10. Turn the paper over — your origami cake is finished!
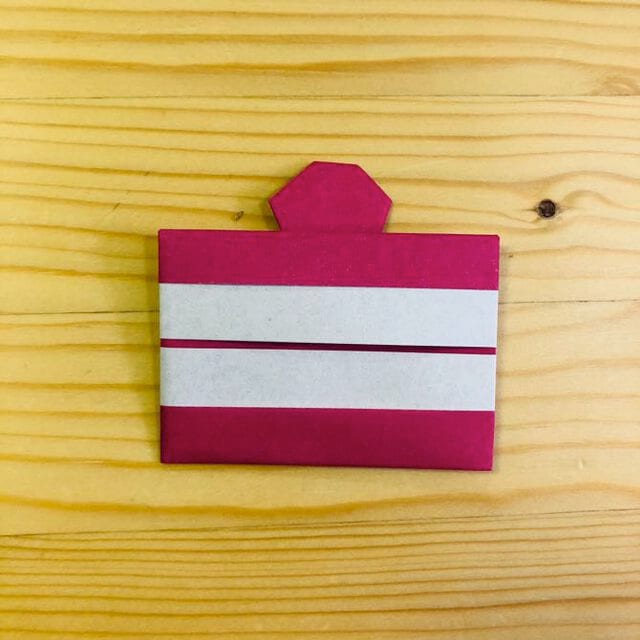
All done. Serve it up alongside the rest of your paper food.




