
Easy Origami Whale
There's a reason the origami whale is a perennial favorite: it's cute, it's beginner-friendly, and that single square somehow turns into a plump little sea creature with flippers and a flicked-up tail. This photo-led tutorial takes you through all twenty-seven steps, so you can follow along without guessing.
The best part? The same fold happily becomes a fish or a dolphin too, and an optional snip at the end gives it a split, fish-like tail. Grab a square and let's set sail.
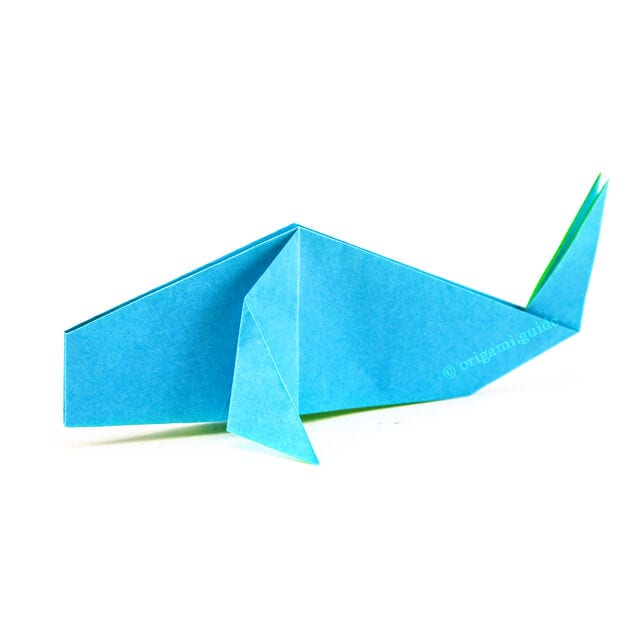
This easy origami whale is folded from a single square sheet of paper, and the same design works just as well as a fish, a dolphin, or other whale shapes. The traditional version can be given a split tail with one optional cut at the end—a step that, like the similar cut in the traditional origami turtle, doesn’t break any origami rules.
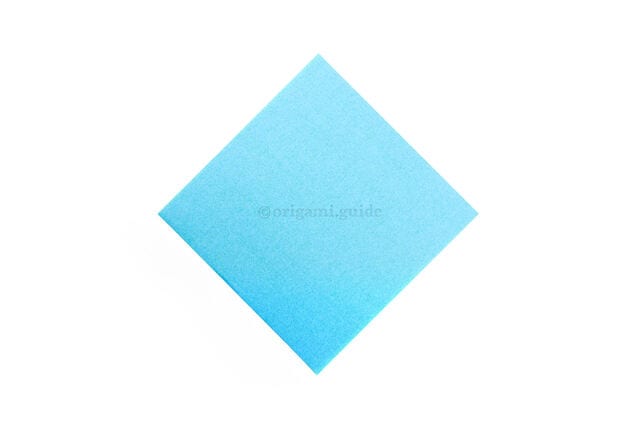
STEP 1. This is the front of the origami paper.
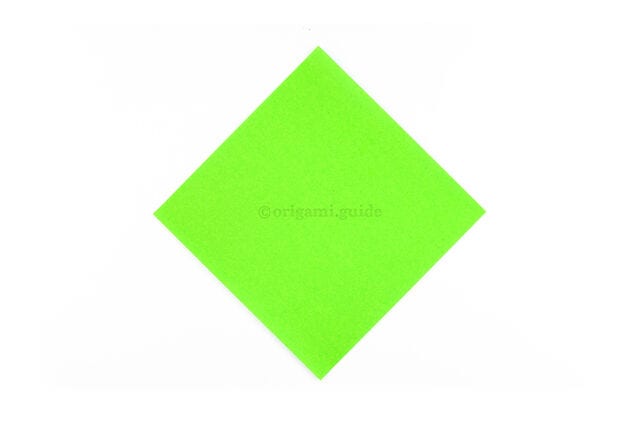
STEP 2. This is the back of the paper; this color won’t be seen, so start with this side facing up.
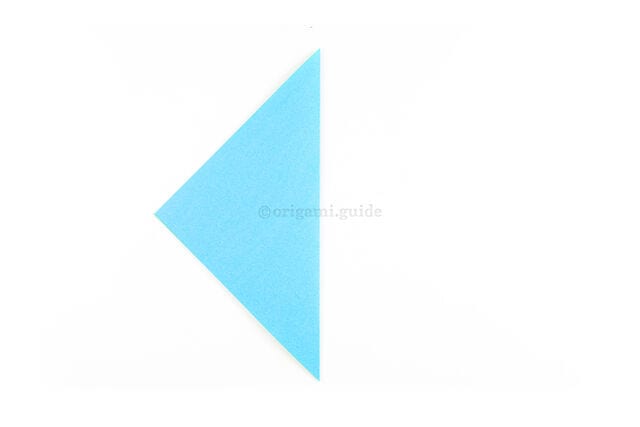
STEP 3. With the paper rotated into a diamond, fold the right point over to meet the left point.
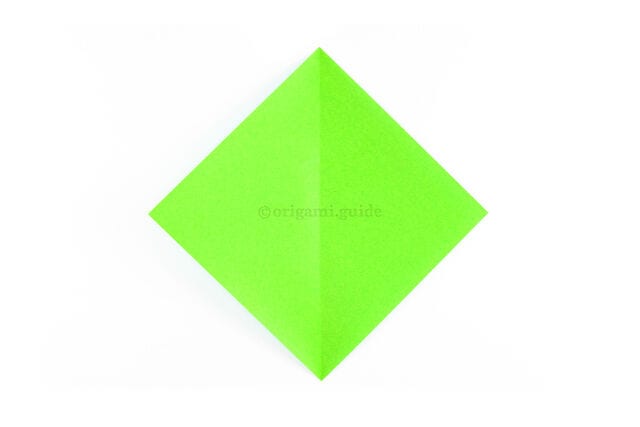
STEP 4. Unfold the previous step. You now have a central vertical crease.
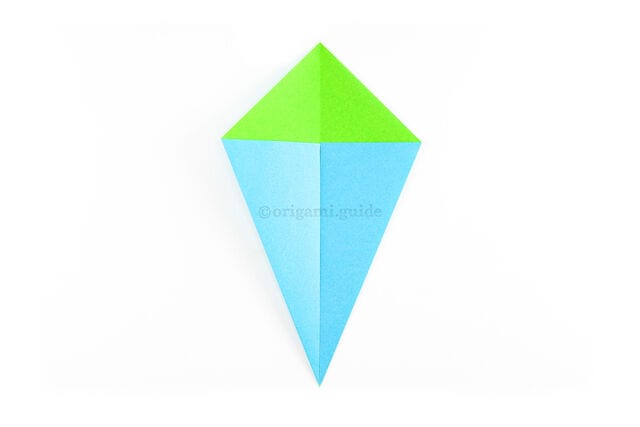
STEP 5. Fold the lower-left and lower-right diagonal edges in to meet the central vertical crease.
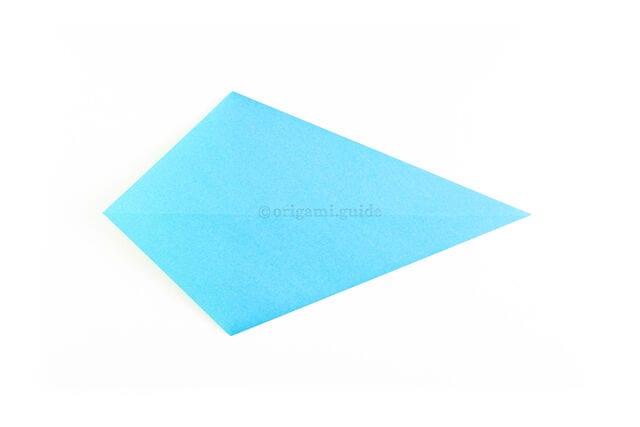
STEP 6. Flip the paper over to the other side and rotate it counter-clockwise.
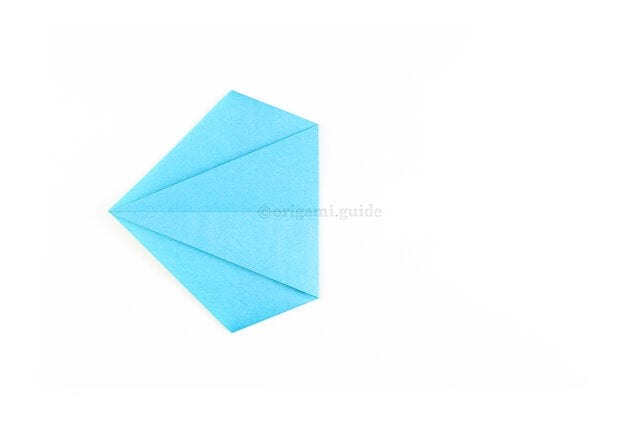
STEP 7. Fold the right point over to the left to meet the left point.
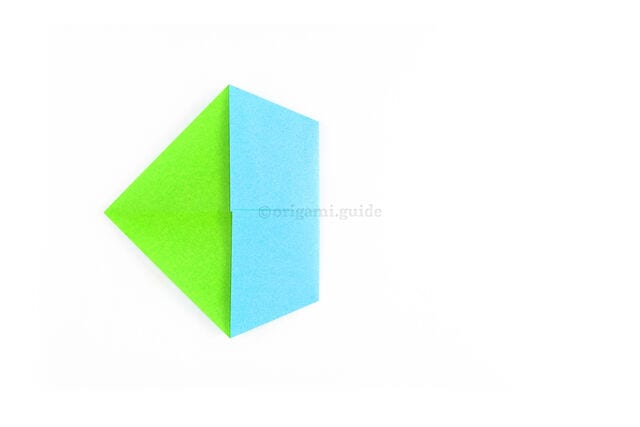
STEP 8. Flip the paper over to the other side.
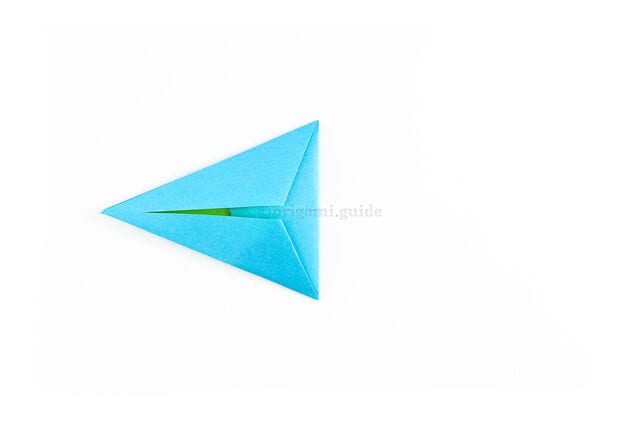
STEP 9. Fold the top and bottom diagonal edges inward to meet the horizontal middle.
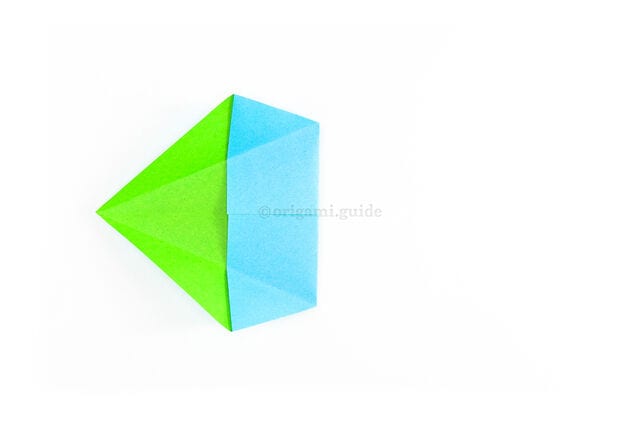
STEP 10. Unfold the previous step.
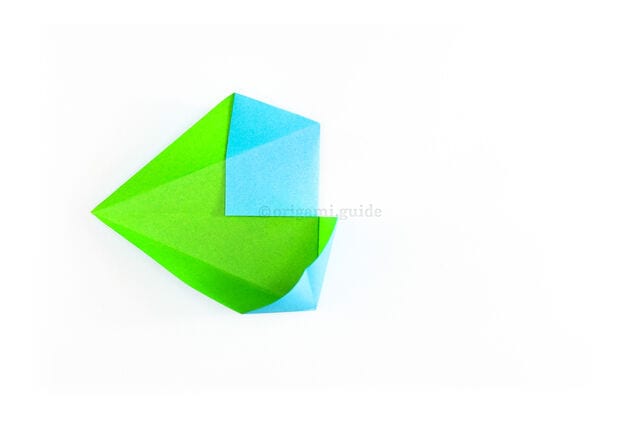
STEP 11. Open the lower section as shown.
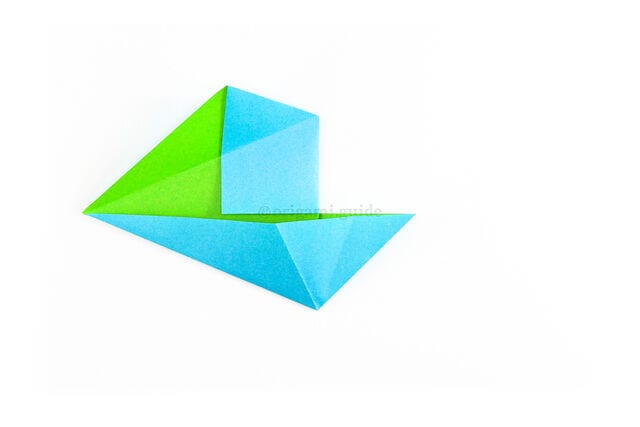
STEP 12. Pull the lower section fully over to the right, creating a new crease, and flatten it out.
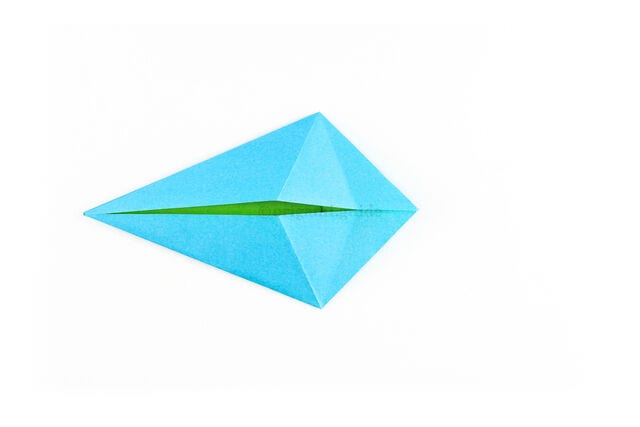
STEP 13. Repeat the same process on the top section.
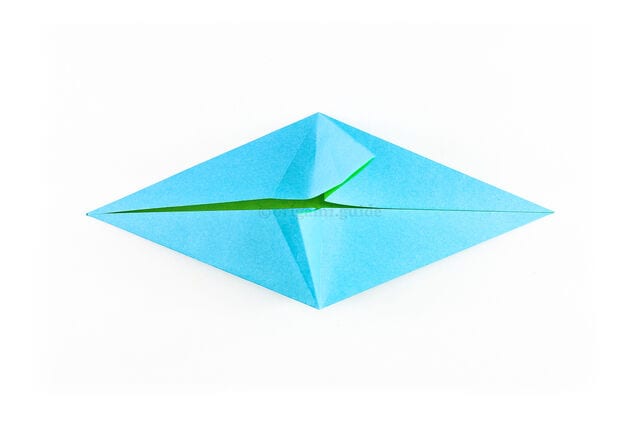
STEP 14. Unfold the back layer out to the right.
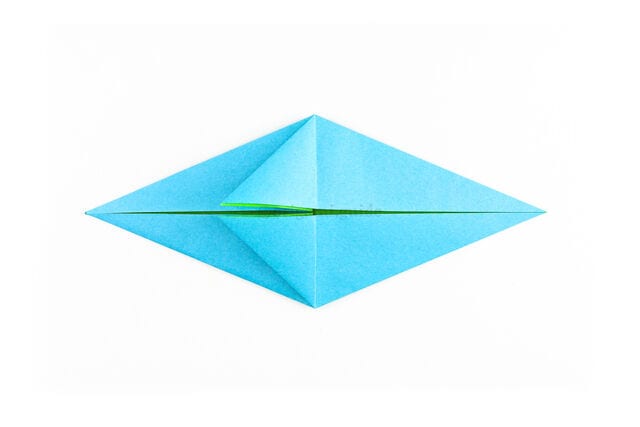
STEP 15. Fold the front flaps to the left.
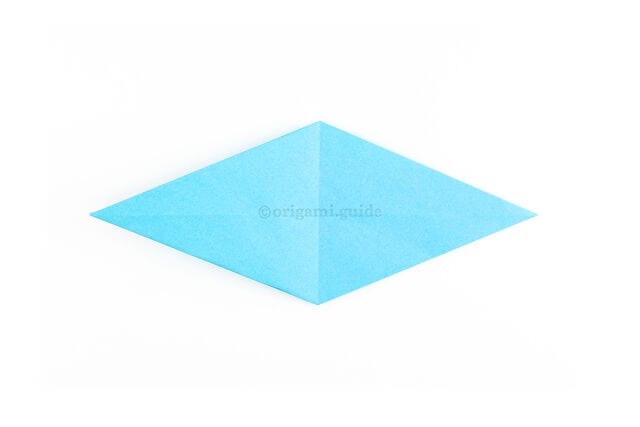
STEP 16. Flip the paper over, from top to bottom.
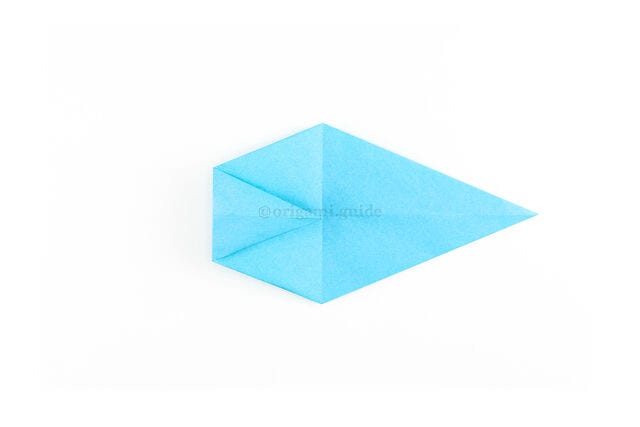
STEP 17. Fold the left point in to the central vertical crease.
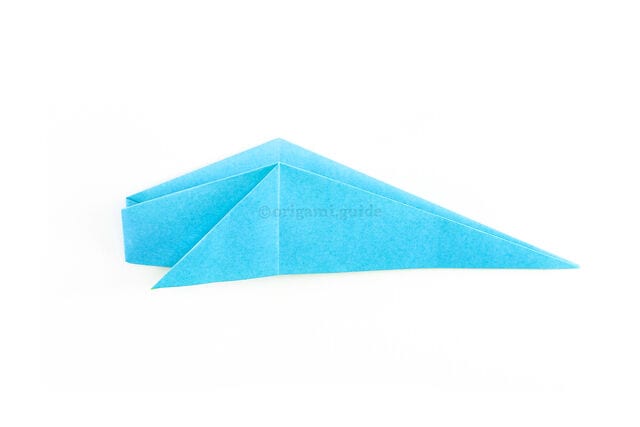
STEP 18. Fold the bottom section up to the top, revealing the shape of the whale.
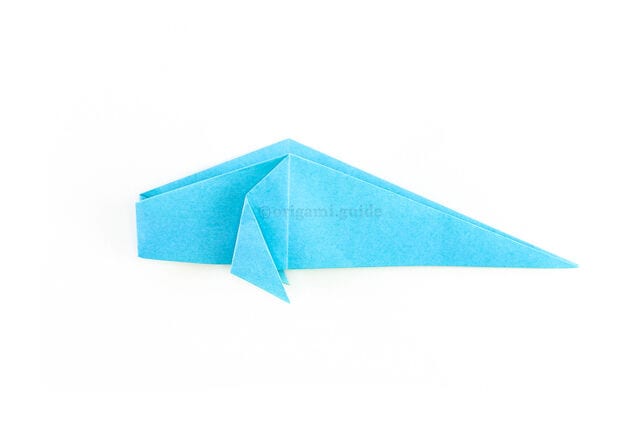
STEP 19. Fold both of the whale’s flippers to the right at an angle.
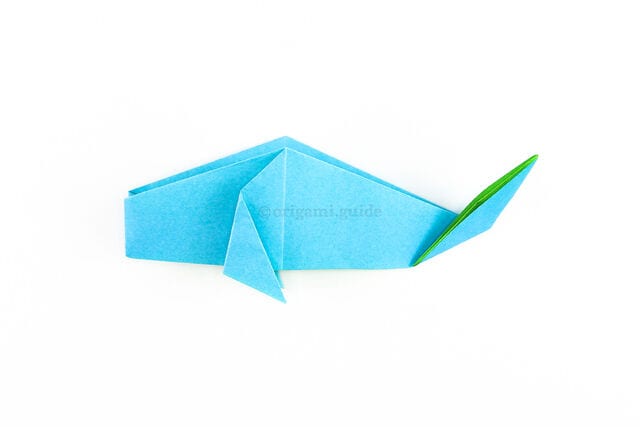
STEP 20. To shape the tail, fold it up at an angle as shown.
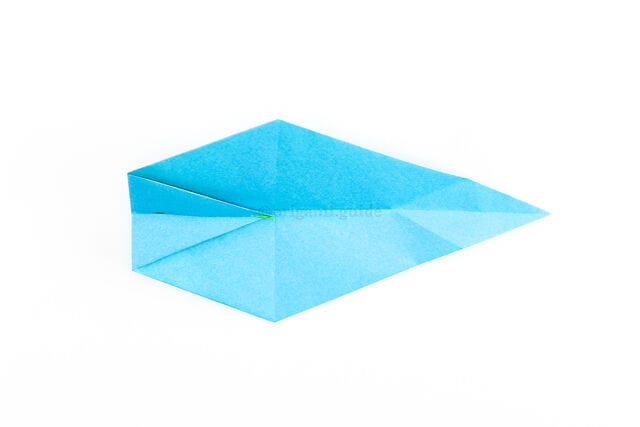
STEP 21. Open the paper back up to this point.
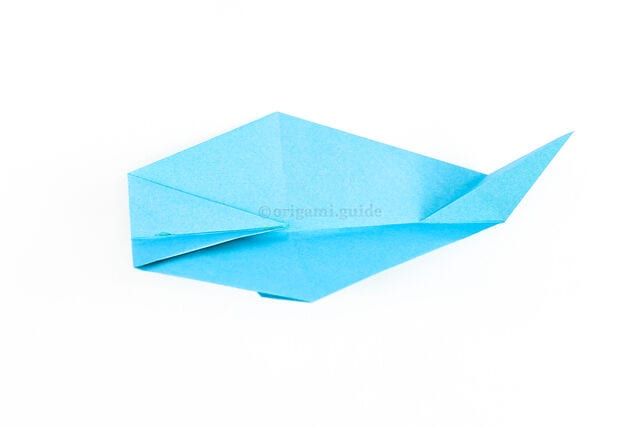
STEP 22. Reverse inside-fold the tail.
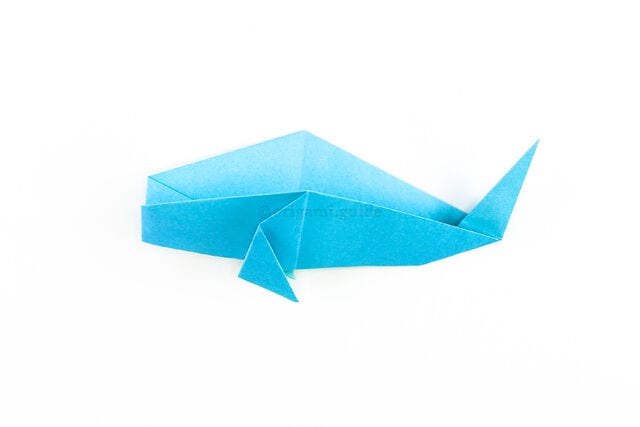
STEP 23. Fold the whale back up. The traditional origami whale is complete!
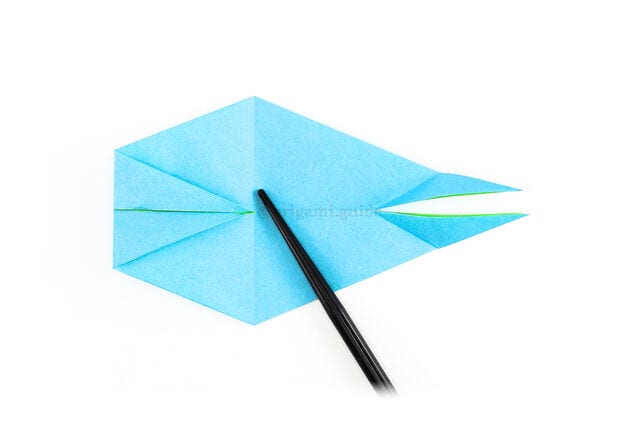
STEP 24. Optionally, you can also make a single cut with scissors where shown.
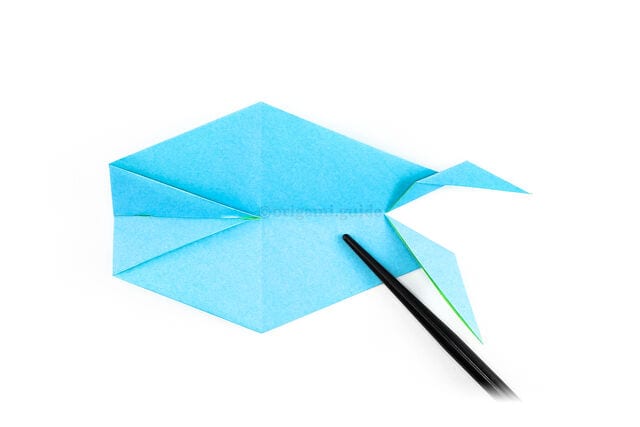
STEP 25. Fold the top tail point diagonally as shown.
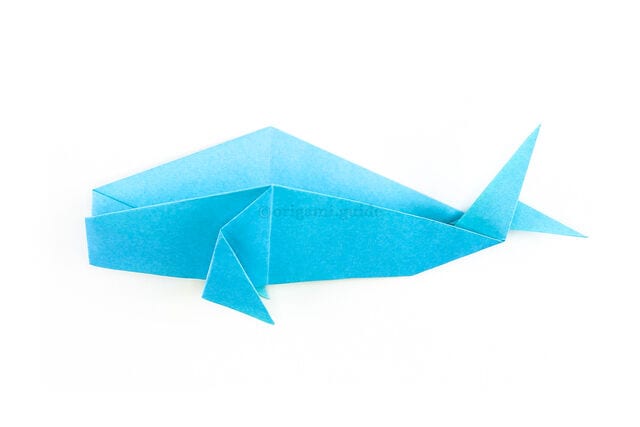
STEP 26. Finally, fold the whale back in half, so the tail now reads more like a dolphin or fish tail.
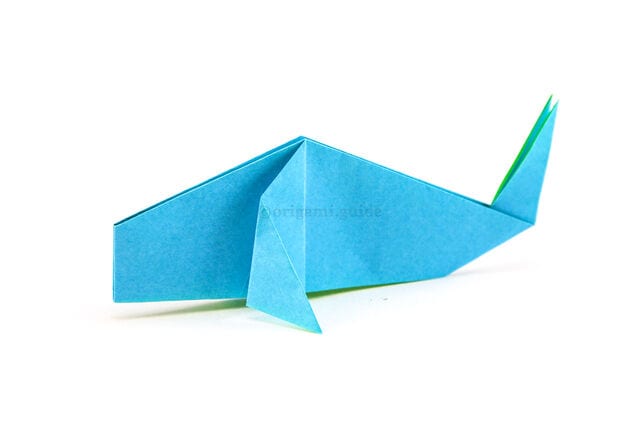
STEP 27. With the split tail, you can also curl the points downward, as some kinds of whales do.




