
Origami Warbler (Japanese Bush Warbler)
Small birds are the models people underestimate. Because they are simple you assume they will look simple — and then something like this warbler turns up: nine folds, one square, and suddenly there is a plump little bird standing on the table, beak and all.
The cleverest moment comes early. You fold the sheet in half but deliberately let one corner poke out, and that leftover corner becomes the beak. Everything after that is just coaxing the paper into standing up. Draw two eyes on it and the whole thing clicks into focus — fold a few in different papers and line them up on a shelf.
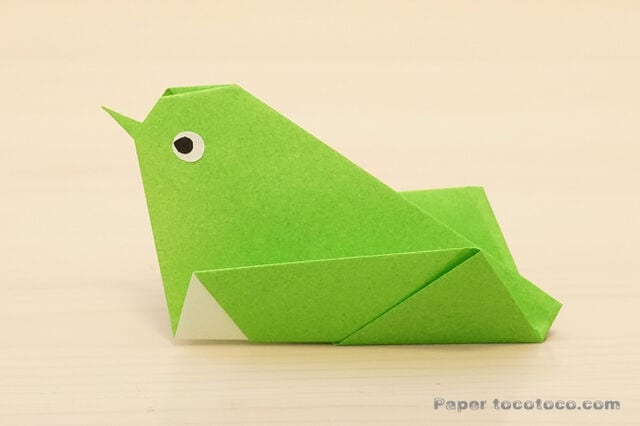
Easy and cute: how to fold a three-dimensional warbler
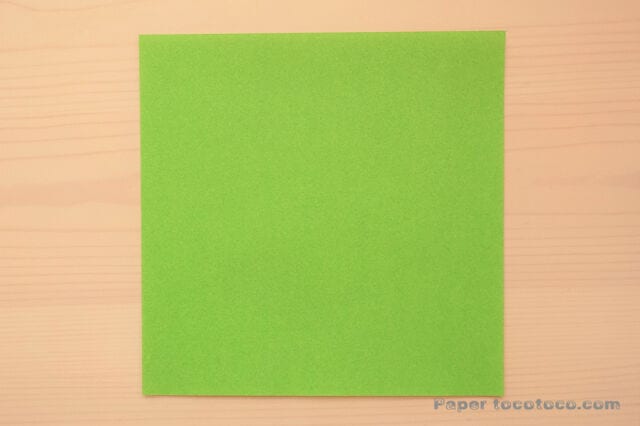
Materials: one sheet of 15 cm × 15 cm origami paper.
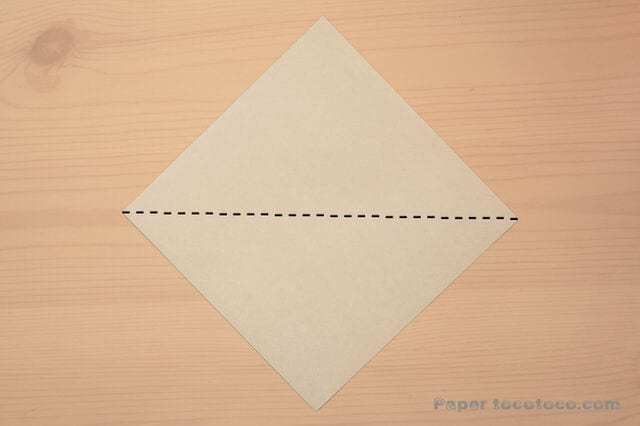
STEP 1. Fold along one diagonal and crease it well.
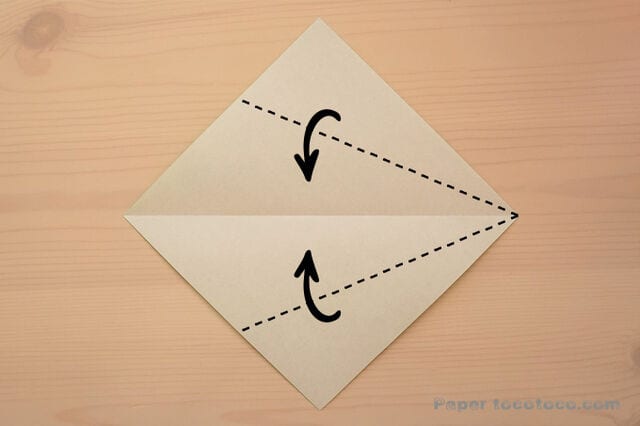
STEP 2. Fold the top and bottom edges on the right side in to meet that crease.
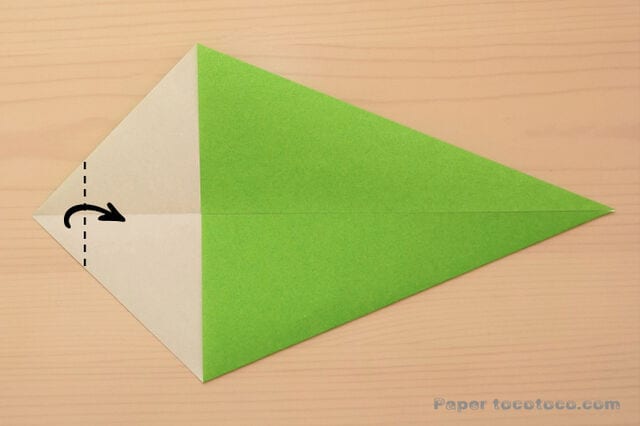
STEP 3. Fold the left corner in a little way — just by eye is fine; the sample here is about 2 cm.
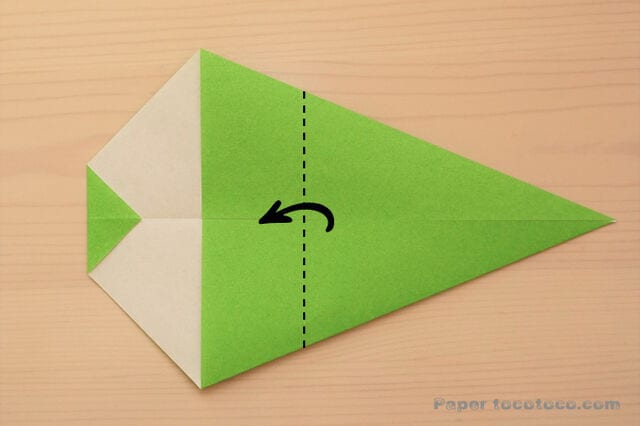
STEP 4. Fold the paper in half so that the right corner sticks out. The protruding part becomes the warbler’s beak, so leave as much length as you like.
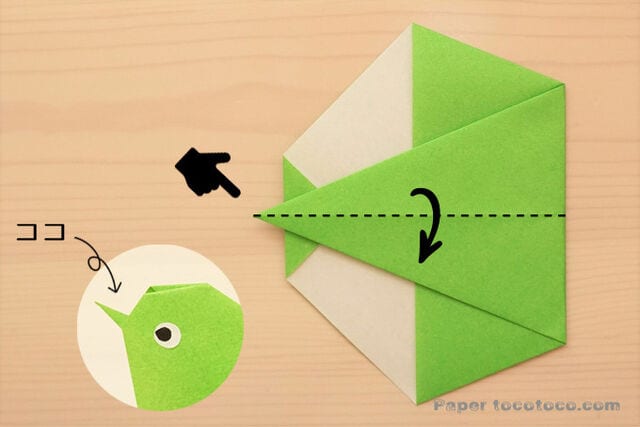
STEP 5. Once it is folded like this, fold the whole thing in half.
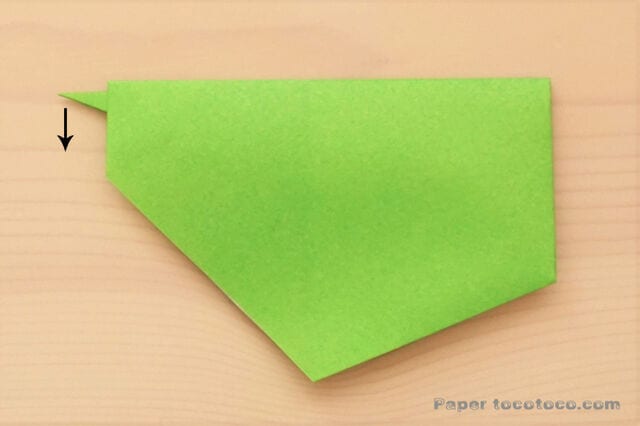
STEP 6. Pinch the beak and fold it down.
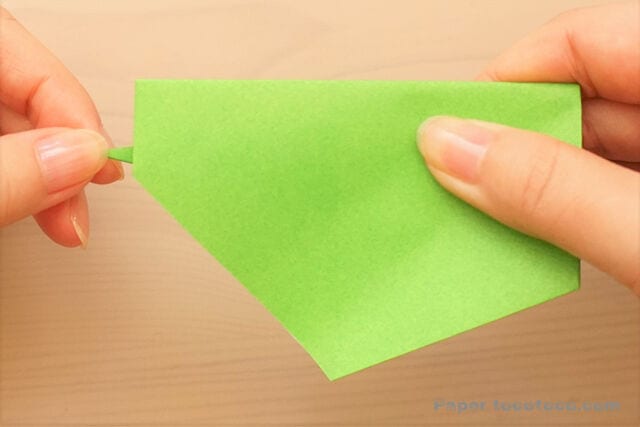
It should look like this.
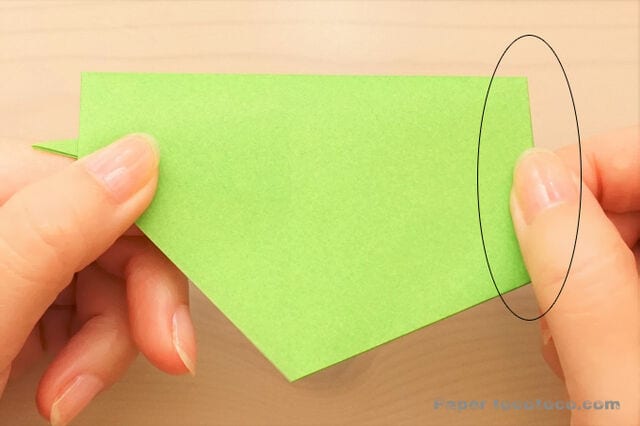
STEP 7. Keeping the beak pointing down, fold the section marked with a circle.
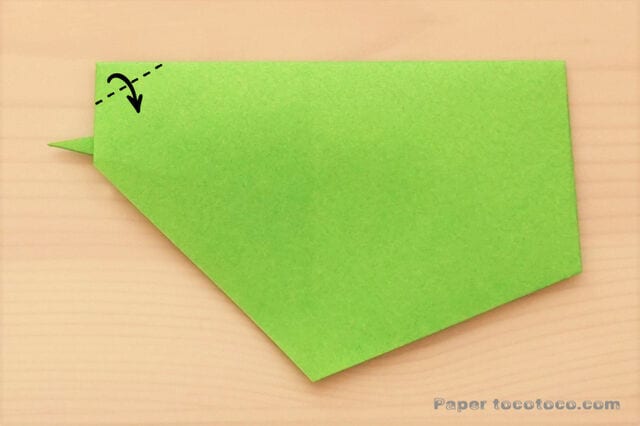
STEP 8. Crease along the dotted line and fold the model in half.
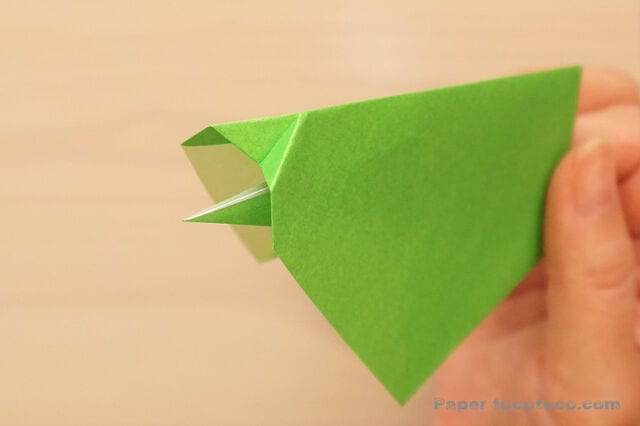
The middle fold looks like this.
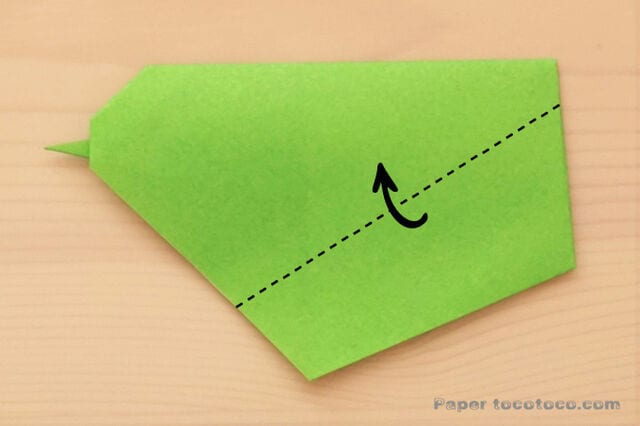
STEP 9. Valley-fold both sides along the dotted lines — this is where the eyes belong.
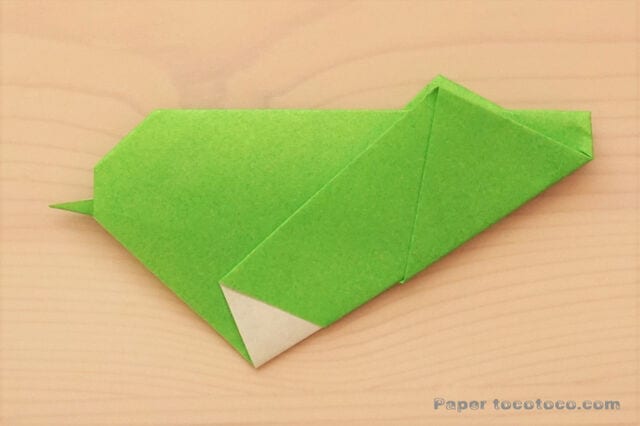
Once it is folded like this, add the eyes.
Your three-dimensional Japanese bush warbler is finished!




